
Have a happy New Year when it comes folks . A the best as we say
Happy Hogmanay Rumble!

TalkBass has been independent since 1998. Add your voice.
Create a free account to reply to discussions, view embedded media, and browse with fewer display ads.
Join free Log in
Want zero display ads or expanded classifieds tools? Compare plans.
Have a happy New Year when it comes folks . A the best as we say
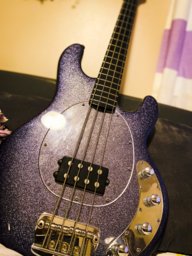
It seems just a tad bit too loose.Some questions, by not seating do you mean the tool was too loose or tight or you just couldn't get it to slide down onto the nut fully because the tool was too big for the opening?
How badly damaged is the nut? Are you able to get it out and replace it with a new one? If it's tight you can support both ends of the neck (not headstock) and press down in the middle of the neck a little to get the pressure off the nut. Use a clamp to apply pressure to the neck and only a very little pressure then you will have both hands and your eyes free to work on the nut. That's a good way I think to adjust the truss rod anyway as it takes the load off the nut while making the adjustment

It's supposed to be 5/16" like all the other USA Gibson truss rod nuts.It seems just a tad bit too loose.
The nut isnt badly damaged but i can tell where me turning on it was wearing at it.
Il
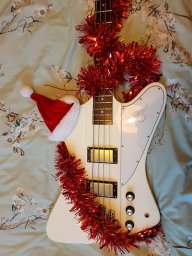
I'd let someone off ozbass come around to try a bass out, but not a random bod off eBay/Gumtree. Paypal is not a problem.
Investigated shipping options on Reverb.com but they were eye-wateringly expensive.
I would try and get the nut out and make sure it is the right size, might be worth double checking the tool size firstIt seems just a tad bit too loose.
The nut isnt badly damaged but i can tell where me turning on it was wearing at it.
Il
It seems just a tad bit too loose.
The nut isnt badly damaged but i can tell where me turning on it was wearing at it.
Il


I've found the best type of truss rod wrench to use is a 1/4" drive 5/16" deep socket on a screwdriver type handle. Those angled Gibson style wrenches can be difficult to get on the nut. Correct nut is brass BTW, is yours?
(this style only using parts from a cheapo socket set)
Invalid Link Removed
I just used a regular hex key on the goth. The trick is use the short end into the but, loosen the a and d string and move them to the side for room to make the adjustment. A long shaft type with handle is always better, but I don't have that size.Do the Epiphone models need a special tool to ? Or just an allen key ? Ive not checked mine yet .

Do the Epiphone models need a special tool to ? Or just an allen key ? Ive not checked mine yet .
Couple thoughts other than the Stew Mac toolIt seems just a tad bit too loose.
The nut isnt badly damaged but i can tell where me turning on it was wearing at it.
Il
 anyone seen district 9? Don't wait several weeks to have a Dr look at a painful ingrown toenail! Bye bye toenail! (Taking forever to grow back, but the pain is gone and can wear shoes again).
Couple thoughts other than the Stew Mac tool
Since you are state side, Home Depot sells 1/4" drive sockets that have round drive lugs inside the socket instead of a hex. This allows you to drive the nut further back from the corner of the nut
Occasionally you can use a metric socket that is smaller.
Either way, i would replace the nut once its freed
Sucky. Unfortunately, the external drives are the least troublesome (heel wheels and bullets) are the least used.I think i'm going to to try that. The 5/16 seems a little too big.
Funny enough, I had the nut changed when I bought the bass by my local luthier because whoever owned before me had completely stripped it.
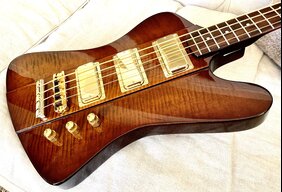
The right tool for the job always makes the job easier and the results better.Sucky. Unfortunately, the external drives are the least troublesome (heel wheels and bullets) are the least used.
Im that guy that will buy a specific tool just to work on a specific bass. For the Epiphons i have a socket driven 8" long metric allen set.
Then i can reach in without touching the strings as @ubernator spoke of


Be good as new nowContinued: Stock 3 point bridge replacement on 2009/12 Epiphone bird, with Babicz aftermarket replacement bridge.

I ended up using a Q-Tip added water to the sides of the holes. After doing that a bunch, the holes were probably about 1/4 full of water. I occasionally, every half hour or so, used a Q-Tip to drag that water up and down the sides of the holes.
Let it dry for a day and a half or so. The holes had grooves in them from where the bushings had been. After the water dried up those grooves went away and the holes swelled up and looked kinda fuzzy. I used a piece of wood over the bushings and tapped them in with a hammer. They were very snug.


