• TalkBass has been independent since 1998. Add your voice.
    Create a free account to reply to discussions, view embedded media, and browse with fewer display ads.
    Join freeLog in
    Want zero display ads or expanded classifieds tools? Compare plans.

What's On Your Workbench?

I've been finding lots of cases where having a little cnc mill is coming in super handy in ways that I wouldn't have predicted before I got it.

I'm finishing up the pair of guitars I posted earlier in the thread. They're getting Hipshot tuners, and the headstocks came out juuuuust a hair too thin for the tuners - like, probably less than .02" too thin. I discovered that this morning before work when trying to install the tuners. They sell these tuners with little mounting plates meant for standard Gibson or Fender headstocks, and I think their minimum spec must assume you are using those plates, because I'm off by the thickness of the plates. Usually I aim for about 1/16" above the minimum when using these tuners, but this time I tried to actually hit the minimum and I guess I missed it.

Anyways, at lunch time, I grabbed one of the tuners and a caliper and drew up a little shim.

Screenshot 2021-11-24 1.58.54 PM.png


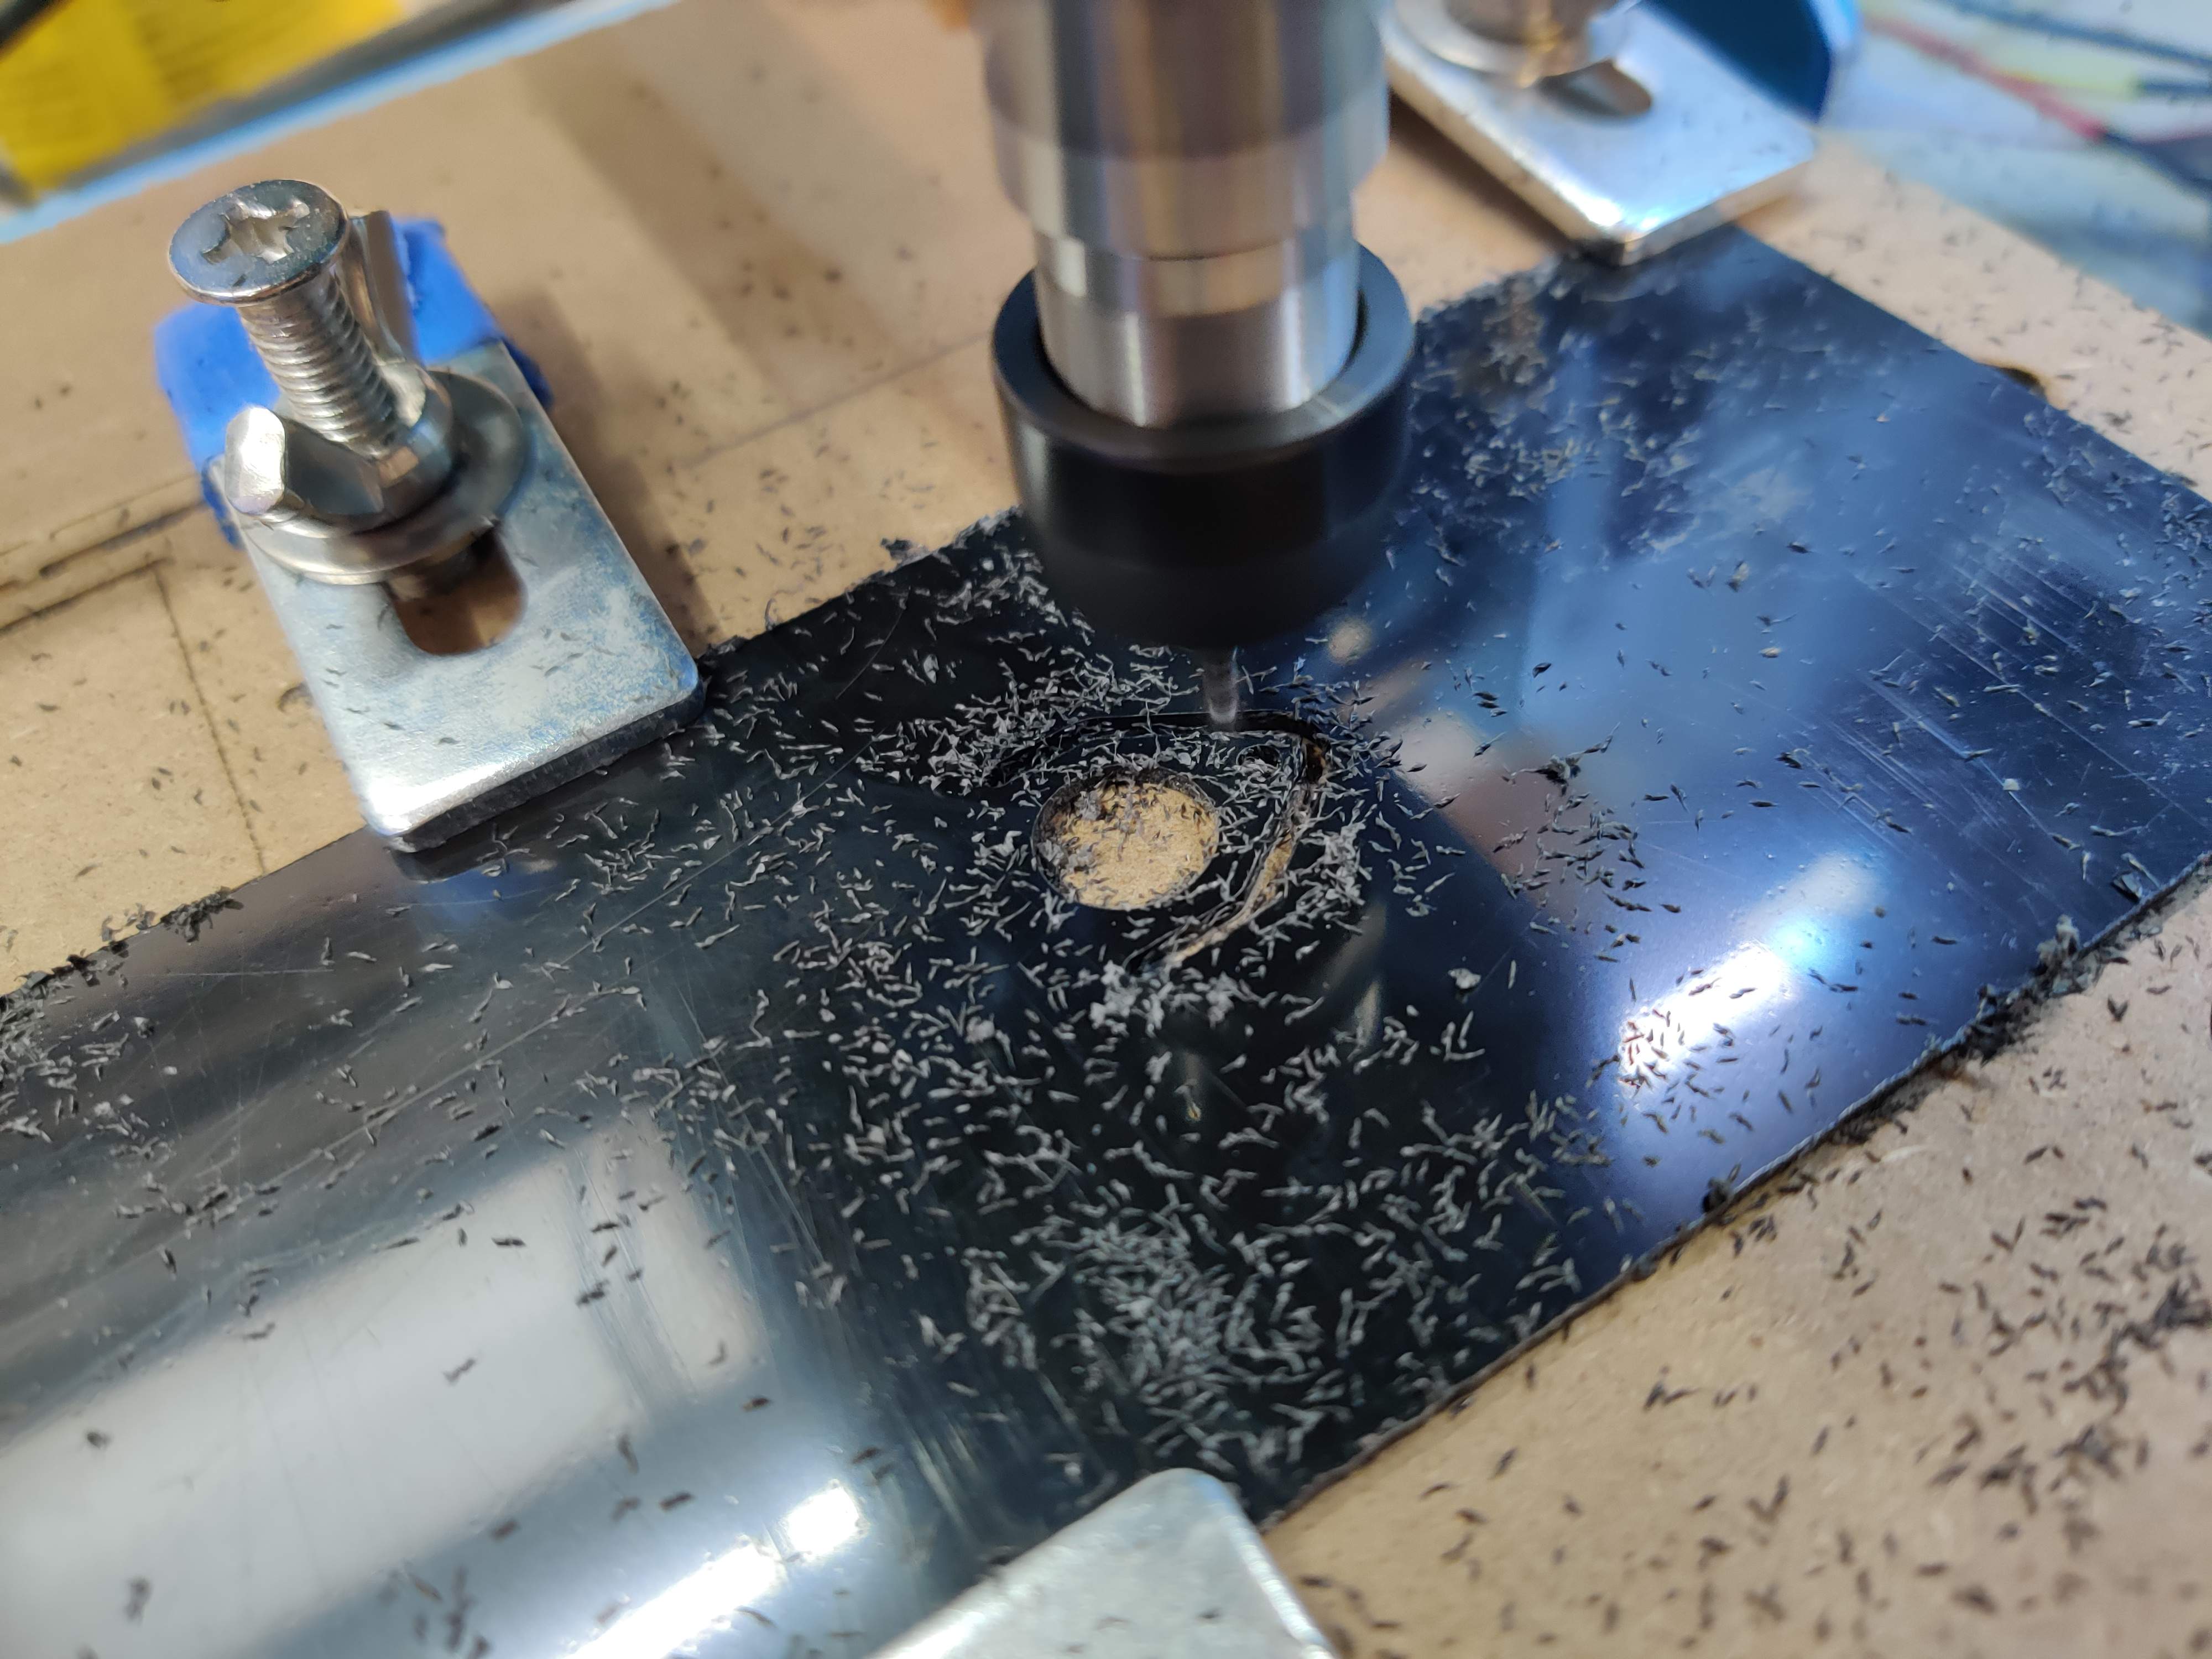
Then I put some 1/16" ABS in the router and cut them (it could have been thinner, but I had the 1/16" on hand).

Drawing the part and setting up the router took all of about 10 minutes.
IMG_20211124_125722.jpg


Half an hour later, I had two sets of shims ready to go.

IMG_20211124_135306.jpg


Test fit looks good.

IMG_20211124_135412.jpg


and here it is in place.

IMG_20211124_135659.jpg


It almost looks like it was supposed to be there!
 
I've done that a couple times when using cheap guitar tuners on smaller instruments that naturally have thin headstocks (electric ukes and tenor guitars). I thought about doing it here for half a second but decided I didn't want to modify the tuners if I could avoid it in this case, since they're "nice" tuners. But yeah, it's a good technique.
 
  • Like
Reactions: Beej
The way you work your magic in CAD drawing entire basses, I'm sure you could pick it up easily. I learned some CNC basics in college 20ish years ago but basically had to start from scratch to do this stuff. I'm doing everything on a chromebook in a web browser, using onshape to do design, and the kiri:moto plugin to do the CAM work and generate the gcode files. It took a couple days to get "good" at it, but I was generating gcode and making cuts within an hour or two of starting - it's definitely easier these days than it used to be.

Speaking of "these days" - my teenage son is taking a design, drawing, and production class in high school, taught by a guy I went to school with. They have a room full of laser cutters, 3d printers, and little hobby cnc routers like mine. Pretty cool stuff. Their whole class is taught in onshape. Sometimes I ask my son to help me figure out things I haven't learned yet. :D
 
So my wife got me a new CBN grinder wheel for my birthday (yesterday). This is technically for sharpening my turning tools, but it'll see some use for rough shaping plane irons too. This one is the Spartan 600 grit from Woodturner's Wonders. I've been wanting one of these for a while now, they don't get as hot as a stone wheel and they stay dead flat, no re-truing needed. :cool:
20211125_102250_HDR.jpg
 
This found its way onto my workbench over the summer. A generous gift from a machinist friend of mine who complained of a drill press surplus.

I needed to disassemble, clean and realign the Jacobs chuck (a process I hope I never have to repeat) but it was worth the effort. After reassembly I have less than .004” of wobble. Not too bad for a 50-year-old machine. Next step is to fit a slow speed attachment for metal work.

CB67146F-7580-4028-A445-8A1087FC6173.jpeg
 
This found its way onto my workbench over the summer. A generous gift from a machinist friend of mine who complained of a drill press surplus.

I needed to disassemble, clean and realign the Jacobs chuck (a process I hope I never have to repeat) but it was worth the effort. After reassembly I have less than .004” of wobble. Not too bad for a 50-year-old machine. Next step is to fit a slow speed attachment for metal work.

View attachment 4484840

Awesome! Love that period of industrial design.

Plowing Ahead with Porsche – Mecum Magazine
upload_2021-11-26_11-47-58.jpeg
 
Last edited:
This found its way onto my workbench over the summer. A generous gift from a machinist friend of mine who complained of a drill press surplus.

I needed to disassemble, clean and realign the Jacobs chuck (a process I hope I never have to repeat) but it was worth the effort. After reassembly I have less than .004” of wobble. Not too bad for a 50-year-old machine. Next step is to fit a slow speed attachment for metal work.

View attachment 4484840
That thing is just so cool. :cool:
 
  • Like
Reactions: Lo-E
This found its way onto my workbench over the summer. A generous gift from a machinist friend of mine who complained of a drill press surplus.

I needed to disassemble, clean and realign the Jacobs chuck (a process I hope I never have to repeat) but it was worth the effort. After reassembly I have less than .004” of wobble. Not too bad for a 50-year-old machine. Next step is to fit a slow speed attachment for metal work.

View attachment 4484840
 
Walification of a Sterling Stingray continued yesterday and today. Yesterday I routed the pickup cavities and sealed the cavities with black tinted acrylic lacquer.

E1BC16D1-2755-4C8B-8D1C-67D6D2C47B45.jpeg


Today I made a new pickguard. I used the cavities and routing template to make the pickup holes on the pickguard. Took some time between changing router bits, hot melt gluing the template and vacuuming the plastic shavings. Pickguard edges miss beveling, otherwise it’s ready to go. Tomorrow I wire the pickups to temporary passive blend and one Lusithand pre, another pre and blend unit are coming from UK.

23AF7341-18D8-408C-8FEE-C23B24C8B8AE.jpeg
 

Latest posts