• TalkBass has been independent since 1998. Add your voice.
    Create a free account to reply to discussions, view embedded media, and browse with fewer display ads.
    Join freeLog in
    Want zero display ads or expanded classifieds tools? Compare plans.

What's On Your Workbench?

Yup...:banghead::sour:o_O:facepalm::nailbiting::wideyed::jawdrop::spit:
All the emotes coming into play today.

Had to happen sooner or later.
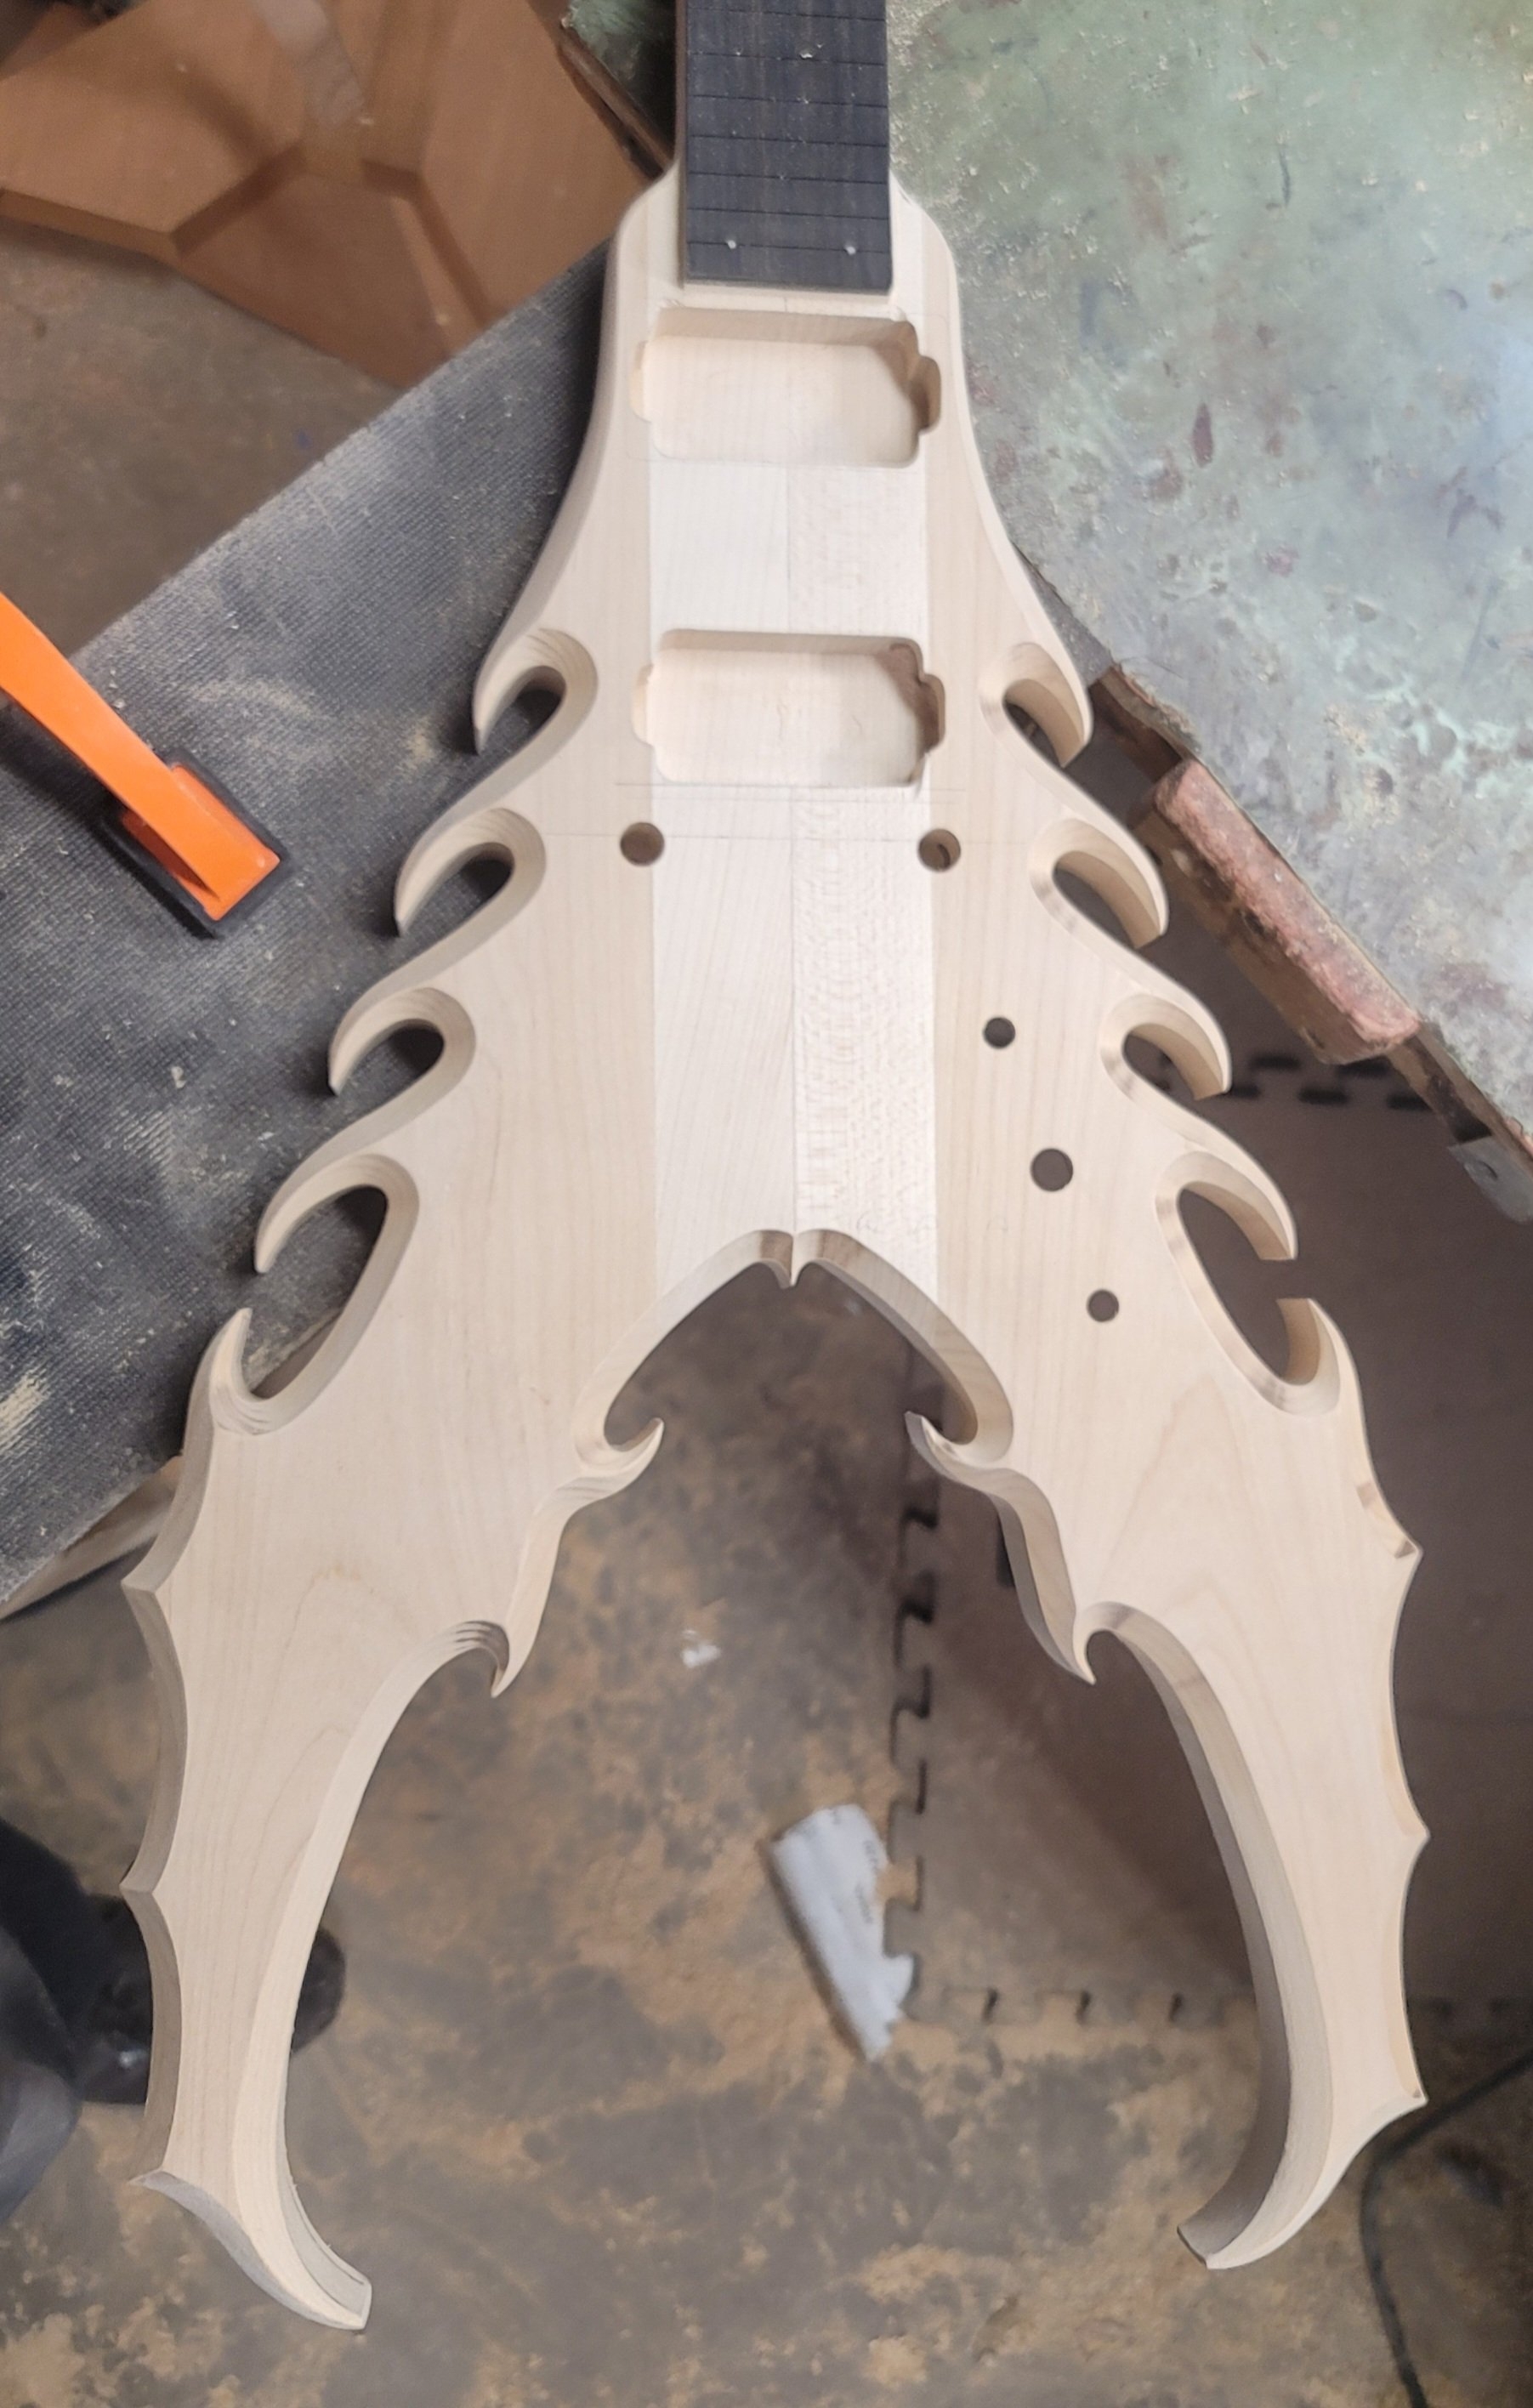
And this isn't even the "worst" of NMG's designs.
...Praying for tip integrity .:angel::beaver:
20250212_115314.jpg
 
Hi gang.
Here's a follow up on one of my favorite custom inlays... I posted here a couple weeks ago.
The one with the >:( emote.

Thought y'all might like to see the paint.
I feel it needs the pickups painted in day glow orange... to be complete.
It's actually growing on me.
The 80s ruled :bassist: :roflmao:

20250218_113946.jpg
20250218_113949.jpg
 
For years my sanding supplies have been stored in a completely haphazard manner. Different types of materials have been in different places that must have seemed logical to me at some point but it got out of hand and the disorganization became…. abrasive.

Being intrinsically lazy, something has to really bug me before I’ll go out of my way to do something about it but this reached the breaking point so I addressed it.

IMG_8148.jpeg

Like a lot of my projects, this took a couple of weeks because I only had short periods of free time to work on it. Over the next week or so I’ll populate it with sheet stock, micro-mesh, various foam-backed sanding pads, discs, sanding blocks, Scotch-Brite, steel wool, etc…
IMG_8149.jpeg

The space under the workbench was being poorly utilized already so I didn’t really lose any space by adding this and the entire project was built with scrap - even some of the screws were recycled - so it cost me nothing but my time; Time which will be amortized quickly enough as I won’t be rummaging around for sandpaper anymore.
 
For years my sanding supplies have been stored in a completely haphazard manner. Different types of materials have been in different places that must have seemed logical to me at some point but it got out of hand and the disorganization became…. abrasive.

Being intrinsically lazy, something has to really bug me before I’ll go out of my way to do something about it but this reached the breaking point so I addressed it.

View attachment 7159751
Like a lot of my projects, this took a couple of weeks because I only had short periods of free time to work on it. Over the next week or so I’ll populate it with sheet stock, micro-mesh, various foam-backed sanding pads, discs, sanding blocks, Scotch-Brite, steel wool, etc…
View attachment 7159752
The space under the workbench was being poorly utilized already so I didn’t really lose any space by adding this and the entire project was built with scrap - even some of the screws were recycled - so it cost me nothing but my time; Time which will be amortized quickly enough as I won’t be rummaging around for sandpaper anymore.

That’s great. I really need to do something similar with my sanding supplies. I’m completely out of control! :D
 
  • Like
Reactions: Lo-E
My Guitar Vise on a Stand with rigid castors

For quite some time I’ve tried to find the best place for my Guitar Vise in my small shop.

On the stand when actively working, the base needs to be flat/sturdy with room to plant my foot.

I tried all kinds of casters, retracting, etc..and then one day I thought, why not use a little hand truck? Then another light bulb went off, and I came up with this simple solution.

2 Standard Rigid casters.. Done.

Have a great weekend everyone!

1Bottom.jpeg


2Top.jpeg

3At Home.jpeg
 
On my workbench today... starting another one for Slash.
This makes 3 since I been here.
Kinda cool really.

... seriously
I want to thank several friends here in the LC who have significantly helped me to be what/ and therefore where ... I am.
Hope you know who you are. (Too many)
Much love. :cool:
20250304_122949.jpg
 
I think what’s more impressive right now is what’s NOT on my workbench. IE: about a cubic yard of clutter!
IMG_8187.jpeg

Okay…. look, I’m not delusional; nobody’s going to look at this workbench and say “Wow, that’s so clean!” but if you saw its normal state you’d be amazed at how neat it is right now. It’s actually making me a little uneasy.
 
A session of machine sanding to start the new year!
View attachment 7113577
I took it to 150 grit in all the places it was easy to reach. Even with the contour sander getting into the cutaways is pretty restricted. I was able to almost completely address bruises from its sordid history and tool marks from my clumsy scraping. The rest will require hand sanding, which I wasn’t ready to start on a lazy, rainy new year’s day.

View attachment 7113584
View attachment 7113585
I’ll block sand it to 240 and then start finishing. Still deciding on whether I want to follow @Bruce Johnson ’s recommendation of using oil-modified Minwax poly, to the tune of about 10 coats or try a clear grain filler like Aquacoat followed by a different clear finish. Either way, there are giant gullies in the grain that are going to end up needing to be filled.
I spent a few hours sanding today. I got the front sanded to 320:
IMG_8214.jpeg

It took a long time. I had to spend quite a lot of time with 60 grit working all the divots out of past damage and hugely open grain. It’s never going to be perfect but it’s pretty good:
IMG_8215.jpeg


I could drive myself crazy trying to get every little imperfection but at this point I’m just fighting the open grain and it’s not a fight I’m going to win. Fender dealt with it by using a very heavy sprayed grain filler/sealer and this bass didn’t have a clear finish (I don’t think). I don’t have spray equipment so I’m just going to build up as many coats of finish as I have patience for and see where it gets me.

This bass lost any chances at being a beauty queen or a collector’s item when it was molested back in the 1980s. I’ll be happy if I can just get it presentable and playable again.

I got as far as 80 grit on the back before I ran out of steam:
IMG_8216.jpeg


I think the front will fill in pretty well without filler. I’ve gotten it pretty smooth overall. The back is much worse. It’ll be better once I take it down to 320, of course, but it’s unlikely it’ll smooth out like the front did. I think I’m just gonna live with it. I’ll see how I feel when the sanding’s done.