• TalkBass has been independent since 1998. Add your voice.
    Create a free account to reply to discussions, view embedded media, and browse with fewer display ads.
    Join freeLog in
    Want zero display ads or expanded classifieds tools? Compare plans.

What's On Your Workbench?

As promised my final post on the lathe thing. I put it together last night and this morning. I put an oak panel on the left hand side to cover the belt and so I had some place to mount the kill switch. I think I need a bit more tension on the belt, but it works really nicely. I've got to clean out a spot in the garage for it.

I ordered a couple of carbide tipped tools today. Next thing you'll see from it is knobs for my current build (I hope).
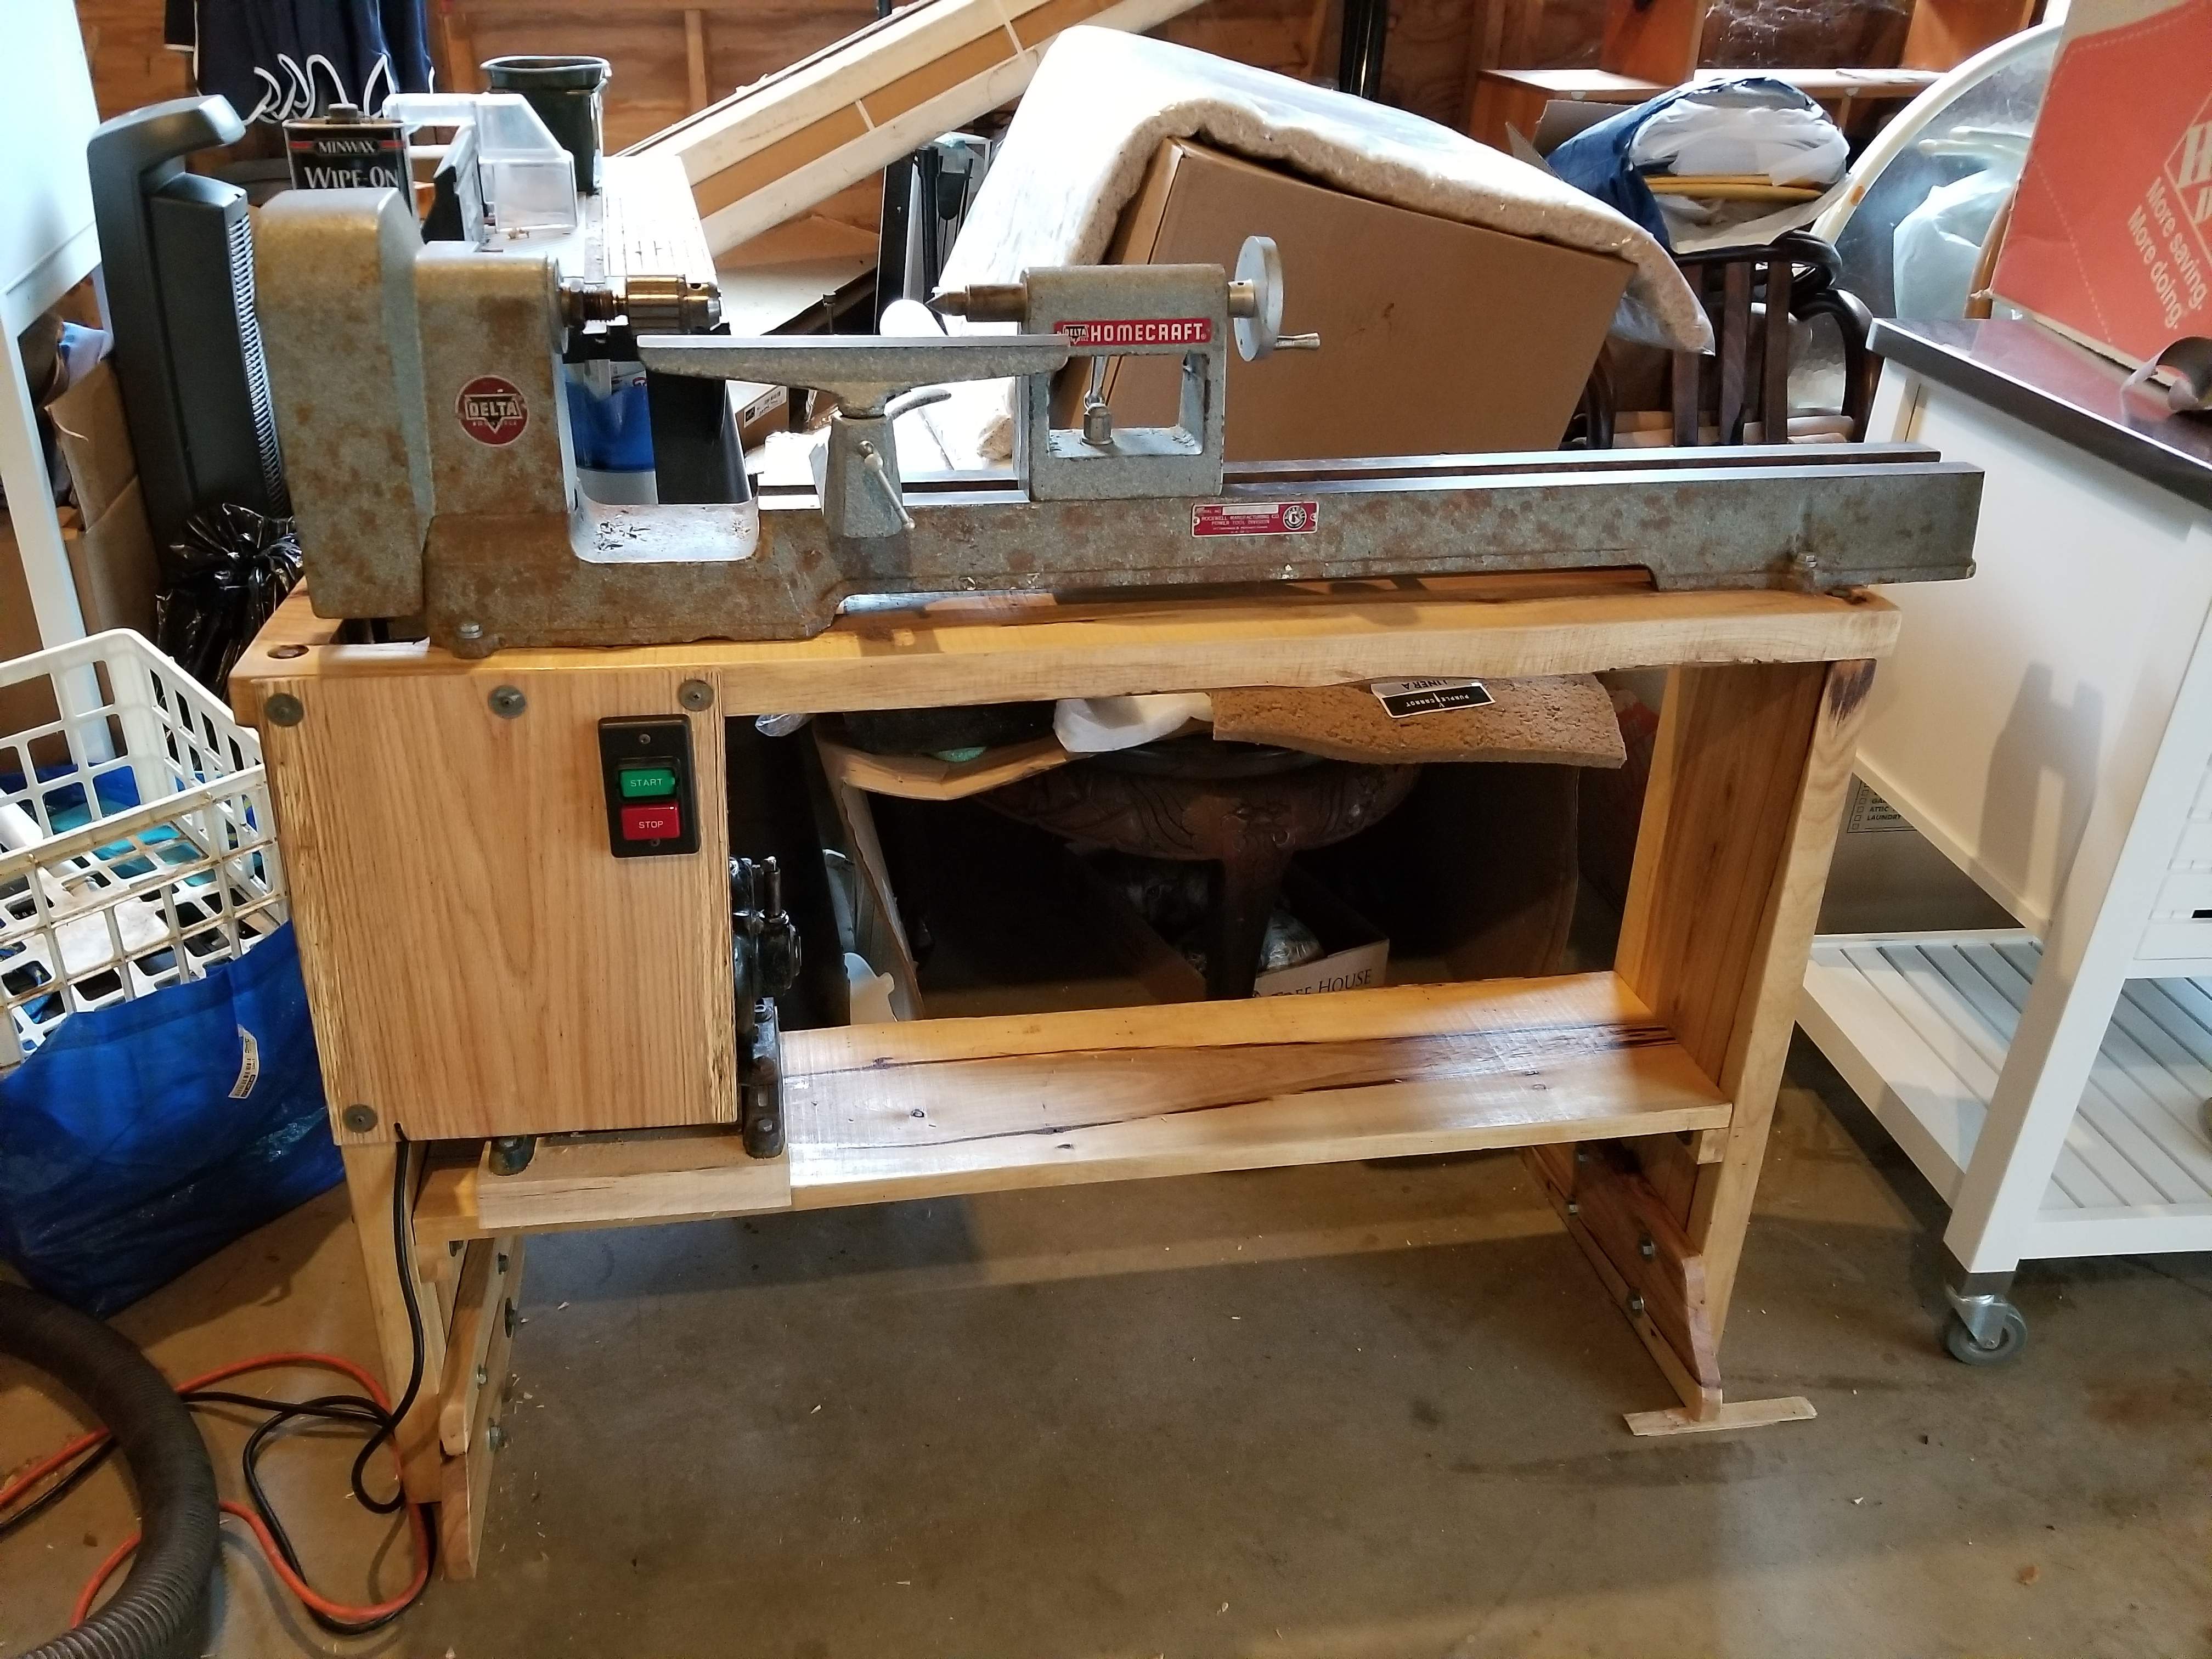
20190909_171942.jpg
 
I was just clearing things out of FB Marketplace (I didn't know you could save and remove things from your feed) and found this picture from the ad placed for the lathe. Quite a difference from the "after" pic above. I'm surprised I went and got it after seeing this pic again.
View attachment 3536242

Yep, you saved an old machine from the dump, and added a machine to your personal skillset. That's what it's all about. He who dies with the most machines, knowing how to use them, wins. Machines allow you to multiply your skills.
 
Not a bass at all but I still made it in the shop so it counts right? :D I had a large empty space behind my couch and managed to put together some wall art.

20190529_170413.jpg


The individual slats are 3/4" baltic birch plywood mounted to 1/2" birch plywood and framed with ash. I started with a pile of 32" x 4" strips of Baltic birch. I then made a routing temple for routing the curves.

20190914_134319.jpg


The center hump is 1/2" deeper then the next two, and those are in turn a half inch longer than the two outside humps. It took a while to come up with the proper spacing to make the arcs look smooth and if I hadn't recently invested in a nice spindle sander I'd probably still be sanding all the edges by hand.

I used teak oil on the plywood strips, black paint on the backer board and a chocolate stained laquer finish for the ash frame. It hangs on a 3/4" thick French cleat and came out light enough (heavy enough) that I can hang it my self but not without a little extra grunting.

20190529_165438.jpg
 
Just finished up a 6-string for a coworker.
Flamed maple & walnut neck thru, chambered maple body core with book matched walnut front & back. Wilkensen tuners, generic bridge, lipstick tube pickups. 50's style wiring.
20190917_104335.jpg

Just need to have her let me know which knobs to put on it. I made some walnut knobs with a maple indicator line, but the chrome nobs also look really good with the lipstick tubes.
20190917_104733.jpg
 
Good god man, that’s fantastic!

So the pickups mount from the back? Access panel? Can you post a photo of the back?
Nope, pickups mount from the front (you can see the screws on the treble side). Easy to do with a chambered body, dental floss loop around the pickuo for support then another piece of floss in one mount hole through the spring through both holes in the base plate through the other spring and out the second mount quick.Slide the pickup in the body, and pull both ends of the big piece of floss and everything inside lines up. Now hold the support loop really tight and pull the other piece out (the springs stay in place) and thread the screws in. Sounds like a lot but it goes really quick.
 
Just finished up a 6-string for a coworker.
Flamed maple & walnut neck thru, chambered maple body core with book matched walnut front & back. Wilkensen tuners, generic bridge, lipstick tube pickups. 50's style wiring.
View attachment 3541205
Just need to have her let me know which knobs to put on it. I made some walnut knobs with a maple indicator line, but the chrome nobs also look really good with the lipstick tubes.
View attachment 3541209

pic of hs please...
 
Nope, pickups mount from the front (you can see the screws on the treble side). Easy to do with a chambered body, dental floss loop around the pickuo for support then another piece of floss in one mount hole through the spring through both holes in the base plate through the other spring and out the second mount quick.Slide the pickup in the body, and pull both ends of the big piece of floss and everything inside lines up. Now hold the support loop really tight and pull the other piece out (the springs stay in place) and thread the screws in. Sounds like a lot but it goes really quick.


I suddenly feel inferior for using pickup rings! :roflmao::thumbsup:
 
  • Like
Reactions: postalflunkie