• TalkBass has been independent since 1998. Add your voice.
    Create a free account to reply to discussions, view embedded media, and browse with fewer display ads.
    Join freeLog in
    Want zero display ads or expanded classifieds tools? Compare plans.

What's On Your Workbench?

Nope, pickups mount from the front (you can see the screws on the treble side). Easy to do with a chambered body, dental floss loop around the pickuo for support then another piece of floss in one mount hole through the spring through both holes in the base plate through the other spring and out the second mount quick.Slide the pickup in the body, and pull both ends of the big piece of floss and everything inside lines up. Now hold the support loop really tight and pull the other piece out (the springs stay in place) and thread the screws in. Sounds like a lot but it goes really quick.
Do you also build model ships in bottles?
 
IMG_4937.JPG
Started rough carving my Streamer project. Long way to go...
 
  • Like
Reactions: Beej
That turned out beautifully! Seriously, it looks almost factory done, and better looking than original IMHO!!!

Here’s how the Ibanez turned out...

View attachment 3541439

Mods:

-Seymour Duncan preamp
-High mass bridge
-Yamaha (I’m convinced they’re actually Gotoh) tuners
-Custom pickguard
-Shielding
-New knobs
-Strap locks
-And a very, very thorough setup, lol.
 
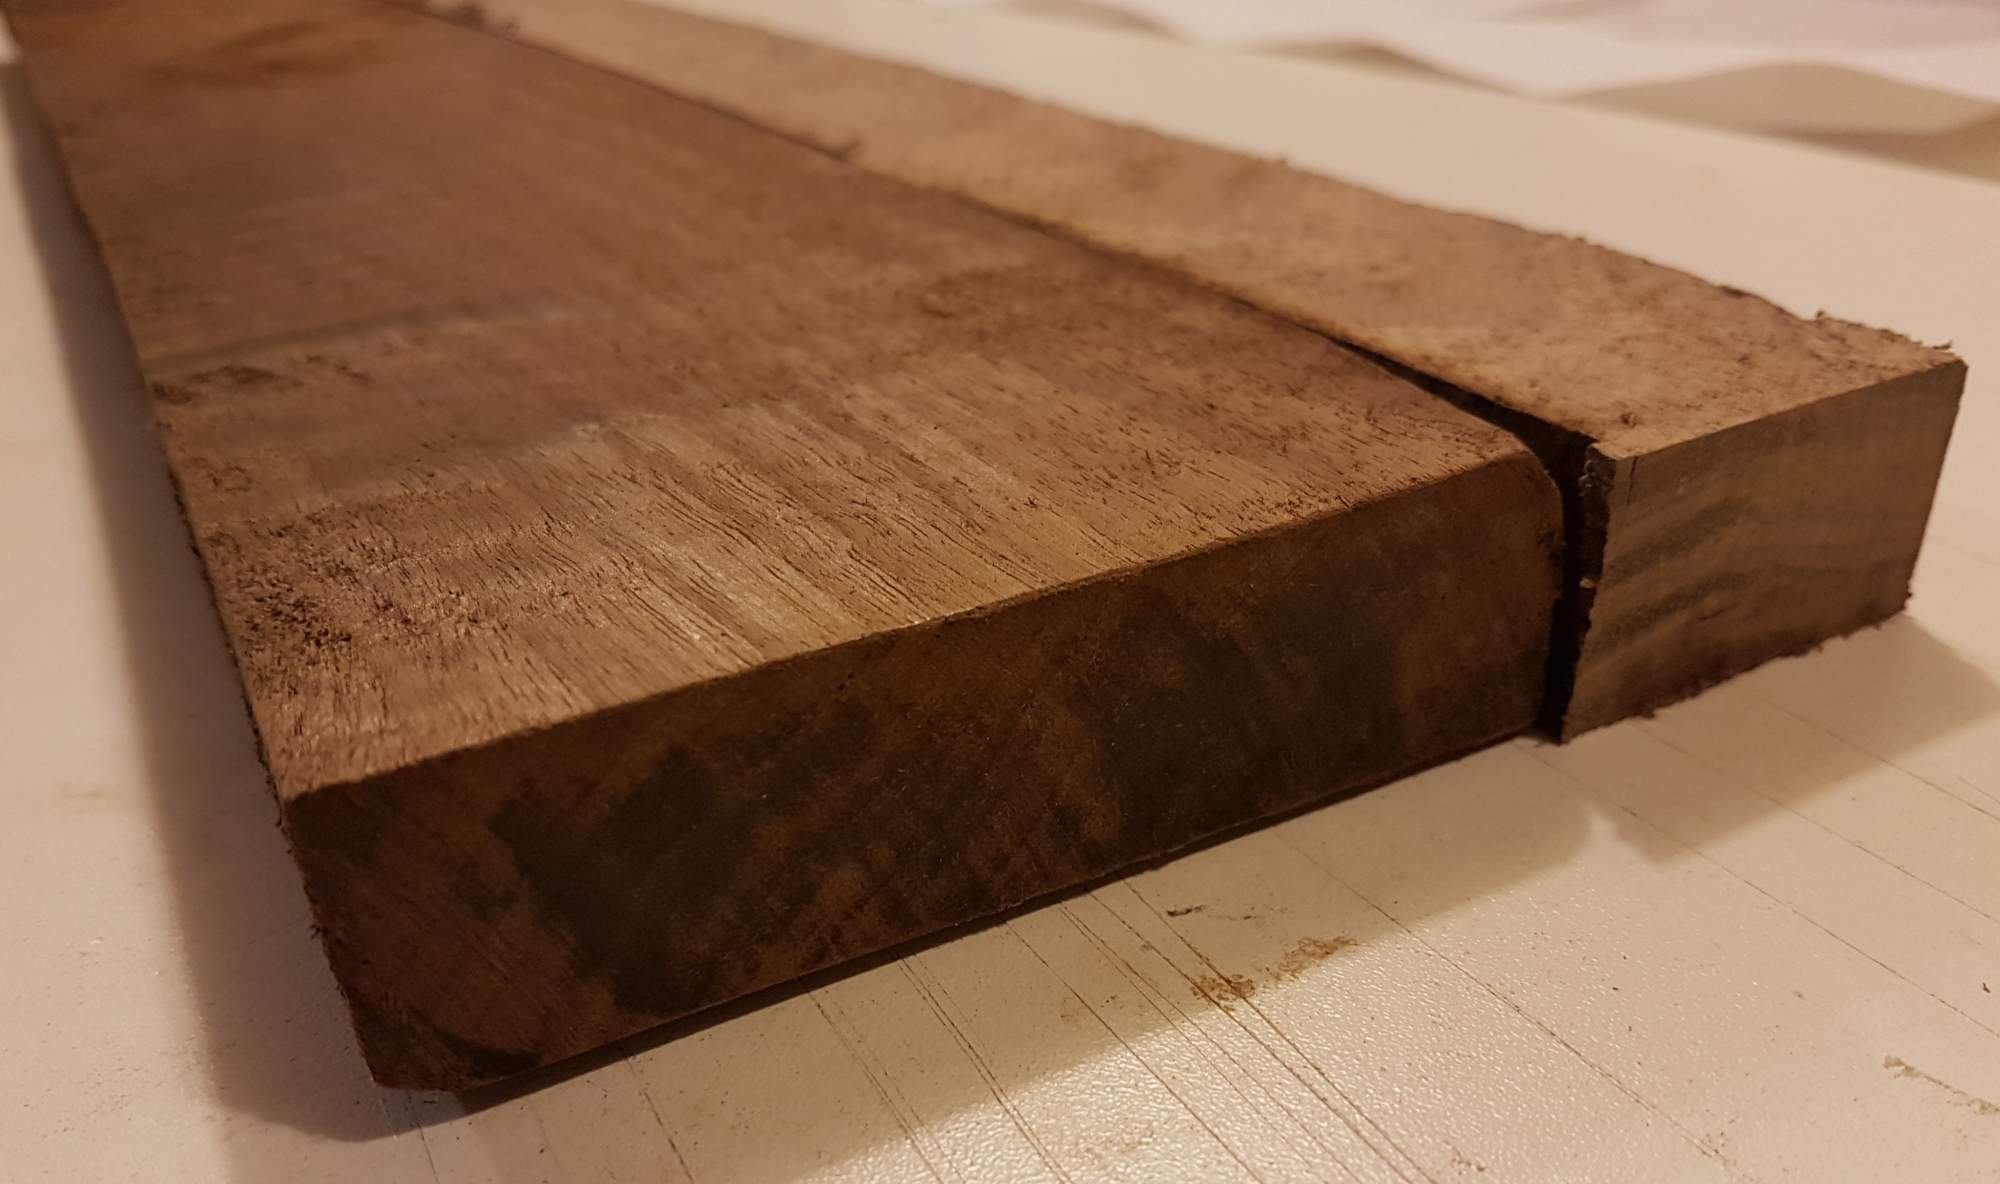
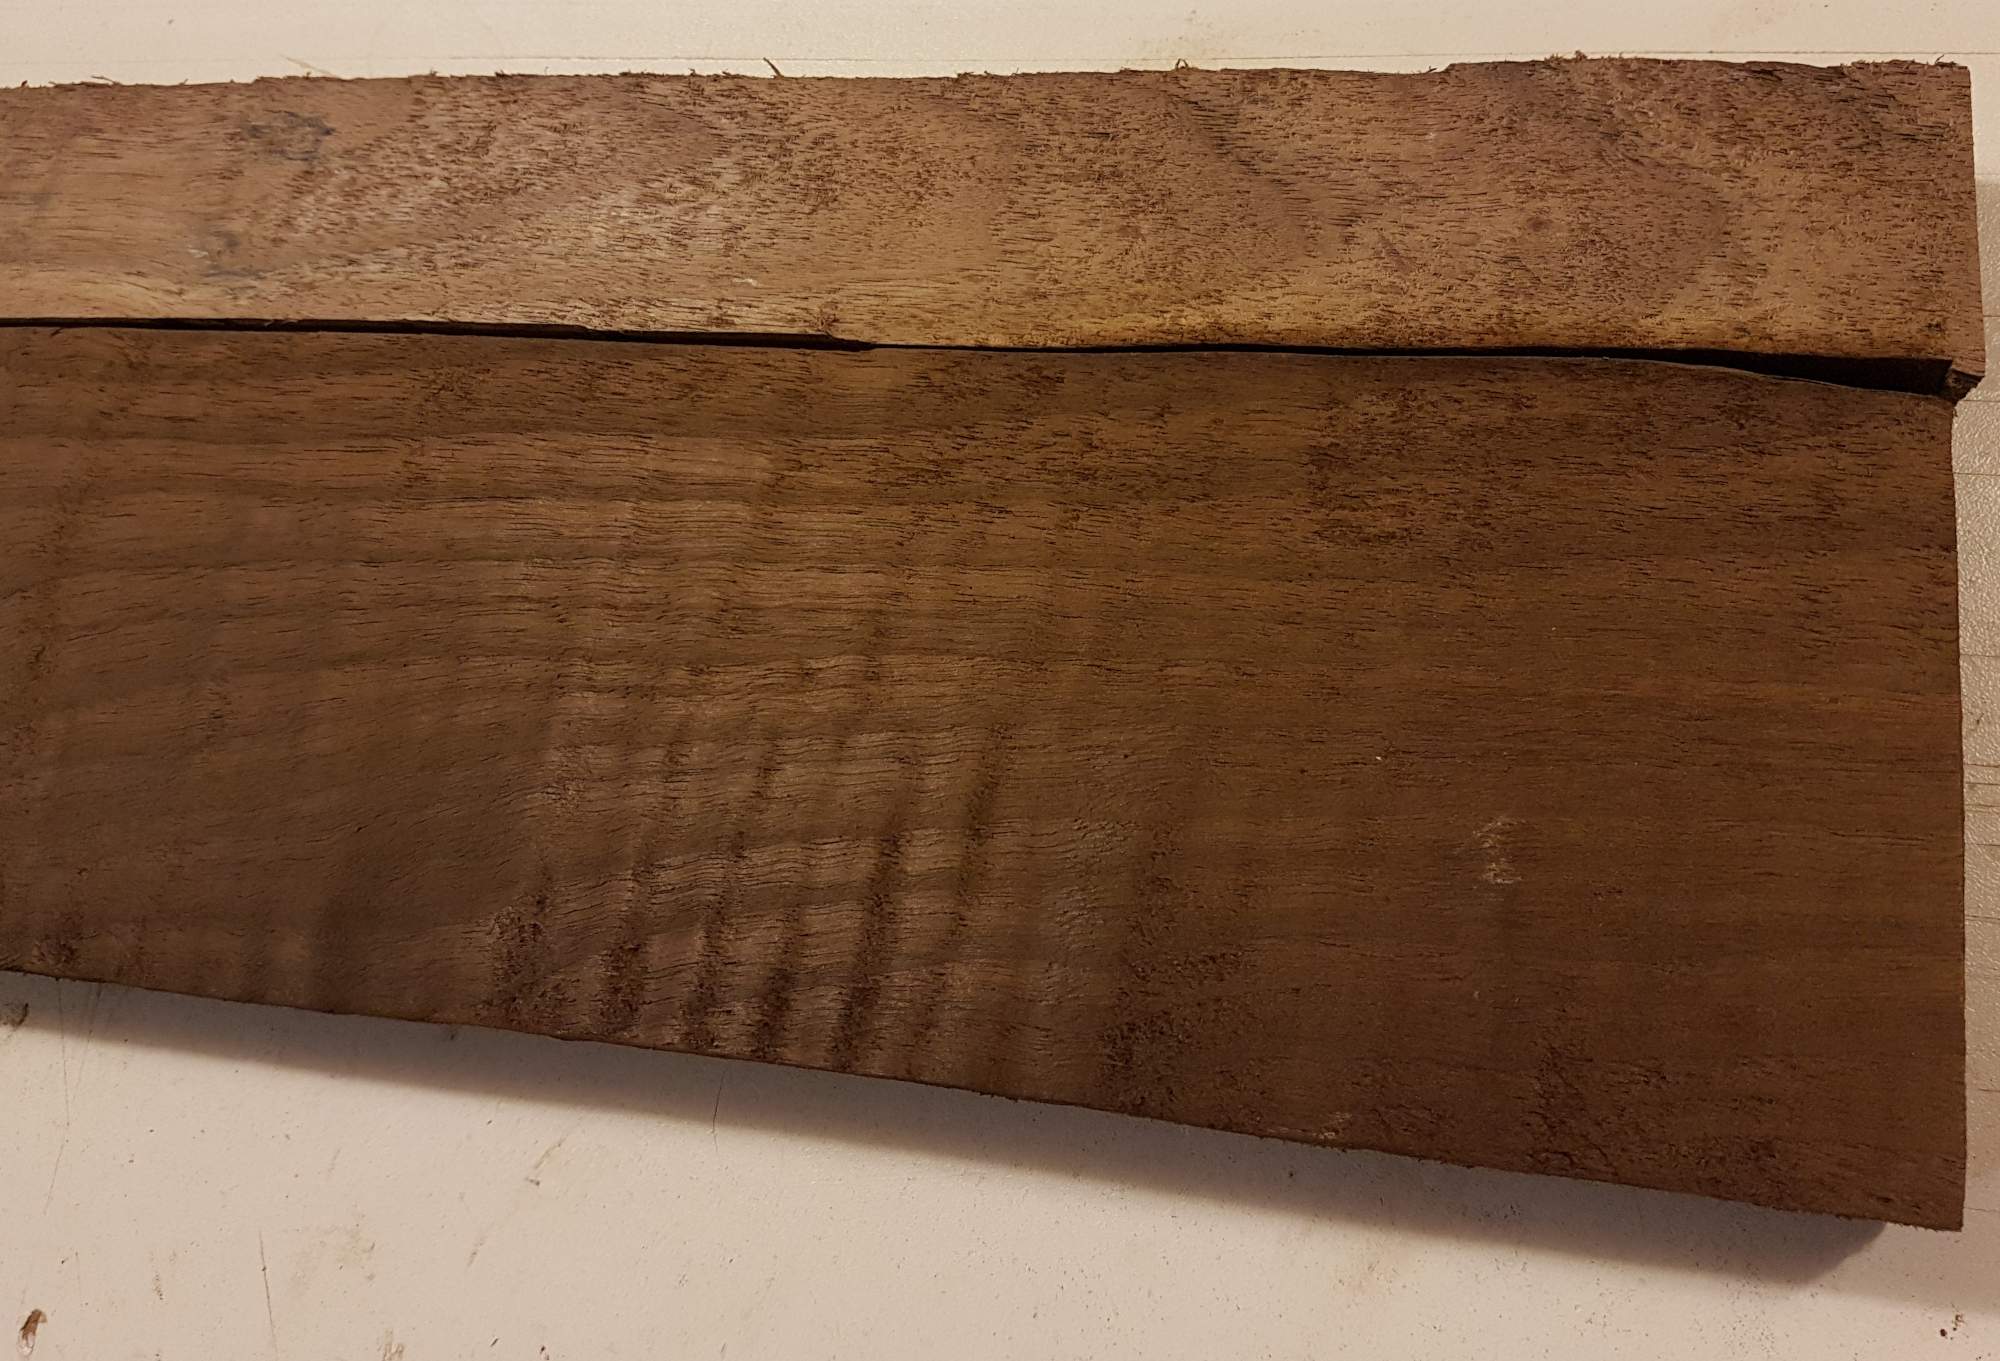
I moved onto a piece of figured walnut that I could harvest fingerboards from:

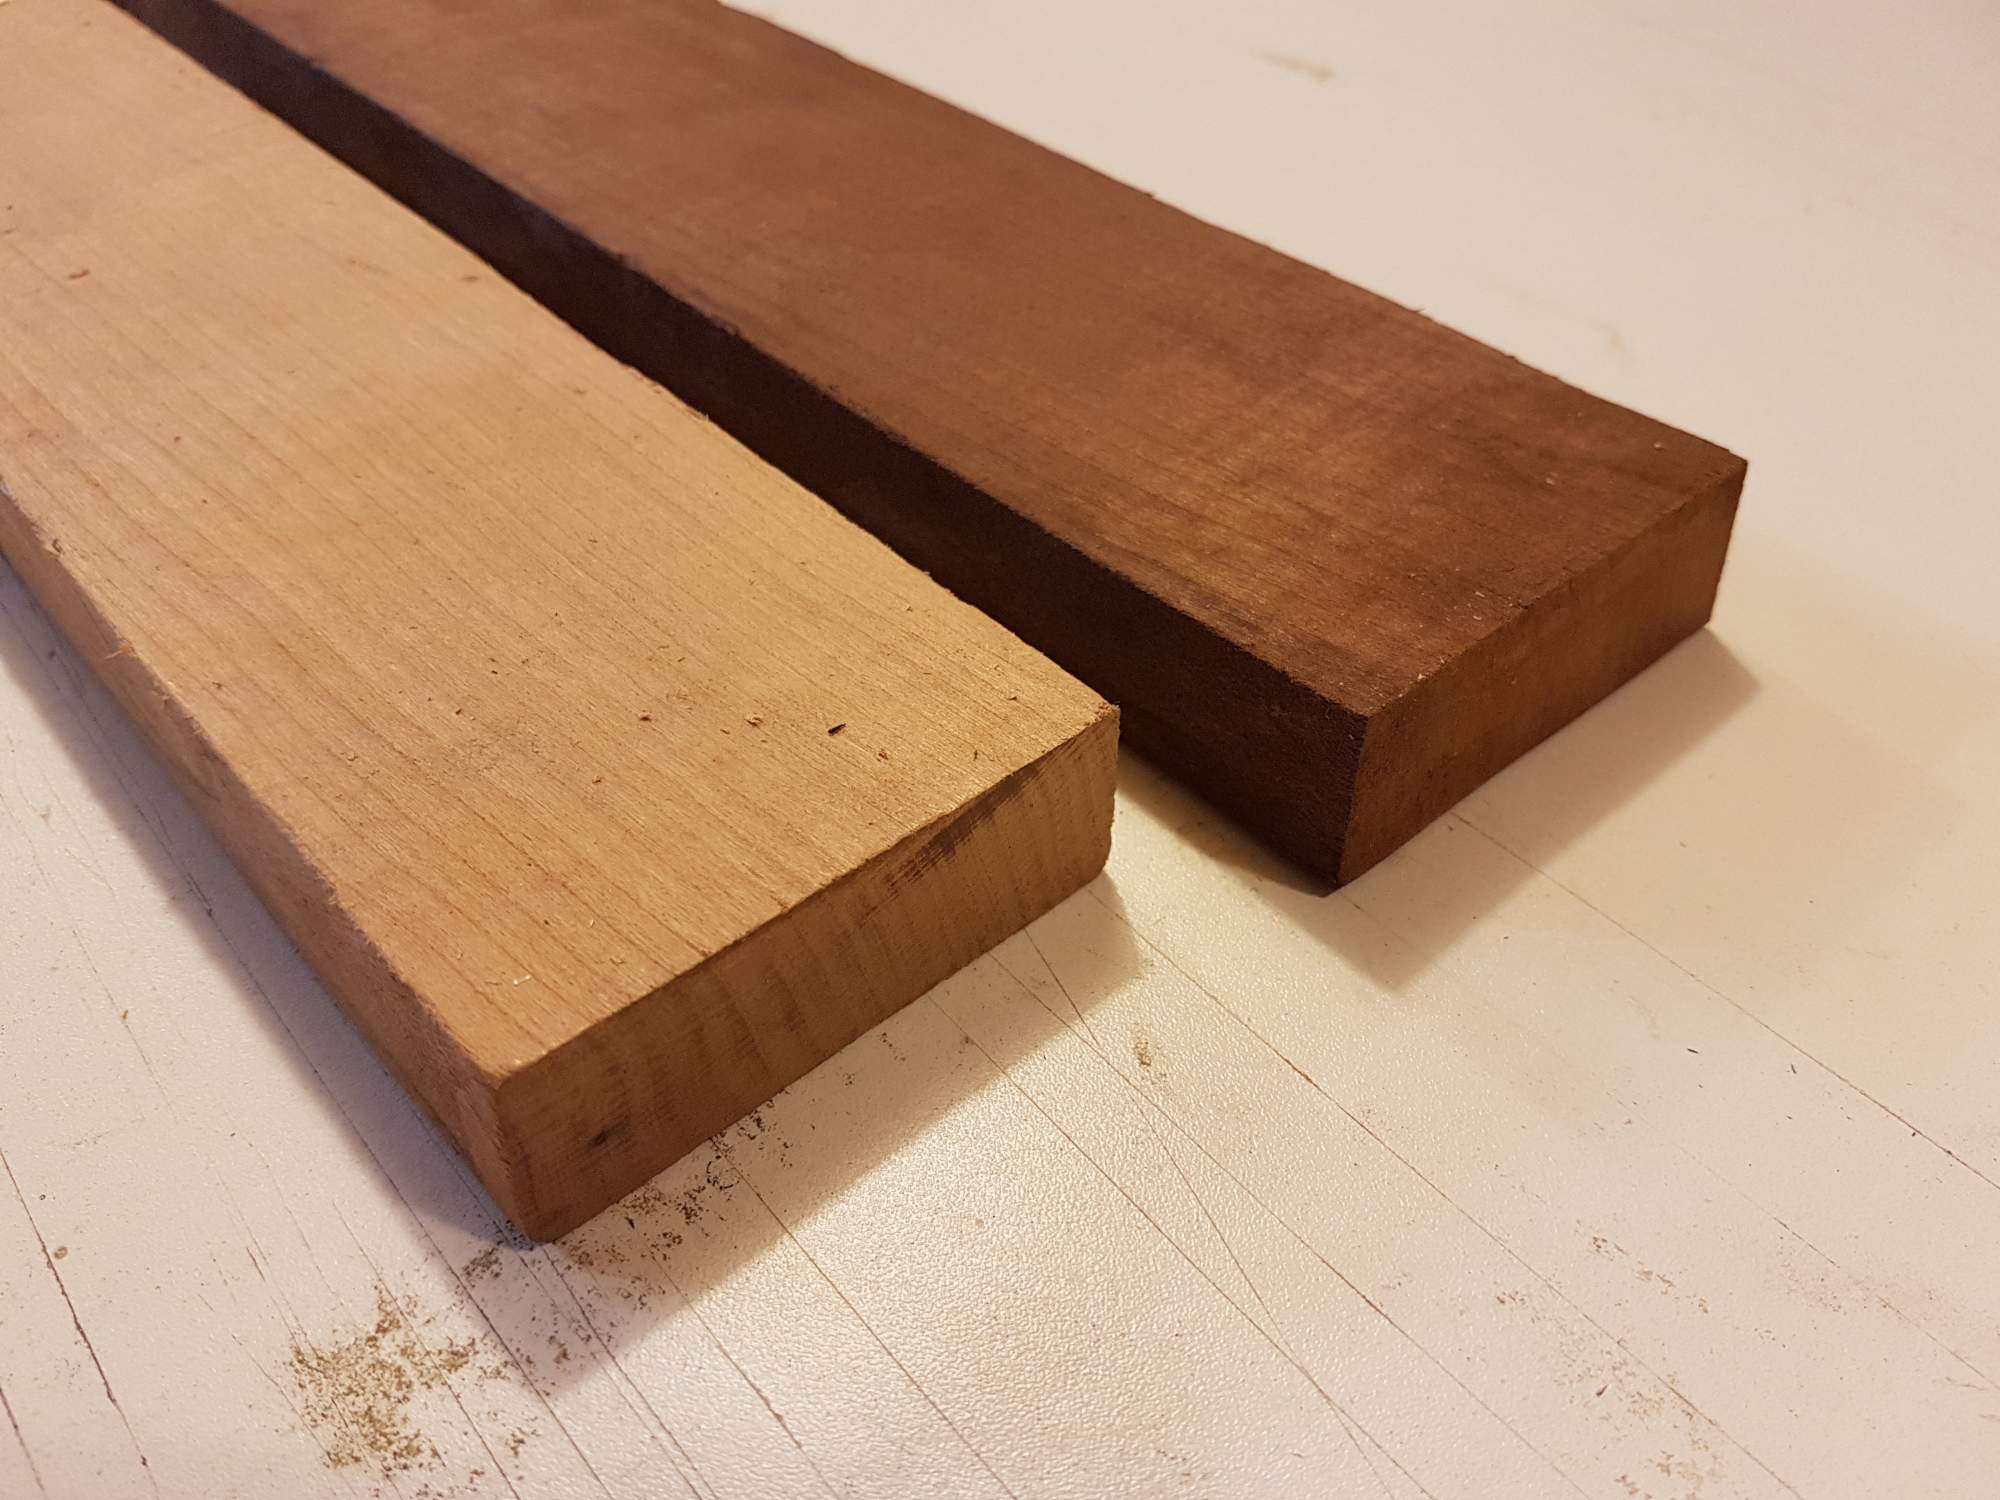
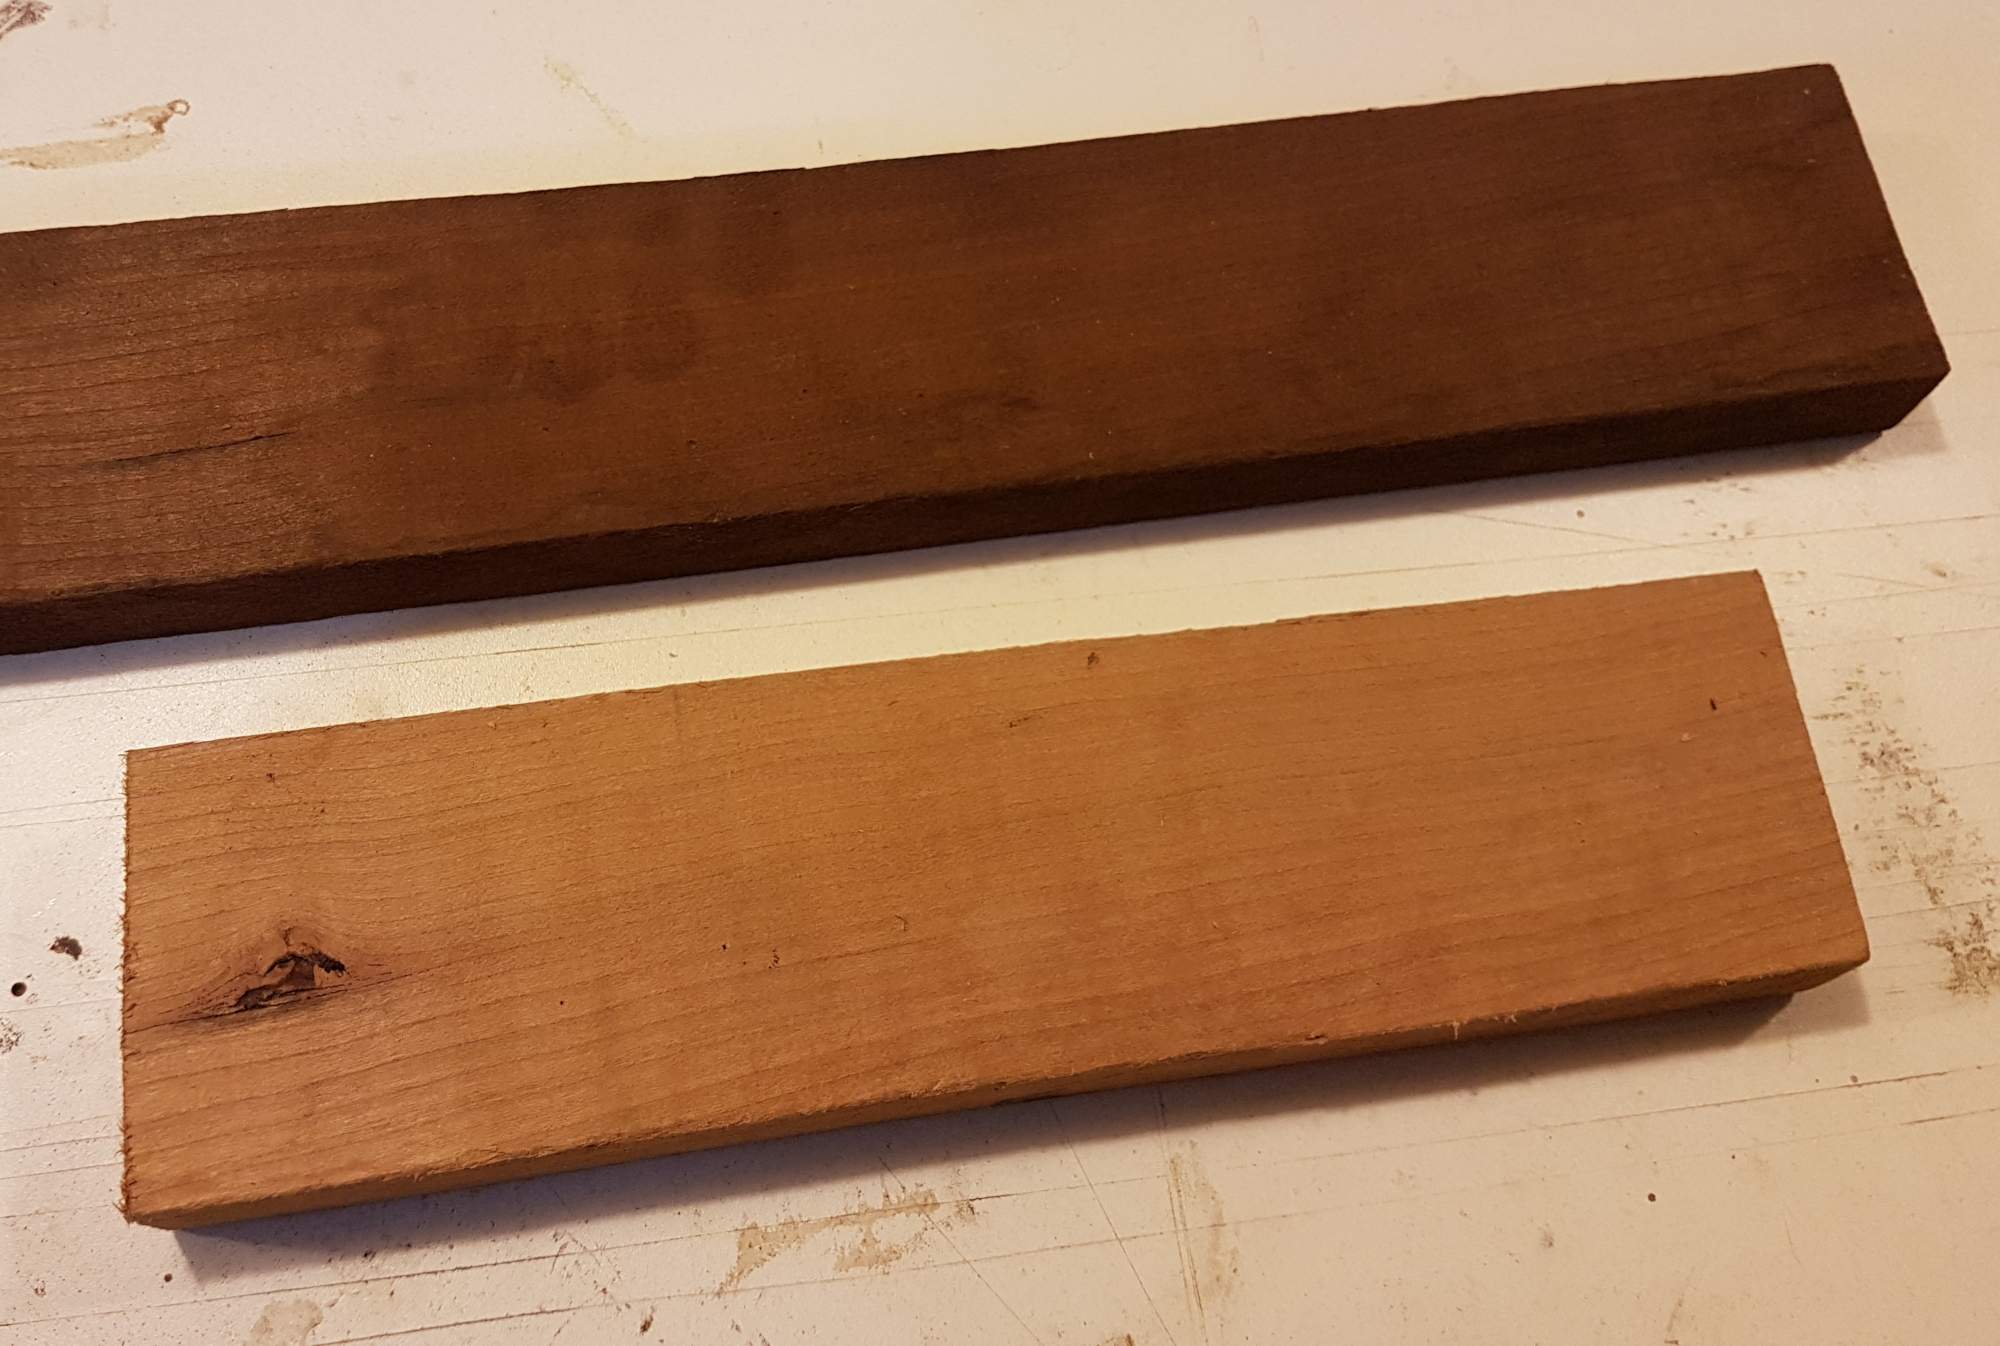
It basically became a uniform chocolate brown. In the photos above, the lighter piece was sliced off from right where you see it, so you can see how much the wood changed shape as well as the pores closing off, the surface feeling burnished and the uniform colour. Most of the natural colour variations in the grain also were muted quite a bit. It didn't darken as much as I had secretly hoped, but with some alcohol wiped on, it looks dark enough to work for my winter build-off needs. :smug:
 
  • Like
Reactions: 5tring and tubedude
I moved onto a piece of figured walnut that I could harvest fingerboards from:

It basically became a uniform chocolate brown. In the photos above, the lighter piece was sliced off from right where you see it, so you can see how much the wood changed shape as well as the pores closing off, the surface feeling burnished and the uniform colour. Most of the natural colour variations in the grain also were muted quite a bit. It didn't darken as much as I had secretly hoped, but with some alcohol wiped on, it looks dark enough to work for my winter build-off needs. :smug:
Love the colour. Is it like that all the way through, or does it only affect the surface.

In other words, could you do this to a body blank and then shape it, or does the shaping have to come first?
 
  • Like
Reactions: Beej
Did you have to build your own kiln, with a Nitrogen flushing system?
No, following the path of hundreds of other successful examples found online, I did this in my kitchen oven. :D My stove defaults to Fahrenheit. I started at 175 for 15 minutes and moved up in 40 degree increments every 15 minutes until 400, and then baked it for 3 hours, before turning off the stove and letting it cool down for an hour.

Love the colour. Is it like that all the way through, or does it only affect the surface.

In other words, could you do this to a body blank and then shape it, or does the shaping have to come first?
It's uniformly darkened all the way through, plus in all of the examples I've tried, the figuring in the grain becomes much more pronounced after roasting. I'm basically only doing this for a colour change, so for me, this has been success. :D
 
  • Like
Reactions: 5tring and JIO
No, following the path of hundreds of other successful examples found online, I did this in my kitchen oven. :D My stove defaults to Fahrenheit. I started at 175 for 15 minutes and moved up in 40 degree increments every 15 minutes until 400, and then baked it for 3 hours, before turning off the stove and letting it cool down for an hour.

It's uniformly darkened all the way through, plus in all of the examples I've tried, the figuring in the grain becomes much more pronounced after roasting. I'm basically only doing this for a colour change, so for me, this has been success. :D

Wow - wasn't aware you could roast your own (so to speak ;)) I bet it smelled great! I got a very roasted ash body blank and when I opened the box the aroma was strong! I saved the remnants and it still has traces of roasted ash smell. Did it alter the straightness of the surfaces at all? Something to try one day.
 
  • Like
Reactions: Beej
Wow - wasn't aware you could roast your own (so to speak ;)) I bet it smelled great! I got a very roasted ash body blank and when I opened the box the aroma was strong! I saved the remnants and it still has traces of roasted ash smell. Did it alter the straightness of the surfaces at all? Something to try one day.
It was an "interesting" smell. I didn't mind it, but the kids did. :D It creates some smokiness, but very little overall. Definitely need the windows open.

I think this home-brew process isn't much comparison to commercial roasting, which basically cooks it carefully in a vacuum, but that's also supposed to impart all sorts of other special properties depending on whose Kool-Aid one is drinking. :) I was just trying to turn walnut a darker brown so that it has the darker colour of rosewood or wenge. It's not that dark, but it's much better than the original colour.

Straightness was definitely changed. Everywhere it already had a curve or twist became more pronounced (on all my test boards). The board was 26" long to start, and it's now 25 7/8" long. It lost similar dimensions on all sides. The surface is much smoother and sands differently (less dusty somehow). It's also much lighter, but that could be moisture too, as it read 7% originally and now reads 1%. For comparison, a piece of plastic also reads 1%. :D I expect it will go back up as it equalizes over time. My oldest piece (done last week) now reads 4% when it also started at 7%, and went down to 1% after baking.
 
Straightness was definitely changed. Everywhere it already had a curve or twist became more pronounced (on all my test boards). The board was 26" long to start, and it's now 25 7/8" long. It lost similar dimensions on all sides. The surface is much smoother and sands differently (less dusty somehow). It's also much lighter, but that could be moisture too, as it read 7% originally and now reads 1%. For comparison, a piece of plastic also reads 1%. :D I expect it will go back up as it equalizes over time. My oldest piece (done last week) now reads 4% when it also started at 7%, and went down to 1% after baking.

So as it gradually reabsorbs moisture, might the straightness also change?
 
  • Like
Reactions: Beej
So as it gradually reabsorbs moisture, might the straightness also change?
I'm not sure... the first one I did (plain sugar maple) was already a little cupped and became more cupped in some areas, but it appears to still be the same as it was right after roasting. A lot of the examples I looked at and stories I read mentioned how the roasting process exaggerated any cupping, cracks, warps and twists in the wood. One guy roasted green pieces of maple, and they also worked out, but they cracked quite a bit on the ends and he was left with limited pieces to work with. I intentionally used only well-seasoned woods from my stash. That walnut is a few years old, and the red alder is at least 20. The maple and sapele I used is at least 2 years old as well. My hope was that if they start out somewhat dimensionally stable, they would largely remain that way in the roasting process, and that's roughly what bore out as well. I hope to get two fingerboards out of that piece of walnut, but it might only be enough for one after it's planed perfectly flat again. :)