

Enjoy the benefits of a premium membership!
Upgrade Account
-
TalkBass has been independent since 1998. Add your voice.
Create a free account to reply to discussions, view embedded media, and browse with fewer display ads.
Join free Log in
Want zero display ads or expanded classifieds tools? Compare plans.
You are using an out of date browser. It may not display this or other websites correctly.
You should upgrade or use an alternative browser.
You should upgrade or use an alternative browser.
Winter Build Off 2022 - Back to '56
- Thread starter 41hzthunder
- Start date
More options
Who Replied?

Finishing is definitely the single most time consuming and frustrating part of building an instrument. This one is no exception. I wet sanded for about 1 1/2 hours today. It looked good and I thought I was making real progress. I started buffing. A high gloss finish will show every flaw. It looks good at five feet, but I'm not totally satisfied. I think I'll clean it with de-waxer and put a couple more thin coats on. I could probably just sand, but don't want to sand through the finish. These coats will probably be all that's needed. Then wet sand and buff again.
Also started drilling for mounting the machine heads. I was getting tired and decided to just stop before making a mistake. I'm learning!
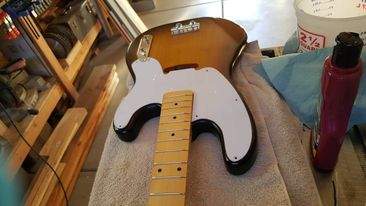
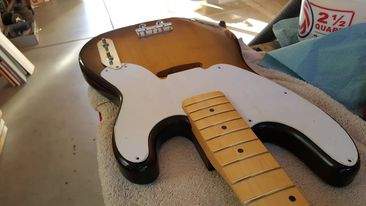
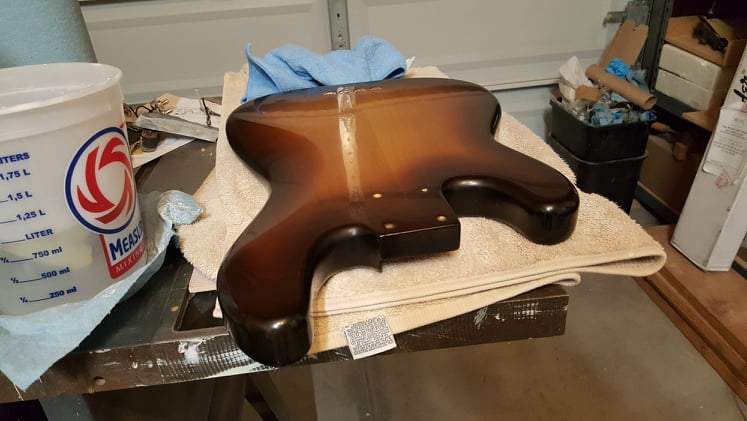
Also started drilling for mounting the machine heads. I was getting tired and decided to just stop before making a mistake. I'm learning!
Last edited:


As someone else said this is genius! How did you work out which angle to use for the inner rails?Got a couple things done. First, wired up the split coil pickup and its about 9.5K resistance. I'll pot it in the morning and glue the veneer on.
Second, I worked on the belly cut on the body. I looked at this and realized that its not a true arc, but close and that a jig running in an arc would do 90% of the work. It took about ten minutes to make the jig and about 10 minutes to route the belly cut. It will need some clean up on the ends, as I said it not actually an arc. That can be done with a rasp. It was a part I was sort of dreading, but now its really anticlimactic.
View attachment 4571472 View attachment 4571473 View attachment 4571474 View attachment 4571475 View attachment 4571467
As someone else said this is genius! How did you work out which angle to use for the inner rails?
I figured out how deep and how far down the back of the bass the cutout needs to be. I also measured my '89 Jazz Bass Special to verify things. It was while looking at that bass that I realized its very close to an arc shape, just rounded at the ends. Based on a 1 1/2" thickness you need to cut 3/4" to 7/8" deep to get the rounded over body to have that "look". Its about 2 1/2" down from the top at the deepest point, the waste of the body. The "arm cut" on the front ties into the back's curve so when you look down on the body it has an "S" curve. If done right, there's a real elegance to it. Calculating the correct radius for the jig was a matter of putting a screw in and seeing what works. Although, I think the final radius may have been calculated in a CAD program. I don't really remember.
I'm attaching a picture of the "S" on the top of the body, just to be clear about what I'm talking about.
The buffed finish showed a few spots that were low, just a dozen or so "dimples" in the finish. Putting a shine on it definitely allowed every flaw to be seen. So, I hit it with dewaxer, scuffed it with 1500 paper, and put a couple thin coats on. That leveled it out completely! A quick touch with 2000 and light buffing are next. I was surprised that the finish seemed to take on more depth after the extra two coats. I'll sand and buff on Thursday, after the finish is cured.
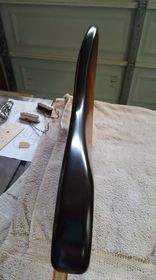
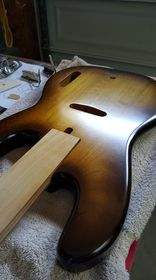
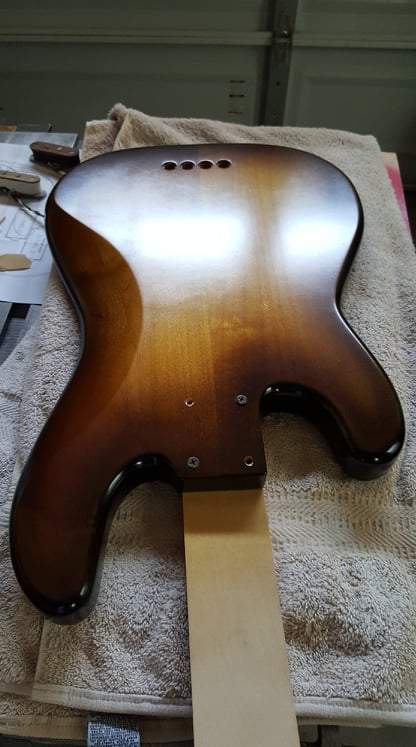
The buffed finish showed a few spots that were low, just a dozen or so "dimples" in the finish. Putting a shine on it definitely allowed every flaw to be seen. So, I hit it with dewaxer, scuffed it with 1500 paper, and put a couple thin coats on. That leveled it out completely! A quick touch with 2000 and light buffing are next. I was surprised that the finish seemed to take on more depth after the extra two coats. I'll sand and buff on Thursday, after the finish is cured.
Last edited:
@41hzthunder thank you for the explanation and the photo. I have to do the same belly cut on a project I'm doing and have been watching videos by other builders and it seems there are so many ways to do these contours right and many ways to get them wrong too. I'm horrible at doing stuff free hand so your method really apeals to me. I think I would have to spend quite some time getting it right, you're much more skilled than I am.
@41hzthunder thank you for the explanation and the photo. I have to do the same belly cut on a project I'm doing and have been watching videos by other builders and it seems there are so many ways to do these contours right and many ways to get them wrong too. I'm horrible at doing stuff free hand so your method really apeals to me. I think I would have to spend quite some time getting it right, you're much more skilled than I am.
Thanks for the vote of confidence. The jig was pretty easy to build and I took 1/8" depth passes. It gives you a few layers to get a feel for it before getting near the final surface. I used a 1/2" rabbit bit, which seemed to work well. Post something and let us know how it goes!
Tonight I did some cleaning in the shop and then set out the parts for assembly once I'm done with the finish. During this process the two screws for the control plate seemed to be missing. Yeah, that was not a good feeling. I actually dug through the trash bin looking. I gotta' take the trash out more often! It was like going through my last two months history! No screws. Looked on the bench one last time . . . yup, under another item. This is the kind of thing that makes me age.
After that I drilled the screw holes for the machine heads. This was done on the drillpress with depth limit. It still made me nervous. Glad that's done!

After that I drilled the screw holes for the machine heads. This was done on the drillpress with depth limit. It still made me nervous. Glad that's done!

I'm prone to this kind of problem. Therefore I have kept all parts belonging to my build in a candy box with a well fitting lid. Whatever it is, stays there until I need it.
So if anyone ever says "Sweet bass!" I'll know it's the scent.

So if anyone ever says "Sweet bass!" I'll know it's the scent.

Tonight I did some cleaning in the shop and then set out the parts for assembly once I'm done with the finish. During this process the two screws for the control plate seemed to be missing. Yeah, that was not a good feeling. I actually dug through the trash bin looking. I gotta' take the trash out more often! It was like going through my last two months history! No screws. Looked on the bench one last time . . . yup, under another item. This is the kind of thing that makes me age.
After that I drilled the screw holes for the machine heads. This was done on the drillpress with depth limit. It still made me nervous. Glad that's done!
View attachment 4606723
If I could get back all the time I spent in the shop saying “Where the…. I just had that in my hand!” I could be 25 again.
Ok, maybe 40. Still….

I washed my truck keys the other day when I had someplace to be. Great start to the week!
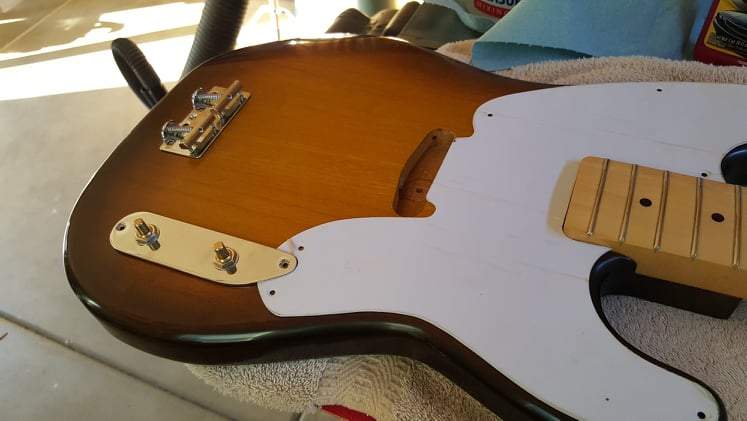
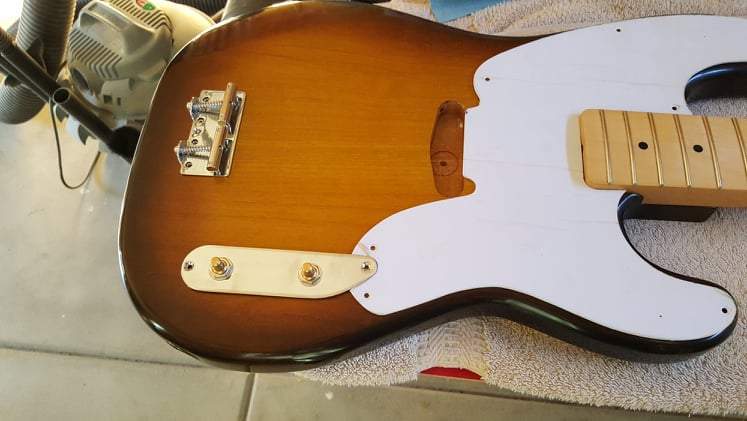
Got back from my trip and getting back to work. I've polished the finish as much as I can. I think it needs to cure for a month or so before trying to get rid of the last of the swirl marks. I installed the string ferrules and started looking at attaching the neck. Also, am getting ready to install the split coil pickup, controls and tailpiece.
I spent a half hour looking at the traditional Telecaster jack socket and decided this was not Leo's best design. I ordered the one that has two screws. It should be here between the 16th and 18th. So, I'll be finishing next week.
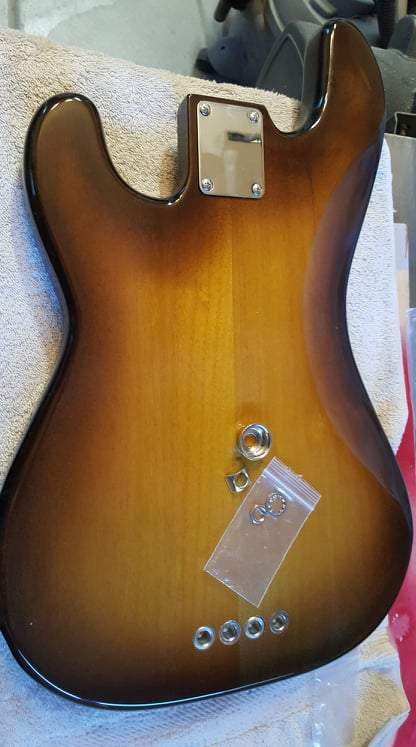
I spent a half hour looking at the traditional Telecaster jack socket and decided this was not Leo's best design. I ordered the one that has two screws. It should be here between the 16th and 18th. So, I'll be finishing next week.
Yeah, Electrosockets are the way to go. The original jack cup is a little… hmmm… well, choose your own adjective.
Let's see what the filter says: poopy
Yup, sums it up.
Yup, sums it up.
Moving along, stuck waiting for the jack socket and . . . nut files! I don't know why I hadn't purchased these before. Always had someone around with a set previously.
I got the neck on, strap buttons, finished the electronics, put the pickguard on and put the strings on. I'm really happy with the alignment of the strings on the neck and across the pickup. The neck pocket is a really good fit. The neck dropped right in if placed right, but not if 1/2" from its proper location. The taper in the pocket matches the neck exactly! I haven't brought it up to proper tuning, but the string height looks good with lots of up or down adjustment on the bridge. Still need to put the string tee on. Nearing the endzone.
I just have to wait for the jack socket, which is expected Wednesday.
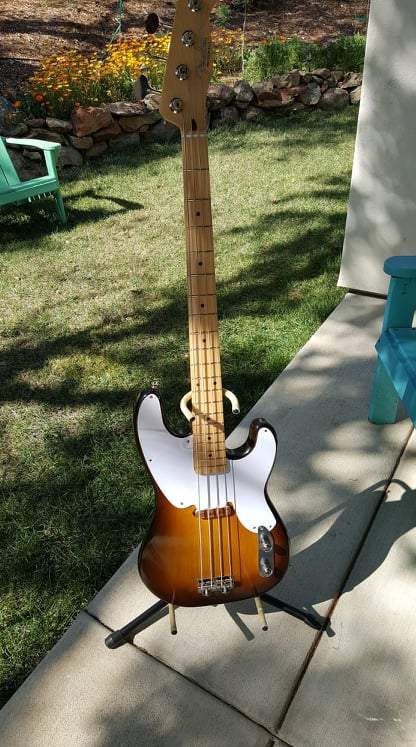
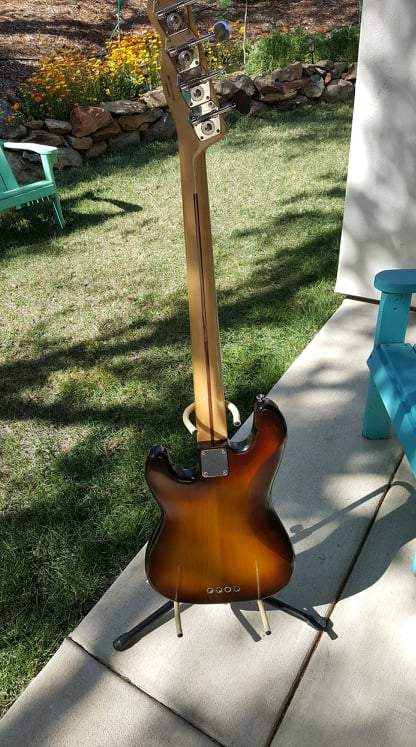
I got the neck on, strap buttons, finished the electronics, put the pickguard on and put the strings on. I'm really happy with the alignment of the strings on the neck and across the pickup. The neck pocket is a really good fit. The neck dropped right in if placed right, but not if 1/2" from its proper location. The taper in the pocket matches the neck exactly! I haven't brought it up to proper tuning, but the string height looks good with lots of up or down adjustment on the bridge. Still need to put the string tee on. Nearing the endzone.
I just have to wait for the jack socket, which is expected Wednesday.

Yes.Does it look naked without the thumbrest???? I don't know . . .

Good work there! That bass totally looks the part.

Well done.The taper in the pocket matches the neck exactly!

don't do it. stay minimalYes.


