

Nut Up -
So, for whatever reason my mind keeps telling me that I want to get the nut slot started before I radius this board, mostly because I know where the mark for it is. If I radius it, the mark will get removed. So let's get to work on that! My weapons of choice are my trusty marking knife, and a couple chisels. I don't own any fancy, super cool, Damascus Japanese chisels or anything like that. I have a cheap set of HF chisels, but they work fine, probably better than my abilities anyways. My method is to use the marking knife to sever the wood fibers on my mark, which was laid out using my FretFind drawing, marking both sides of the nut so I have the width of it too. Once the fibers were severed, use the chisel to come in to my line. Repeat this process as we move deeper and deeper -
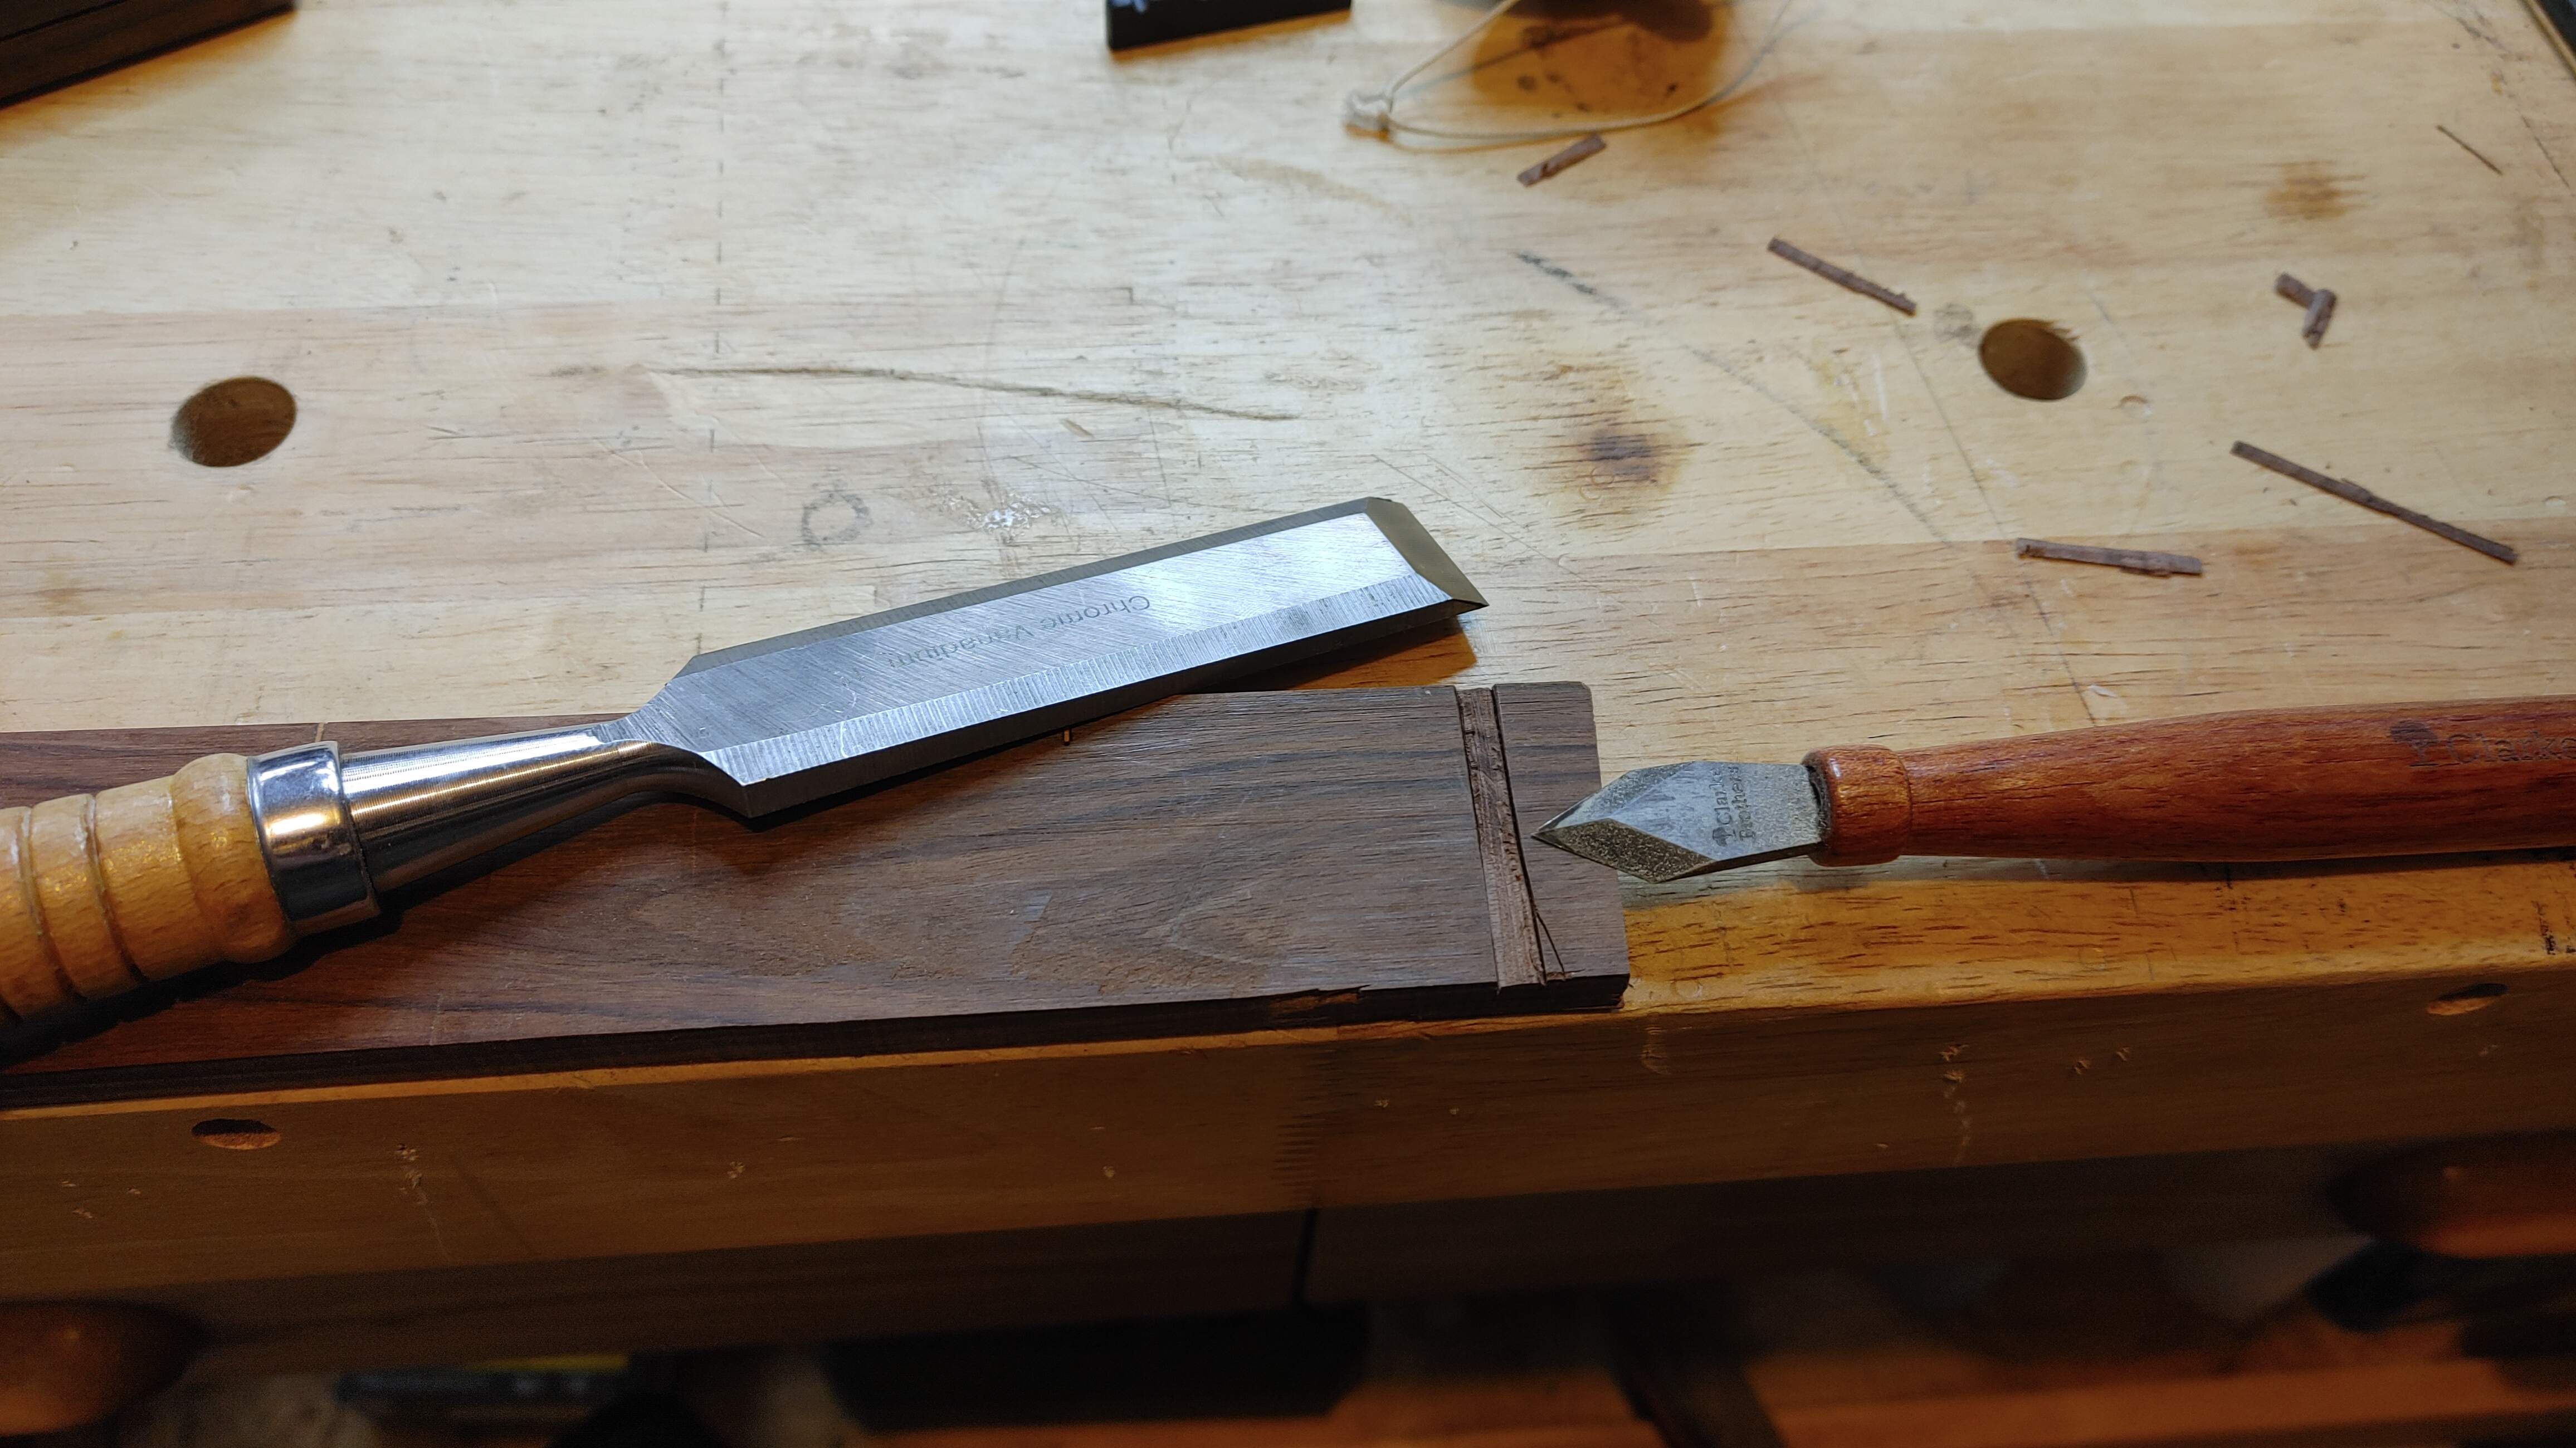
Yes, I'm aware that my marking knife got away from me there. I'm hopeful that will get removed when I radius this. Also, something else I don't own is a chisel that matches the narrow width of this nut. So we're really stretching my abilities with these tools when I can't come in from the side. On my last build I basically just left a shelf for the nut, but for this one I wanted to carve a slot because I like the way it looks with wood behind the nut, then radiused/angled down into the headstock. So while I could have just done a shelf again, I didn't want to. Anyways, after a while we're making progress -
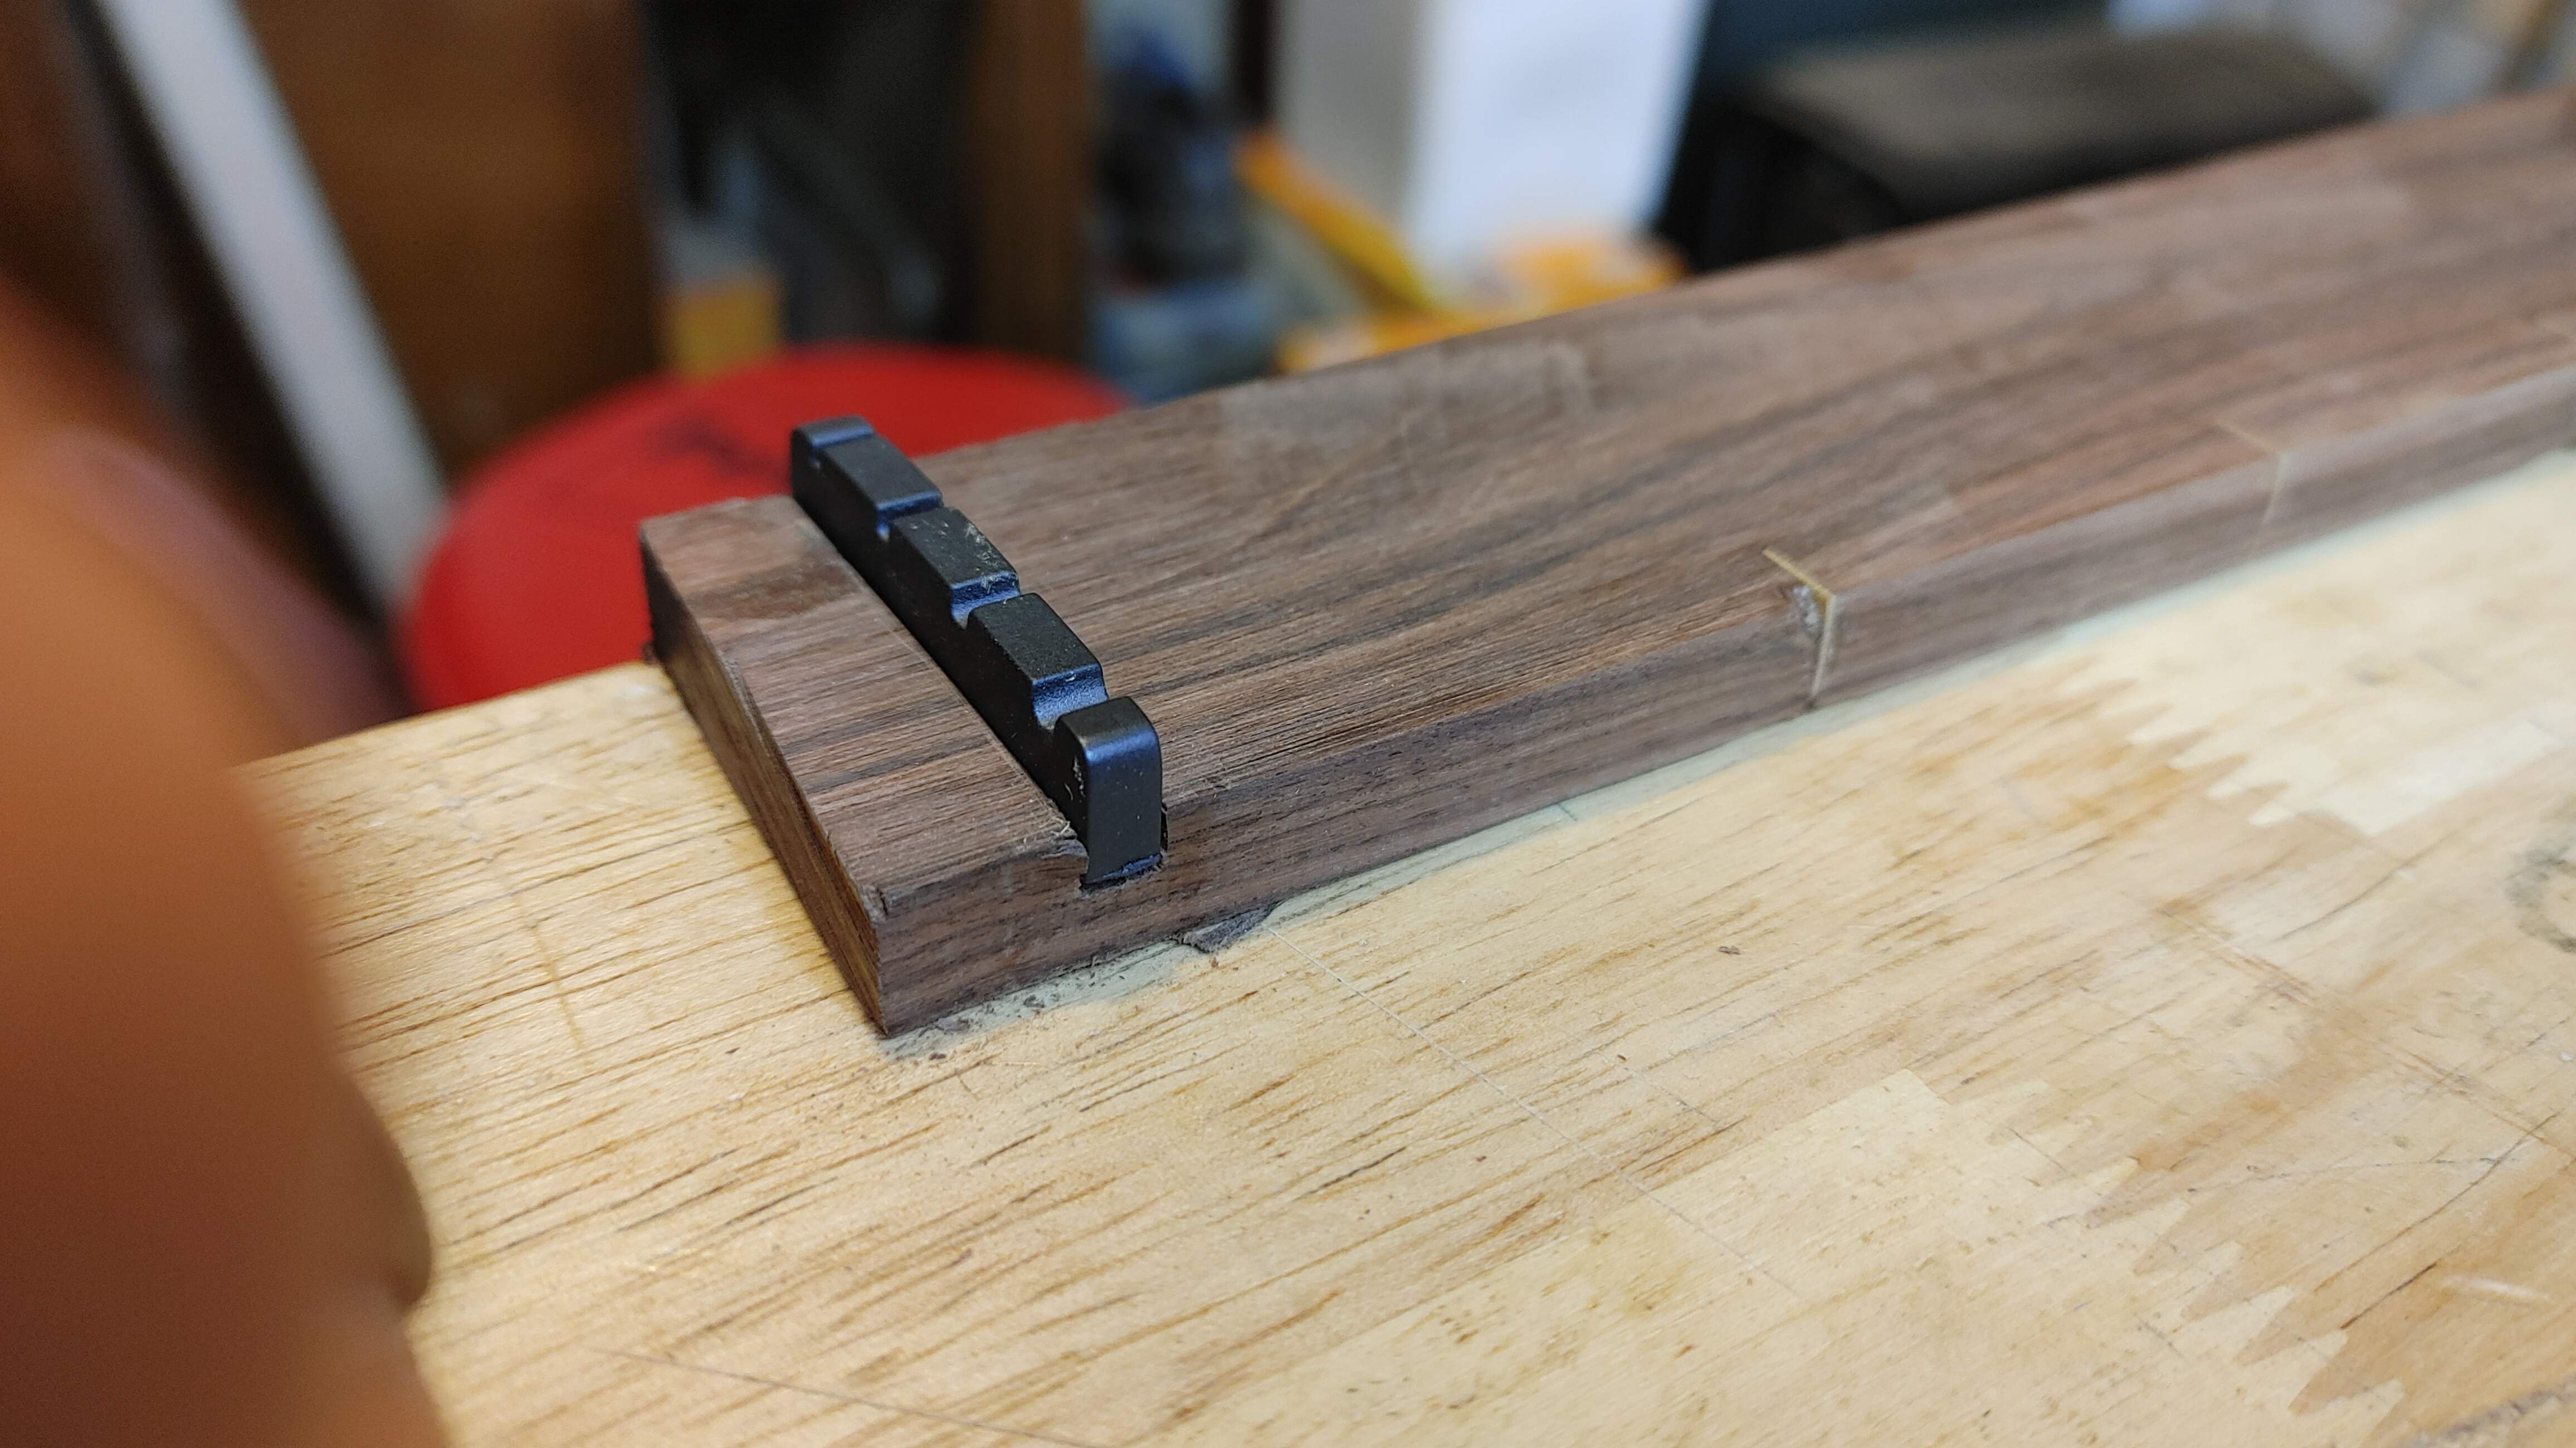
Yup, a little blow out there that we'll have to deal with. But, it may get radiused away, who knows. I just want to make sure I have a slot started so I still have a shoulder to continue this after it gets radiused. I think this will work for now. And yes, I'm aware that often times you also need to take some height off the nut itself. Again, I just wanted to get a slot started while I had the marks visible, because the marks were made when the fretboard was still square, so the marks were true to the centerline. Trying to mark it later sounded more difficult. Anyways.....
Repair Time! (Or....CYA 201) -
So, you may recall that little bit of blowout I had when putting the round-over on the back. I guess we better deal with that. Using those same chisels, while I have them out, I squared off the blowout, found a piece of my offcuts that had matching grain patterns and then glued that in using CA glue -
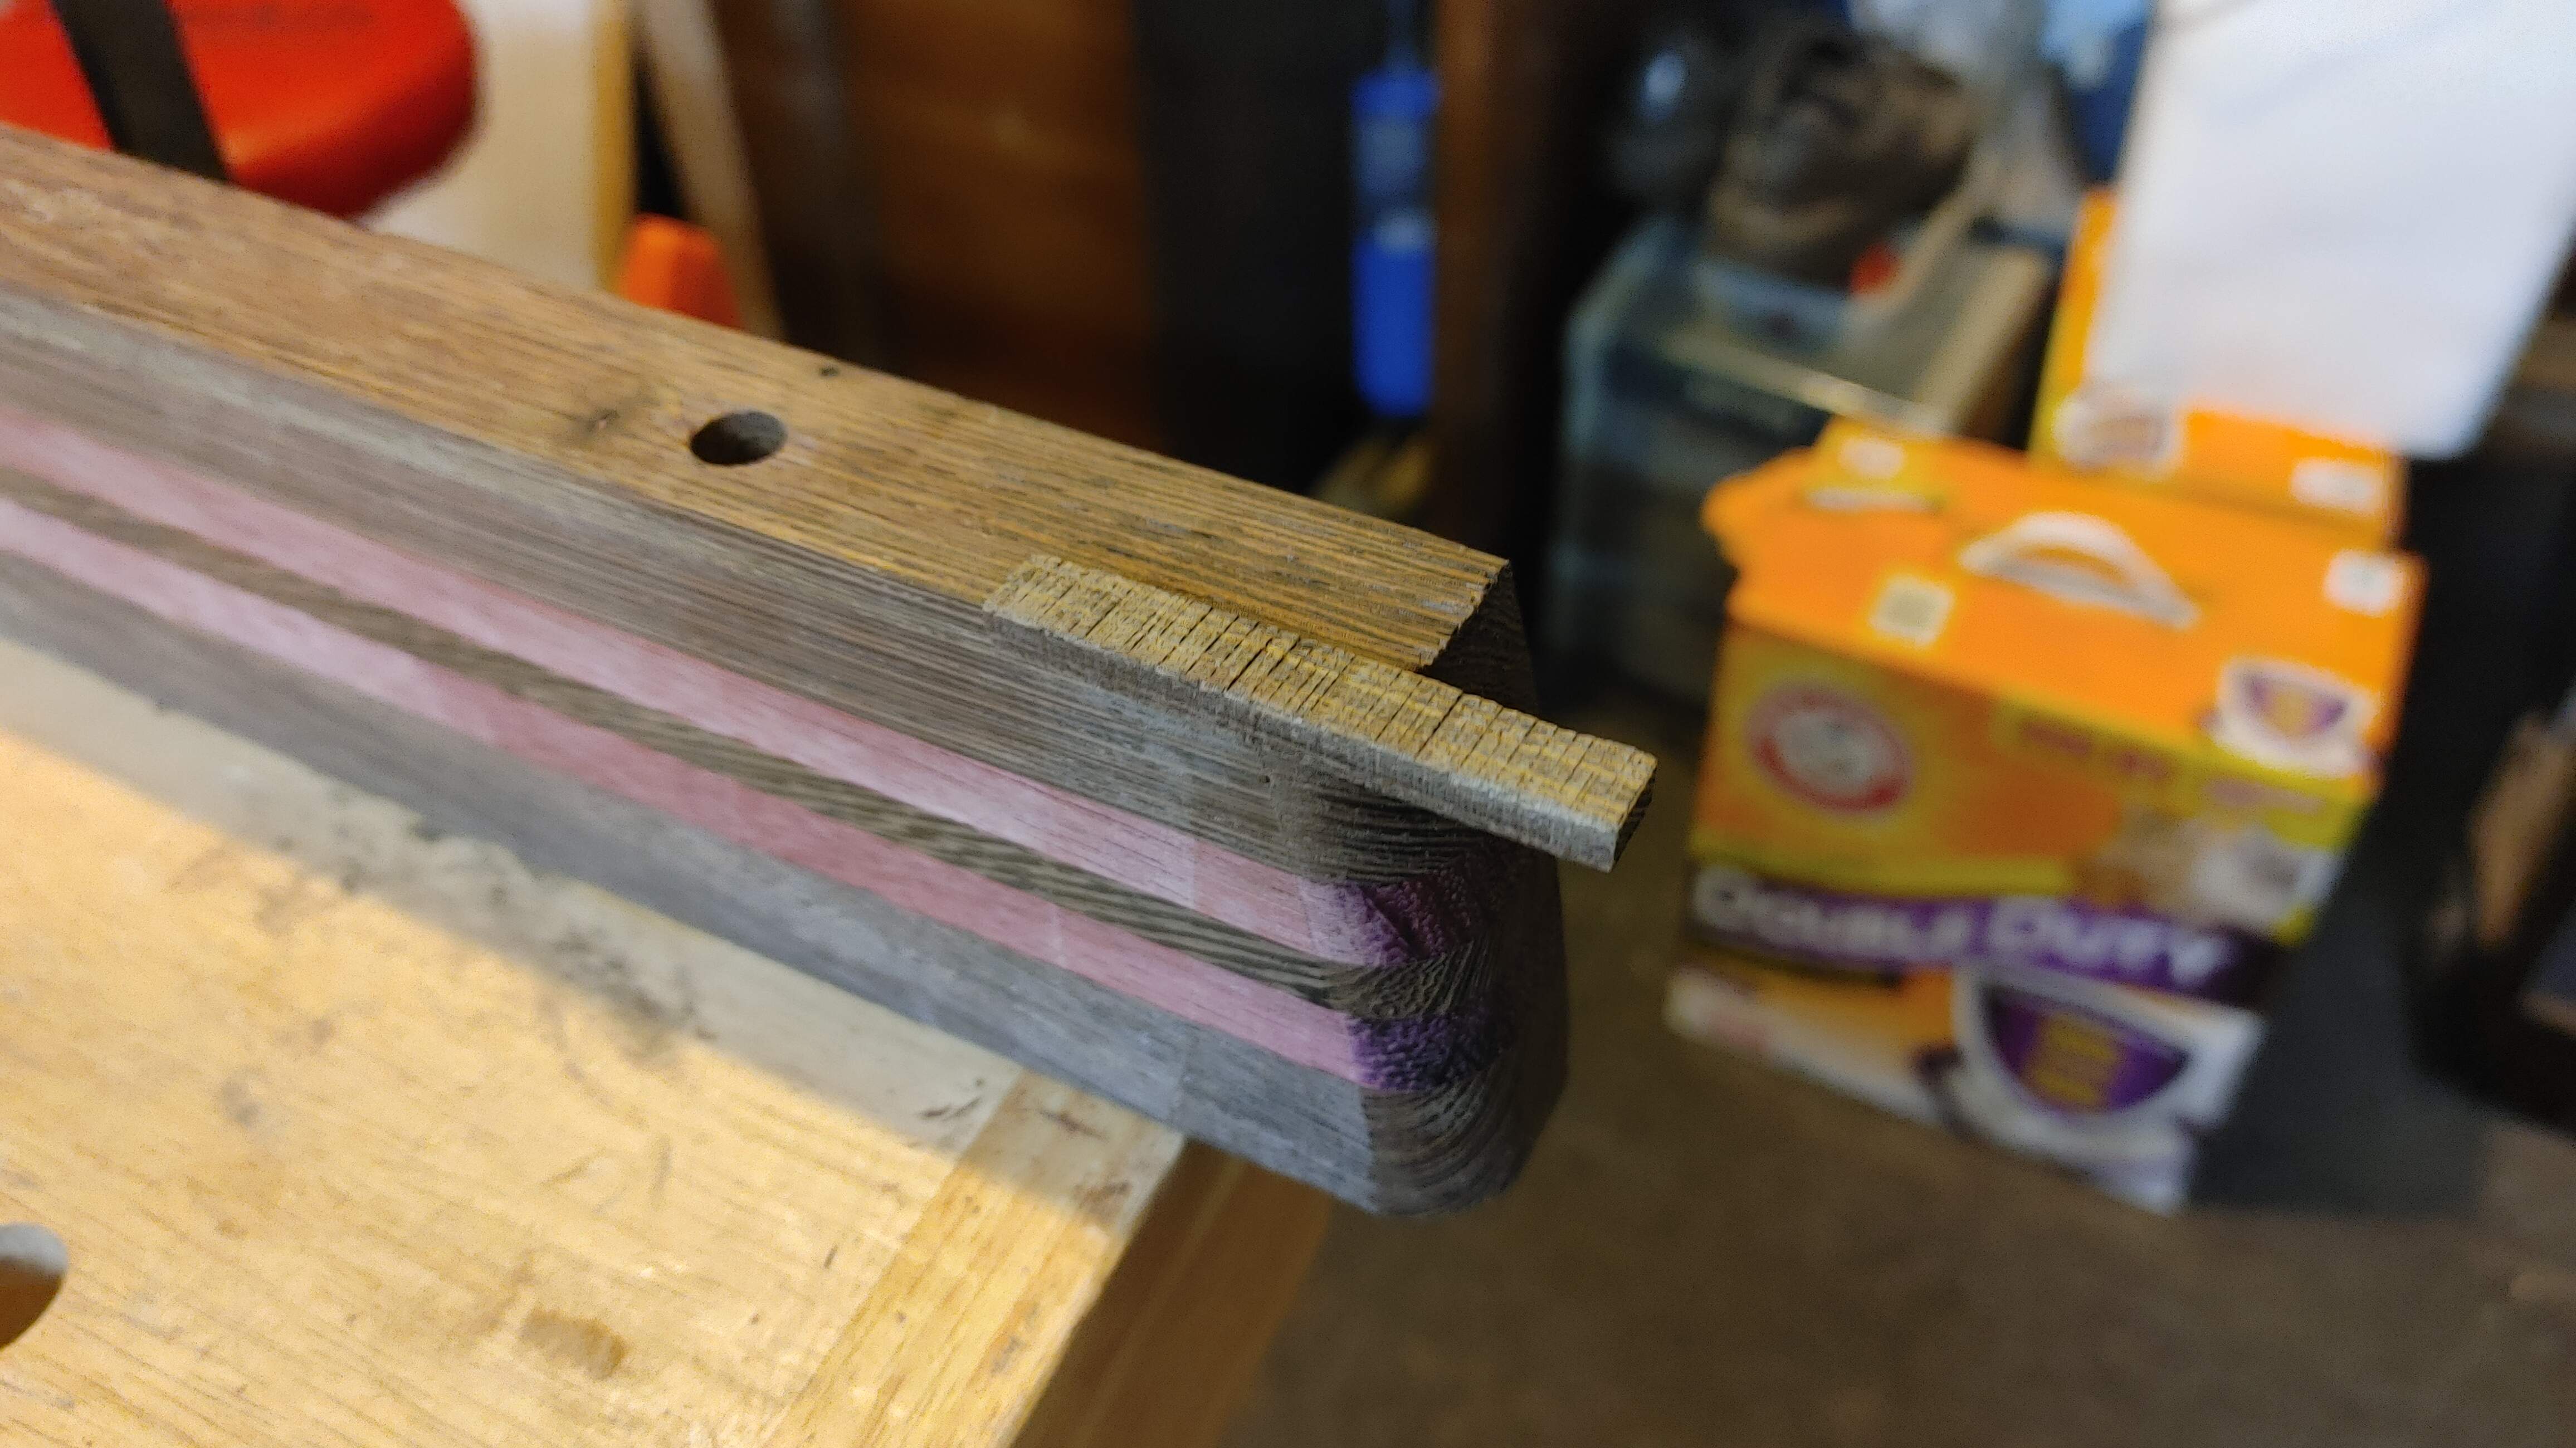
After sawing off the major excess, we grab the small block plane and bring it down to the surrounding surface. I managed to screw up the purpleheart repair a bit. I had a perfect piece, but when I glued it on I screwed up and glued it flipped over. So the grain pattern doesn't match at all. But whatever, at least it's on the back. If you're gonna make major mistakes, make them on the back. That's my best piece of advice for newbies. Anyways, here's a shot of it after both repairs. -
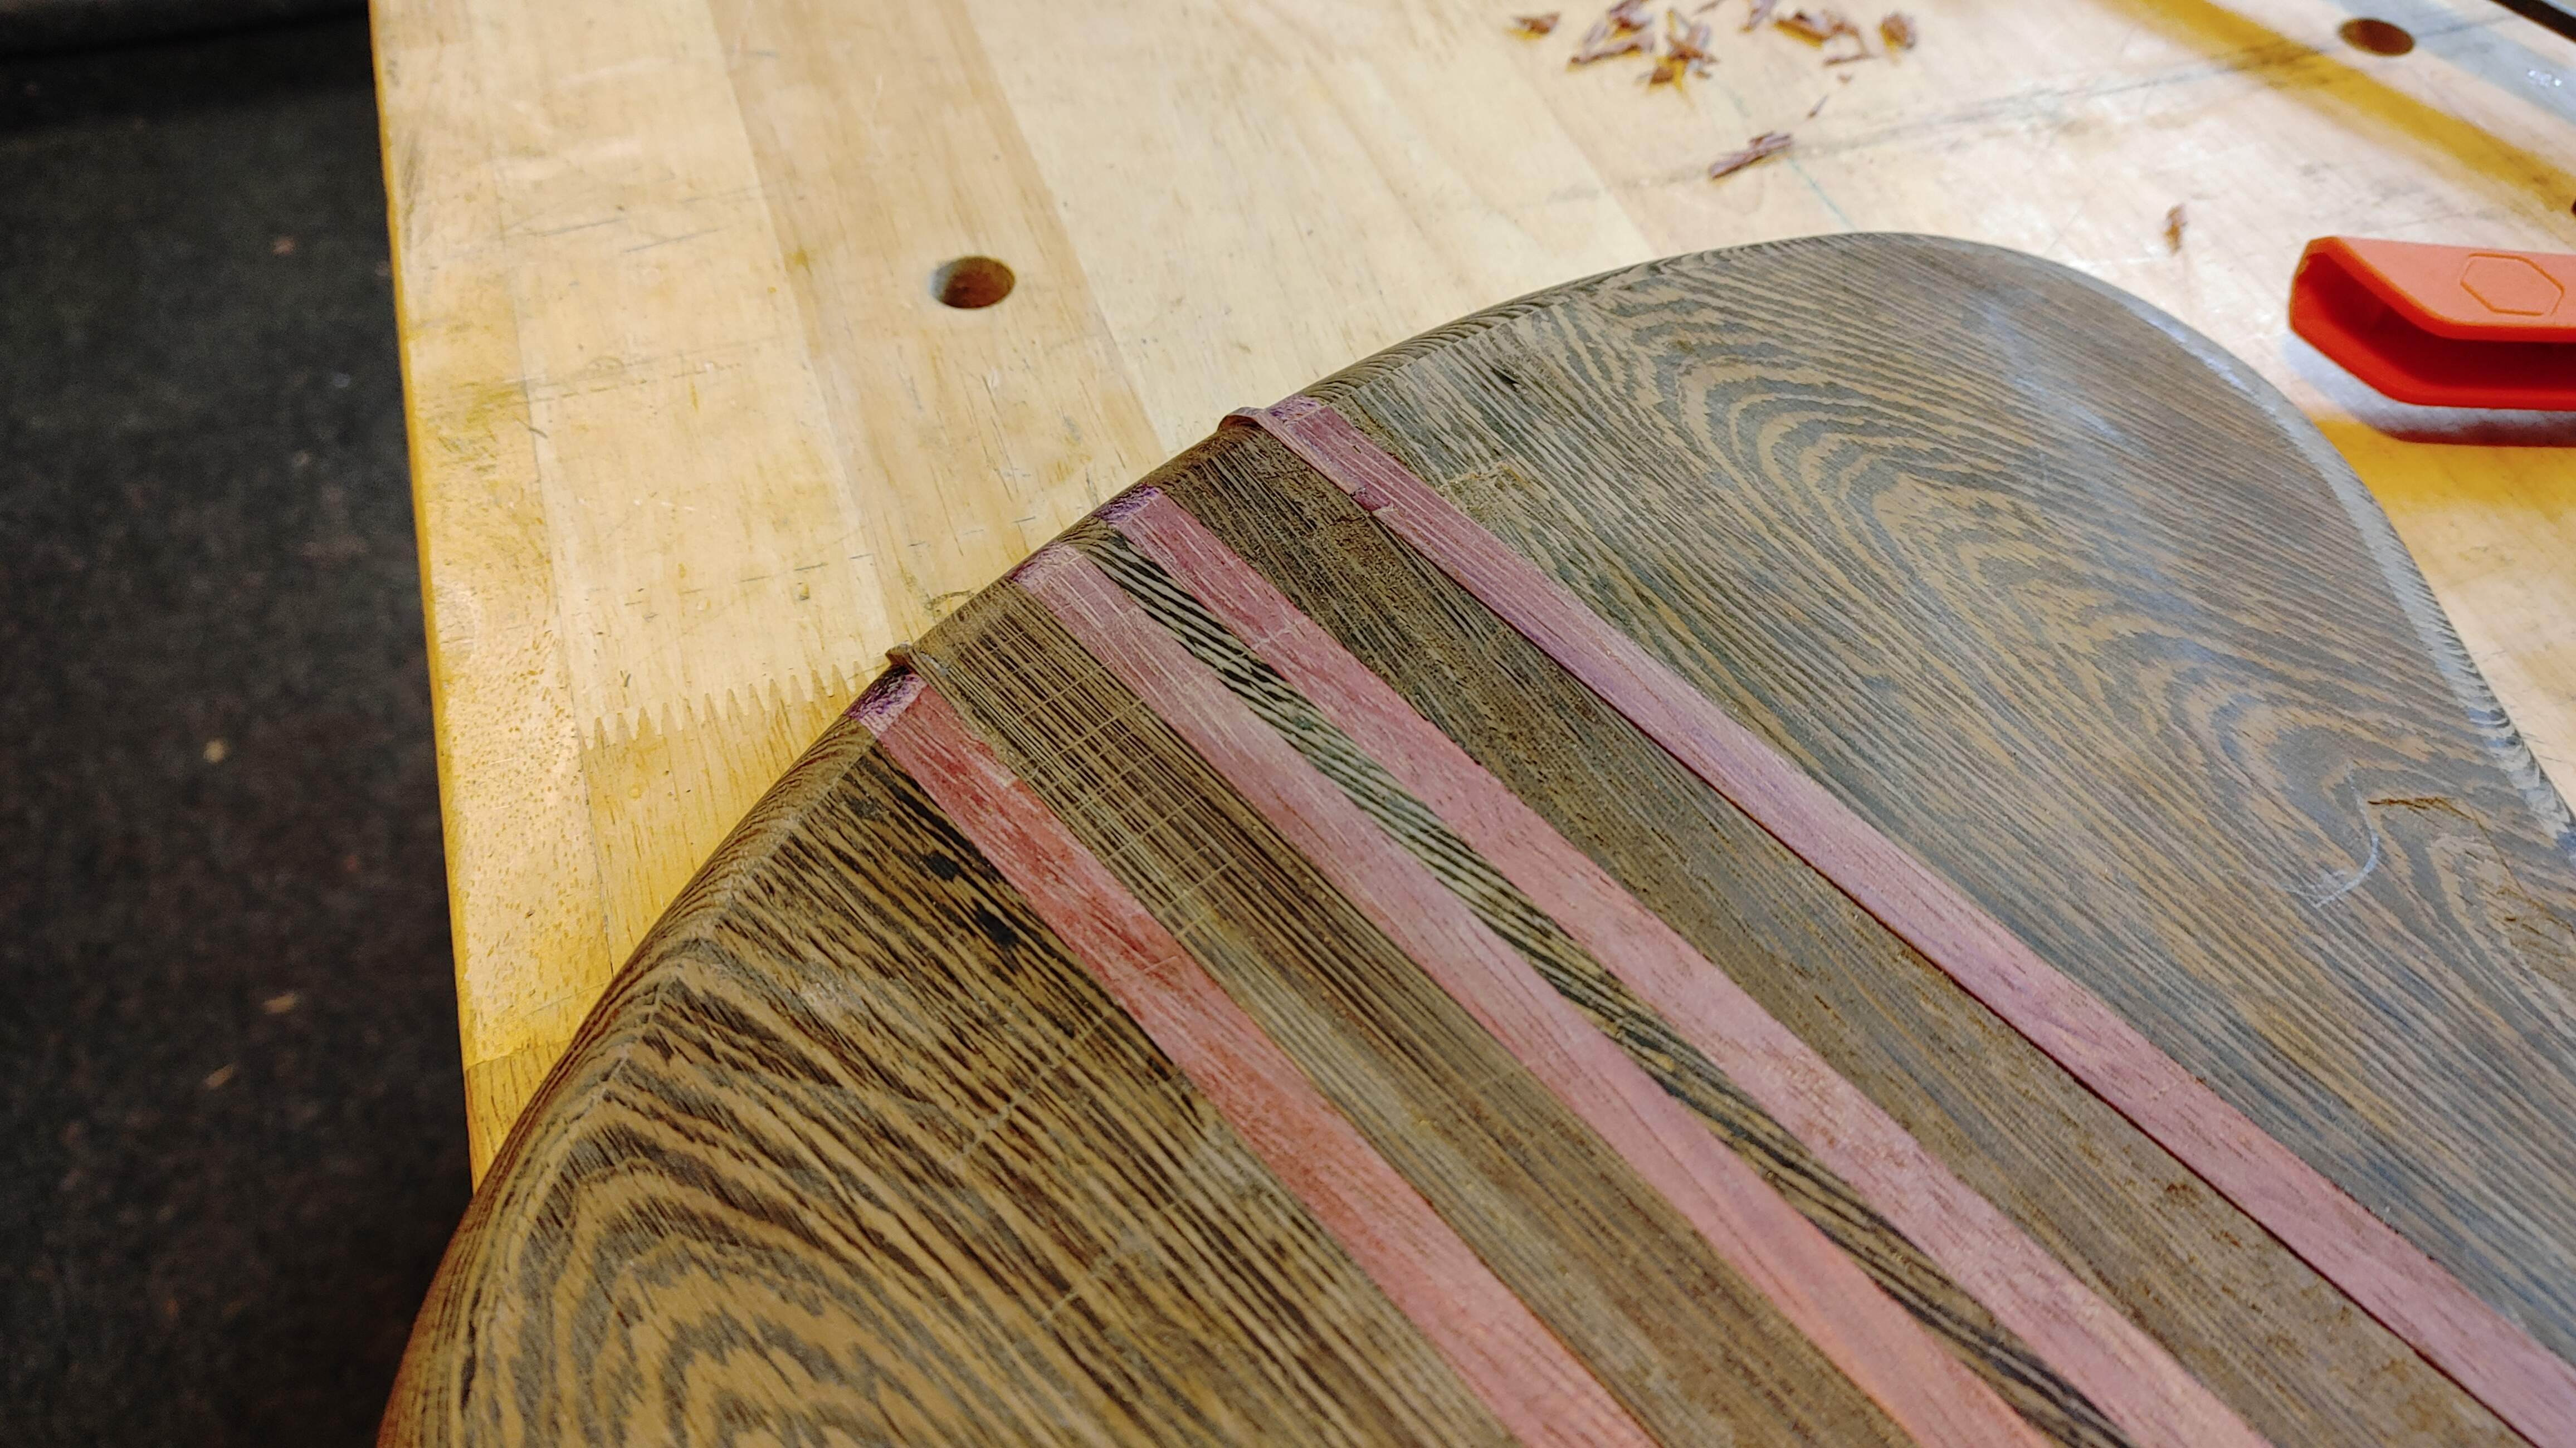
As you can see, the purpleheart repair sticks out a bit more. Part of that is the fact that the purpleheart has a tendency to be a very different color down inside the wood as opposed to the surface that has been exposed to air/light for a bit. I'm hopeful it will be less noticeable as we move through the process, do some sanding and let it oxidize a bit. But aside from the round-over not matching yet, that wenge repair is sweet. I'm super happy with that one.
So, next steps. I need to rout my control cavity. Template is made, it's marked out, I know where it goes. I just need to .... you know .... do it.
I also need to radius that fretboard. I built a sled, I got the nut slot started, I need to .... you know .... just do it.
Paralyzing fear is a thing. I'm still learning how to handle it.
So, for whatever reason my mind keeps telling me that I want to get the nut slot started before I radius this board, mostly because I know where the mark for it is. If I radius it, the mark will get removed. So let's get to work on that! My weapons of choice are my trusty marking knife, and a couple chisels. I don't own any fancy, super cool, Damascus Japanese chisels or anything like that. I have a cheap set of HF chisels, but they work fine, probably better than my abilities anyways. My method is to use the marking knife to sever the wood fibers on my mark, which was laid out using my FretFind drawing, marking both sides of the nut so I have the width of it too. Once the fibers were severed, use the chisel to come in to my line. Repeat this process as we move deeper and deeper -
Yes, I'm aware that my marking knife got away from me there. I'm hopeful that will get removed when I radius this. Also, something else I don't own is a chisel that matches the narrow width of this nut. So we're really stretching my abilities with these tools when I can't come in from the side. On my last build I basically just left a shelf for the nut, but for this one I wanted to carve a slot because I like the way it looks with wood behind the nut, then radiused/angled down into the headstock. So while I could have just done a shelf again, I didn't want to. Anyways, after a while we're making progress -
Yup, a little blow out there that we'll have to deal with. But, it may get radiused away, who knows. I just want to make sure I have a slot started so I still have a shoulder to continue this after it gets radiused. I think this will work for now. And yes, I'm aware that often times you also need to take some height off the nut itself. Again, I just wanted to get a slot started while I had the marks visible, because the marks were made when the fretboard was still square, so the marks were true to the centerline. Trying to mark it later sounded more difficult. Anyways.....
Repair Time! (Or....CYA 201) -
So, you may recall that little bit of blowout I had when putting the round-over on the back. I guess we better deal with that. Using those same chisels, while I have them out, I squared off the blowout, found a piece of my offcuts that had matching grain patterns and then glued that in using CA glue -
After sawing off the major excess, we grab the small block plane and bring it down to the surrounding surface. I managed to screw up the purpleheart repair a bit. I had a perfect piece, but when I glued it on I screwed up and glued it flipped over. So the grain pattern doesn't match at all. But whatever, at least it's on the back. If you're gonna make major mistakes, make them on the back. That's my best piece of advice for newbies.
Anyways, here's a shot of it after both repairs. -As you can see, the purpleheart repair sticks out a bit more. Part of that is the fact that the purpleheart has a tendency to be a very different color down inside the wood as opposed to the surface that has been exposed to air/light for a bit. I'm hopeful it will be less noticeable as we move through the process, do some sanding and let it oxidize a bit. But aside from the round-over not matching yet, that wenge repair is sweet. I'm super happy with that one.
So, next steps. I need to rout my control cavity. Template is made, it's marked out, I know where it goes. I just need to .... you know .... do it.
I also need to radius that fretboard. I built a sled, I got the nut slot started, I need to .... you know .... just do it.
Paralyzing fear is a thing. I'm still learning how to handle it.




 (sorry) fml.




 I wondered why everyone was so damned quiet on Teams!





