Back To Work (I Ran Out Of Cool Catch Phrase Titles) -
I took a few hours tonight to get back to this mess. The first thing was to drill the holes for the bridge posts, but I don't want to insert them yet. I have a fear that they will stick up past the fretboard and get in the way of sanding/finishing that for now. Anyways, holes -
I drilled them first with a forstner bit to create a recess for the top lip, then a regular bit to create the hole for the post body. I'm happy with it...for now. We'll find out if I messed this up later, for now it waits like this.
Don't Fret! -
I been stressing on this fretboard for a while now, so it's time to just make a move. I spent a lot of time tonight filling some gaps along the joint from the fretboard to the neck with dust and CA glue. I'm glad I kept a bunch of that rosewood dust from when I sanded the radius in the fretboard on Lucifer. Standard method, pack the crack with dust, drip some CA over it, give it a minute before hitting it with the accelerator and then come back and file/sand as needed. I then went over the whole fretboard again with the 400 grit to smooth it out. I know some of you get crazy sanding fretless boards up to like 1200 grit and stuff, but I believe that after about 400 grit you're just burnishing the wood and whatever finish you plan to use isn't actually gonna grip the wood as well. It felt super silky at 400 grit, so I stopped there. Then we hit it with some denatured alcohol to make sure it's good and clean and then apply some of that StewMac Fretboard Finishing Oil -
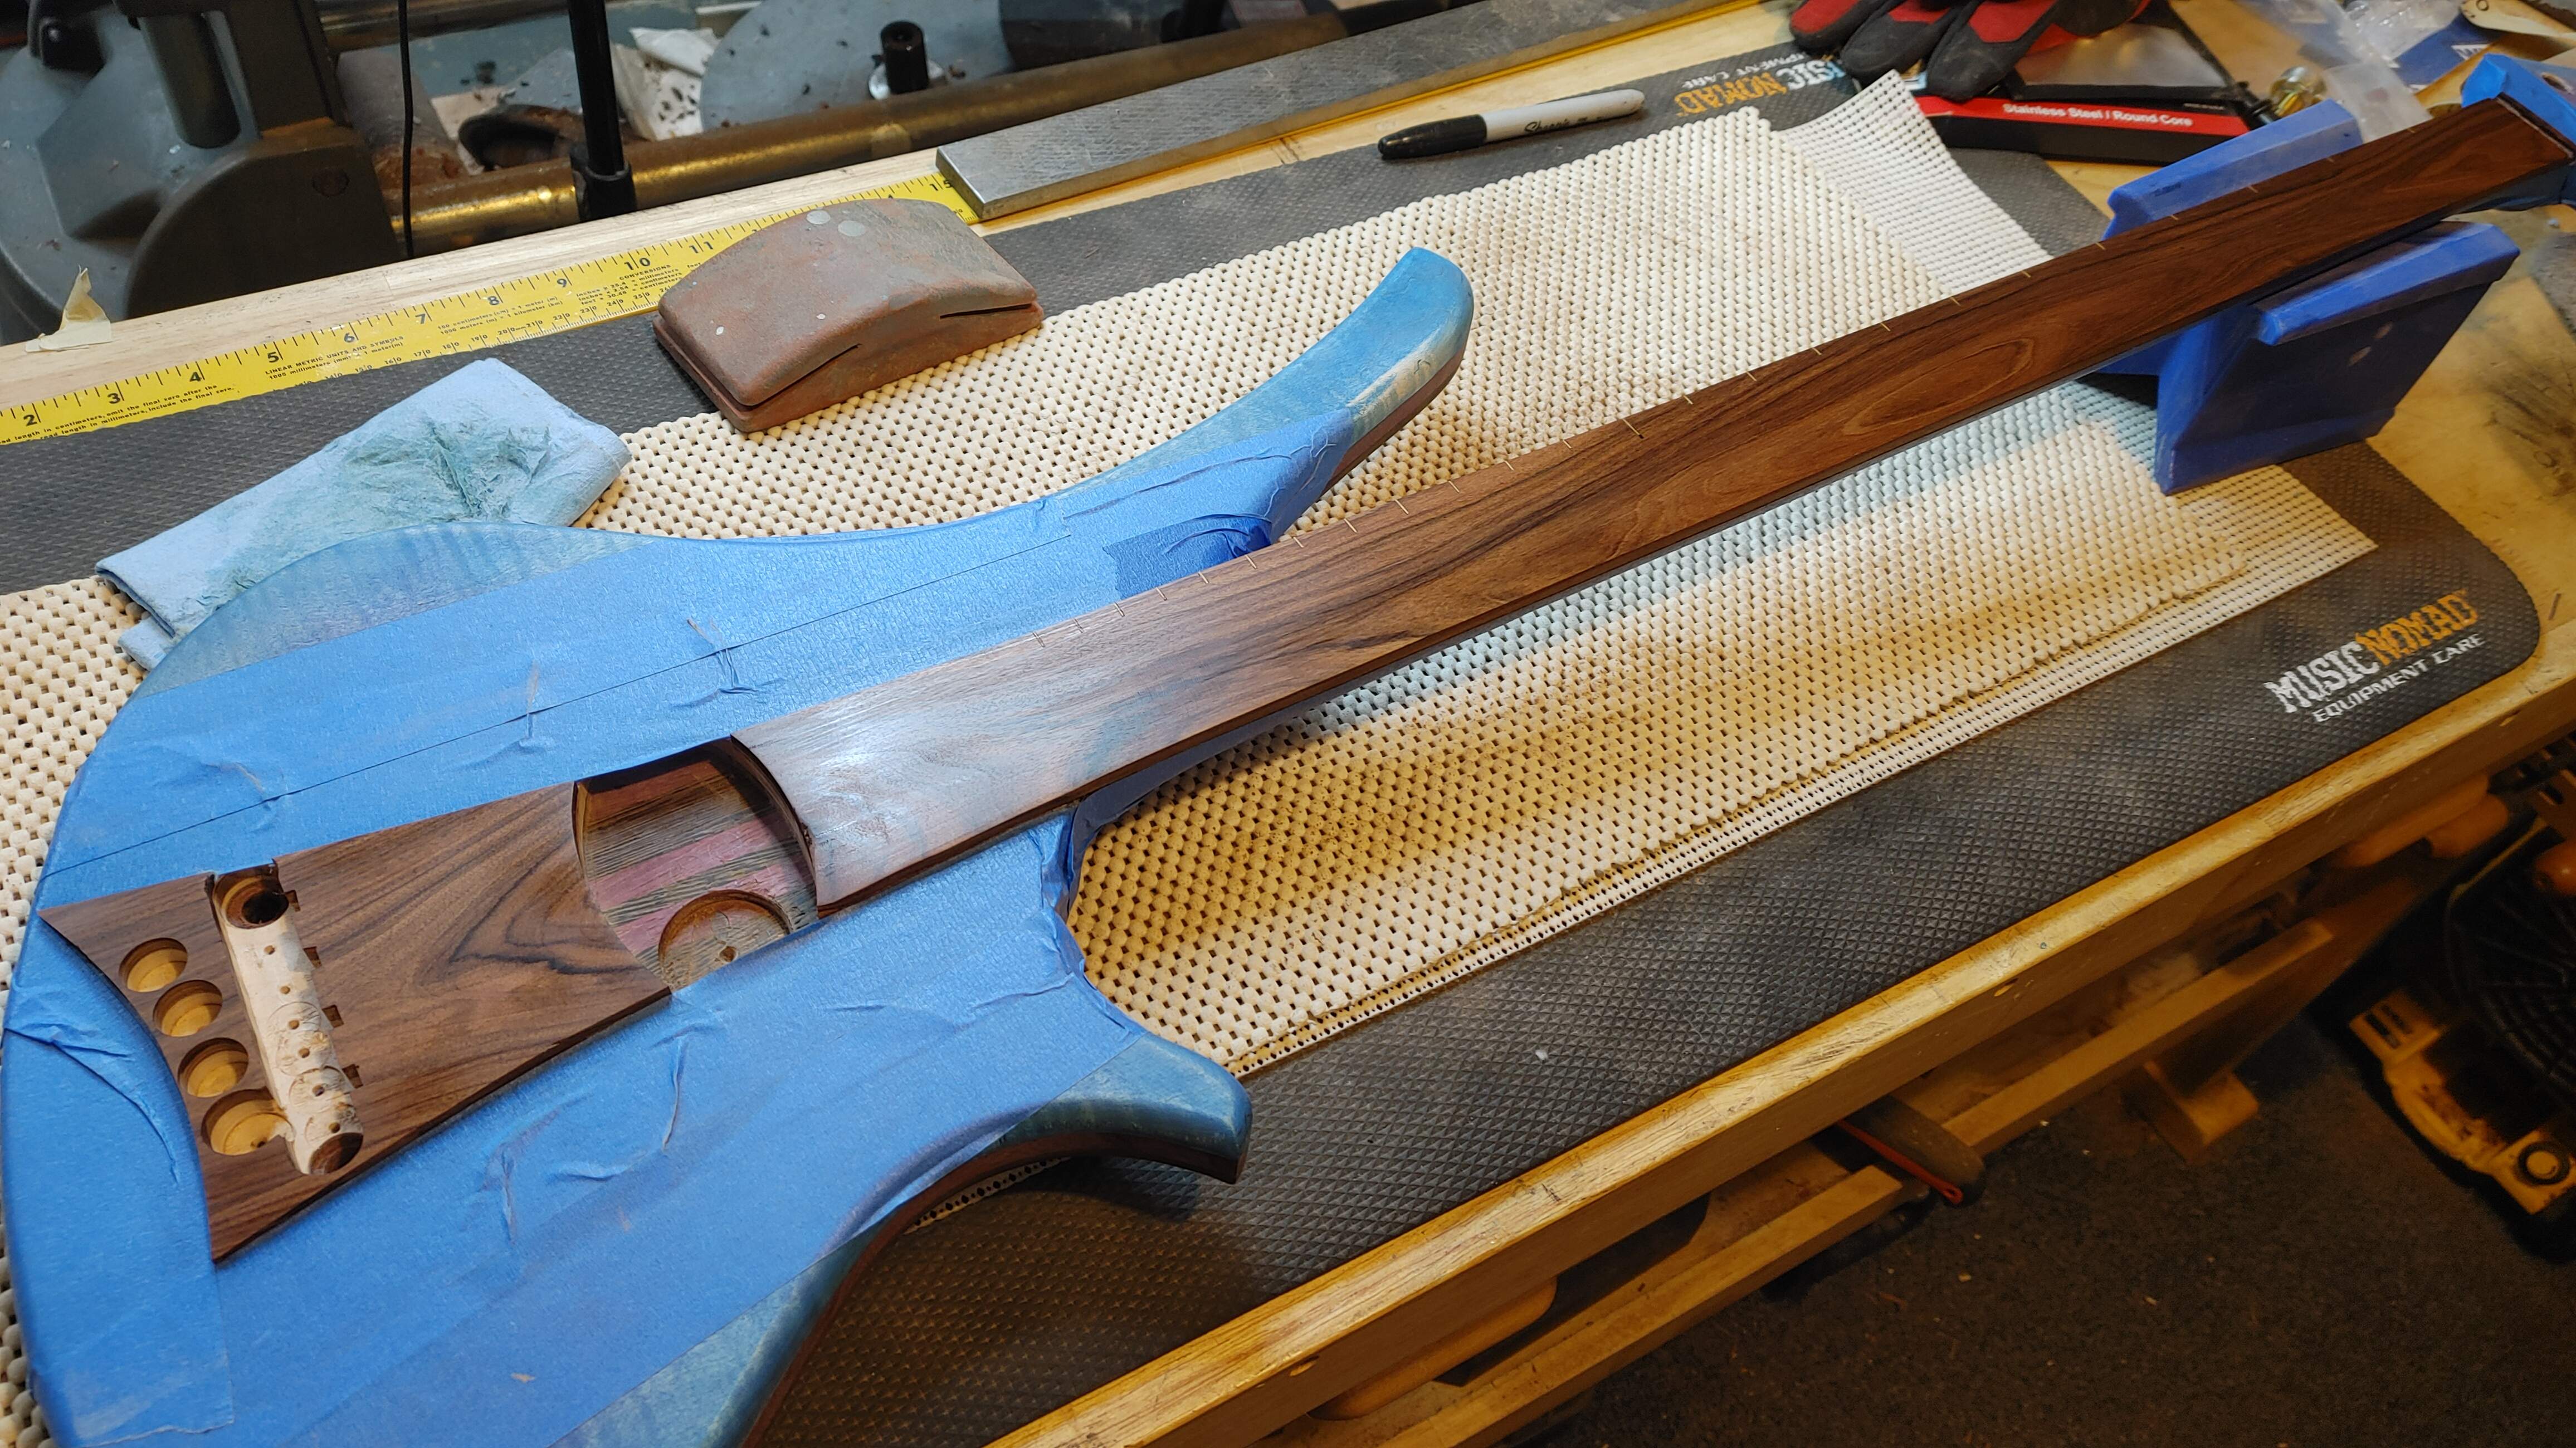
Give that a few minutes to dry and then come back and buff it with a clean rag -
Okay, let's peel the tape off of this and let that fretboard fully dry overnight.

Oh, but you guys know I can't leave well enough alone! Let's go ahead and install strap buttons since we need to drill for those screws. And while we're at it, why not drill the screw holes for the pickup too. Oh heck, maybe we better just do a mock up of where we are so far, right?

Gimme a minute, okay?
 So Where Are We?
Okay, let's talk about some things. The eagle eyed among you may have spotted the bare spot in the blue stain on the upper horn. Tim is an idiot and didn't pay attention to the far end of his file when doing some shaping of the neck near the heel transition and managed to puta couple nicks on it that needed sanded out. So now we're gonna get to remask the body and go back on the stain to do some touch up and hopefully blend it without screwing the whole dang thing up. There's also a tiny spot at the "top" of the pickup that needs touched up too, because Tim's an idiot and wasn't watching where his chisel was leaning when doing some work inside the pickup recess. Hand tools are super cool, but so is paying attention kids.
Some of you may be asking "Hey Tim, why is there only one string retainer in it?" Well, good question. That one fits kinda loose so it drops right in and comes right out. The others, not so much, they are a tight fit and will need pressed in somehow, and I'm just not ready to do that yet. The bridge is also just sitting in there, because I haven't pressed the posts in yet, I'm not ready.
So I want to let the fretboard dry and then come back and mask off the fretboard and start doing the sanding/finishing on the body/neck. I think I'm closer than I think I am....


Or...closer than I feel like I am. You know what I'm trying to say. But I need to get to applying finish if we're gonna make this deadline.
Now, let's talk about some concerns I have. I'm at a point where mocking this thing up is starting to tell me if I've done a good job or if I've made expensive firewood. I know, that sounds drastic, and I don't think anything is that drastic. But my mind runs full speed keeping me up at night wondering.
Problem #1 - Like others on this forum, I was pretty certain I had my bridge recess template in the right spot. I measured like crazy, drew centerlines on the body, drew centerlines on the fretboard, drew centerlines on the template, all that stuff the big kids do. After I routed it it started to become apparent that the template shifted somehow. Now, I don't think it's a huge deal, but what I do know is that my low E string is dangerously close to the edge of the fretboard down at the body end. It's fine at the nut end, really it's fine up to about the 14th fret. From there it concerns me. I'm also not sure there's anything I can do about it now, I may just have to live with it. But I know that every member of TalkBass is gonna immediately point to it when looking at photos, meaning I'm probably not winning that Renewal Compressor I covet so badly.


I'm thinking I might try filing the bridge saddles and in doing so move the low E saddle over some to try and compensate. But honestly I think I have to get to the point where I can string it up before I make a decision there. Like I said, I may just live with it.
Problem #2 - My router bit wasn't long enough to get my pickup cavity routed as low as I'd like it to be. I have the pickup bottomed out in the cavity and it is sticking up above the fretboard a tiny bit. I know it's impossible to get the template back on in the same location at this point, and even if I could, I routed it as deep as I can go with that bit anyways so putting the template back on isn't gonna help me. This is one that I need to string it up, see where the action is and then I'll know if I have a problem. It might not even be a problem, but again, my brain is in high gear telling me every little detail that I screwed up.
So yeah, I've got some things on my mind. I share them with you guys in the hopes that someone coming after me doesn't make my mistakes. I guess I could always cut the wings back off, re-taper the neck blank, add some extra wenge on each side and start over, right?












 easy peezy






