• TalkBass has been independent since 1998. Add your voice.
    Create a free account to reply to discussions, view embedded media, and browse with fewer display ads.
    Join freeLog in
    Want zero display ads or expanded classifieds tools? Compare plans.

$100 Bass Challenge - Marceline's Axe Bass

If you need someone to carry around a portable amp, just let me know.

Thanks, but I've got that covered. My husband is going as Simon Petrikov (The Ice King before he turned into the Ice King), and part of his costume is a back pack. That's our plan for the amp location.

I sprayed a couple of coats of clear this afternoon.

2072dtt.jpg


I may spray a couple of coats tomorrow as well.

I put some thought into the gouges. For now, I think I'll leave it as is. I can always add them later if I want, clear coat withstanding.
 
Thanks, but I've got that covered. My husband is going as Simon Petrikov (The Ice King before he turned into the Ice King), and part of his costume is a back pack. That's our plan for the amp location.

Brilliant! My wife and I should go as Why-Wolves and tell you the proper method for playing an axe bass.
 
  • Like
Reactions: mapleglo
I find this build to be so cool Mapleglo. As far as the gouges go, I don't think you could go wrong either way. (watch out my $.02) At this point, to actually gouge in the gouge marks would set you back to far, go with your instincts and move on.

BTW I'm happy to see the spike worked out for you, although I didn't see anything on what you had to do to mount it and my curiosity is driving me nuts.

one more time... This is so cool!
 
  • Like
Reactions: mapleglo
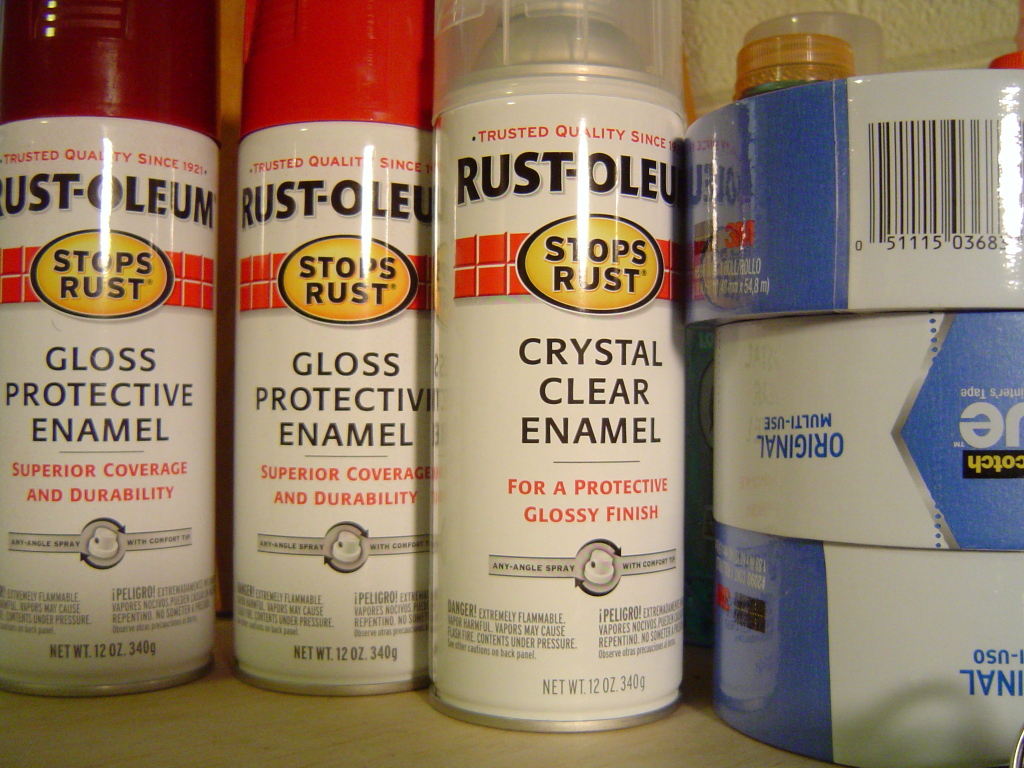
Yes, Rust-oleum Crystal Clear Enamel for a protective glossy finish. The reds and black were also Rust-oleum enamel, so I assume they are compatible. The fact that it stops rust is paramount on a battle axe.
35n8qhk.jpg

Well Mapleglo.....

Your builds always tend to amaze and delight, and this challenging budget project doesn't disappoint! Nice job all around! Can't wait to see you in the entire get-up and maybe hear some sound clips when things slow down.

Amazing that you could whip this up for under 100 bucks, simply awe-inspiring!

Nice work.....

 
  • Like
Reactions: Will_White and GKon
I find this build to be so cool Mapleglo. As far as the gouges go, I don't think you could go wrong either way. (watch out my $.02) At this point, to actually gouge in the gouge marks would set you back to far, go with your instincts and move on.

BTW I'm happy to see the spike worked out for you, although I didn't see anything on what you had to do to mount it and my curiosity is driving me nuts.

one more time... This is so cool!

Thanks! The hanger is attached to a 1/4" stud that I screwed into the bottom of the bass. The spike screws on to the stud.

Well Mapleglo.....

Your builds always tend to amaze and delight, and this challenging budget project doesn't disappoint! Nice job all around! Can't wait to see you in the entire get-up and maybe hear some sound clips when things slow down.

Amazing that you could whip this up for under 100 bucks, simply awe-inspiring!

Nice work.....

Thanks. As soon as I get it wired up and put together, I'll definitely post some sound clips. Of course, pictures from the Comicon are a given. I just hope those tuners will work...
 
I just finished reading this entire thread. Very cool, & entertaining. You're doing a great job!
My kids used to watch that cartoon all the time... I've seen it a few times. I kinda liked how just plain bizarre it was. I showed my daughter one of your latest pictures & without any hints she immediately knew it was Marceline's bass from the show. So... There ya go... ;) Nice job!
 
I just finished reading this entire thread. Very cool, & entertaining. You're doing a great job!
My kids used to watch that cartoon all the time... I've seen it a few times. I kinda liked how just plain bizarre it was. I showed my daughter one of your latest pictures & without any hints she immediately knew it was Marceline's bass from the show. So... There ya go... ;) Nice job!

Thanks! The show is rather bizarre, but I think that's the attraction.

I became impatient and wanted to see how the truss rod cover would look, so even though I should have let the paint cure a little more before handling it, I went ahead anyway.

2eycn0j.jpg


I think that will work.
 
I wet sanded the fingerboard to 2000 grit. Note to self: do not think that spray glue is like the temporary adhesive on the back of the StewMac sandpaper for the radius block. It's not, and a pain to scrap off.

fnvjv7.jpg


rlz2pg.jpg


Sorry about the mess. We're in the middle of a million projects.

Anyway, I'm not even sure if I want to buff that out further, though the wool buffing pad and Meguiars Fine-cut cleaner came in. I'm also not sure if I want to sand and buff the body. Right now, there are alternating areas of gloss and poor under finishing matt. I really did not prep this body very well. The back of the neck was kinda sticky, so I just ran a scotchbrite pad up and down a few times, so it's smooth. This is a battle axe, so I just may leave it as is, and start assembly.

Also, I found that by reading the paint cans more carefully, I've been doing it wrong. Recoat the colors after 48 hours, not 24, and the clear can be recoated at any time.

In any event, I'll think on this a little more. We finished the garage door frame this morning, then I worked on cleaning up my radius sanding block, and then wet sanded, so I'm ready for a little rest.
 

Latest posts