• TalkBass has been independent since 1998. Add your voice.
    Create a free account to reply to discussions, view embedded media, and browse with fewer display ads.
    Join freeLog in
    Want zero display ads or expanded classifieds tools? Compare plans.

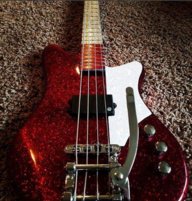
$100 Bass Challenge - Marceline's Axe Bass

One thing you can do to help is to find each exact position w/a tuner or another tuned bass and mark it on the side (side dots) I did it for each position/'fret' on an unlined fretless and it helps find your notes at a glance. You can use white paint to create the dots or drill holes and fill them with a visible material of your choice. I used bronze welding rods which worked well.

View attachment 599883

I went a similar route in a fretless I did recently.

097_neck_assy5_zpsnurkfawl.jpg
 
Thanks again everyone :)

I've been working on the combo amp the last few days. Pretty much ready for paint and then assembly.

3590e2b.jpg


2w2iqky.jpg


The bottom shelf on the back is for the battery pack, and the 2nd shelf is for the amp. Unfortunately, the speaker grille I bought is not a good fit, so I'll have to think about how it'll mount on there.
 
Thanks again :)

Put a couple of coats of Duratex on the cabinet, and started on assembly.

2poz0jm.jpg


2jcud7t.jpg


I have a grille, power switch, handle, and power connectors on order, but it's pretty much done other than those items. I think I may need a preamp - likely due to some kind of mismatch between the bass output and car stereo input. I'll have to keep my eye out for an MXR preamp - I know they make a few models and according to the specs, any of them should do the trick.

Also, in the background is my new garage door. I now have an enclosed shop. Still have to get a small A/C unit installed in there, and some proper lighting.
 
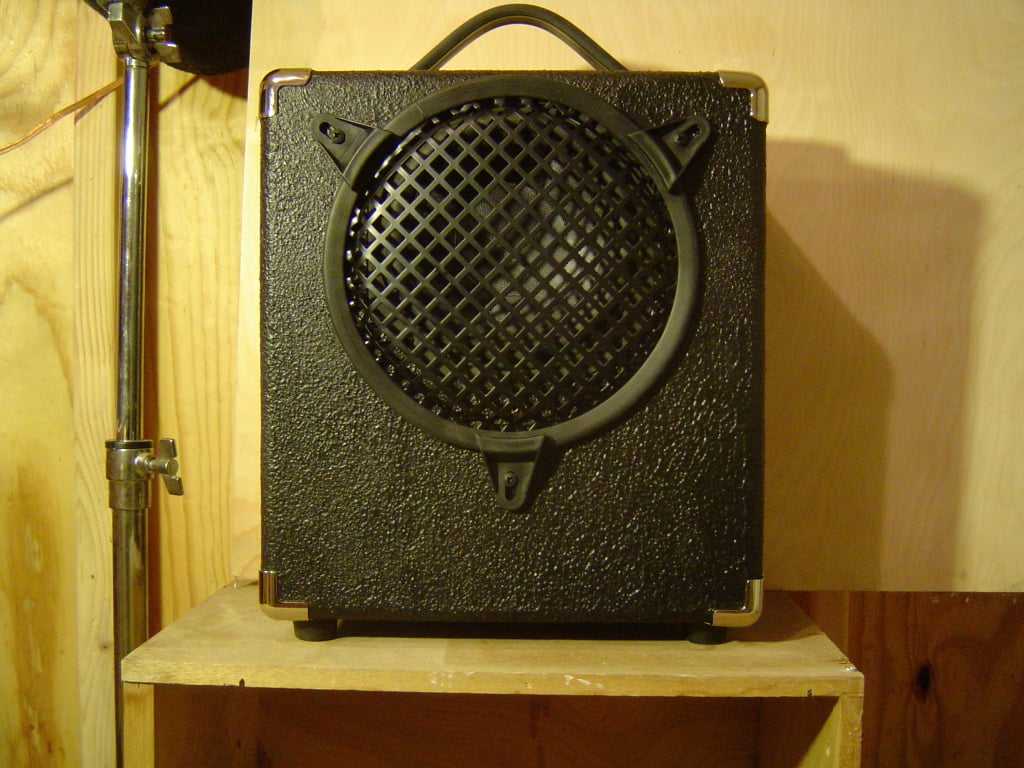
Almost done with the amp. Here was one of the grille choices.
2re2szk.jpg


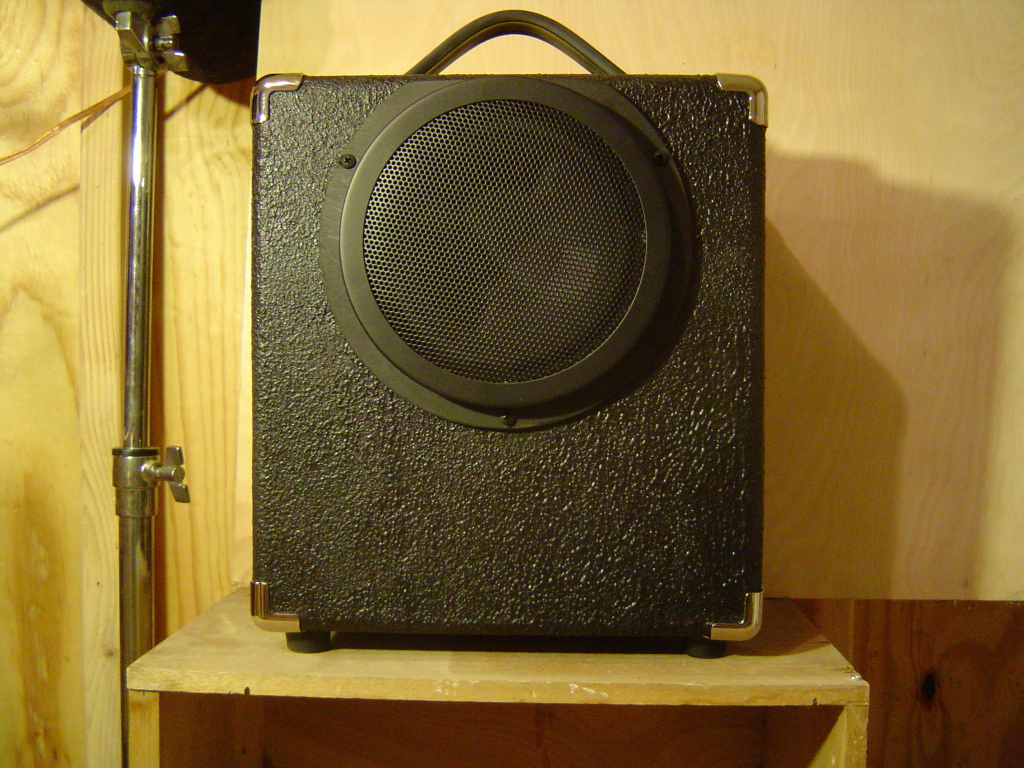
And the one I decided on.

23k841k.jpg


Just a few more odds and ends, and this will be done. I also realized I never screwed down the pickups on the bass. I have to dig up some screws. Once everything is done, I'll make another sound clip with the little combo.


The top one looks the most generic/cartoon simplicity - could be the choice to fit in with your axe. The other is a better design and more sturdy but maybe not for the convention - I mean, your whole look's gotta kill 'authenticity'-wize. (but hey, your call - they're both good!)
 
The business end of the amp. Notice the "end of the world" switch cover, as my Husband has come to call it. That's so it can't be accidentally turned on.

16aqm42.jpg


And here's the switch cover pulled back, and the on switch engaged.

154f66g.jpg


The back isn't as pretty as I would have liked, but a lack of planning will do that. Probably should have oriented the power connectors upward, with a corresponding hole through the shelf, drilled prior to assembling the box. Oh well, live and learn.

Anyway, now that this is done, I can start practicing. Outside, if I want :P
 

Latest posts