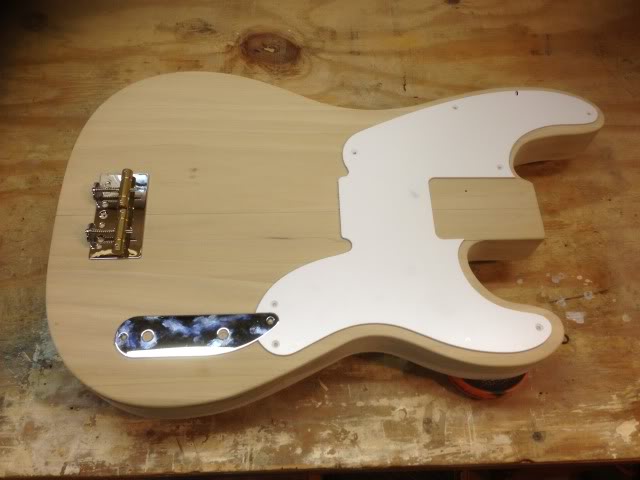
Two problems with the stock Tele single coil are; 1) Its as noisy as any other single coil. And 2) The tiny .187" magnets are suitable for guitar pickups but not big ole bass strings. Leo probably only bought one size.
Solution; stacked coil pickup with ¼ Inch Alnico V Magnets.
One drawback is that the stacked coil has a neutering effect on the single coils tone. Meaning it sounds more like a Humbucker than a Single Coil. So to try to offset some of that, the upper coil will get 60% of the wraps and the lower gets 40%.
To figure out how many wraps I need I got the average Ohms per Meter from the manufactures website for my 42AWG Elektrisola wire. By way of experience on thsi roll of wire i know to use their "minimum" versus their median estimate. In addition to that I measured the distance around the poles in the pickup. For the Average wrap.
Average Wrap = 132mm
Speced Minimum Resistance per mm = .004935 Ohms
Calculated Resistance per Turn = .65142 Ohms
Calculated Final Resistance = 13,750 turns X .65142 Ohms = 8.96K Ohms
TOP coil gets 60% = 8,250 Clockwise
BOTTOM coil gets 40% = 5,500 Counter Clockwise
I cut out the center flatwork using the top as a template. Too bad Mojo wont sell individual pieces. The proper blade makes quick and precise work of the fiberboard.
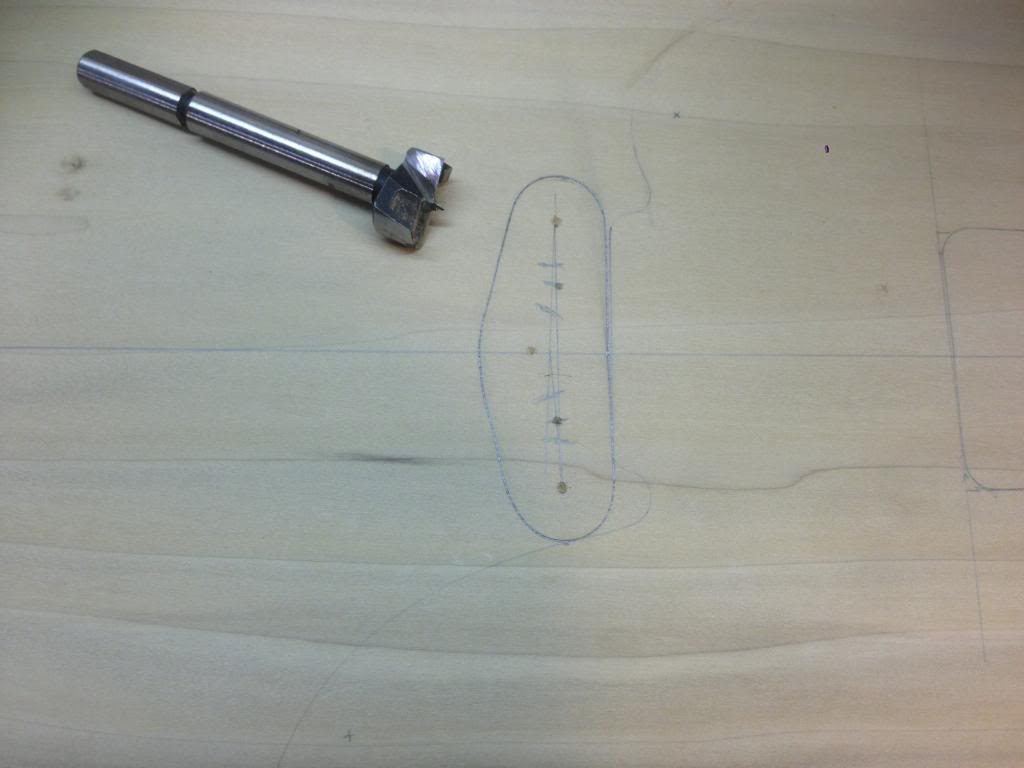
After some minor clean up on the sander I drilled the center hole. I put a layer of double-sided tape between each layer to keep them together and screwed the stack to my winding stick. First I drilled with a 3/16 bit to match the stock holes. Then I went back through them all with the ¼ bit.
Next it was time for the rods. The magnets in the stock pickup extend .062 above the top for the A string and .031 for the D string I will need 2, one inchers, one 1.062 and one 1.031 long. I mark them a little long and cut them with the Dremel. Now I truly understand why they dont magnetize these things until the pickup is done. It is impossible to keep them clear of magnet dust!
To clean the end and shave them to the exact size I use my winding stick as a holder with the belt sander. I get the stick right up to the edge and carefully push and spin the magnet against the belt. The And Spin is very important because this will get you the circular machine pattern in the end versus the straight lines.
Constantly check the thickness until you get them just right. For this one for the D rod was 1.0315 before I laid it down to take the picture. I can live with .0005 over.
I notched the center piece for the wire to fit through and assembled them with 60% space on the top and 40% of the space for the bottom. I actually did the math and measured the raw material to figure out the space for the bottom (.2896). But, when it was all said and done, its the thickness of a #2 Pencil. The fit was tight but I used super glue for insurance anyhow. Un-shown is that I did apply a layer of tape to the middle for good measure.
I wound the bottom coil first Counter Clock Wise and then the wire fed through the cutout to get it to the top coil and I wrapped it Clock Wise. Here is a short video of it in action.
1Yc9aNNSb9A
All done! The nerve racking part for me is removing it from the winder and wrapping the leads around the lugs. Well the negative lead is all I worry about. If I screw up the positive lead I can just take off a couple wraps and no one is the wiser. If I break the negative lead, then I am the proud owner of an orange wig!
Initial Ohm readings are lower than calculated. 8.38 versus 8.96. But given the variables and not truly knowing what this exact spool of wire has for resistance per Meter, I am pretty happy with the result.
I pot the pickup in the magic mix of Bees wax and Parafin wax. (Bees Wax is just because, I dont really believe the mojo in it.) I rigged up a cheap car brake bleeding tool to get a good vacuum seal on the jar. As soon as the pickup stops bubbling, it is full of wax and ready to come out.
And there you have it. The Stacked Quarters Tele Bass Pickup.