Guitar Vise etc
Here I'm getting ready to re-upholster a Danelectro. This is one of the reissues from the '90s, which are very nice guitars and very underrated. However, the real point here is the felt-lined jaws on the vise. I made these by cutting out pieces of mild steel sheet and clamping them in the vise. Then I hammered them over to be form-fitting on the jaws. I smoothed them on the belt sander, and then lined them with dense self-adhesive felt. These hold the guitar body securely, turning a bench vise into a guitar vise. Previously, I would hold the guitar between my knees for this job; it will be much easier like this.
Earlier in this thread I described how to make and attach the Danelectro binding tape. This one had already been done once, but that job didn't take. So I pulled off the old tape and cleaned it up with mineral spirits, which quickly removed the residual contact cement with no ill effect on the poly finish. I have several more of these to do - long-term, the spray contact cement method has a 100% failure rate. So far, the one I have done with E6000 adhesive shows no delamination at all, but it has only been a few weeks.
Felt is your guitar's friend. I have never seen felt make a mark on a guitar, not even a lacquer finish. That is why I covered all the bearing surfaces of the guitar racks with it. I also covered a few guitar stands and hangers with felt to make them lacquer-safe. For those I put pieces of non-adhesive material around the lacquer-eating foam. I simply stapled the flaps, much the same way you might sew them. The downside of this is that the result is a lot more slippery than the original foam, and non-symmetrical bodies tend to slide to the low side. A material you want to avoid at all costs is vinyl - it devours lacquer.
For really delicate finishes, cotton is probably the softest thing you can use. Another option is just bare unfinished wood. White pine is softer than just about any guitar wood/finish, although in the long run it may press a dimple into a lacquer finish. Lacquer just sucks - there is really no good way to stand/hang/case a lacquer finish, no matter what you do, it will find a way to ruin itself.
I also tried covering the foam on the stands with gorilla tape, but that turned into a sticky mess after a while. Fortunately it cleaned up with mineral spirits, which has become my go-to solvent for just about everything. If it leaves a residue, you can clean that up with denatured alcohol, which is also very gentle and has virtually no residue. Things that mineral spirits won't remove can be attacked with acetone, but be very careful - acetone will dissolve almost anything, including plastics, Crazy Glue, and automotive paint !!! Polyurethane guitar finishes are relatively immune, but don't press your luck. I would not touch a lacquer finish with anything other than soapy water; you can also try furniture polish, but don't spray it on directly, as the propellant might attack the lacquer.
You can also take a lacquer finish off right down to bare wood with acetone and rags, and then refinish with something proper. This has the advantage of no sanding. Did I say lacquer sucks? Don't let the luthiery supply houses sucker you into using it on a project - it will come out nice at first, but that won't last, and you will end up very disappointed.
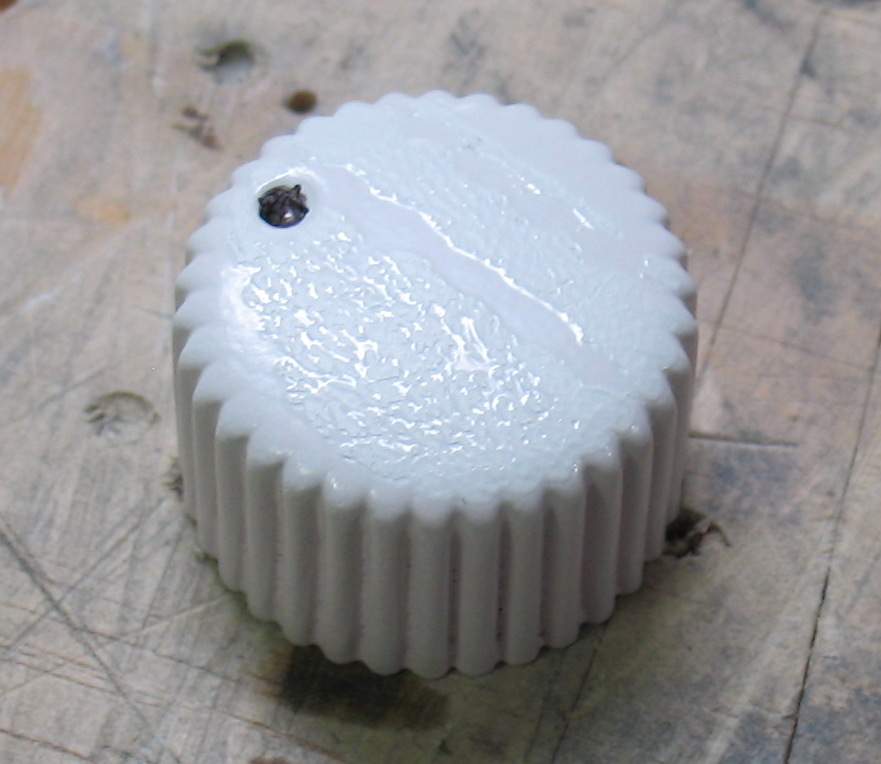
I recently pulled a guitar out of the case it was stored in, and here is a knob that I had foolishly lacquered white in the days before I discovered the truth about the horrible stuff. It was stuck solidly to the inside of the guitar case. Fortunately, I have a spare, but seriously W.T.F. ! $@%$!&^%@ , I mean really &^&&# %$!@&^ this stuff is so awful, you can't even keep it in a case !!! On the plus side, the knob saved the similarly lacquered pickguard from being ruined. Never use lacquer for anything ever, not even for the smallest part, as this example demonstrates. Do not believe the luthier BS. Polyurethane is the way to go. Epoxy, enamel, Danish oil, shellac, varnish, there are lots of alternatives, there is no reason to ever use lacquer.
...
What? You're still here? Ok then, since I seem to have your attention, here is a Danelectro binding job:
With the guitar clamped in the vise, I apply 3 beads of E6000 adhesive around the ass-end - one at each edge, and one down the middle. This in not what the instructions on the tube tell you to do, I am completely ignoring them. I spread it out into an even layer with a popsicle stick, then I draped the binding over the glued section of the body, pressed it down gently with my fingers, centered it and secured it in place with luthier's special tan binding tape from Home Depot. Then I took the body out of the vise and gently rolled the binding with a small jelly jar to smooth out the lumps. I only use the vise as a third hand for low-force applications, I hold the body in my lap when I am pushing hard on it.
A small glass jar makes a great roller for this sort of application - it is hard and smooth and easy to handle, and free. You want to get a little squeeze-out along the sides; it cleans up easily later. You don't want to roll too hard and squeeze all the glue out - you need it in there. Roll just enough for a smooth job. It is easy to clean the glue off the glass at any time, or just throw it away and get another one. A baby food jar is perfect.
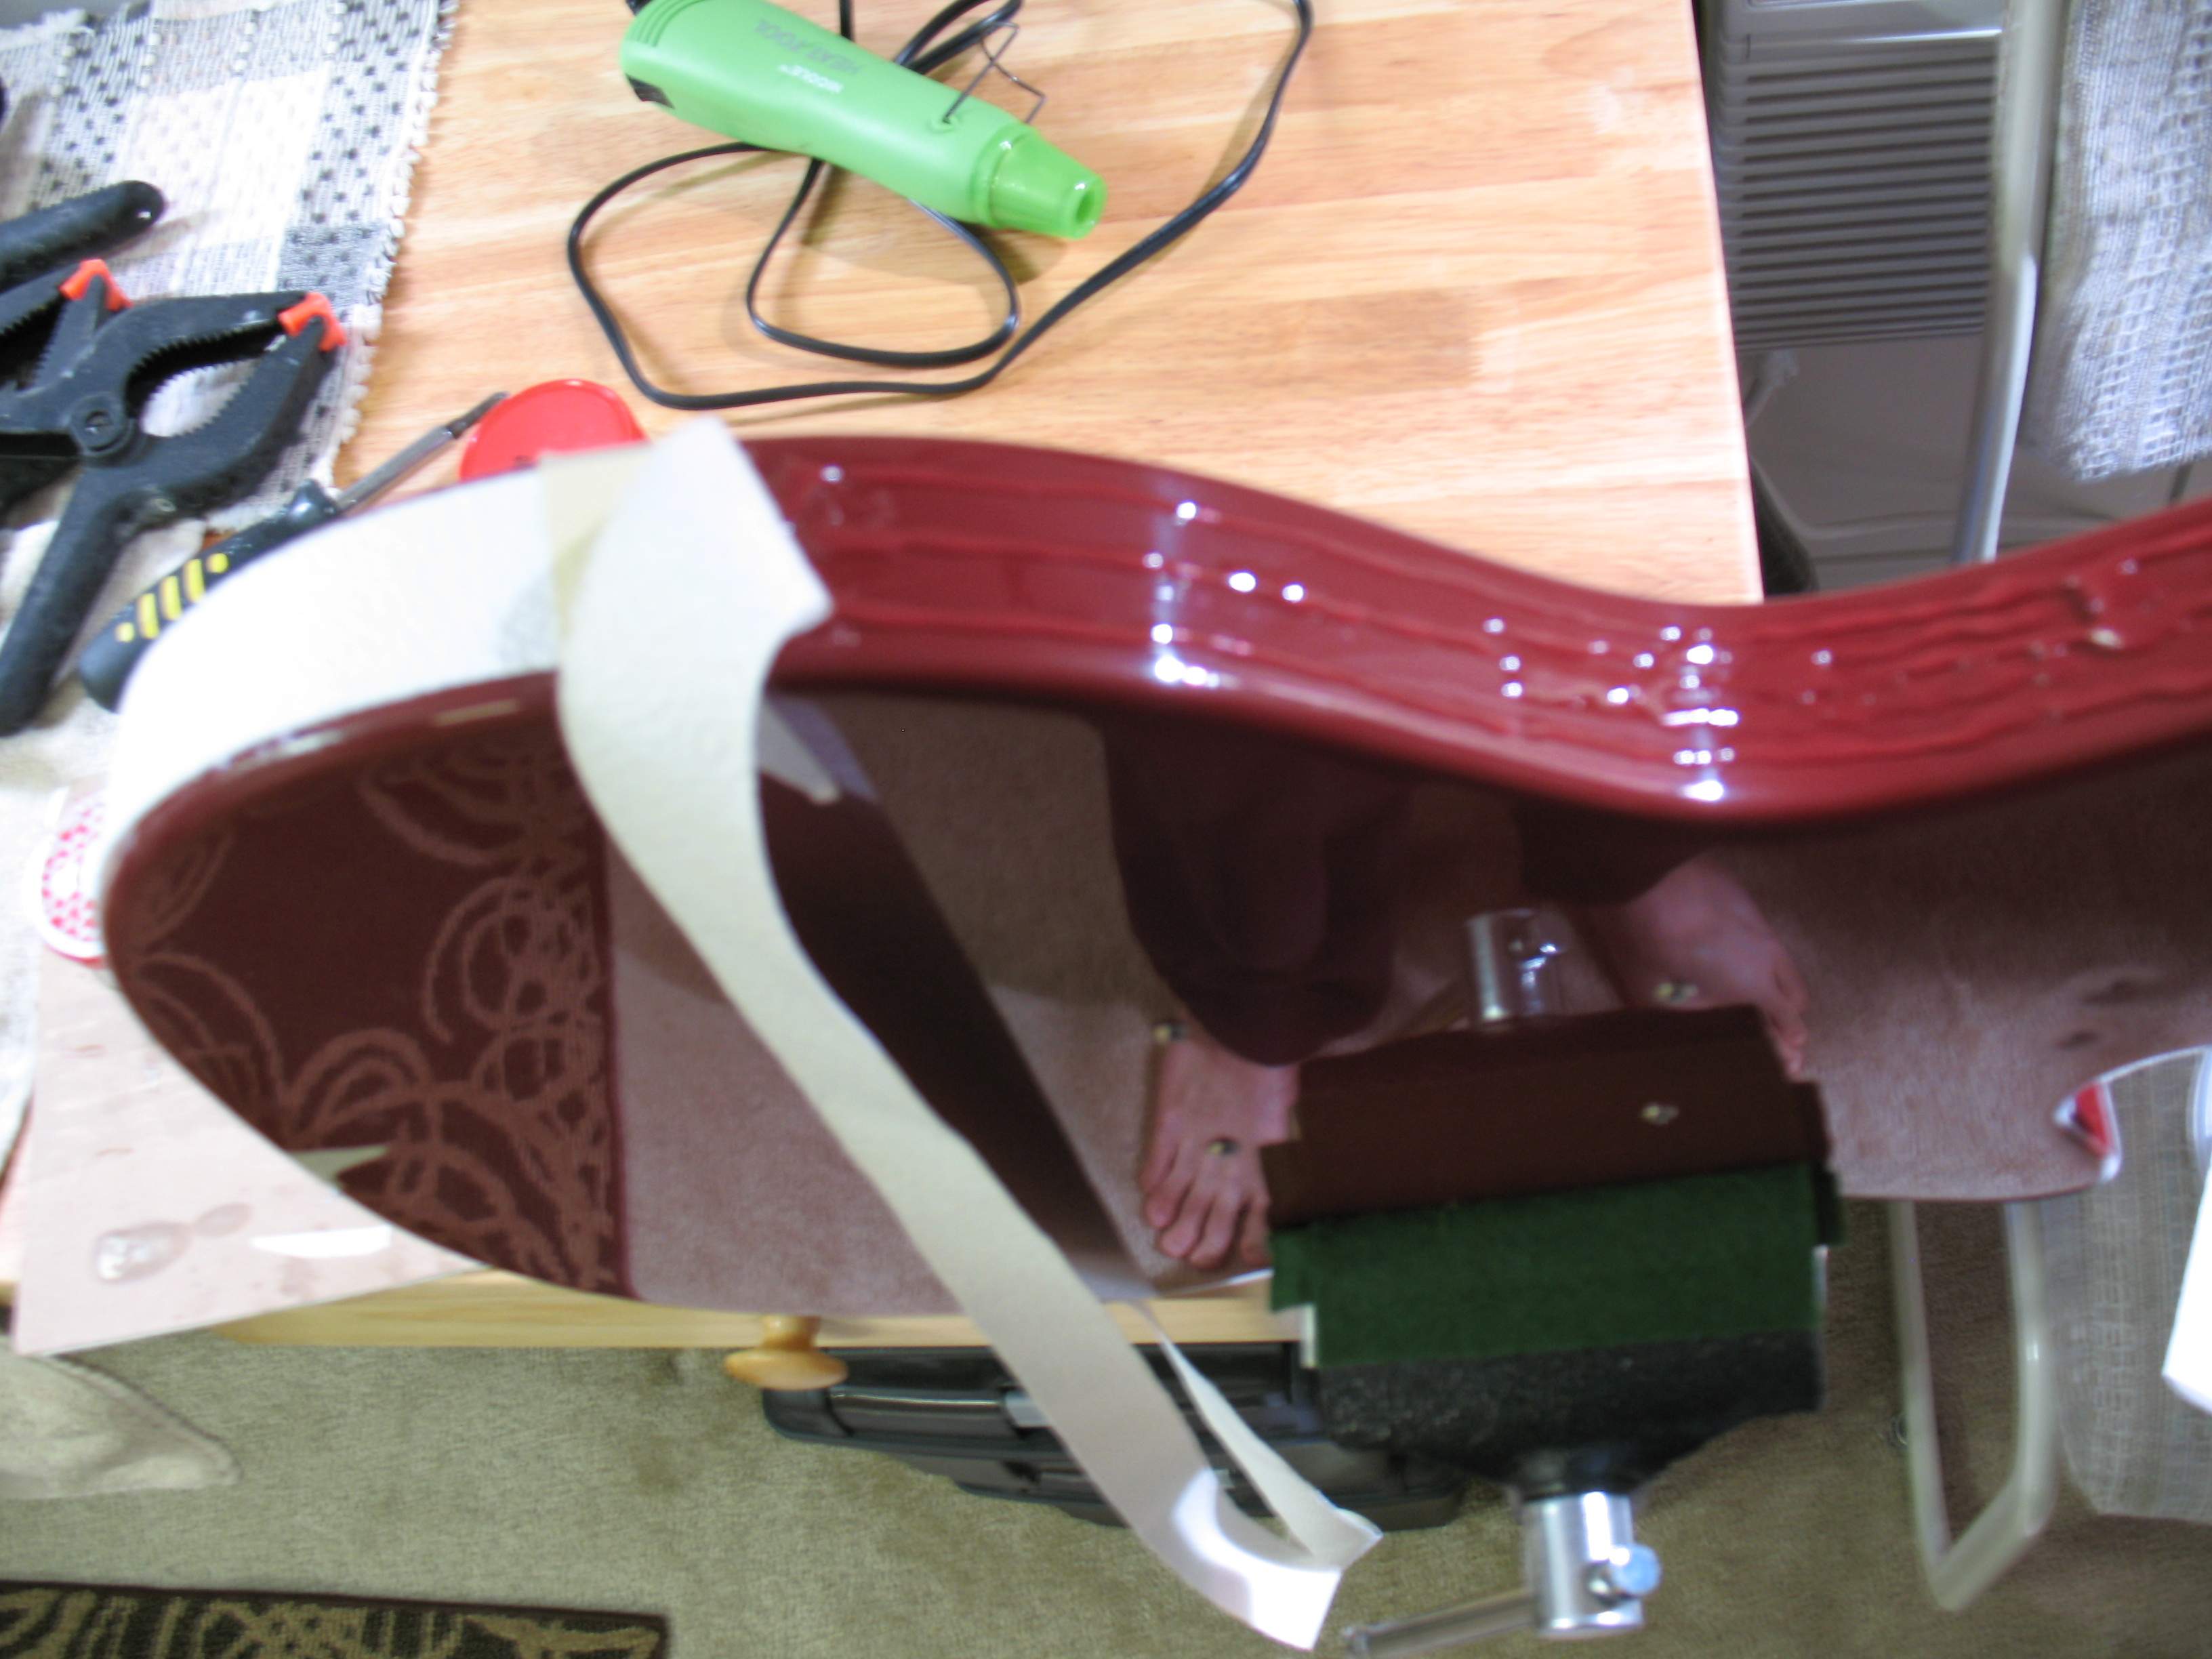
More glue along the entire bottom edge, with some extra on the inside curve. That is the problem spot where the binding always pulls away. What happens is the vinyl tape shrinks slightly over time, and the contact cement is not strong enough to resist it. The vinyl binding and the contact cement seem to have adverse effects on each-other - the cement aggravates the shrinkage, and the vinyl weakens the cement. I have not seen this with E6000, which seems to give a much stronger bond, but time will tell. Do not put tension on the binding on the inside curves, if anything, try to push a little extra material into it from the free end.
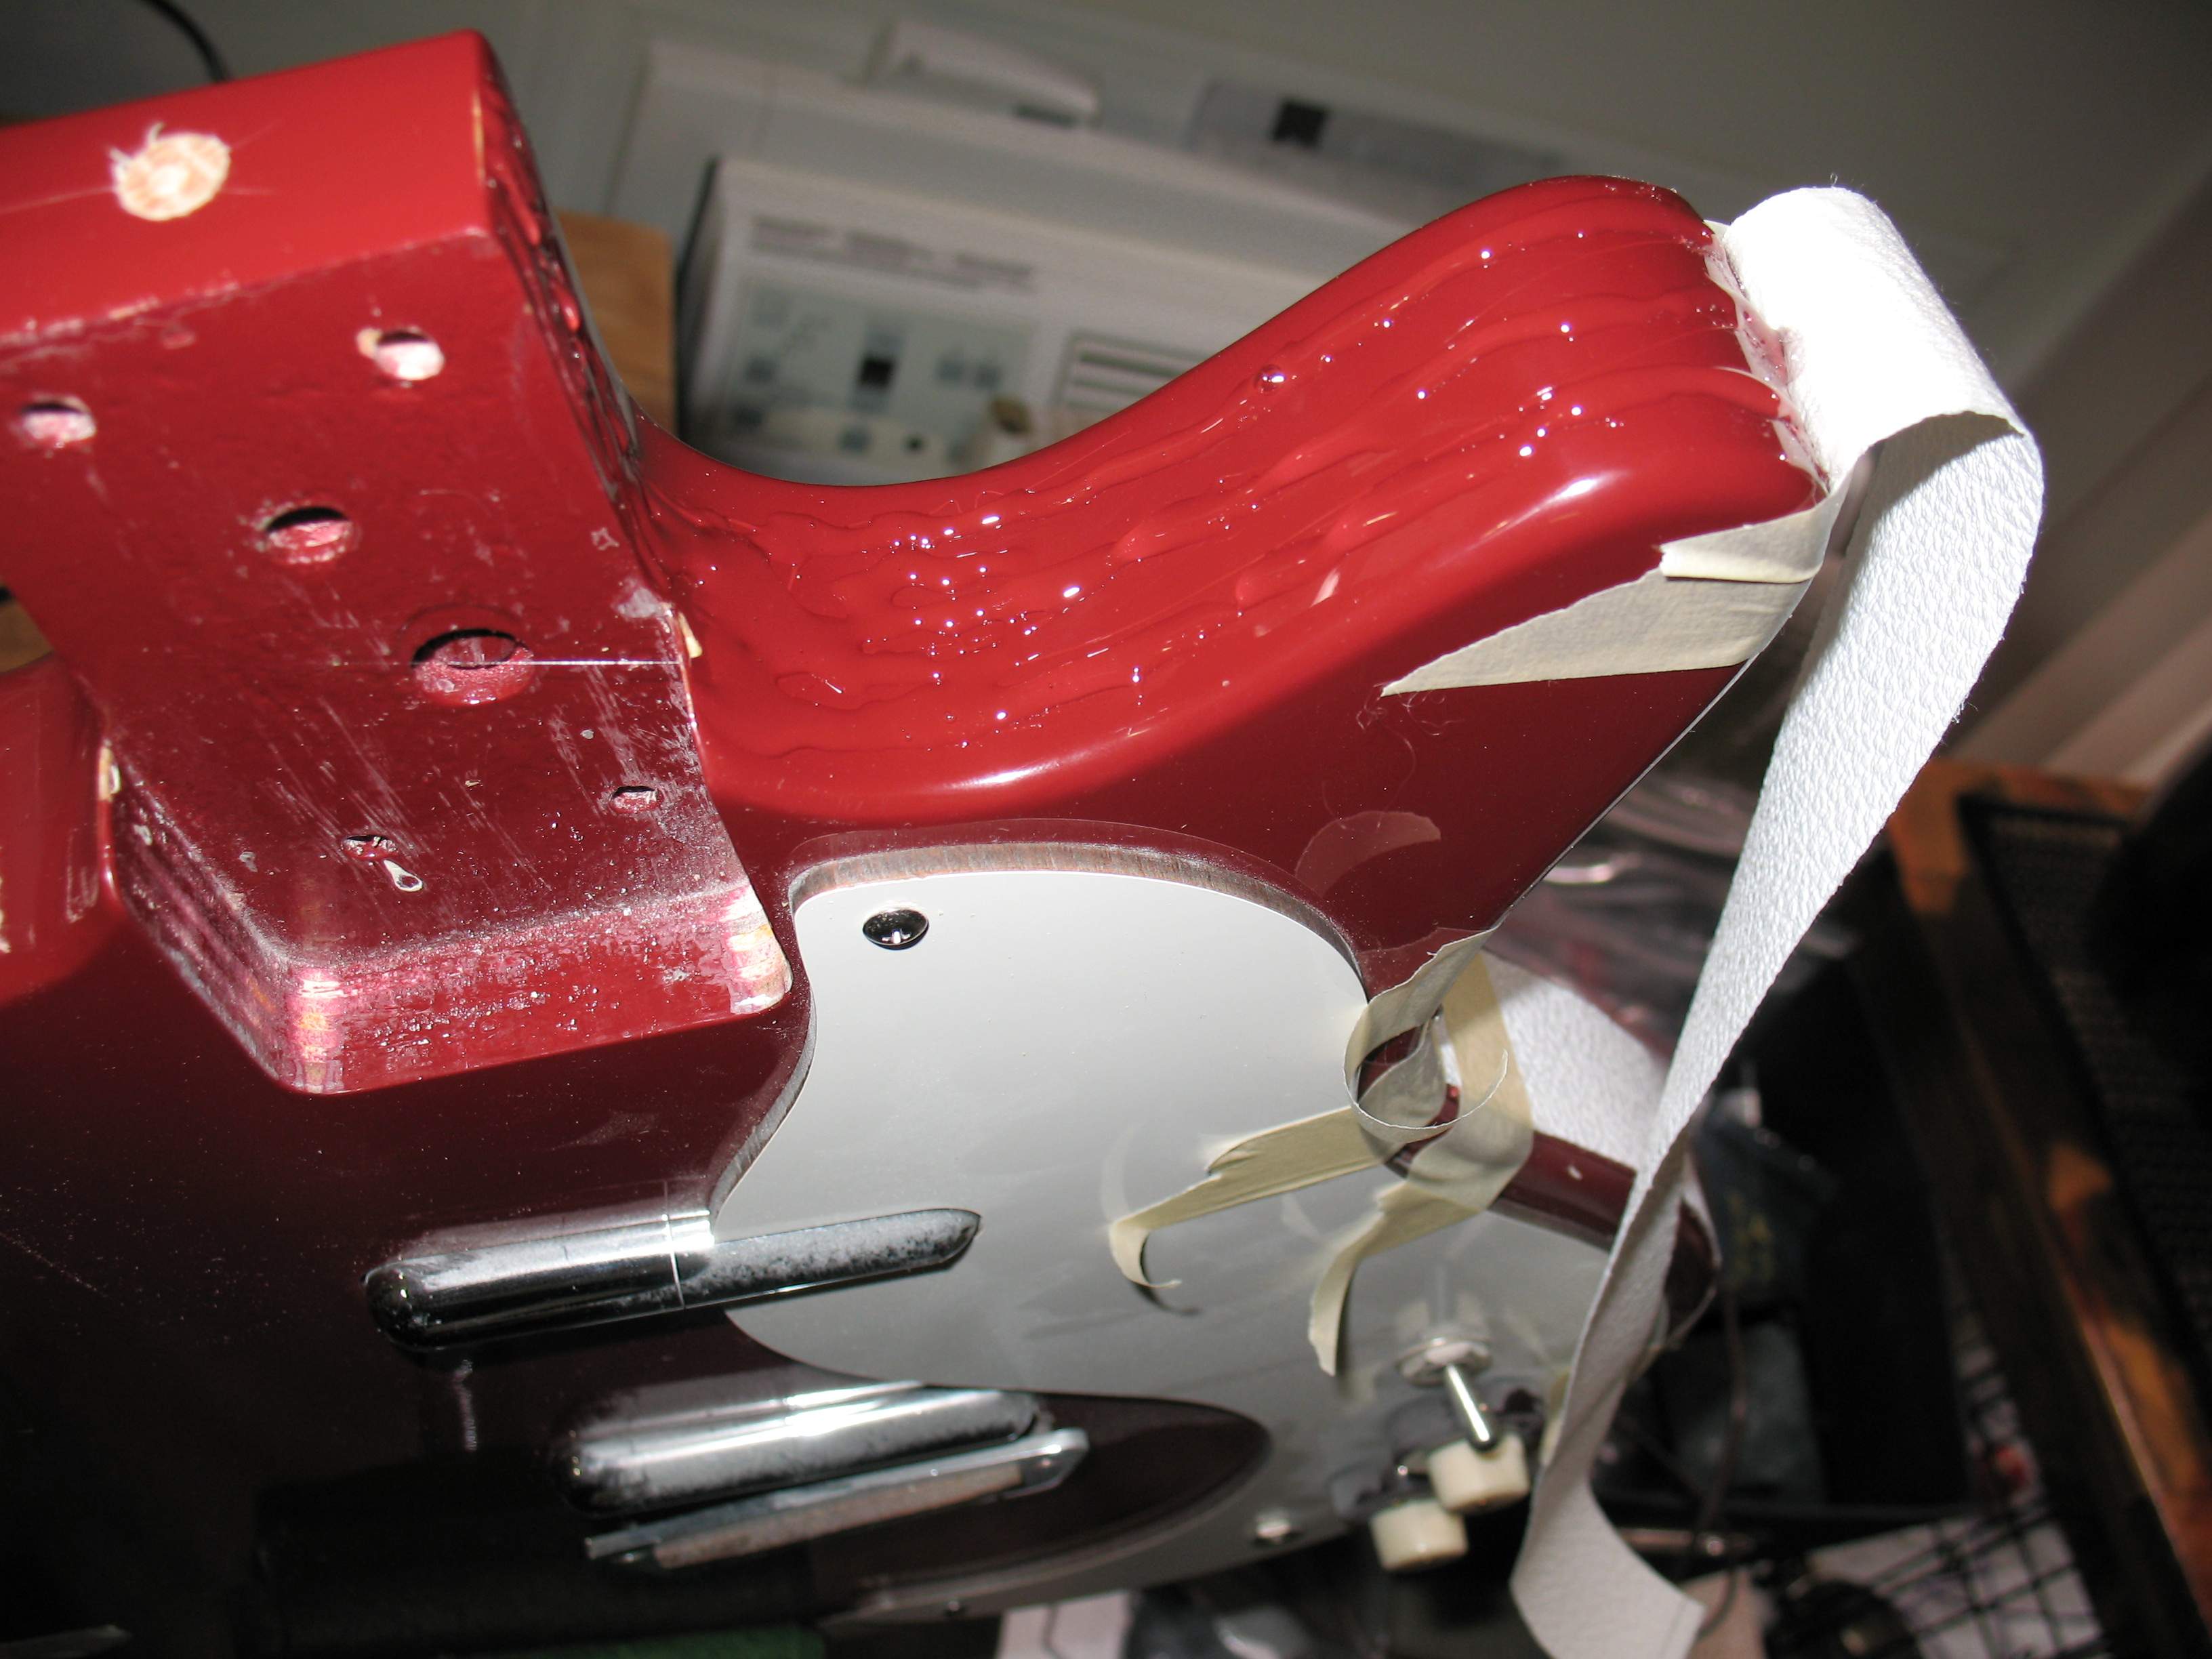
As before, I pressed on the binding and taped it in place, then rolled it out. Extra tape in the inside curve to hold it in place until the glue sets. A messy amount of squeeze out there, but that's a good sign - complete glue coverage. The binding may also soften there a bit, but it will re-harden, again ok - good glue adhesion. For that, I could also have roughed-up the body edges with sandpaper, but I chose not to on this project. In this picture, you can see plenty of extra adhesive inside the horn - the biggest trouble spot.
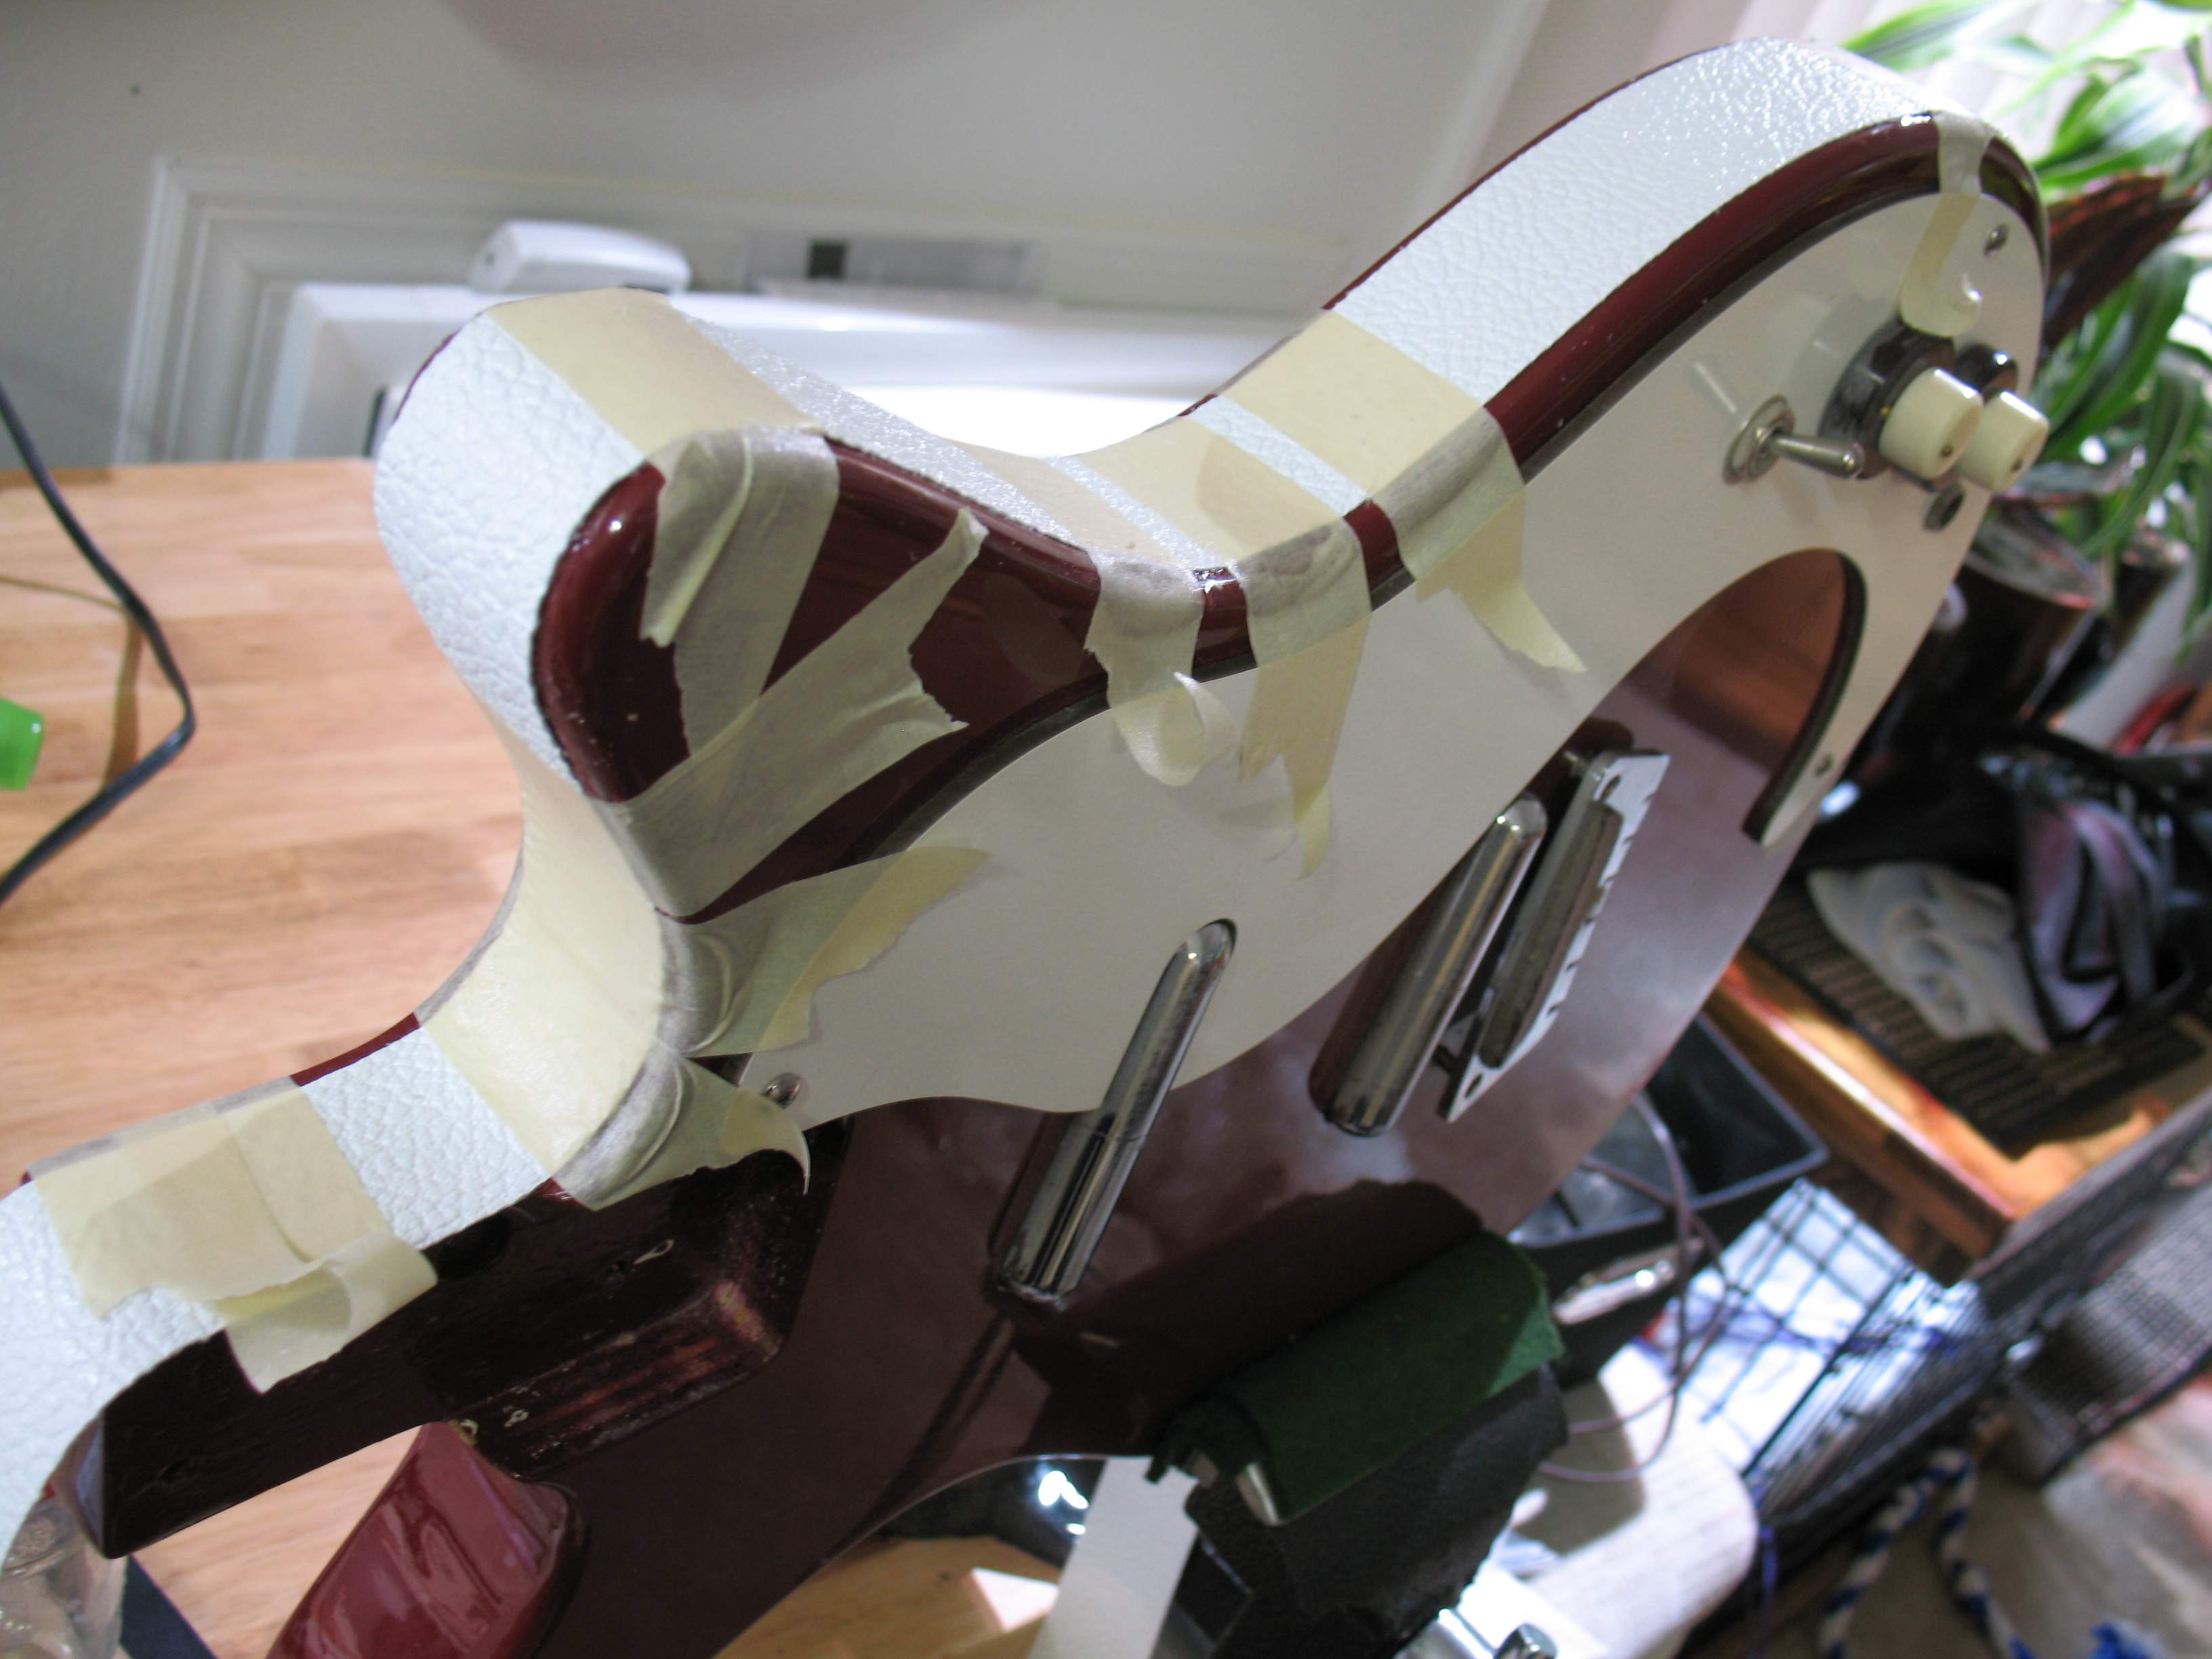
And finally, taped off again, as before. The other side is just the same. The glue stops at the corner of the neck tongue for now. The final step is to trim the binding and overlap it behind the neck under the strap button. After the glue skins over but before it fully sets, remove the special luthier's tape and rub off the squeeze-out with your fingers. It will roll right off a slick poly finish. Note - this would not be a good idea with a god-awful lacquer finish, which would probably be completely ruined. Uncured E6000 also appears to clean up with alcohol, which is a real nice discovery. It is wonderfully tacky yet slow-setting - I have done minor clean-up and pressed-out bubbles as much as a day later, yet it grabs to a useful degree almost immediately. It's like magic. Full set-up takes 24-72 hours.
And that is the best way I have found to attach a Danelectro-style tolex binding. This method is very calm and sedate, with plenty of time to make adjustments, and none of the clock-ticking one-shot tightrope-walk total panic of using traditional contact cement, and virtually no mess. As you can see, I had plenty of time to take pictures, and I'm letting it sit half-done while I write this. And note how runny this glue isn't - not one drip through this whole job.
The final-final step is to trim away the excess binding around the neck pocket with a very sharp razor. I use a pin to find the screw holes for the strap buttons, probing until it goes through.
Myself, I think that the bright white tolex binding is a beautiful accent to a guitar. It also gives it a firm grip on your leg when you play sitting down. If you get set up to make your own strips, you can make any color or pattern you like. The Danelectro-style body construction of masonite over wood is easy and inexpensive, especially when updated to use plywood for the frame. Masonite is my favorite tone wood. All the materials you need are at Home Depot.
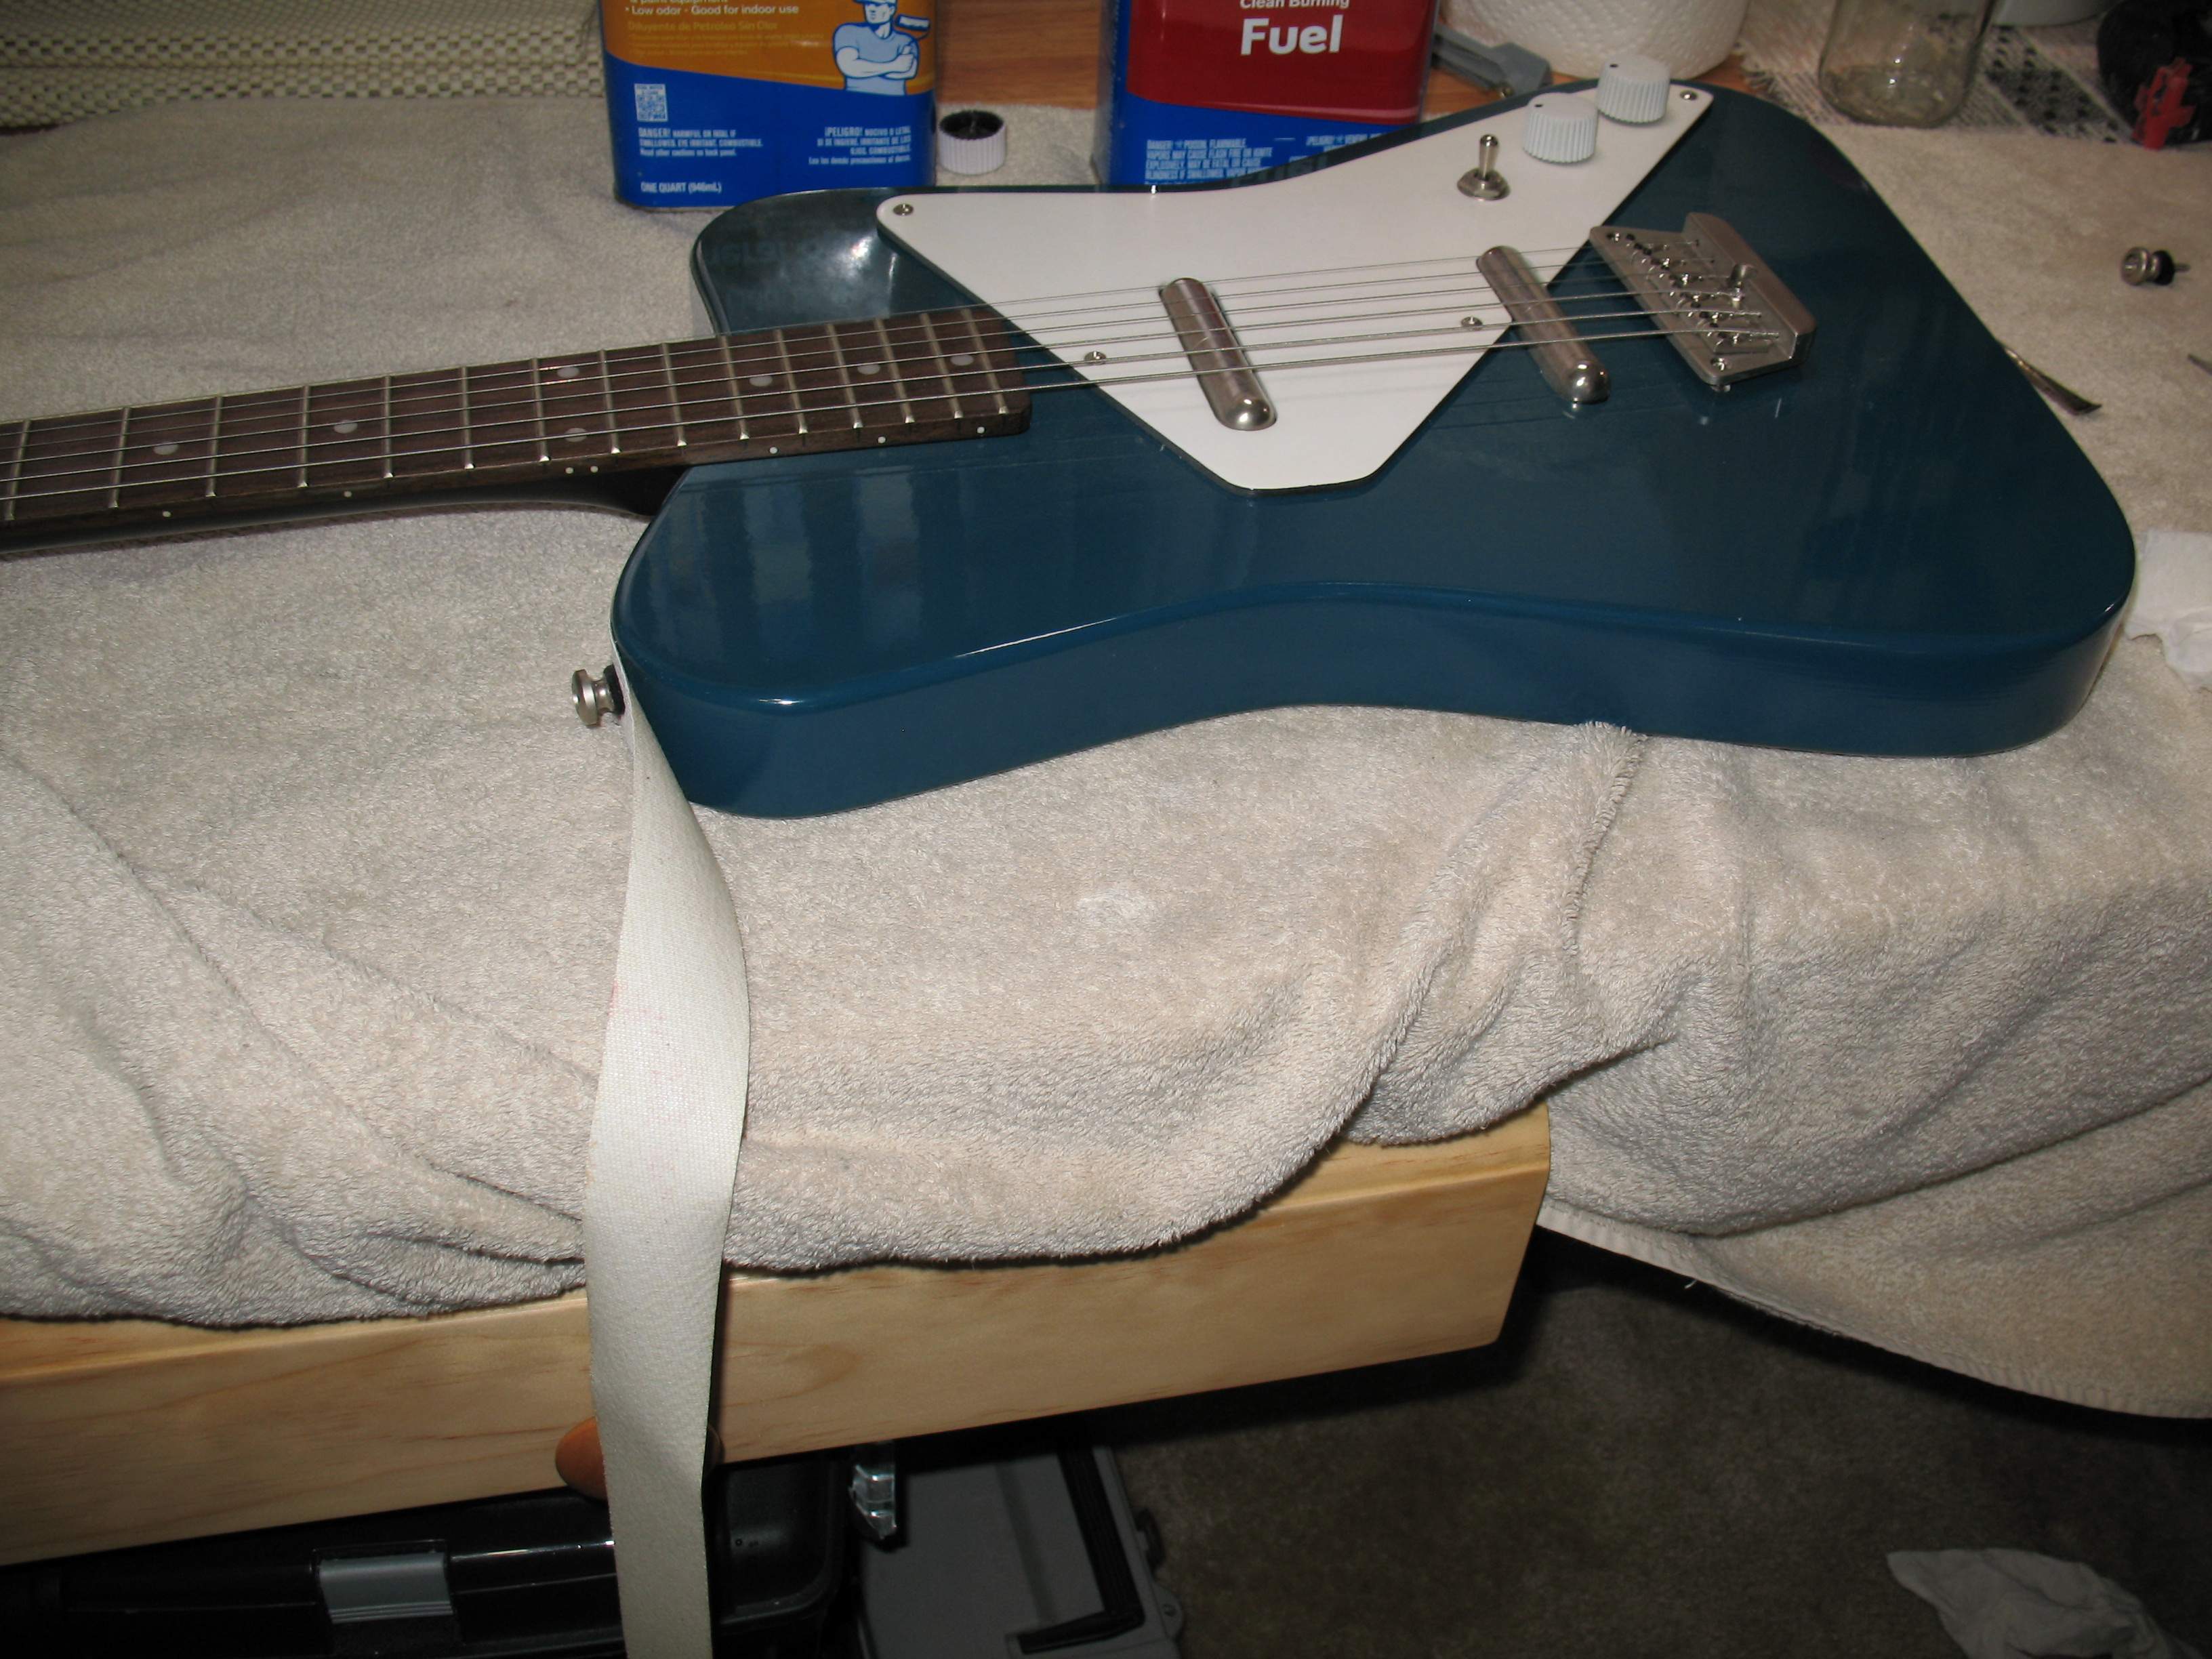
Going to attempt a repair on this one - the binding sprang only in the upper curve. It is in very good shape - not curled or otherwise messed up, and not too much contact cement on it, and the body is such a simple shape that everything should fall right back into place. The contact cement never truly dries, it stays sticky, which is why the slightest pull dislodges it. Funny, it is actually gooey-er now than when it was new. The E6000 dries like real glue, so I have much higher hopes for it. Notice the special luthier's work pad, otherwise known as an old towel.
I cleaned the body the same way, and then turned my attention to the goop on the back of the binding. Cleaned that off the same way - mineral spirits followed by alcohol, just more elbow-grease, and let it dry for a few hours. There seemed to be no residue to interfere with the E6000 adhering to the tolex, so I went for it. BTW, this is a bought binding, whereas the one above I made myself. I can see no difference.
This is a reissue of a Danelectro 'Pro' model, sometimes known as the Flintstones guitar. I've always toyed with the idea of building one of these as a bass, what could be easier? But at the moment I have some other ideas, similar in ways to that, so maybe someday. This guitar is Chinese-made, not as nice as the Korean model one above, but still a well-made inexpensive guitar. This one originally had 'aged' binding and pickguard and a satin finish. I hate 'relic'-ing of all sorts, I shined up the body and whitened all the dingy parts. I also painted the knobs to the correct authentic color. I still need to square-off the headstock to the correct shape. ( Now that I think of it, this one had a bad neck, which Danelectro replaced under warranty, no questions asked, shipped to my house. After that, it is a nice guitar. )
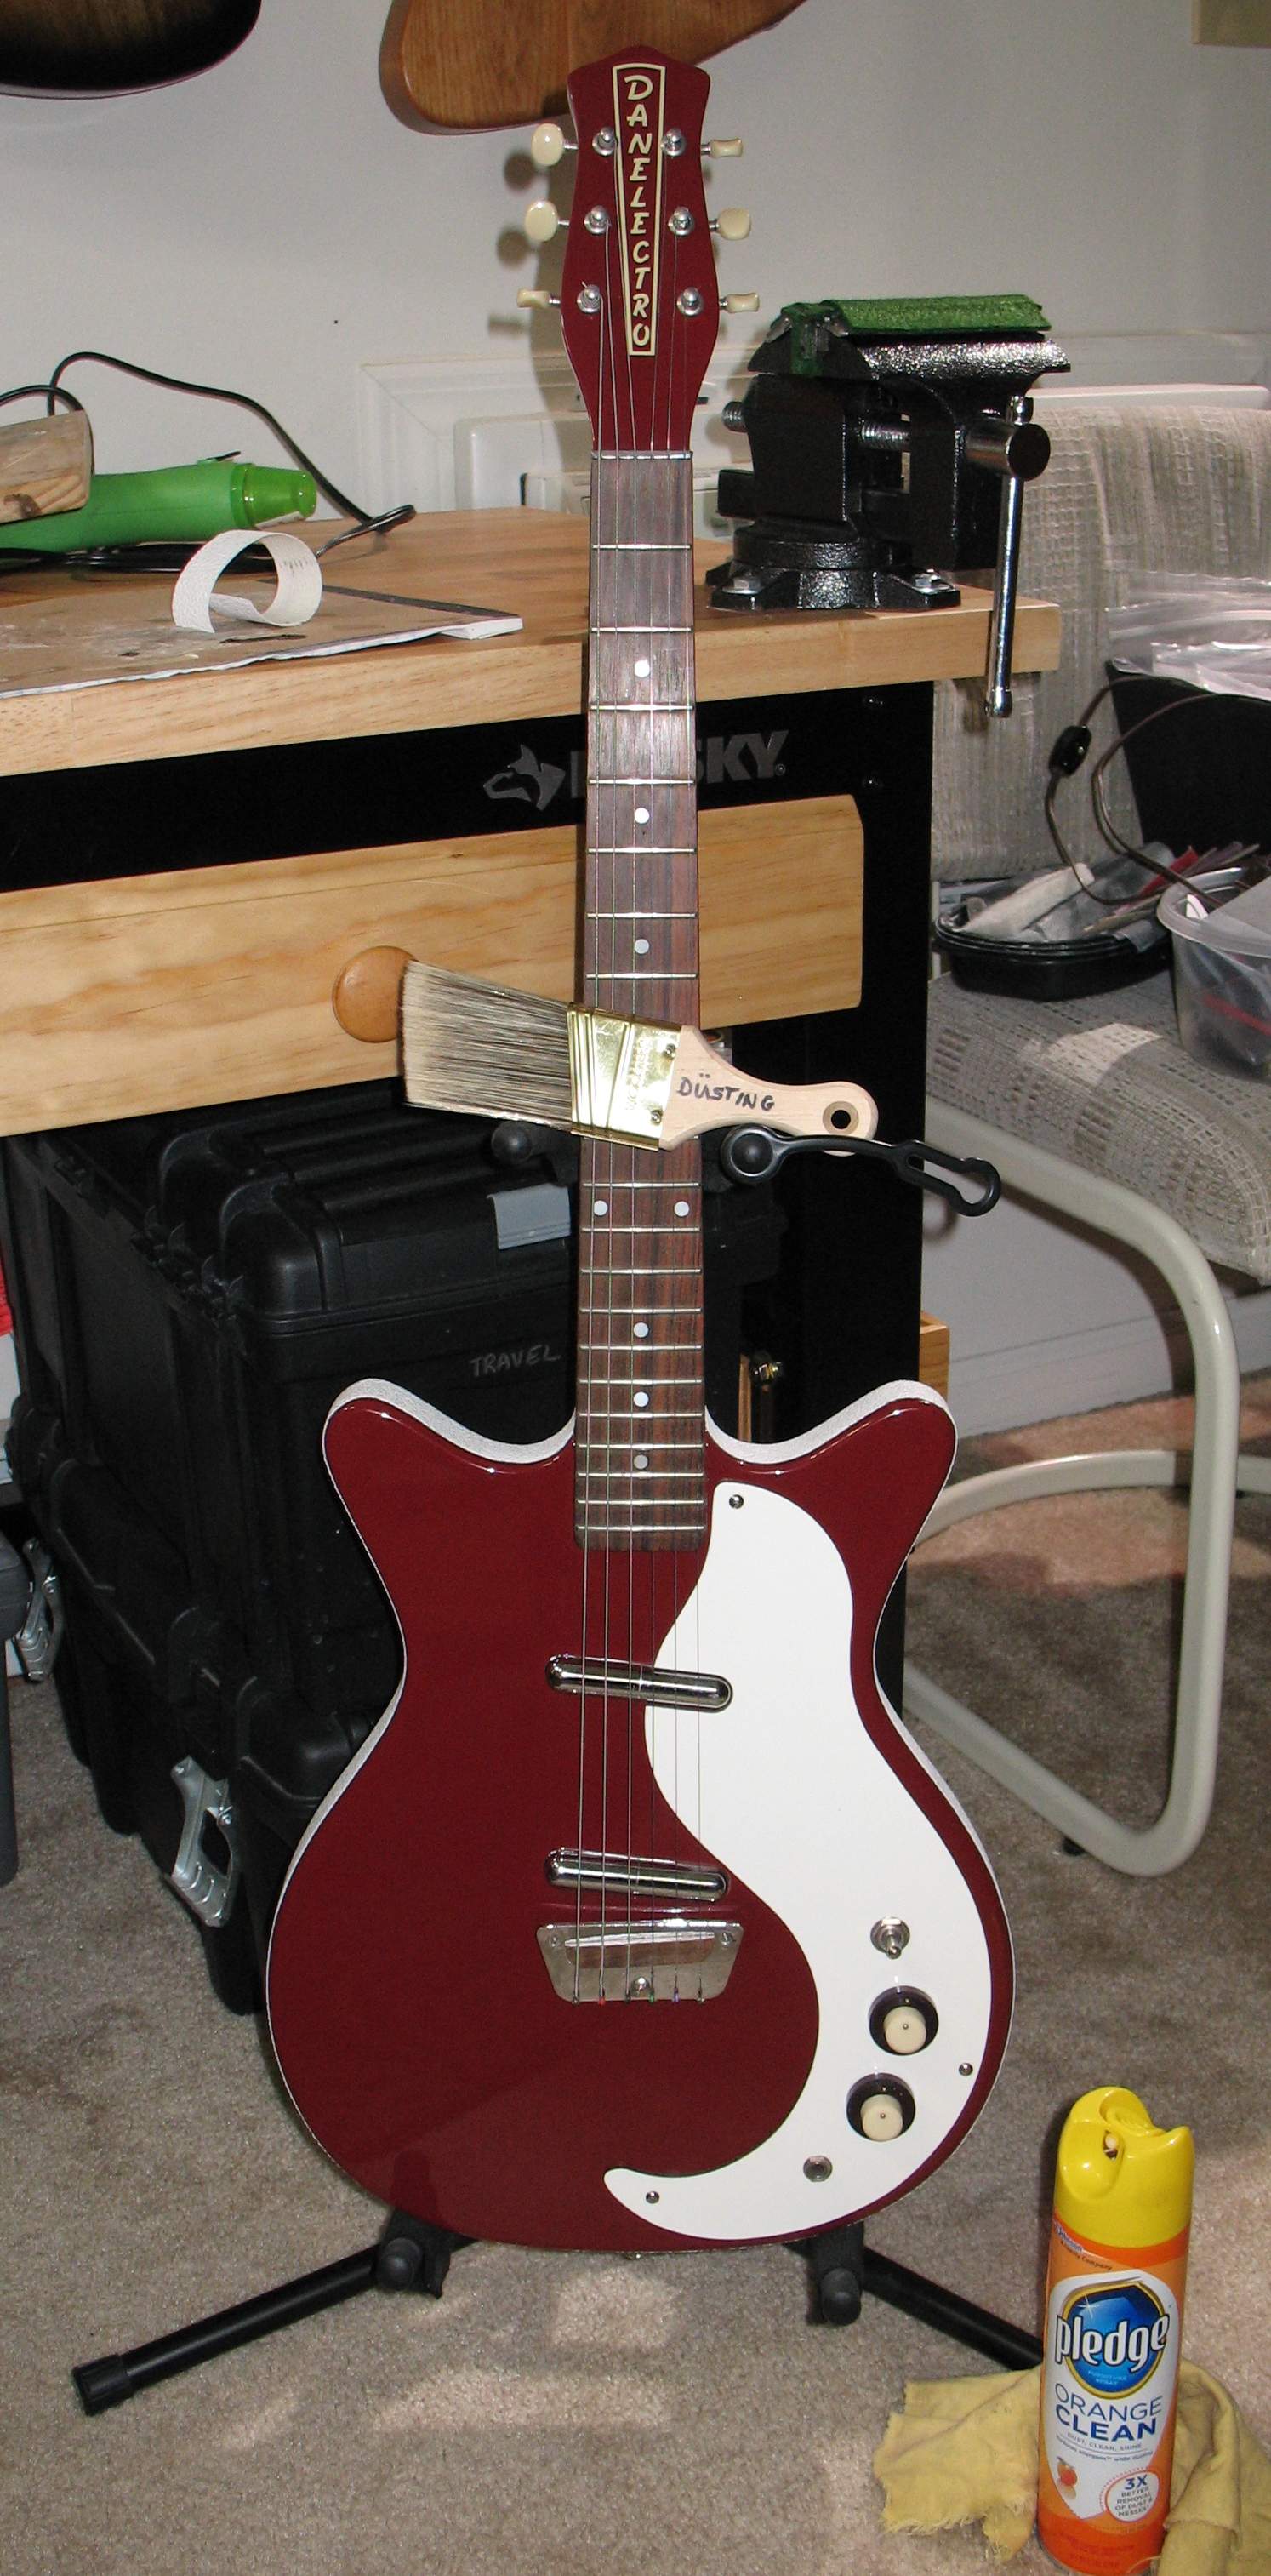
A clean and polish with a soft rag and my special guitar formula from the luthiery supplies aisle at the supermarket, and she's all purty again. This 'Pledge' stuff is great, I sometimes even use it on furniture ! Orange is for electrics, there is a lemon version that is formulated for acoustics and ukuleles. Also, you can see my special guitar cleaning tool - a soft angled paintbrush that I use only for dusting. I got the idea one day from watching a program on archaeology. It easily gets into all the nooks and crannies without scratching. It is labeled so I don't accidentally use it for painting. The umlauts are for cool. If anyone would like one, I can run to Home Depot and pick one up and write "Guitar" on it and sell it to you for only $25 plus shipping and handling. Come on - that's a bargain for a real luthier tool !!! For an extra $5 I'll even add umlauts. I also have several spare luthier's work pads available for luthier prices.
I'll give the adhesive a few days to set up good before I handle it any more. If you look close, you can see that this is one of my 'felted' stands. I hope that the E6000 works in the long run, otherwise I give up. I'll have my answer in a year. I know these are guitars, not basses, but it makes no difference unless you are splitting hairs. This post has really wandered far and wide. These long posts are as much notes to myself as anything else, I often refer back to them to refresh my memory, especially my other thread on
wiring, where I have stored lots of useful diagrammes.
UPDATE
The repair to the blue guitar is looking good, but it was far too much work to try to save the existing binding. When I finished the upper curve, I noticed the lower curve was not tight, and ended up doing that as well. Might as well have done the whole thing. In the future, unless the repair is basically just a spot, it is better to strip off the whole thing and work with a new clean piece of Tolex, now that I can make them myself for less than a dollar each.
Here is the nightmare binding job:
The inside of those devil horns has shed the original binding tape and every attempt to cover them since, and every spot repair likewise eventually failed. The waist curves are also a problem. The old binding was a complete mess of contact cement and repair spots when I pulled it off, no thought of repair this time.
I did this one in sections: first the ass-end around the bends to the straights, and let it set for a few hours. Then the waist curves to the tips of the horns, and let it set overnight, which is where it is at now. Finally, the inside of the horns tomorrow. I have learned to tape-off the edges completely before rolling it out. This keeps the cement from squeezing out excessively, where it just goes to waste.
This is a reissue of the old Sears Silvertone 1457 Amp-in-Case model favored by Mick Jagger, who can certainly afford better. Both the original and the reissue are wonderful chimey guitars - poor man's Rickenbacker, very sixties sounding. This one was originally satin finish and artificially shabby, I shined it up the same as the blue one. The headstock is all wrong, and it is begging for a coat of silver sparkles, but at least I installed the correct stacked knobs and an original-style rosewood bridge. The pickguard is also an exact repro of an old one that I made, with the jack on the front and the side hole plugged under the binding. It's a nice guitar when it is all together, closer to the original and much better than stock. They also issued this model as both long and short-scale bass and baritone/Bass VI - probably the only time ever that you could directly compare different scale lengths on the same instrument. I only have the guitar though.
Thinking about it, the problem with ever-gooey contact cement is that it creeps, a lot. So as the entire length of the binding contracts, it shifts around trying to relieve the tension, and pulls out the inside curves. That explains why it never separates on the outside curves or the straights - it actually pulls tighter there. What is needed is a cement that does not creep. That would keep the tension localized at a low enough level that at no point does it exceed the bond strength of the cement. I'll bet Danelectro used hide glue against bare wood 60 years ago, but that is not an option here. I've successfully repaired loose spots on those old guitars with Elmer's. The E6000 definitely softens and swells the Tolex, but it all hardens after a few days.
The cheapest I've found clear E6000 is KMart - $3.99 for a 2-ounce tube. The best place to get Tolex is [Invalid or Expired Link Removed]. You can get 54" widths, and they list the weights. I use lighter-weight Tolex for guitar binding, I don't think a thick chunk of pleather would look right. Their Tolex glue looks like a water-based contact cement - useless for this application. In fact, my experience with water-based contact cement is that it is useless for
any application.