

Enjoy the benefits of a premium membership!
Upgrade Account
-
TalkBass has been independent since 1998. Add your voice.
Create a free account to reply to discussions, view embedded media, and browse with fewer display ads.
Join free Log in
Want zero display ads or expanded classifieds tools? Compare plans.
You are using an out of date browser. It may not display this or other websites correctly.
You should upgrade or use an alternative browser.
You should upgrade or use an alternative browser.
Crispy Cherry
- Thread starter SamanthaCay
- Start date
More options
Who Replied?


Hey Samantha;
Have you seen the winder that Nexy (aka mapleglo) made? I think she's using the same rotary counter that you just ordered. And she's driving it with home made pulleys and a rubber band! Clever. I like the little XL series toothed timing belts, to make sure it can't slip, but the rubber band probably works just fine.
The first page of the pickups thread, post #10:
Magnets & Copper Wire: A Pickup Building Thread
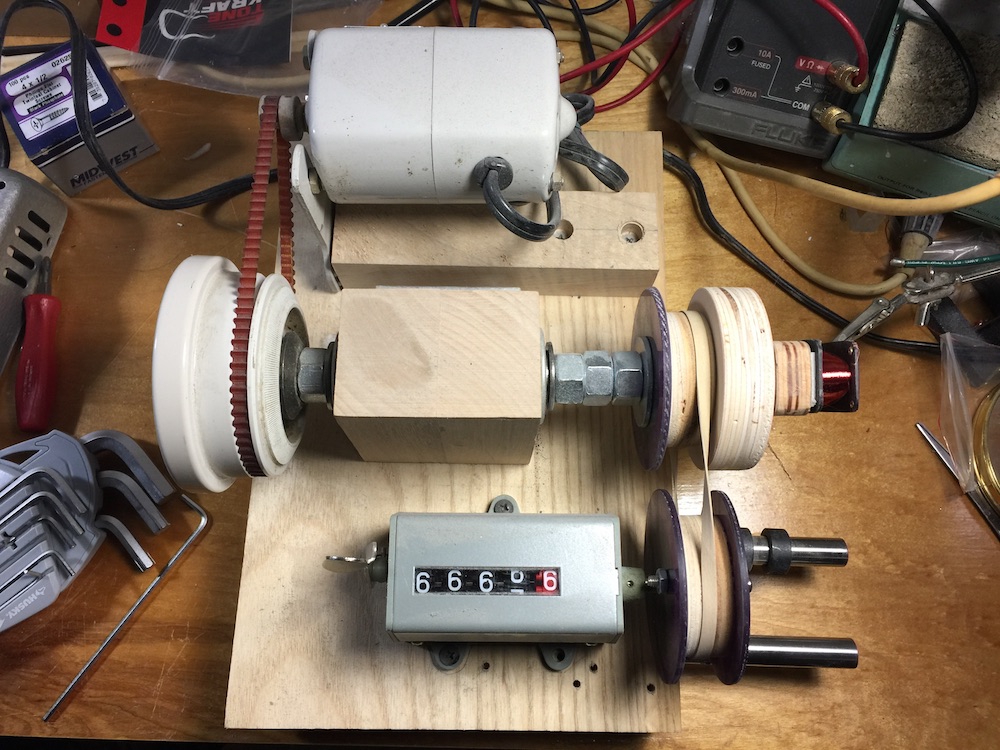
Have you seen the winder that Nexy (aka mapleglo) made? I think she's using the same rotary counter that you just ordered. And she's driving it with home made pulleys and a rubber band! Clever. I like the little XL series toothed timing belts, to make sure it can't slip, but the rubber band probably works just fine.
The first page of the pickups thread, post #10:
Magnets & Copper Wire: A Pickup Building Thread

Building a winder doesn't have to cost much. My winder is based on a brand new $10 bargain bin variable speed drill from Menard's and a cheap electronic calculator. Everything else is from junk I'd accumulated, with the exception of the magnetic reed switch that was a couple dollars for two of them from the local Radio Shack.
It tracks rotation fine with the simple friction drive reducer for speed. I did a couple of 100 turn trial runs to figure out the magnet reliably produced a clean contact state change every 6.37 rotations of the main shaft. Keying in the 6.37 as a constant on the calculator causes the count to increase by 6.37 for each pulse.
Very Rube Goldberg and also very accurate.
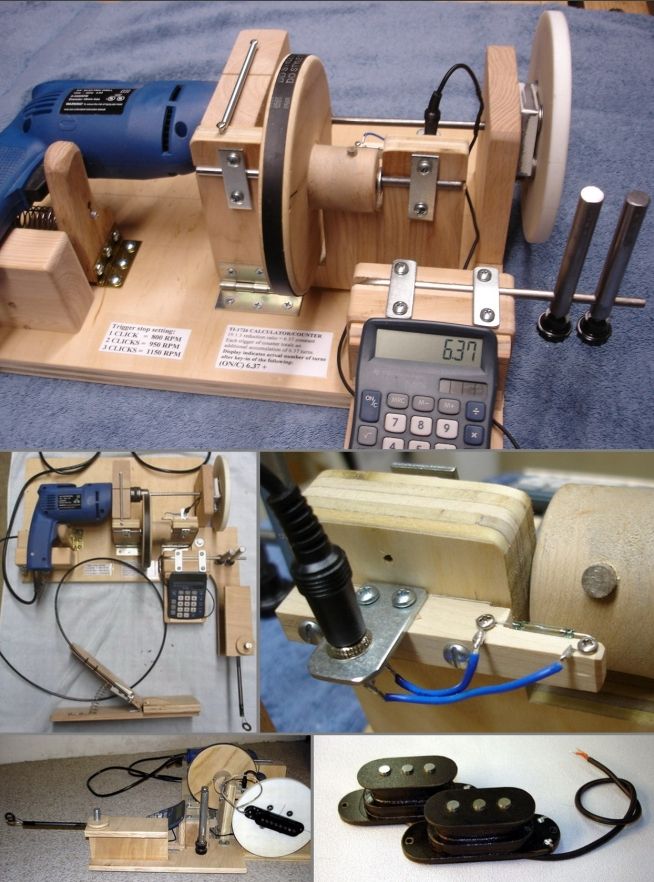
It tracks rotation fine with the simple friction drive reducer for speed. I did a couple of 100 turn trial runs to figure out the magnet reliably produced a clean contact state change every 6.37 rotations of the main shaft. Keying in the 6.37 as a constant on the calculator causes the count to increase by 6.37 for each pulse.
Very Rube Goldberg and also very accurate.

@RichterScale be careful playing with your wife's brother, else ya might end up on one of those day time talk shows. 
@Bruce Johnson I did see her winder! I need to take some time and read through that thread more, as I'm guessing a lot of my questions are probably gonna be answered in there lol.
Little tiny update, work life has been busy this week! But I did get a few things done between the madness.
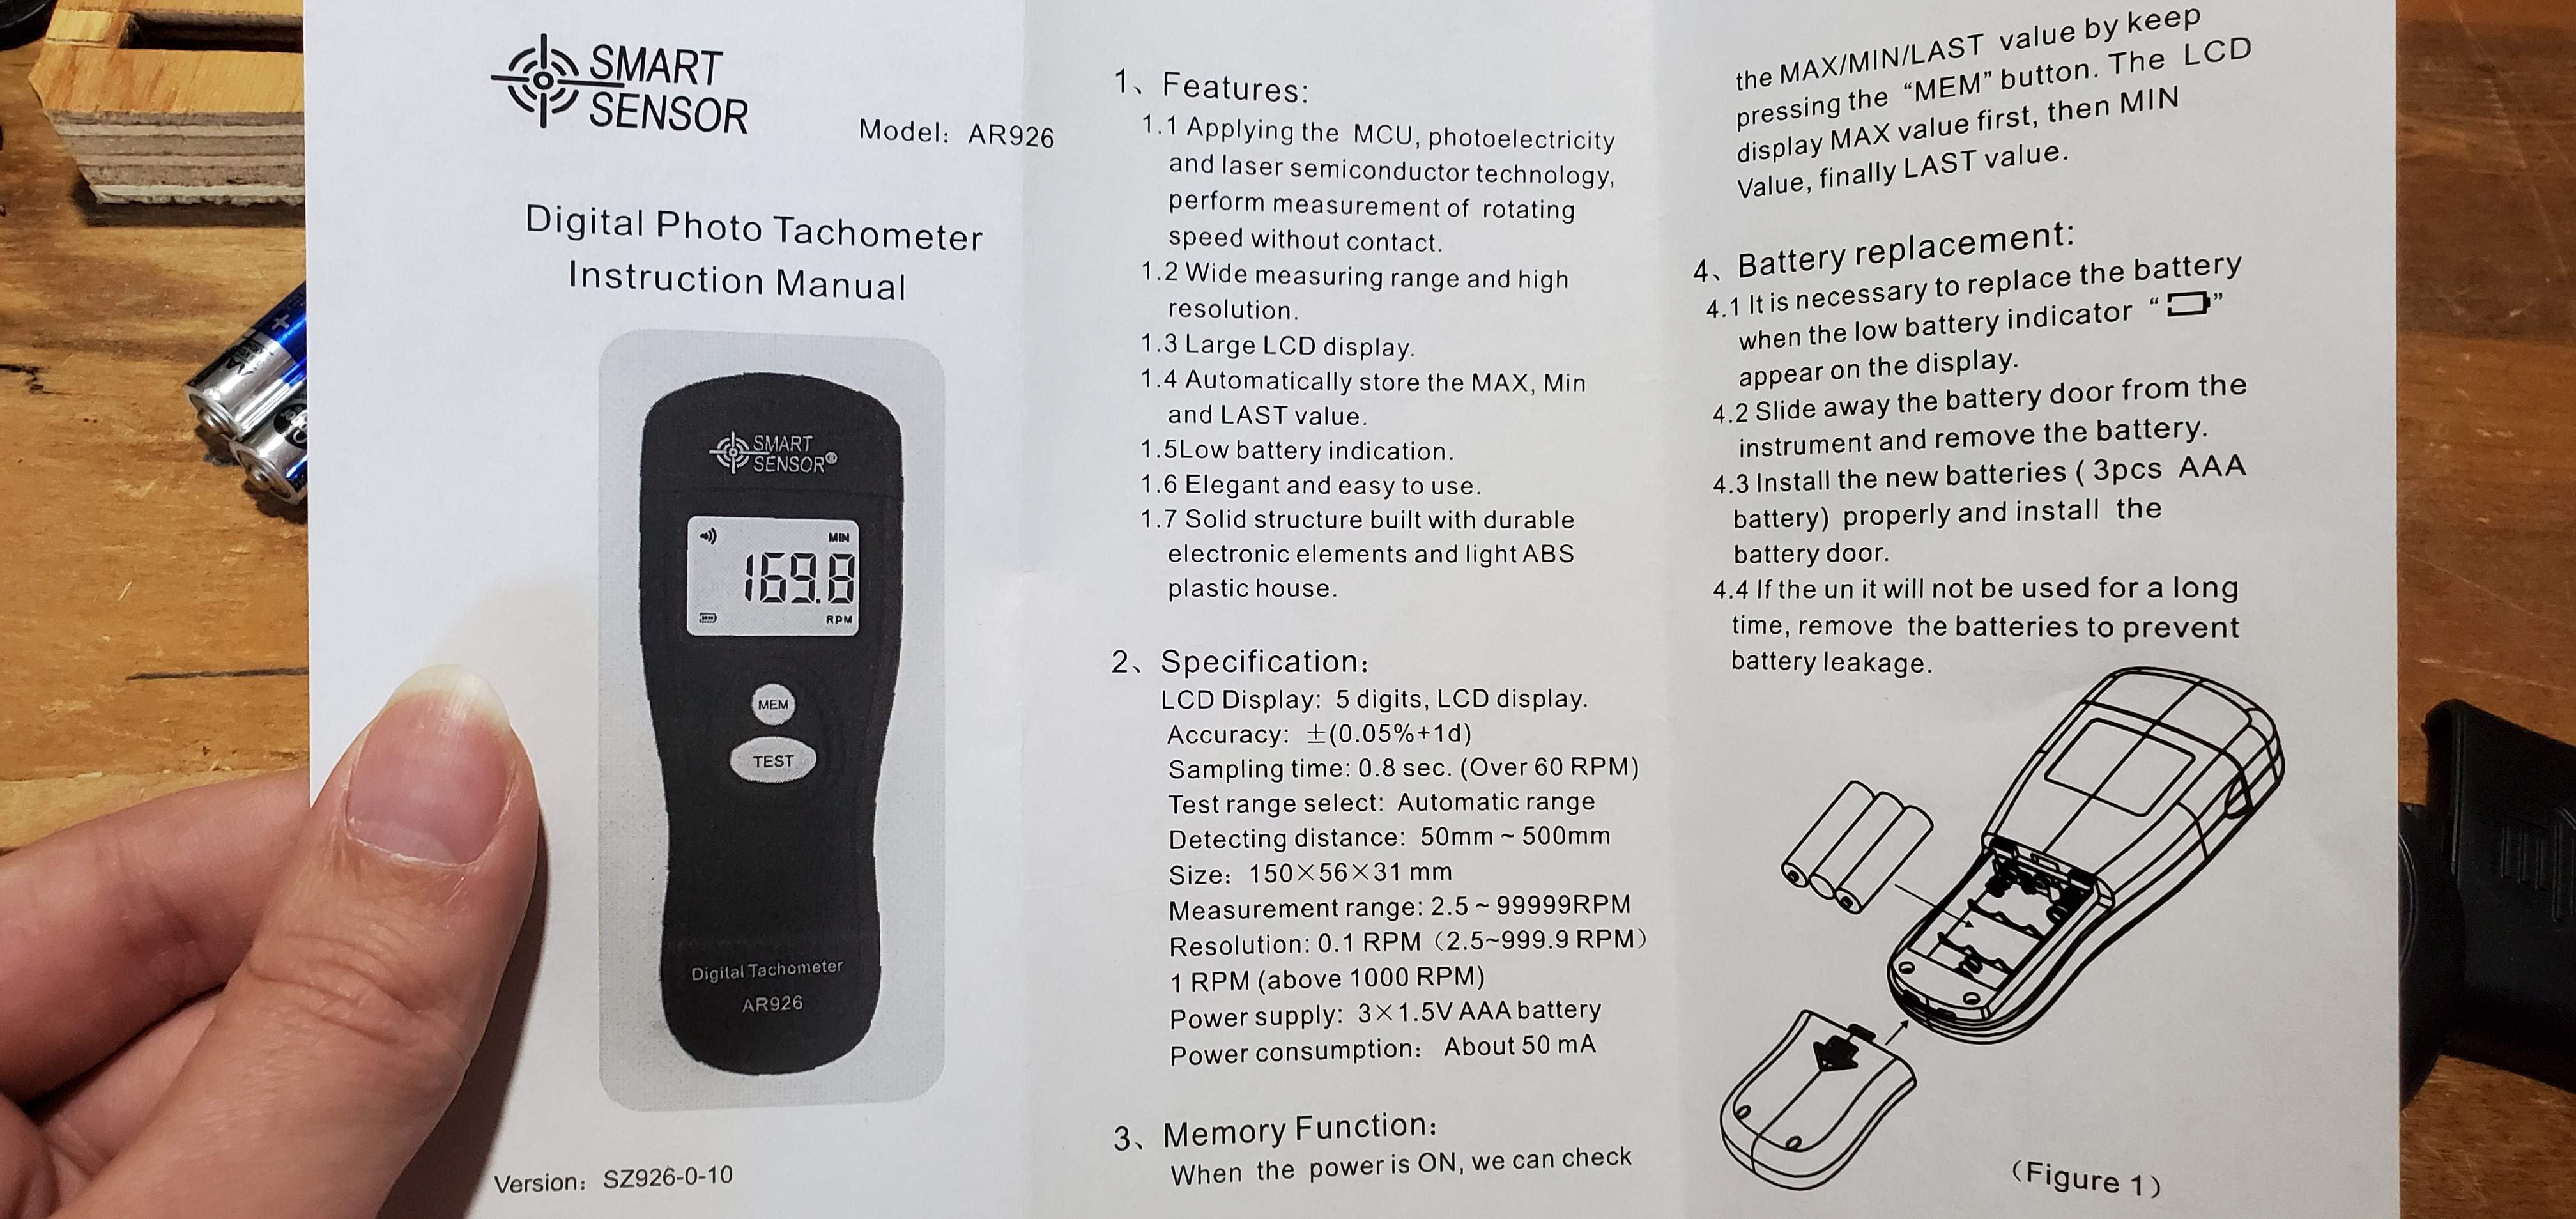
This thing showed up on Monday and I tested it Tuesday. First thing I noticed was screws missing, ah sweet it's like me . Than to make a long story short I spent about twenty or so minutes correcting problems this thing has.

Replaced the backwards led, reflowed the laser's connections, and finally when that didn't work I just reflowed the whole dang thing. I was also surprised this thing was soldered with lead/tin (that's a big no no in manufacturing).
Anyway I put it back together slightly more working than before and returned it.
New tachometer on the way fingers crossed.
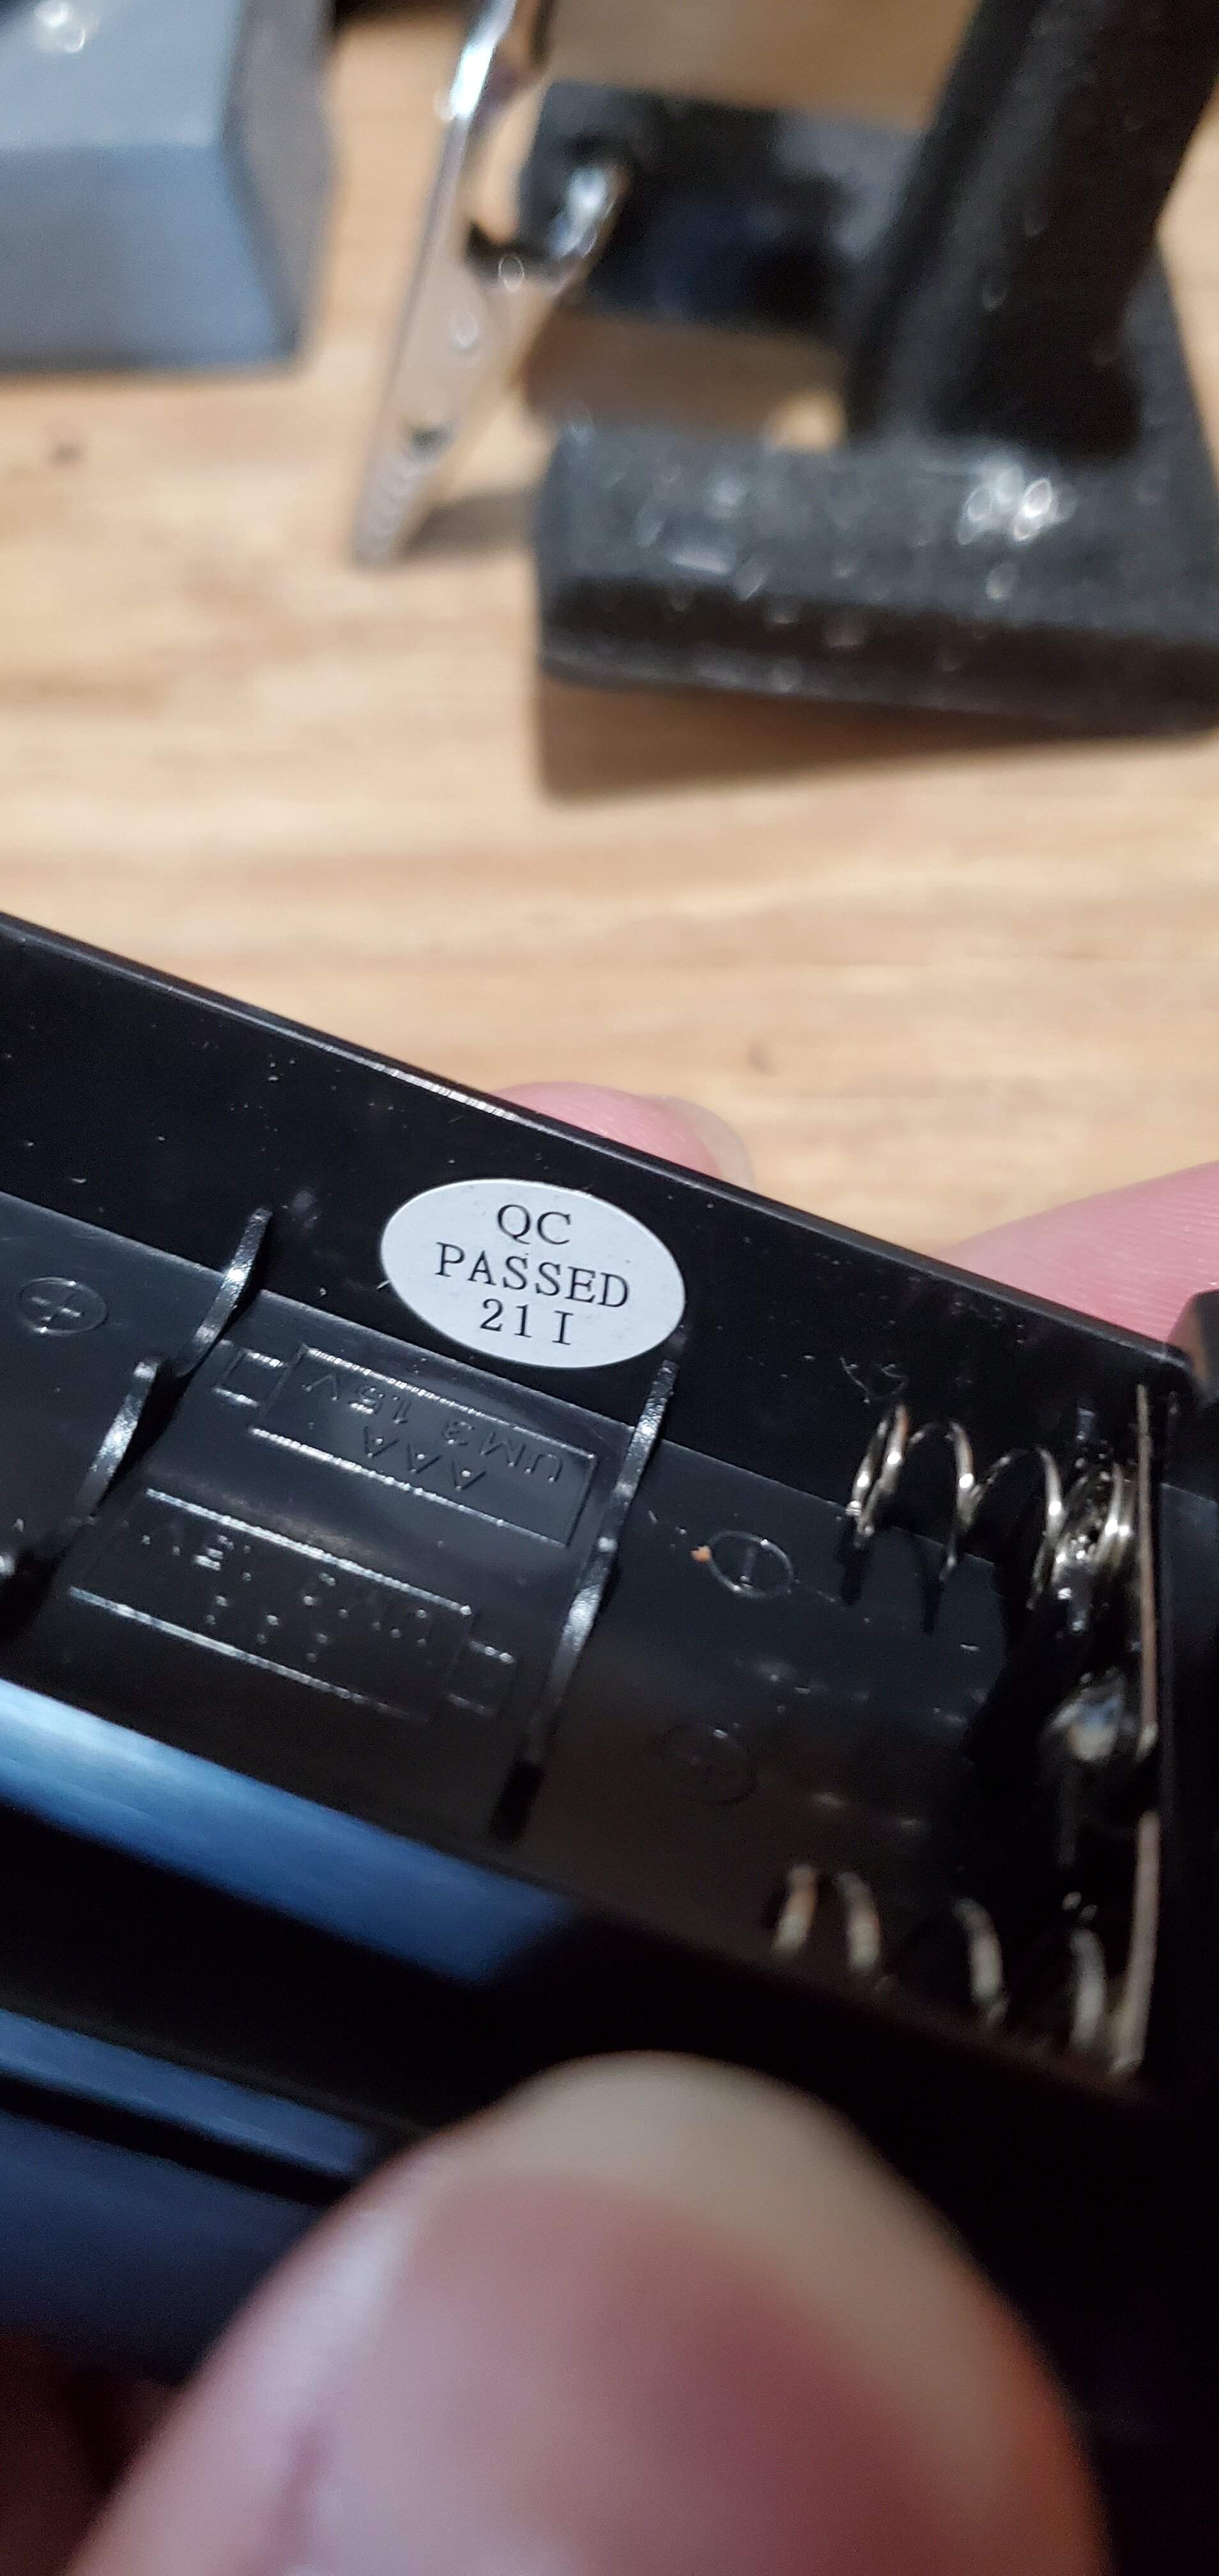
As someone who does qc testing this made me chuckle.
Second to that I ordered a bridge today!

Found on reverb reasonably priced. You all that have been following along may remember what roller saddles inply in the way of the tailpiece I'll end up with anyways I'm off to work my life away and shall return over the weekend.
@Bruce Johnson I did see her winder! I need to take some time and read through that thread more, as I'm guessing a lot of my questions are probably gonna be answered in there lol.
Little tiny update, work life has been busy this week! But I did get a few things done between the madness.
This thing showed up on Monday and I tested it Tuesday. First thing I noticed was screws missing, ah sweet it's like me
. Than to make a long story short I spent about twenty or so minutes correcting problems this thing has. Replaced the backwards led, reflowed the laser's connections, and finally when that didn't work I just reflowed the whole dang thing. I was also surprised this thing was soldered with lead/tin (that's a big no no in manufacturing).
Anyway I put it back together slightly more working than before and returned it.
New tachometer on the way fingers crossed.
As someone who does qc testing this made me chuckle.
Second to that I ordered a bridge today!
Found on reverb reasonably priced. You all that have been following along may remember what roller saddles inply in the way of the tailpiece I'll end up with
anyways I'm off to work my life away and shall return over the weekend.
Sunday update.
I only made a small bit of progress this weekend partly because I'm waiting on parts and partly because I spent some time on other projects.
For starters though,
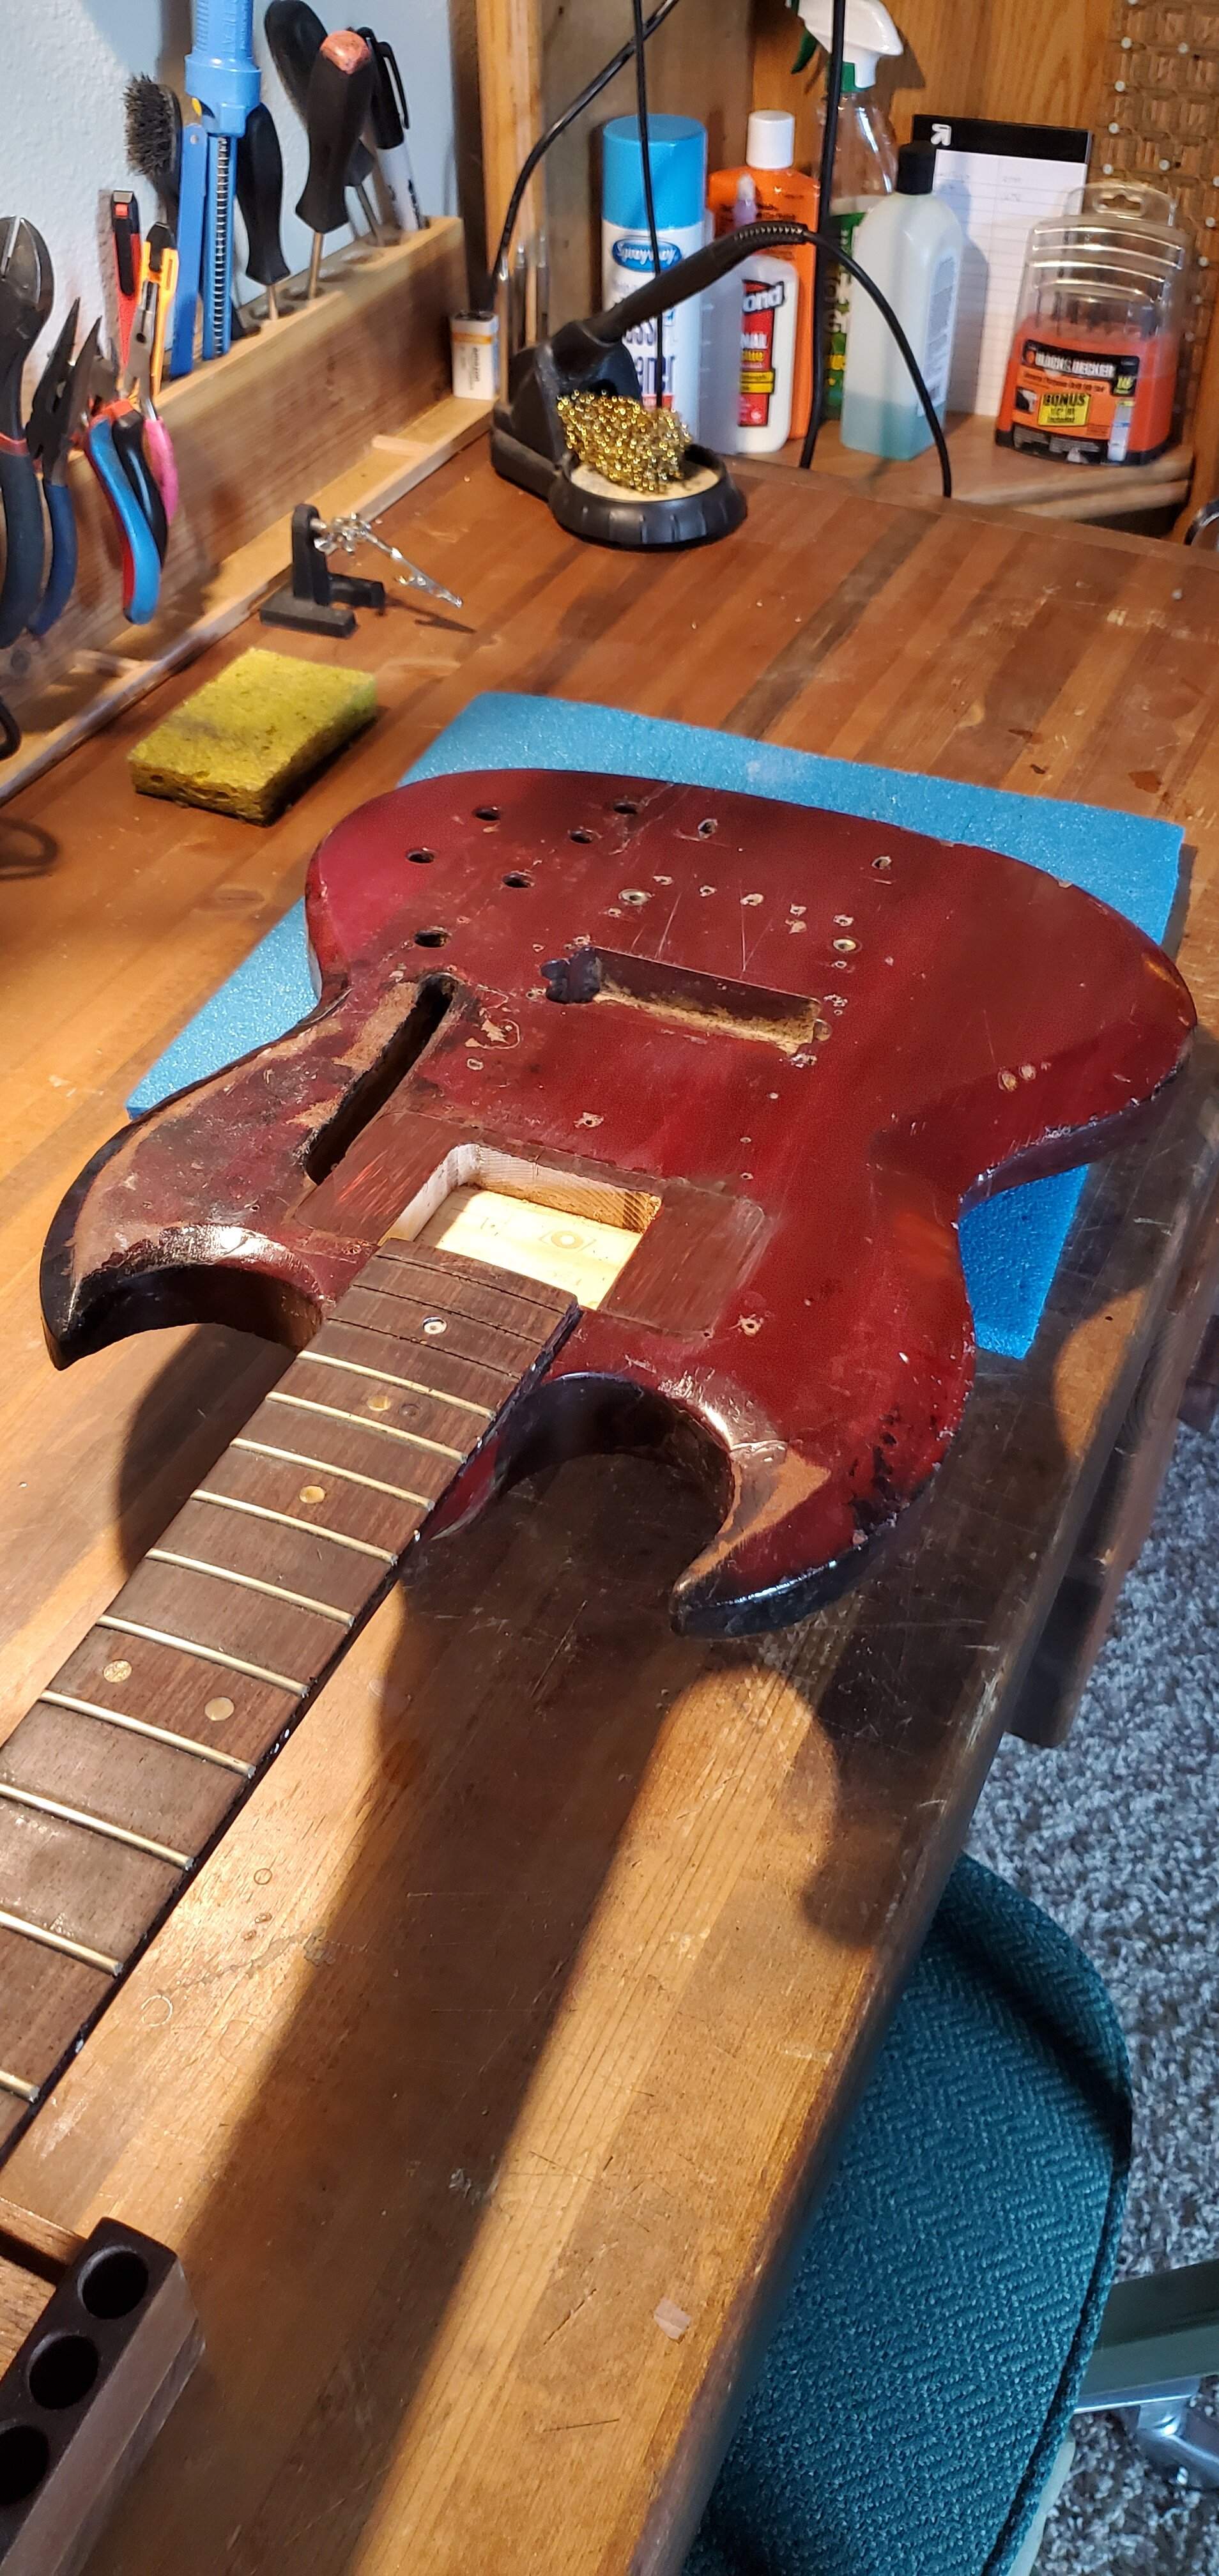
I messed around with a handful of markers and stain and came up with this. It's far from hidden but it attracts the eye less which is all I ever wanted anyways, I'll throw clear over it later but that'll be the extent of it.
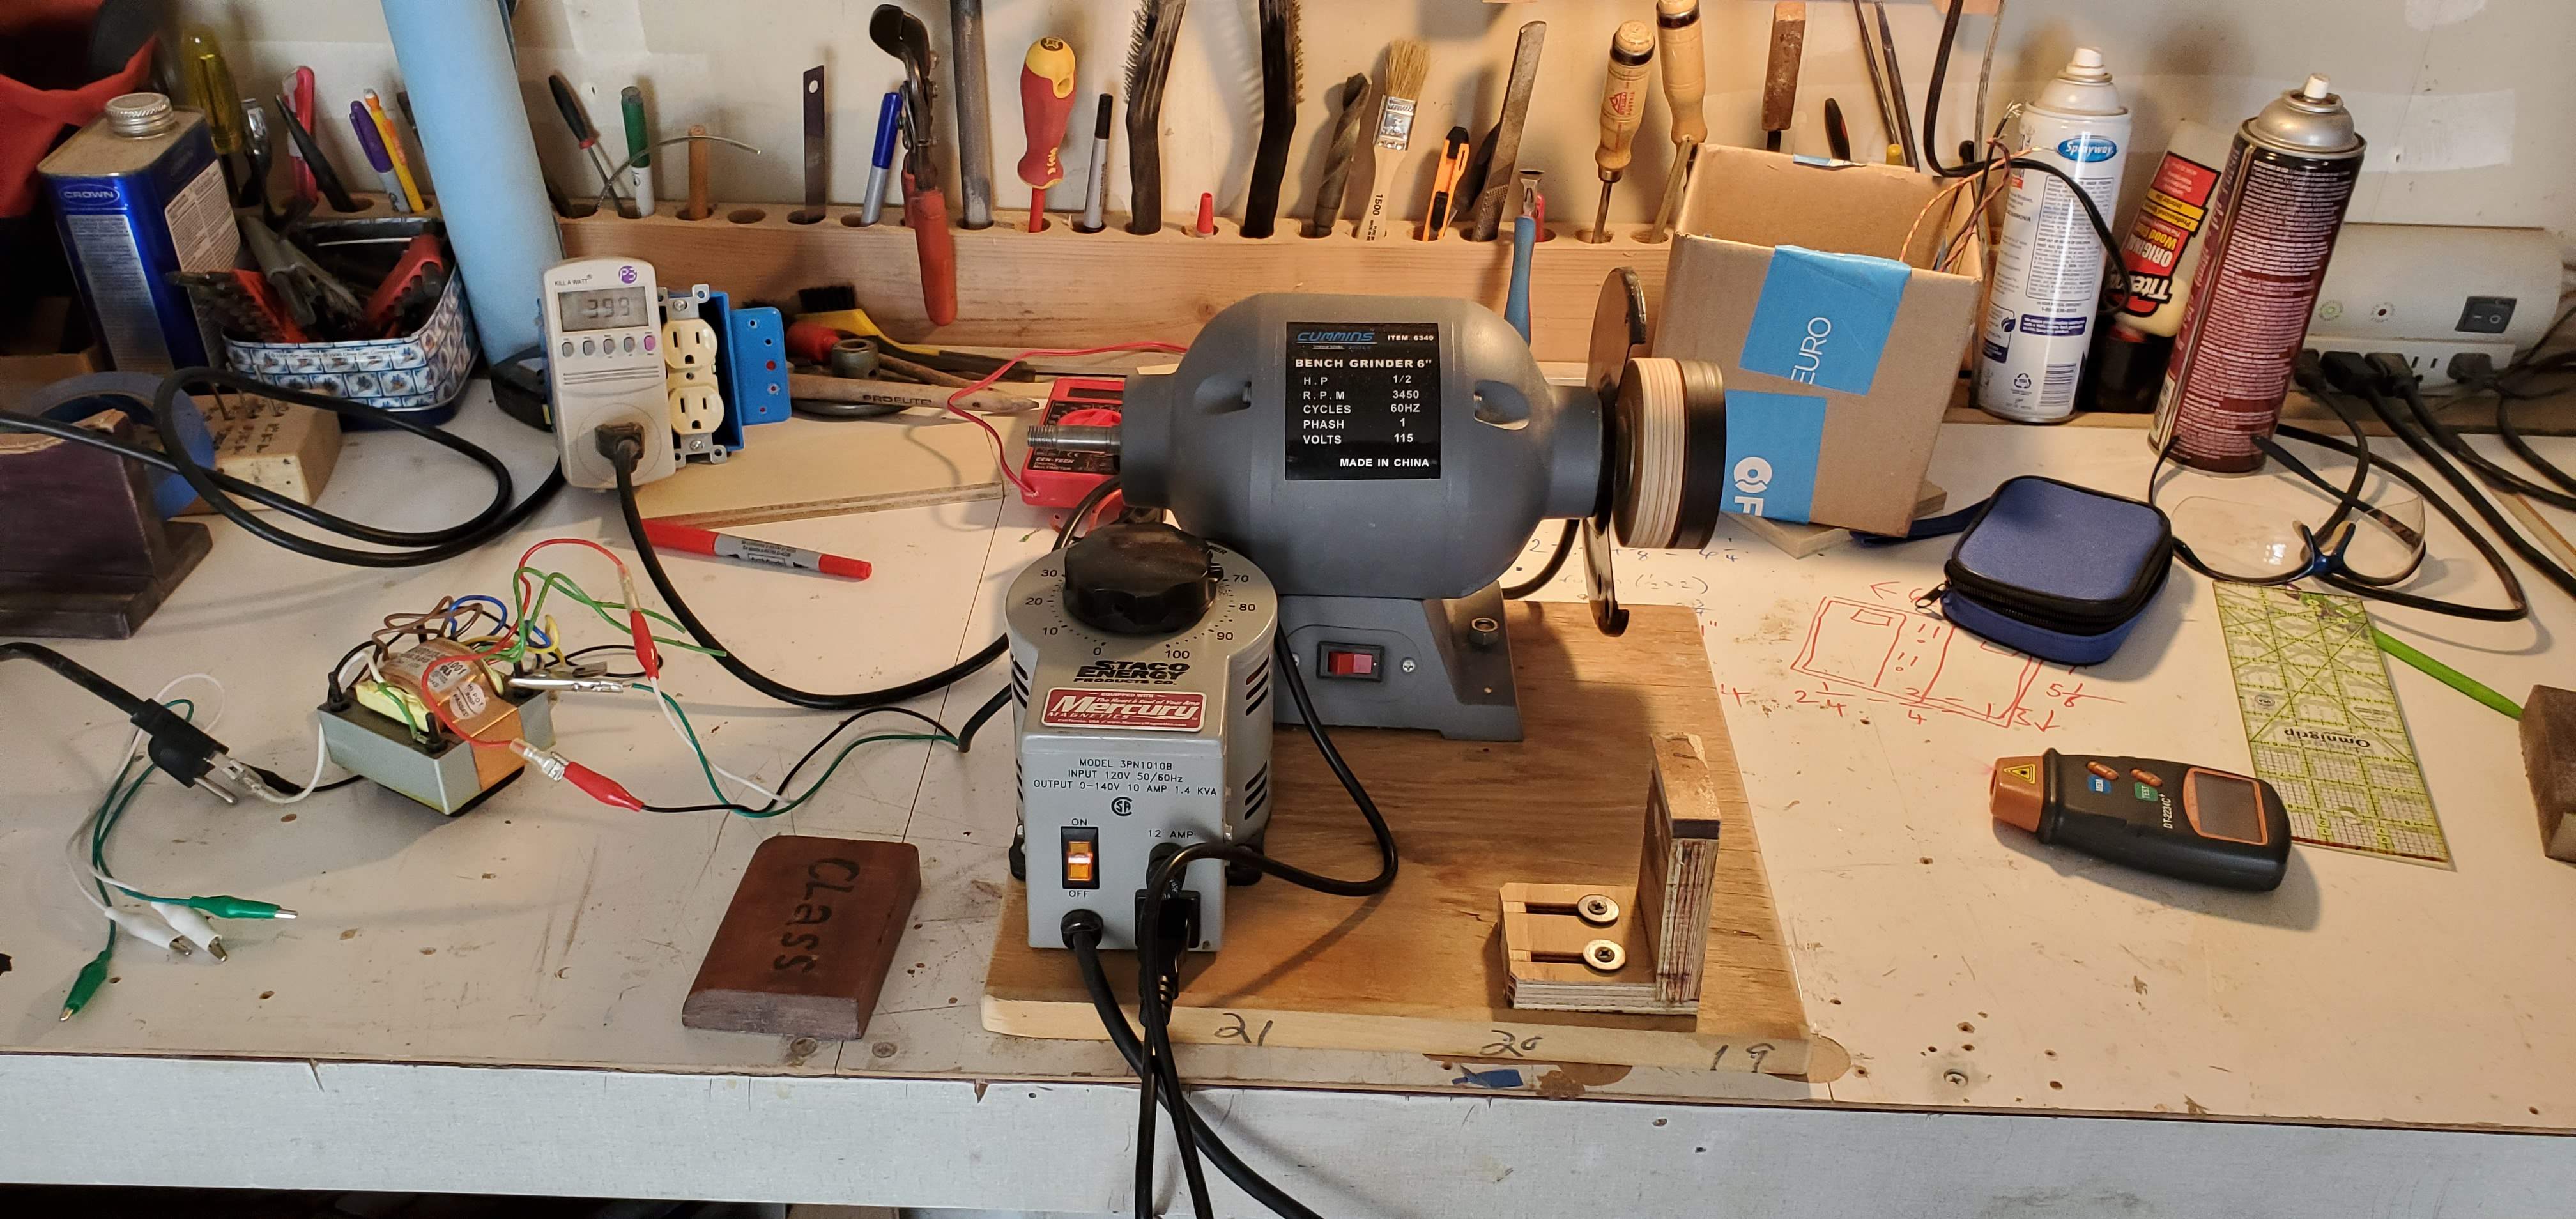
I got a laser tach the other day and tested with a power transformer from a little tube amp I had.
Flipping the transformer from it's usual orientation gave me almost 3:1 using the right taps. (what would normally be B+ and it's center tap)
I worked! I got waaaaay more range out of it. There's just one thing... It wouldn't maintain rpm. Or at least it was super difficult to get it to maintain at certain speeds. I was going for 1500 and really couldn't nail it down. Maybe if it had a load applied?
Anyway with that I had the mind to try something different. I thought about my options and I think I may have a solution. As with everything else at the moment it too is in the mail, so a surprise it shall remain till the day comes.
A lot of stuff on the way so hopefully if all goes well we'll have a busy crispy cherry weekend next one.
I only made a small bit of progress this weekend partly because I'm waiting on parts and partly because I spent some time on other projects.
For starters though,
I messed around with a handful of markers and stain and came up with this. It's far from hidden but it attracts the eye less which is all I ever wanted anyways, I'll throw clear over it later but that'll be the extent of it.
I got a laser tach the other day and tested with a power transformer from a little tube amp I had.
Flipping the transformer from it's usual orientation gave me almost 3:1 using the right taps. (what would normally be B+ and it's center tap)
I worked! I got waaaaay more range out of it. There's just one thing... It wouldn't maintain rpm. Or at least it was super difficult to get it to maintain at certain speeds. I was going for 1500 and really couldn't nail it down. Maybe if it had a load applied?
Anyway with that I had the mind to try something different. I thought about my options and I think I may have a solution. As with everything else at the moment it too is in the mail, so a surprise it shall remain till the day comes.
A lot of stuff on the way so hopefully if all goes well we'll have a busy crispy cherry weekend next one.
Actually, maintaining a constant RPM in your winder isn't that important, as long as your counter and feed mechanism are synchronized to every rotation of the spindle. When I'm winding, I have the speed control knob right there, and I vary the speed up and down as I go, slowing it down partway to get a better look at how the windings are laying down. Then speeding it back up if it all looks good.
If the speed drifts, by itself, that would be annoying. But not a show stopper.
If the speed drifts, by itself, that would be annoying. But not a show stopper.
Update time! Has it been two weeks? Who's counting?
Anyway a few things have occurred. For starters I was still waiting on a lot of stuff last weekend but while I waited I decided to go ahead and make shift string this thing!
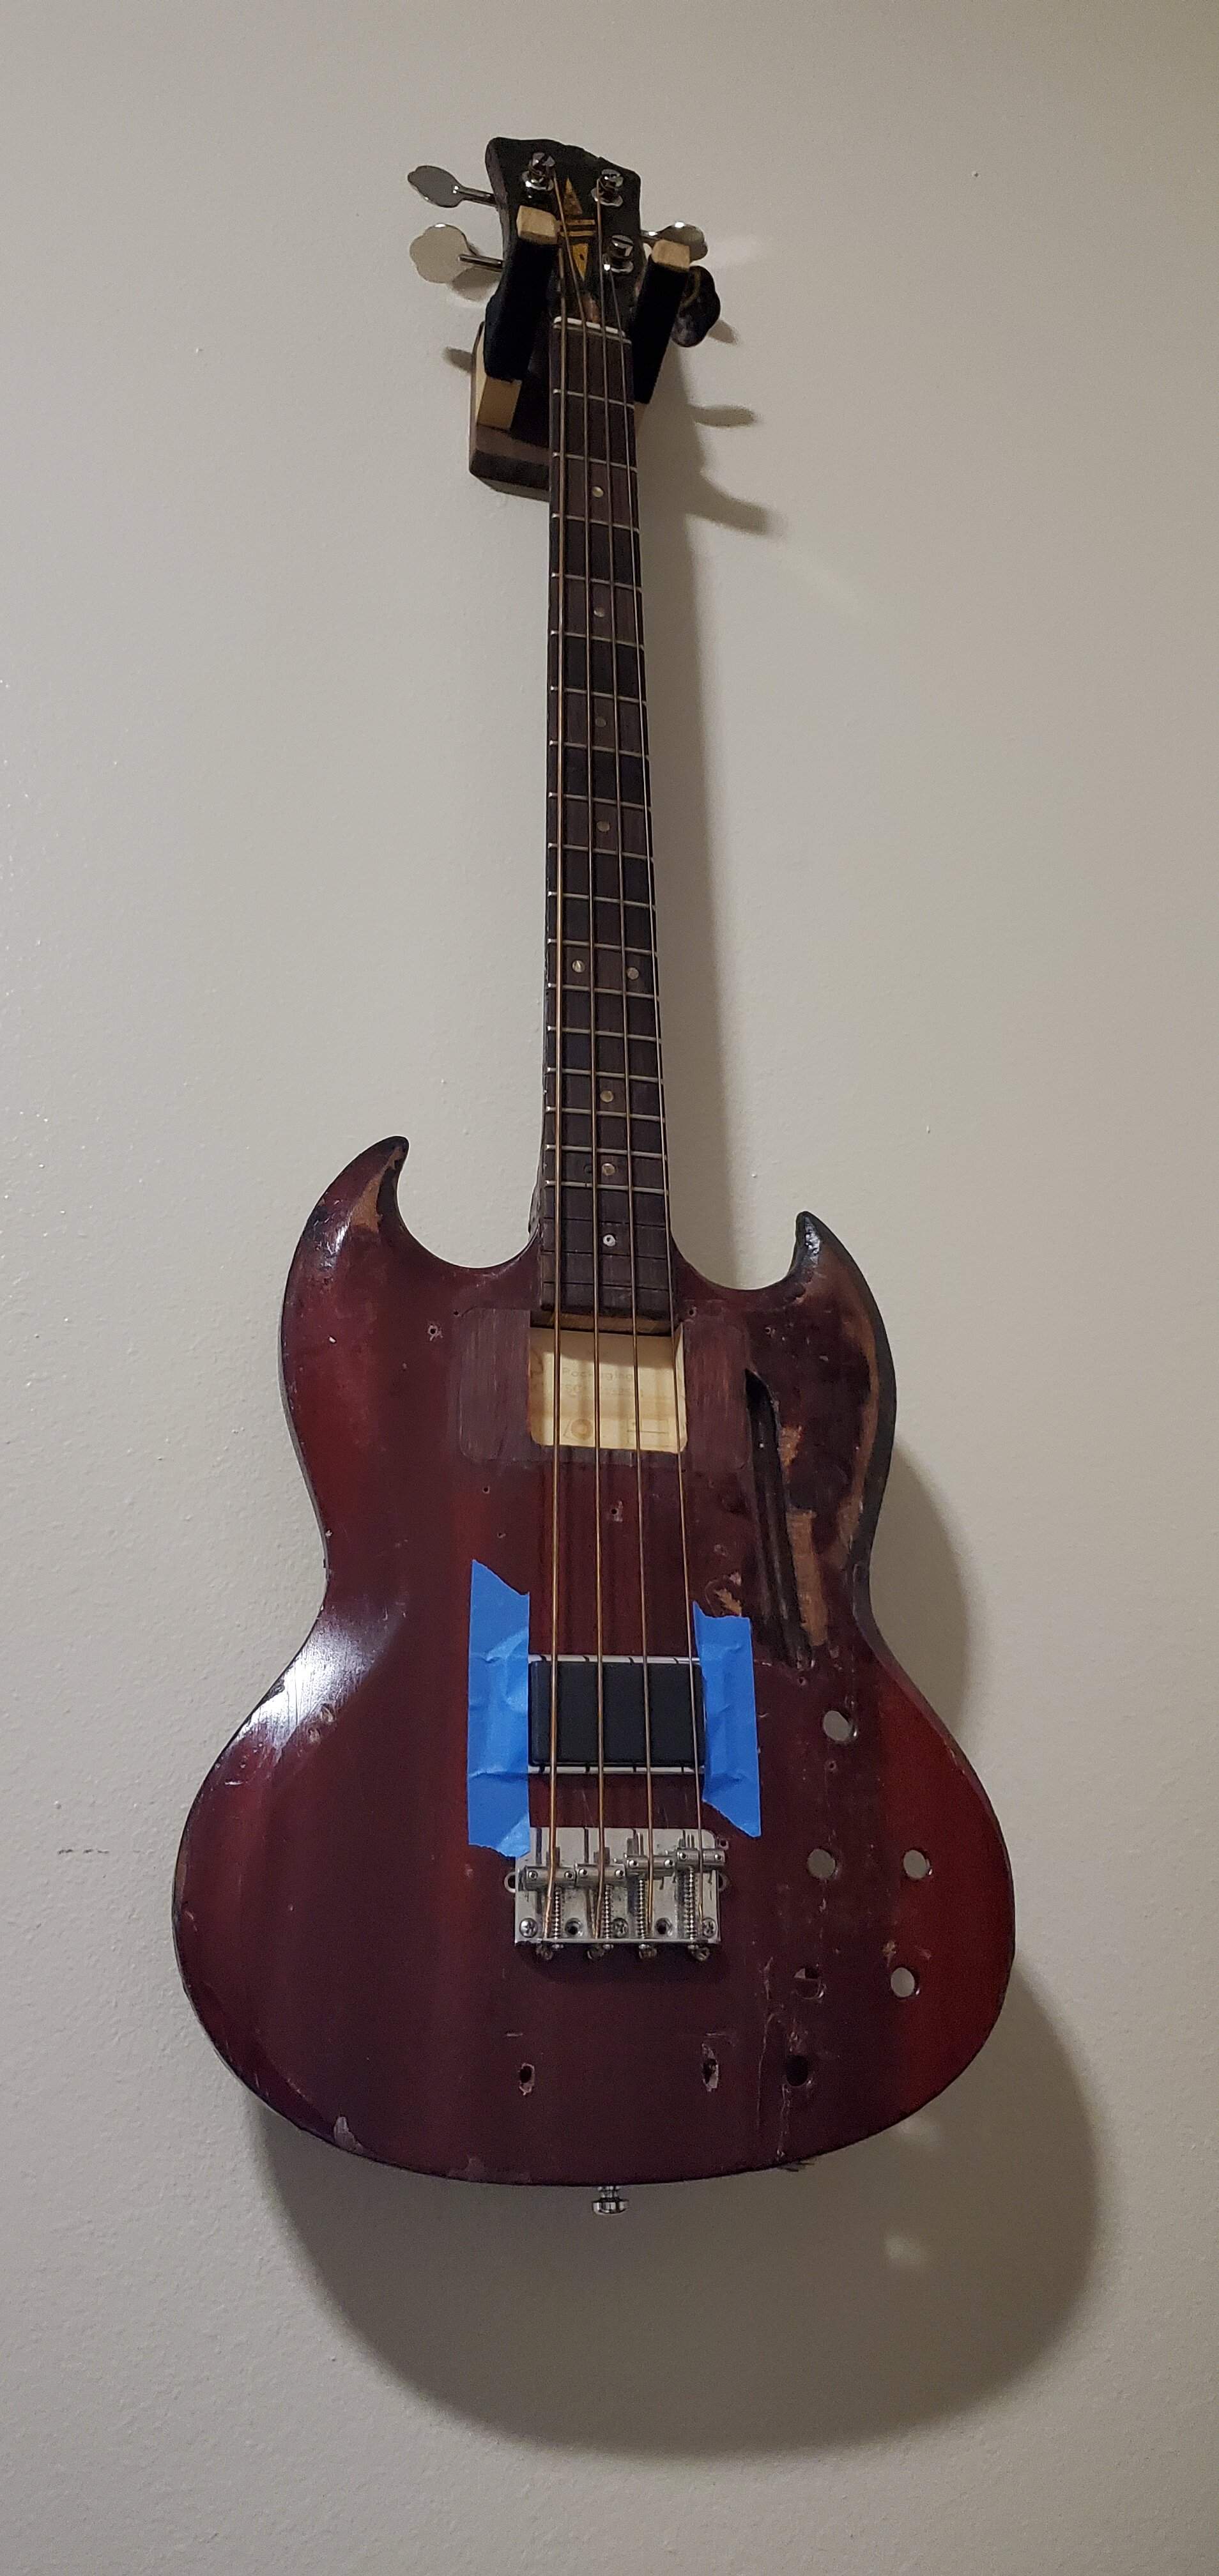
Being that it was on fire I figured it'd be a good idea to throw some tension at it before putting a bunch of work into this neck. Holy smokes was I surprised, this thing rips! It's not perfect but it's pretty close. Close enough I shouldn't even need to refret as a light fret level and dress is going to have it playing perfectly.
It does however have a binding channel to contend with but I believe I can clean it, rebind and give it a Gibson/Ric/ect style trim on the edges. (What once was here from the look of it)
Don't mind the fender style bridge btw, it was just easy to test with as the holes were already there from a prior owner. Misc pickup taped in place because I had to.
So that's rad. Also rad is parts showing up.
Drum roll....
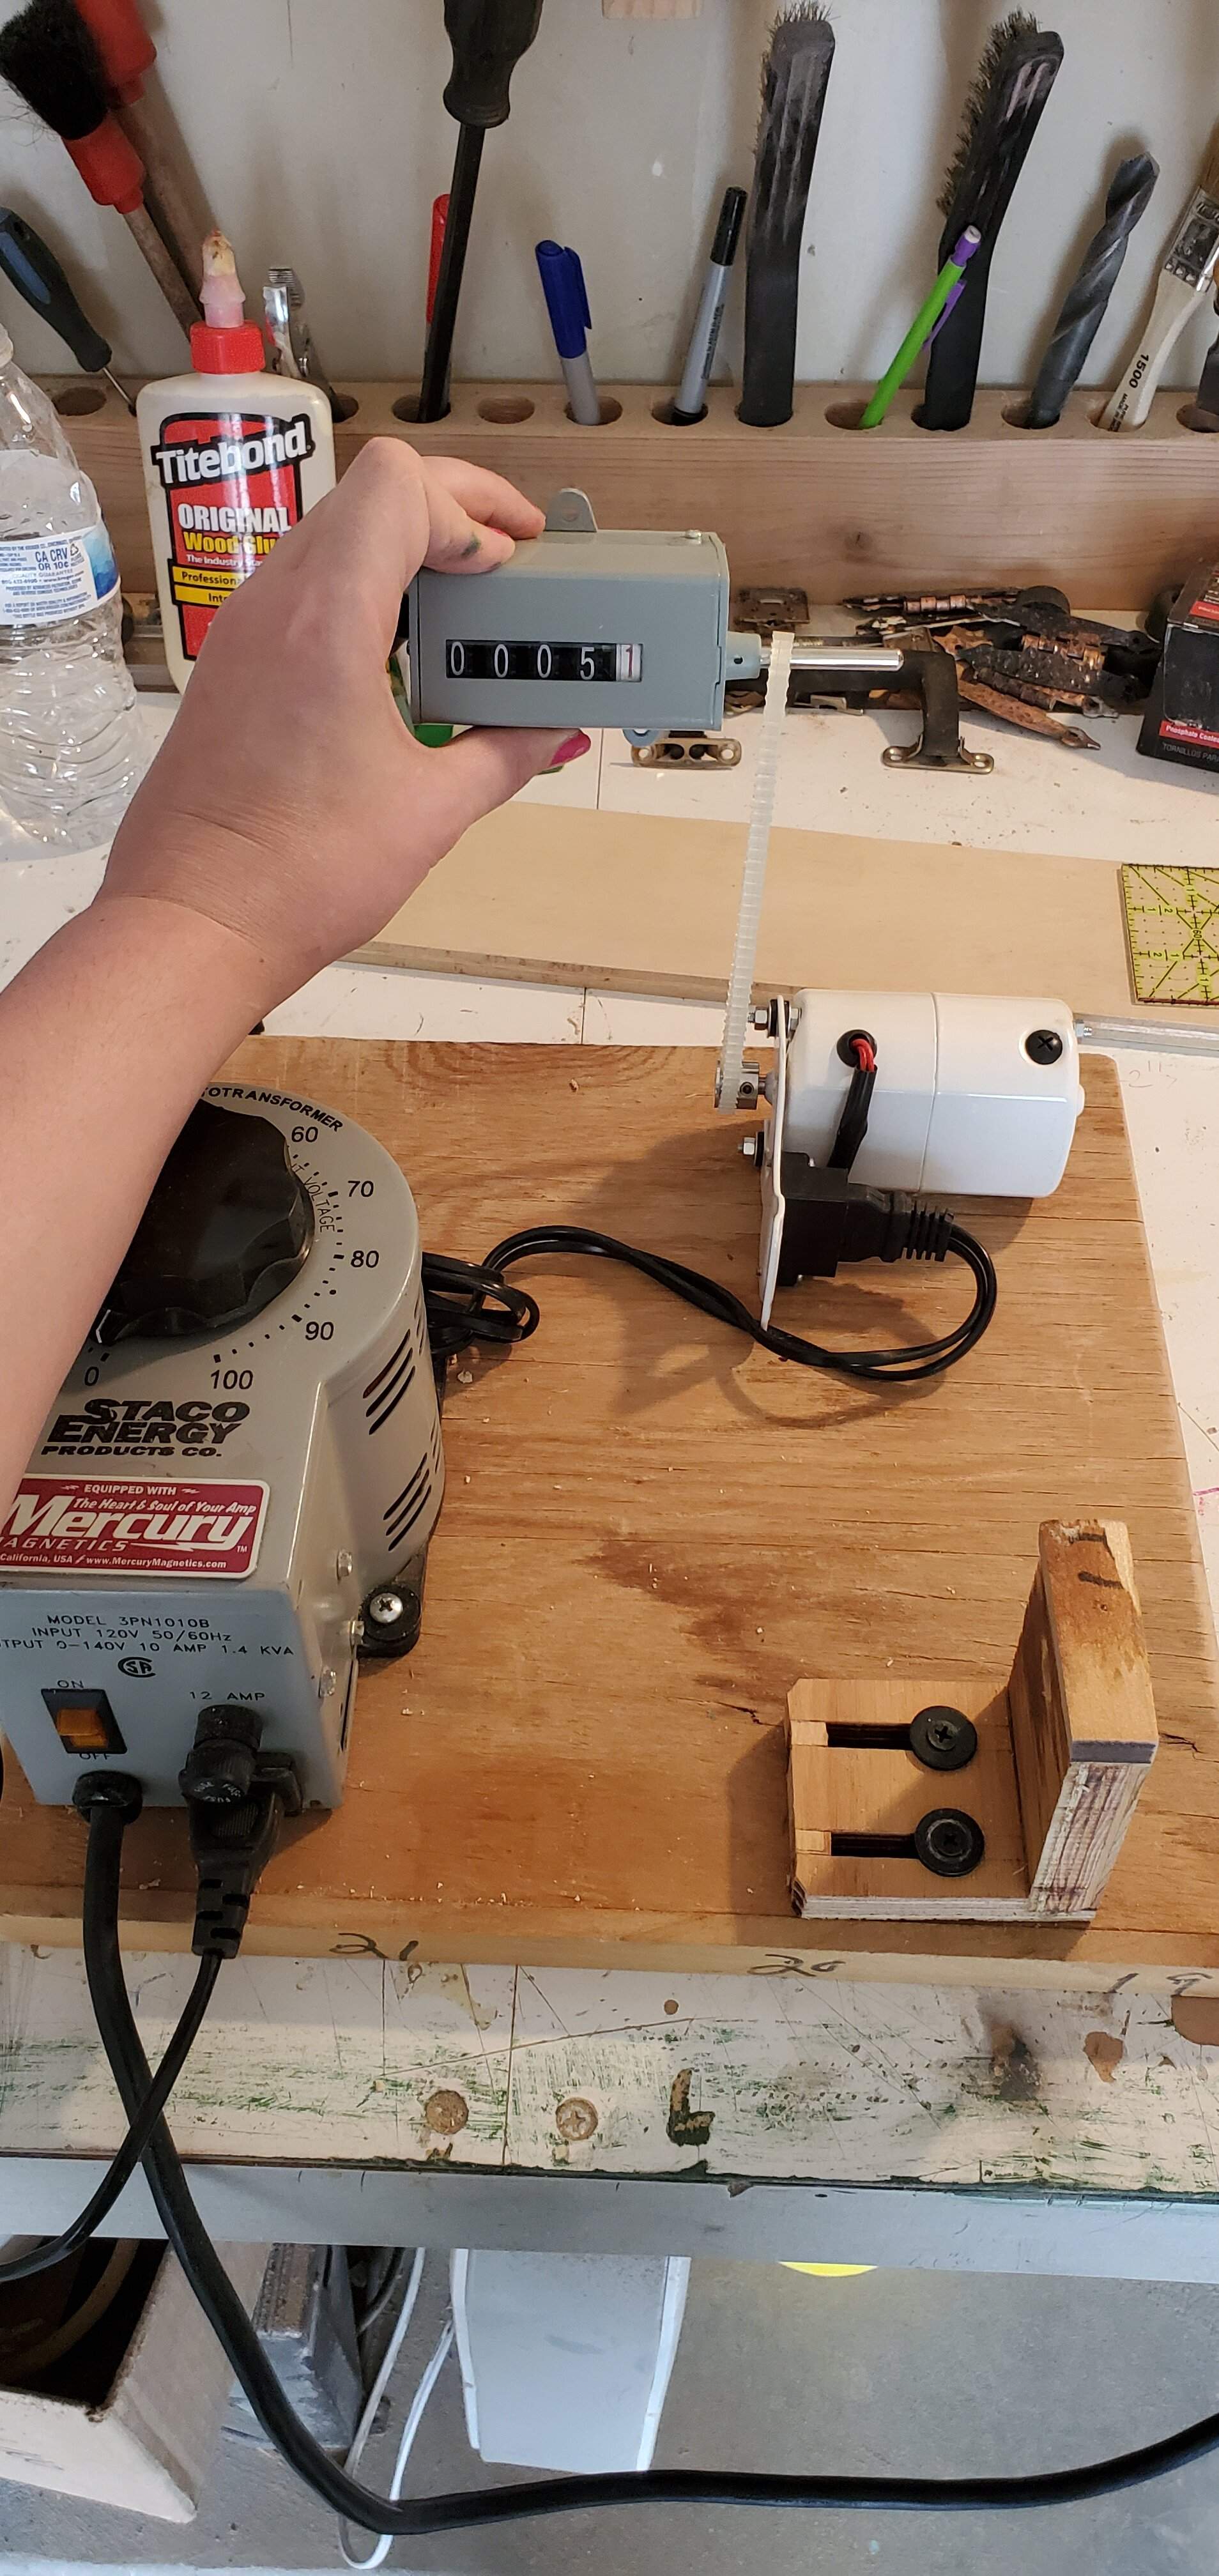
I gave in and purchased the internet's favorite sewing machine motor with speed control.
Here I'm messing with how I'll need to align everything. The idea is to suspend the counter and mount the pickup pulley directly to it. The motor alinged that way to spin everything clockwise. (Looking at the bobbin side)
This motor spins all the way to 6k rpm lol, but it's also infinitely more controllable even with it's supplied foot control (also there will be pulley reduction). That said I'm still going to use my Variac for ease of use and a little more control. I'll also likely throw a step down transformer in there to make it even smoother still, maximum smooth...
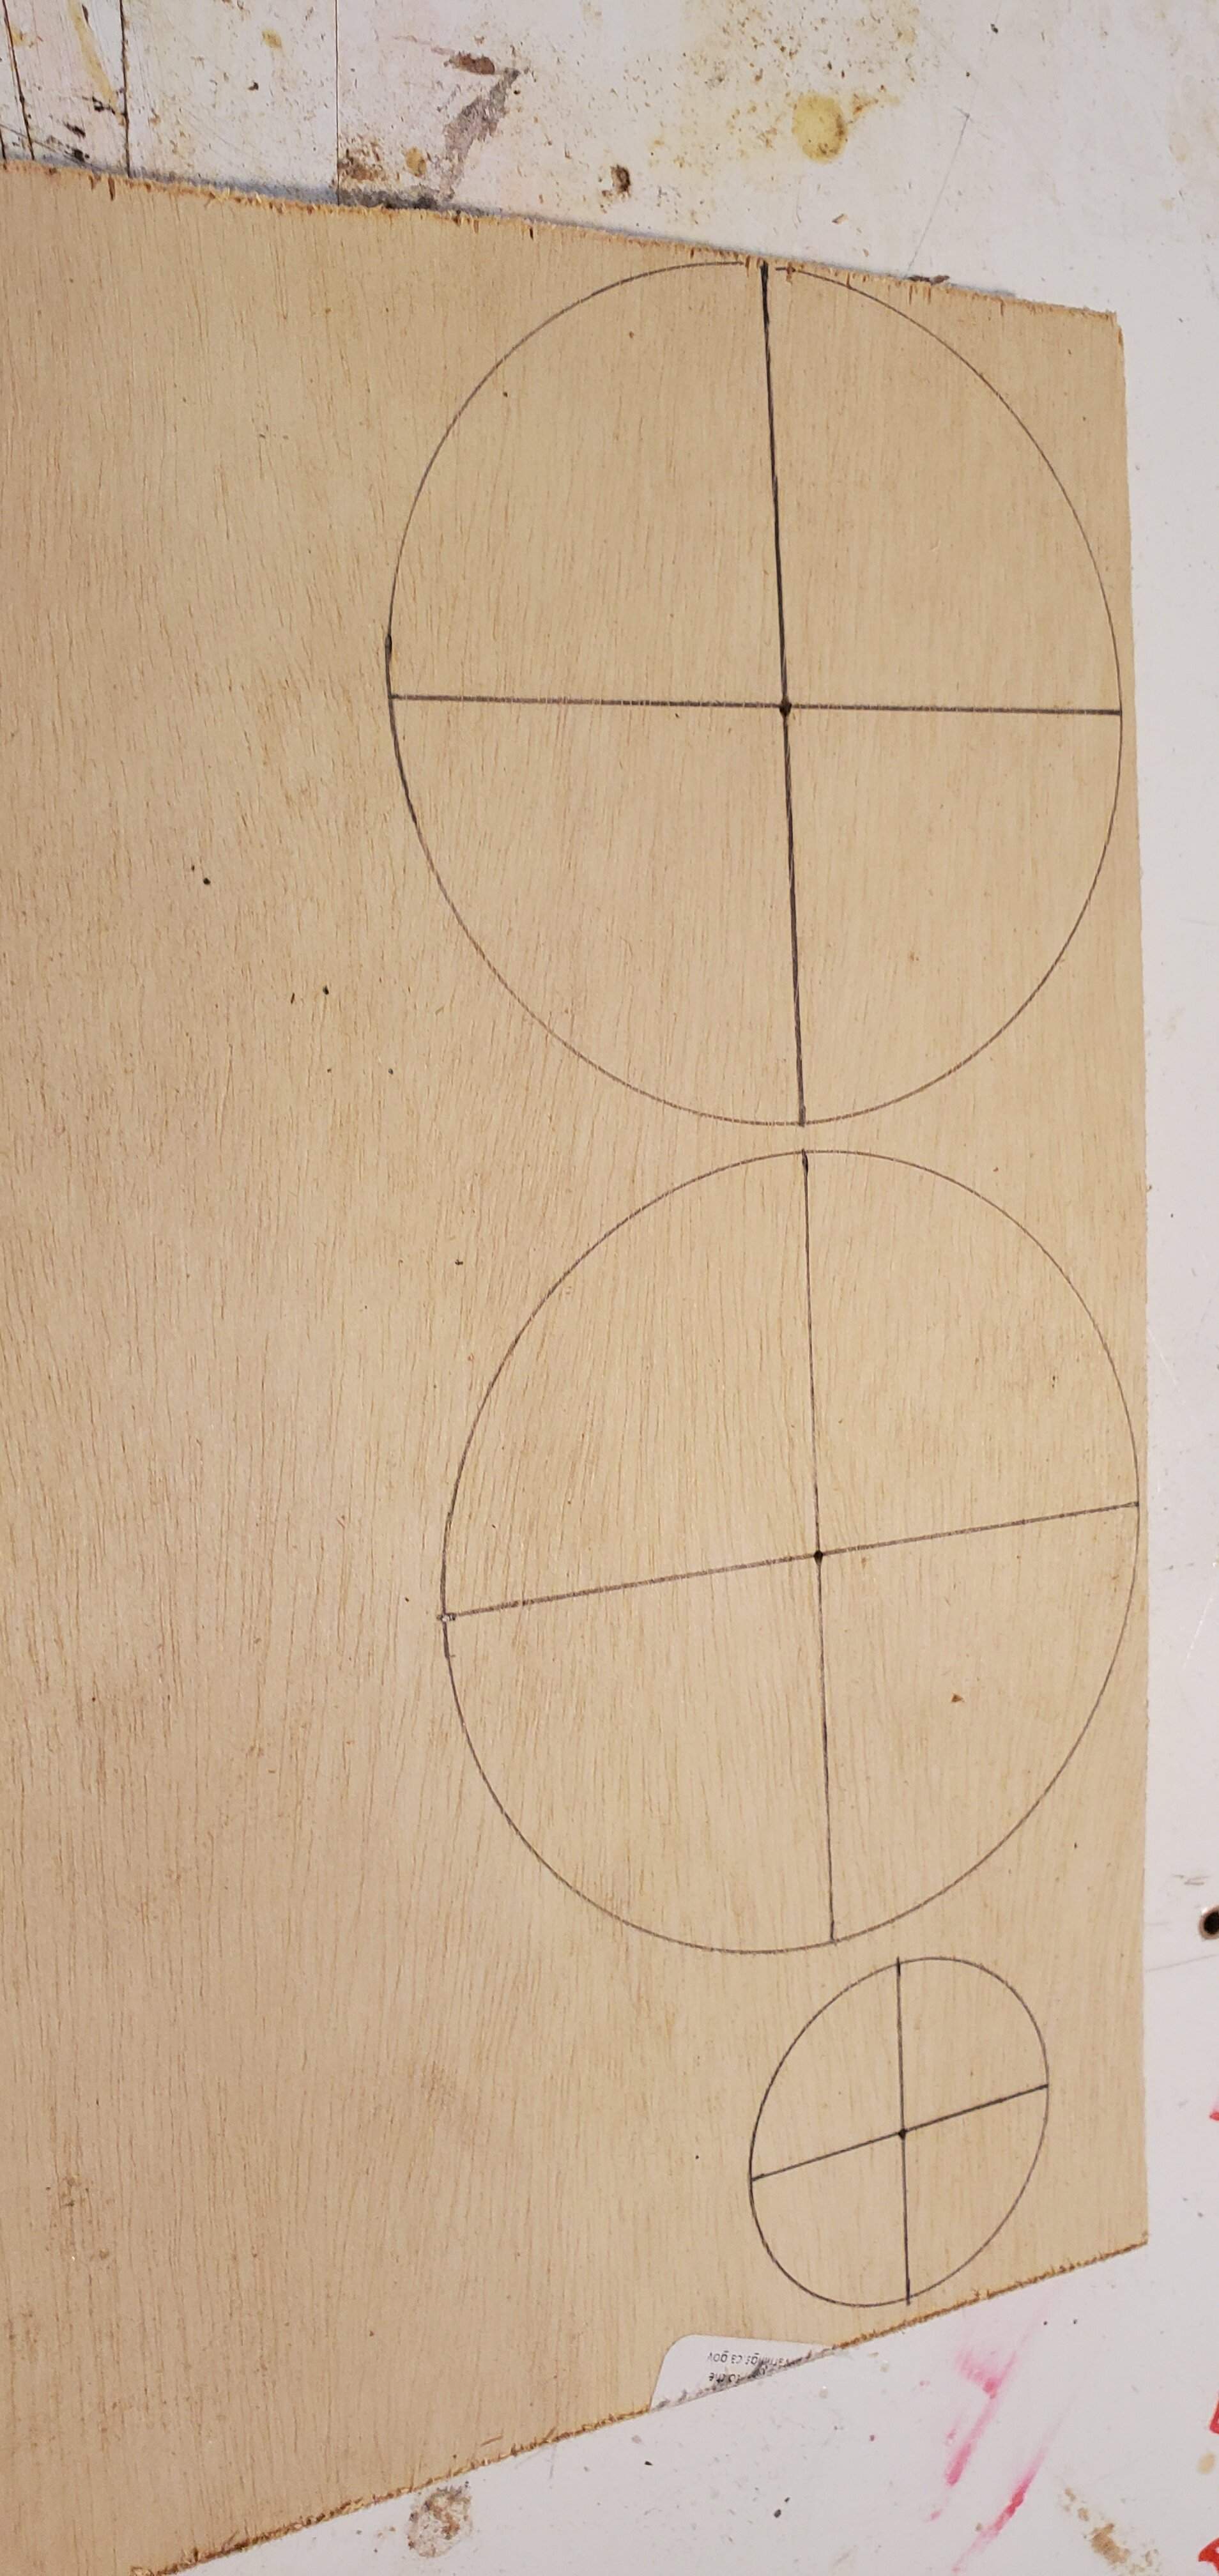
Making more pulleys
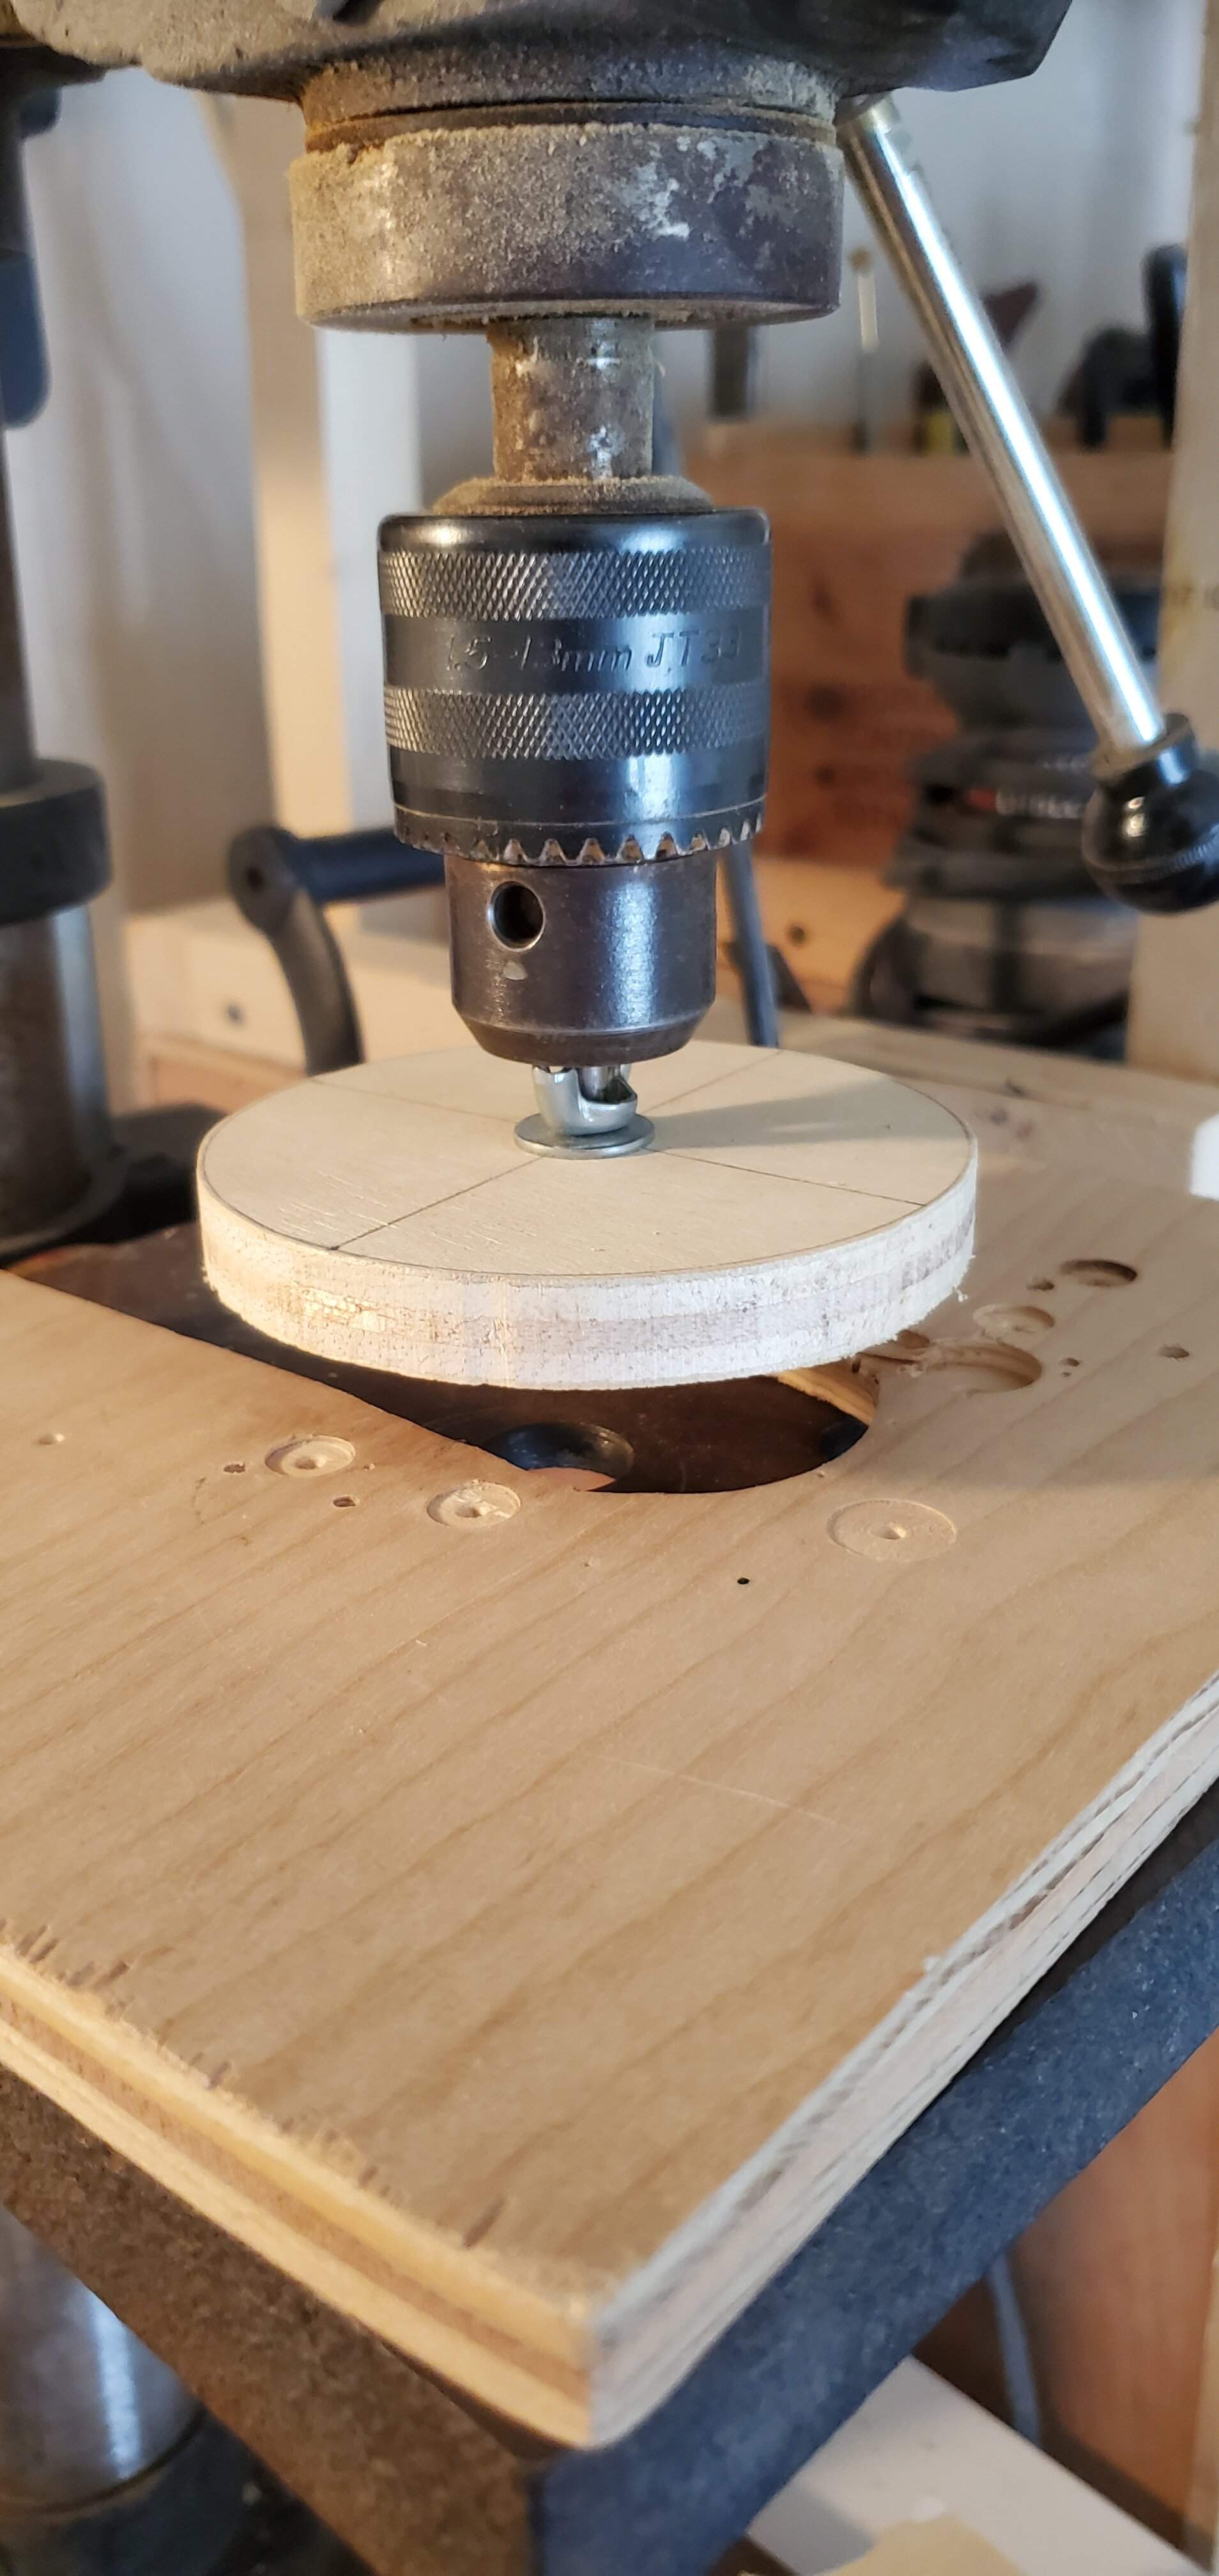
One ~3 1/4“ and one 1 5/8" the small pulley is going to run off the motor and give my counter double the counts of the big pulley. Not ideal but it's easy head math and it'll work with the belt I have. (Easy to fix later with a longer belt too).
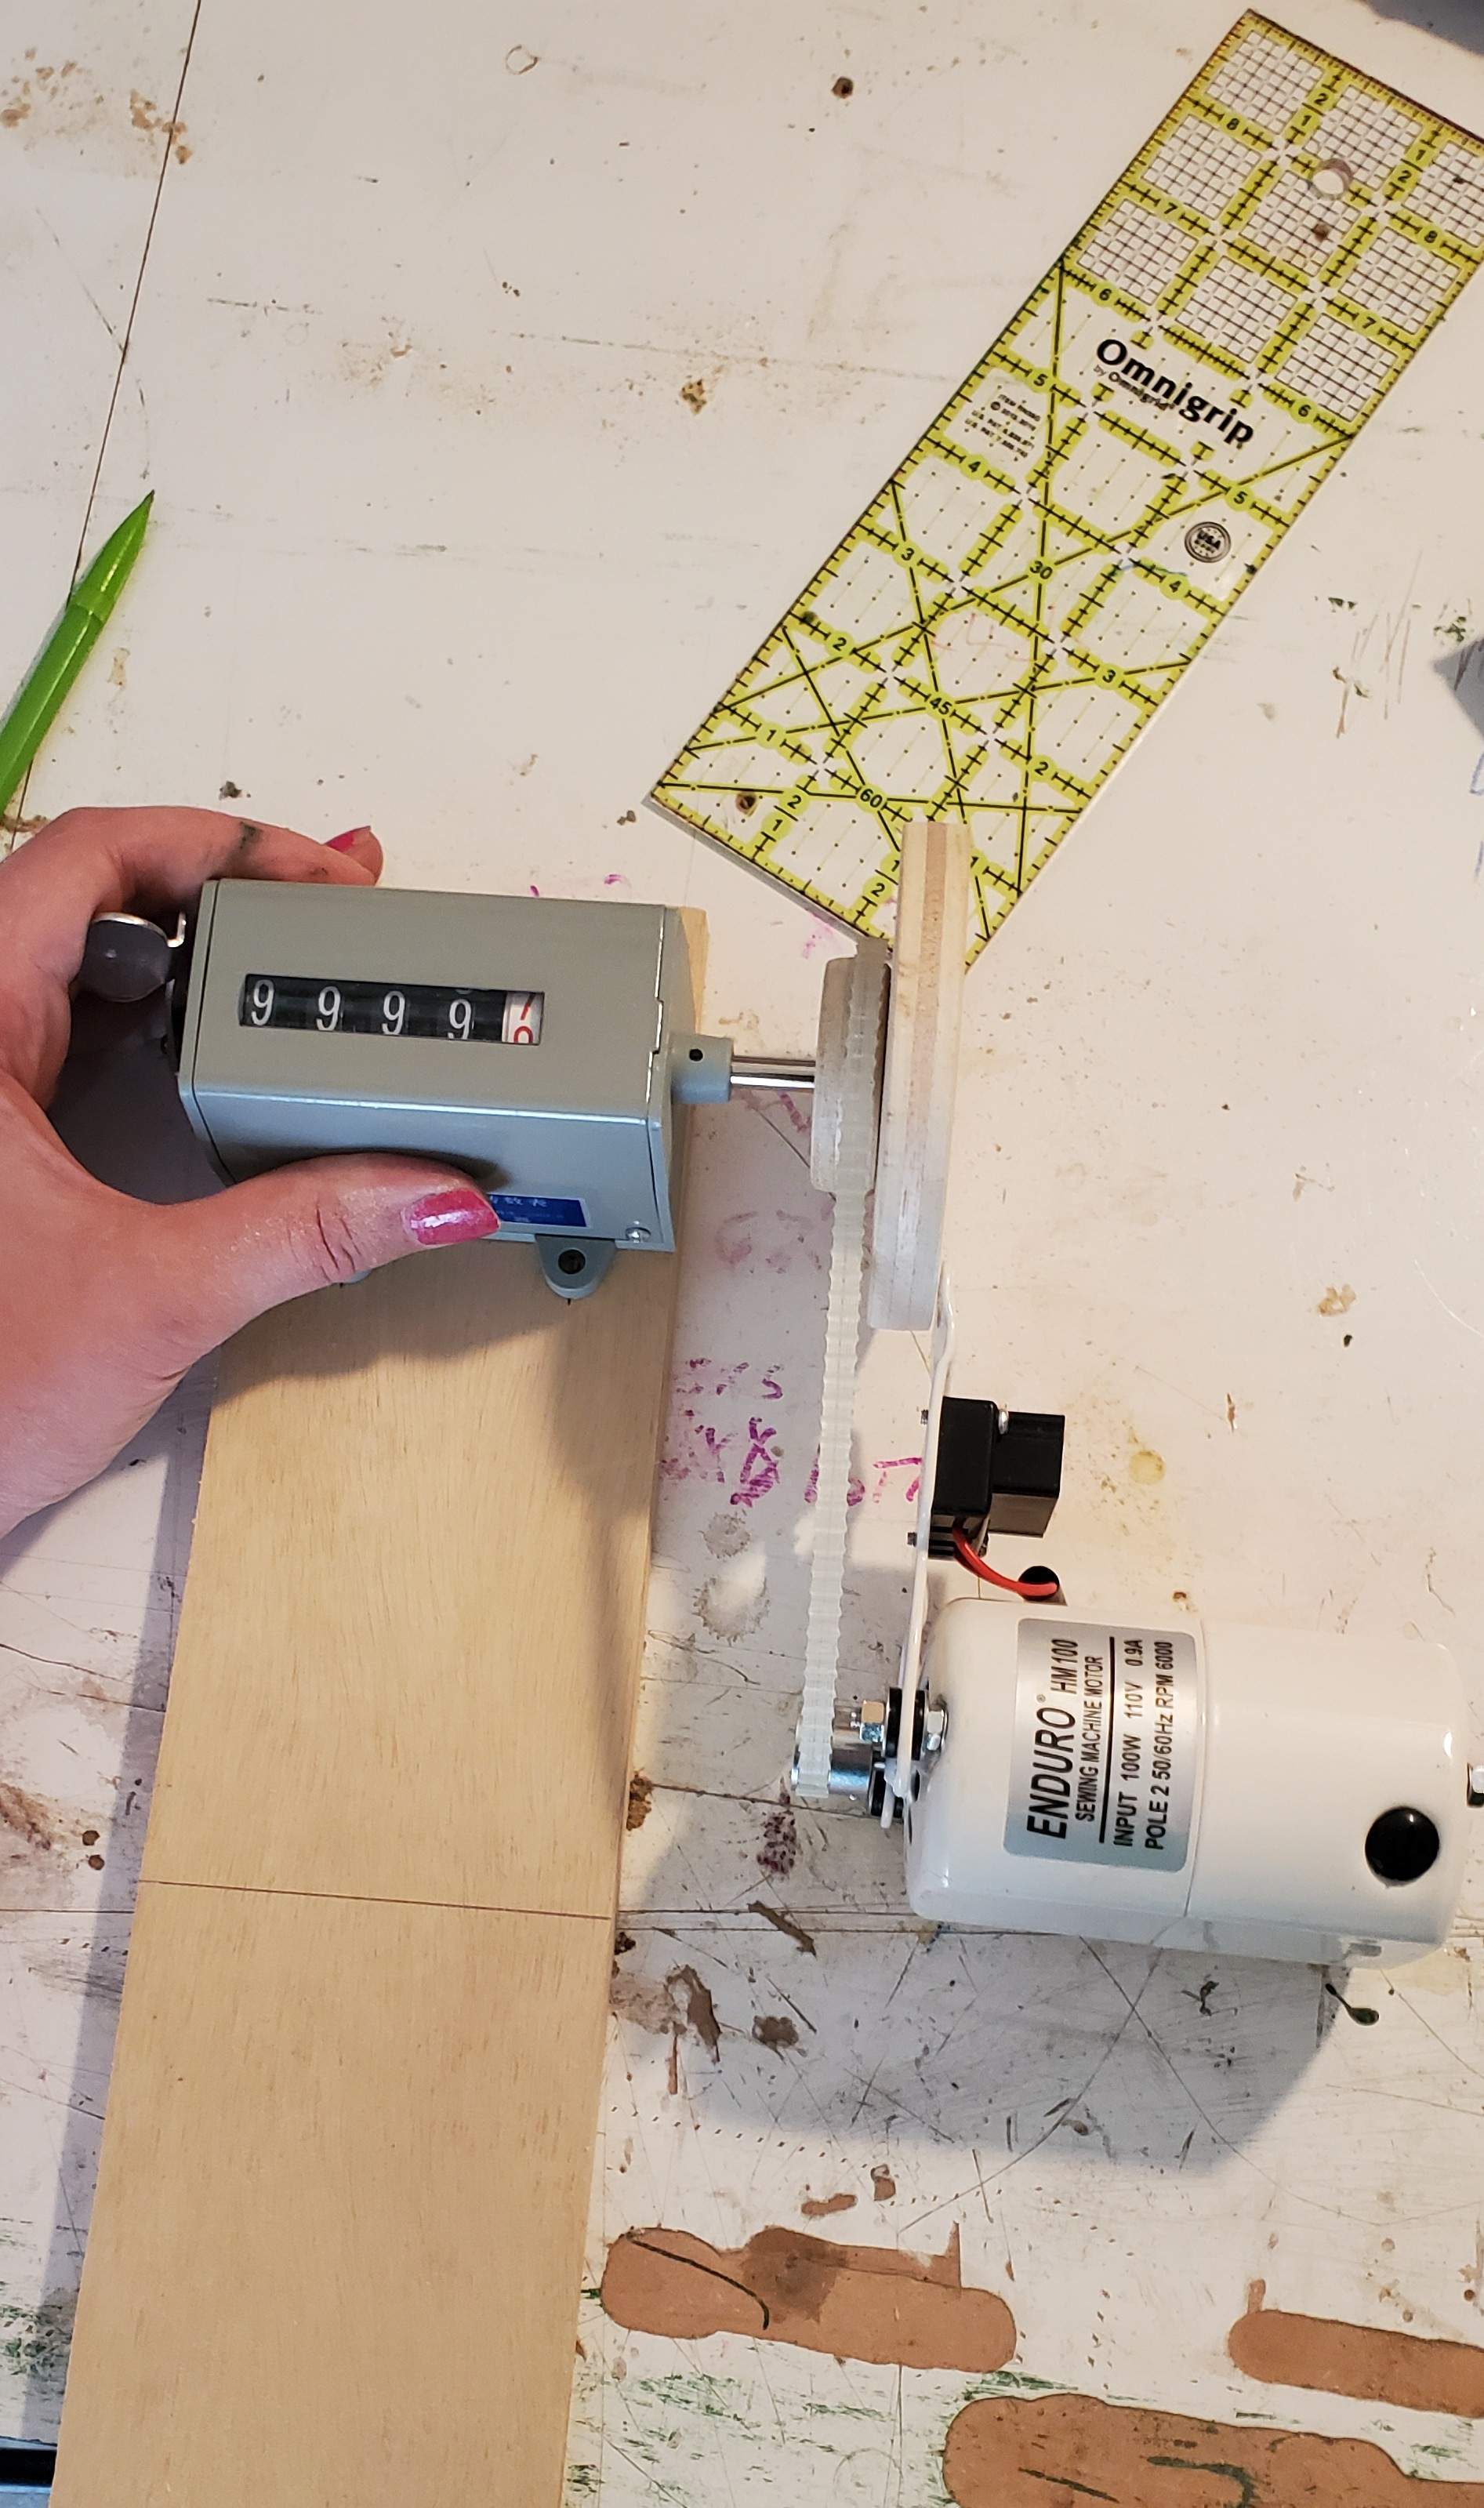
This will be a back board to hold the counter up off the platform.
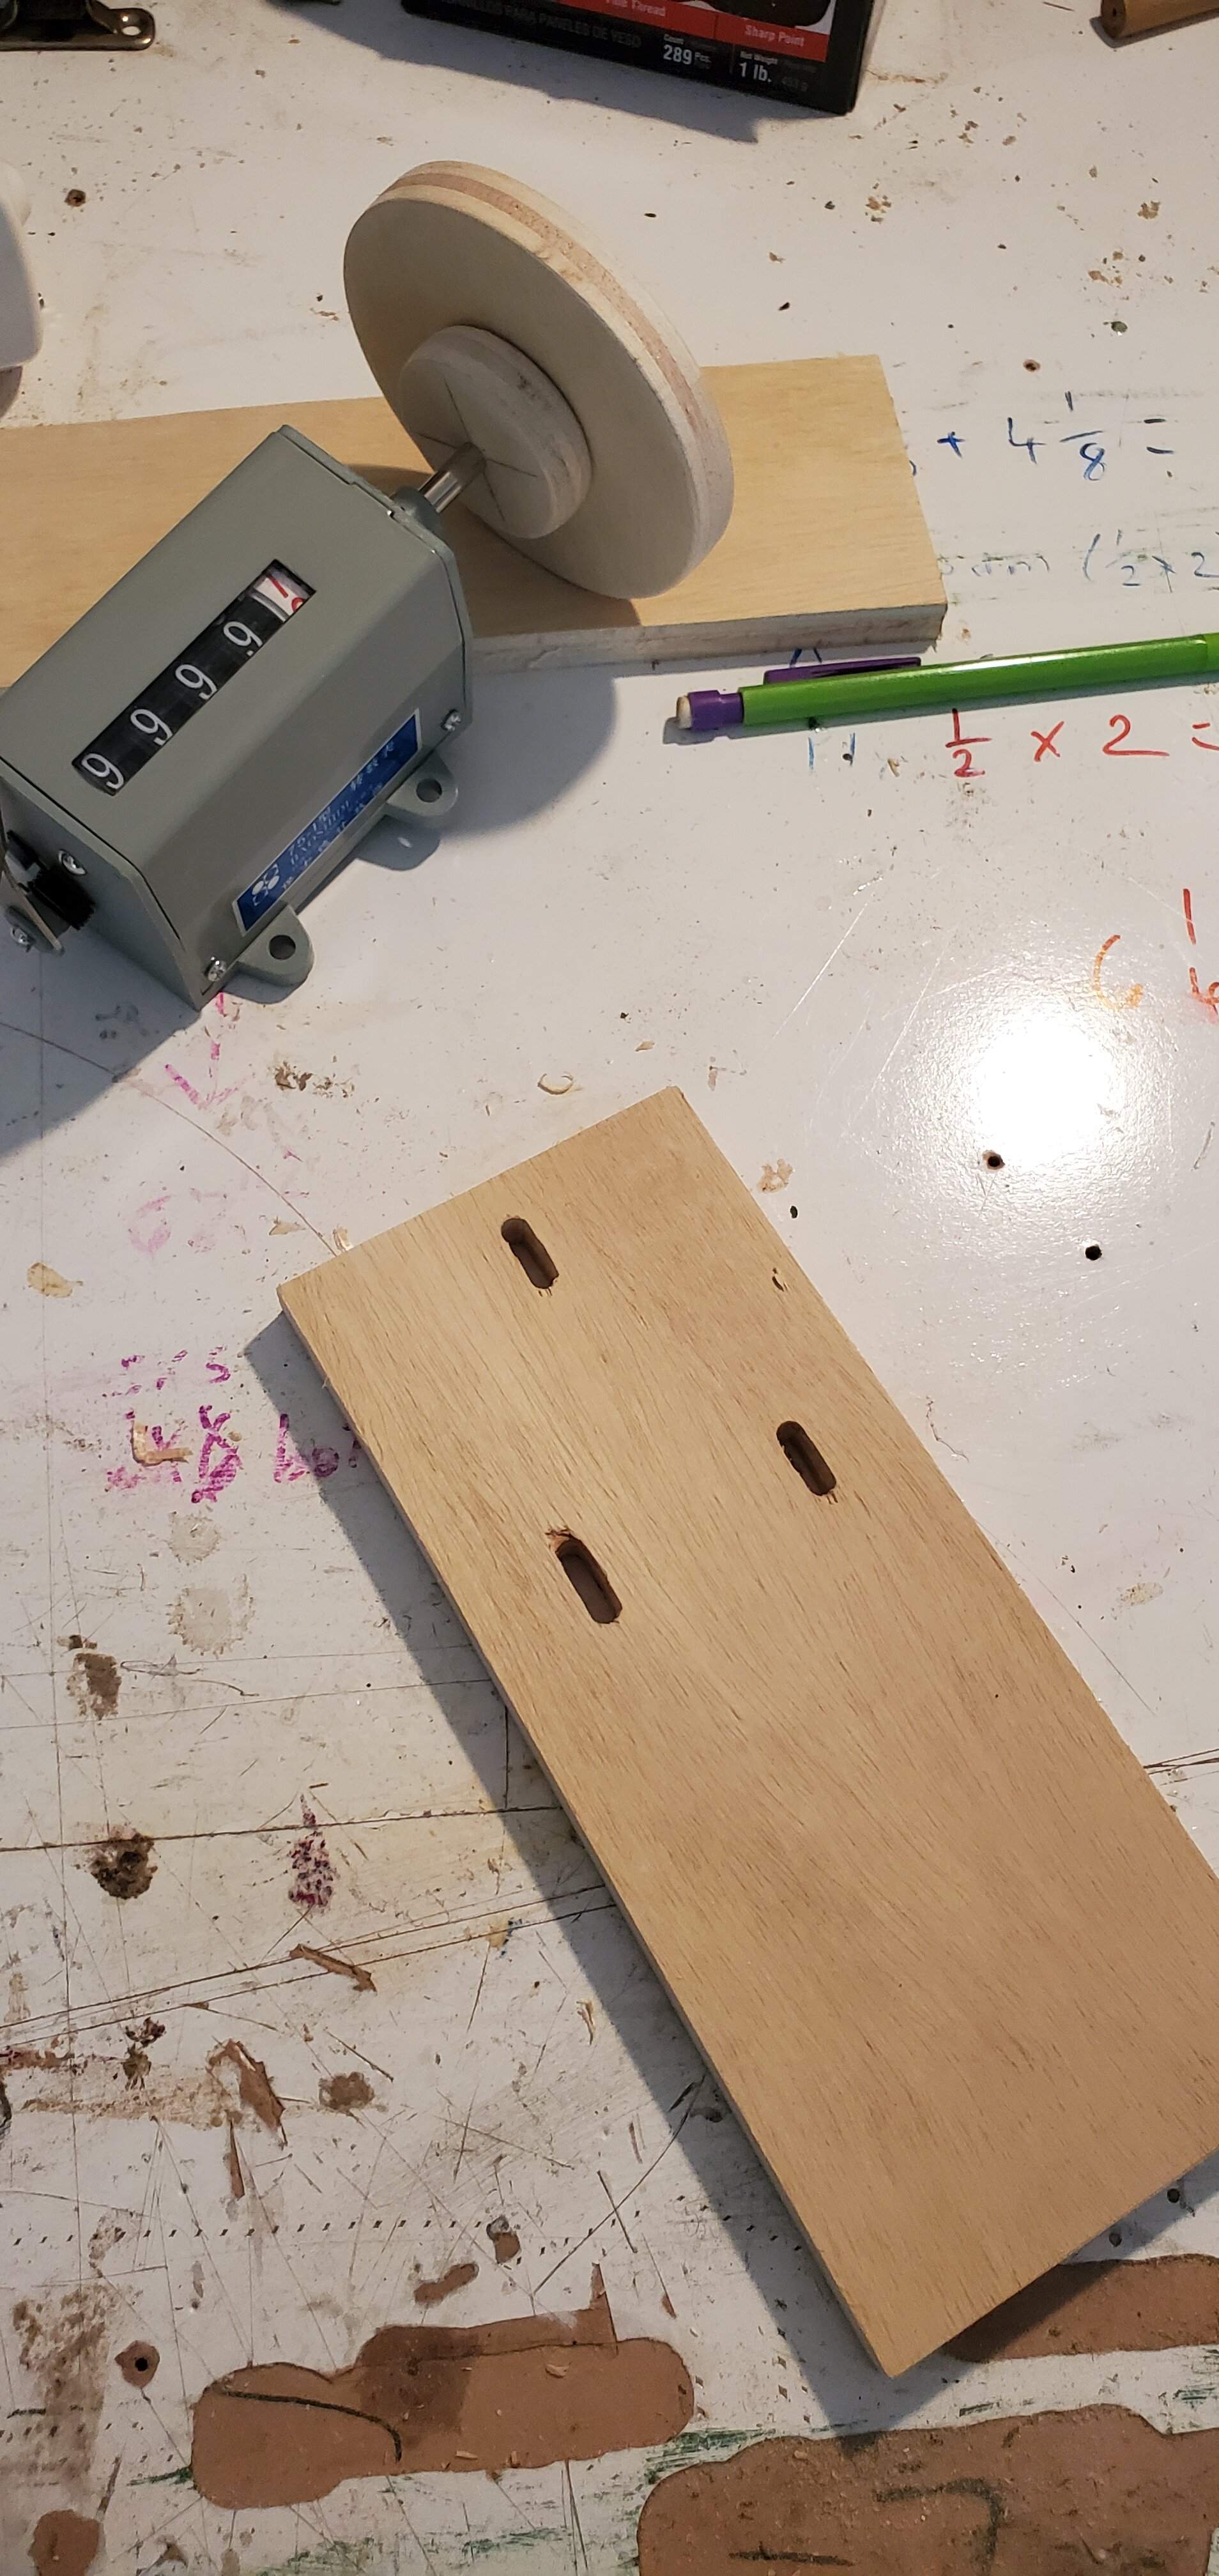
The counter will get mounted with these three elongated holes to allow me to tension/align the belt.
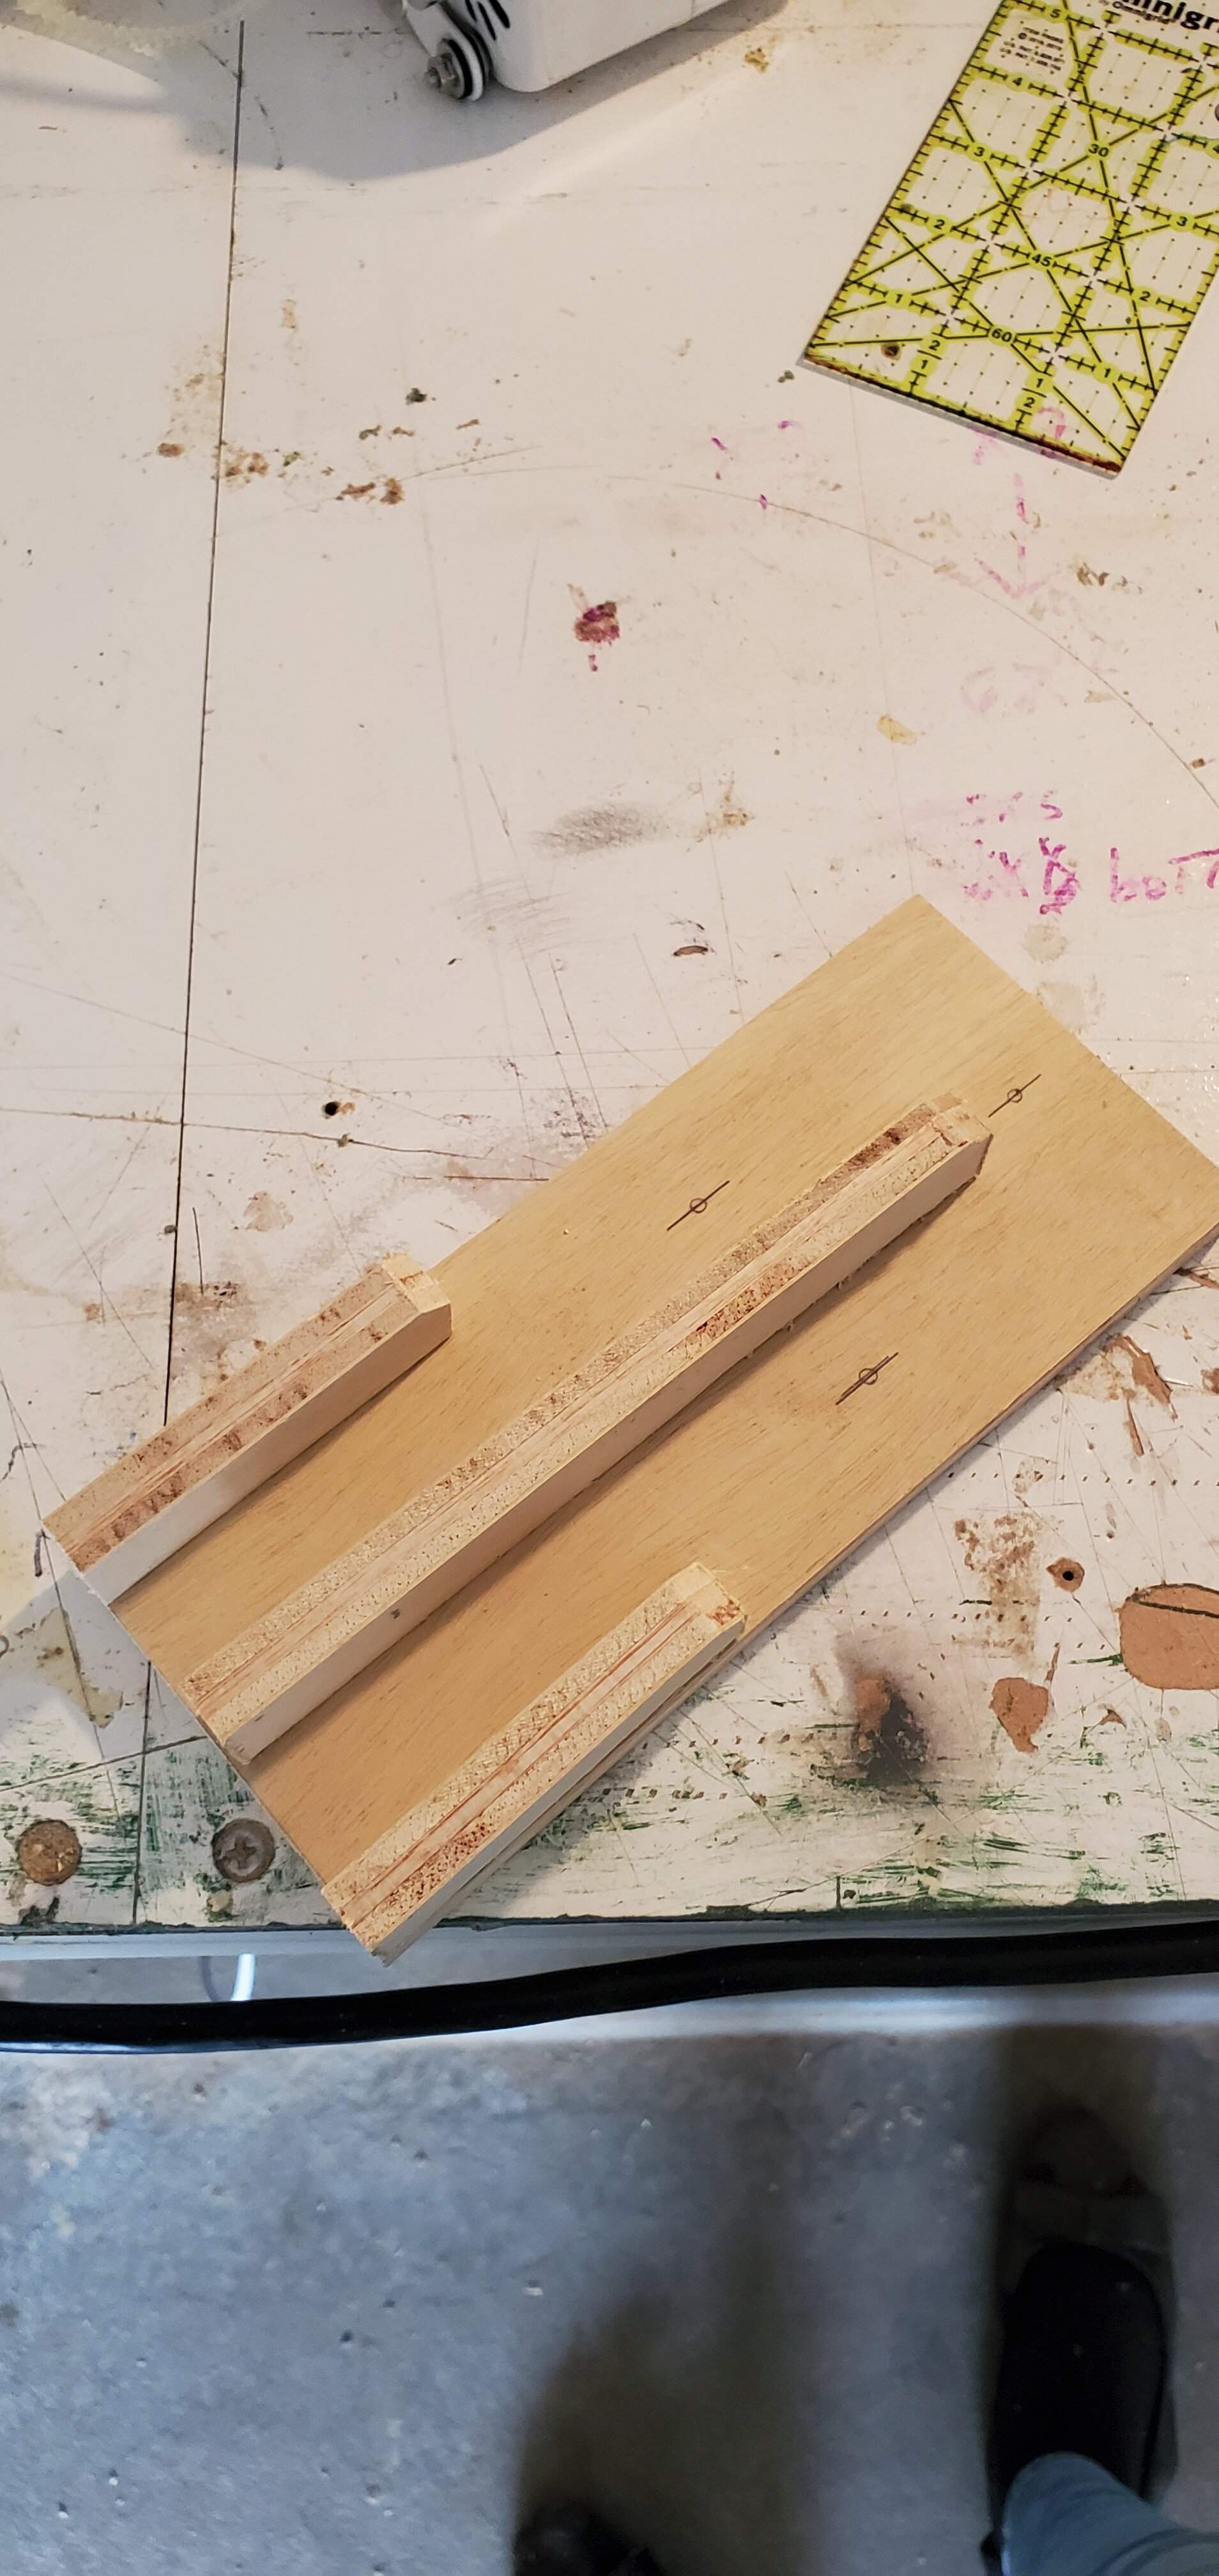
I also added these braces on the back side to make the thing more solid. This is about where I got today. And will pick it back up tomorrow.
Anyway a few things have occurred. For starters I was still waiting on a lot of stuff last weekend but while I waited I decided to go ahead and make shift string this thing!
Being that it was on fire I figured it'd be a good idea to throw some tension at it before putting a bunch of work into this neck. Holy smokes was I surprised, this thing rips! It's not perfect but it's pretty close. Close enough I shouldn't even need to refret as a light fret level and dress is going to have it playing perfectly.
It does however have a binding channel to contend with but I believe I can clean it, rebind and give it a Gibson/Ric/ect style trim on the edges. (What once was here from the look of it)
Don't mind the fender style bridge btw, it was just easy to test with as the holes were already there from a prior owner. Misc pickup taped in place because I had to.
So that's rad. Also rad is parts showing up.
Drum roll....
I gave in and purchased the internet's favorite sewing machine motor with speed control.
Here I'm messing with how I'll need to align everything. The idea is to suspend the counter and mount the pickup pulley directly to it. The motor alinged that way to spin everything clockwise. (Looking at the bobbin side)
This motor spins all the way to 6k rpm lol, but it's also infinitely more controllable even with it's supplied foot control (also there will be pulley reduction). That said I'm still going to use my Variac for ease of use and a little more control. I'll also likely throw a step down transformer in there to make it even smoother still, maximum smooth...
Making more pulleys
One ~3 1/4“ and one 1 5/8" the small pulley is going to run off the motor and give my counter double the counts of the big pulley. Not ideal but it's easy head math and it'll work with the belt I have. (Easy to fix later with a longer belt too).
This will be a back board to hold the counter up off the platform.
The counter will get mounted with these three elongated holes to allow me to tension/align the belt.
I also added these braces on the back side to make the thing more solid. This is about where I got today. And will pick it back up tomorrow.
Margarita intermission*
I find that for me a good build will always inevitably at some point benefit from a good margarita intermission. It's important to note that margarita intermission is not for everyone and I am in no way suggesting that you do as I do.
Now with that out of the way first we'll need some tequila. 3oz of a decent Blanco will work a treat. We'll pour this over a bit of ice in a shaker.
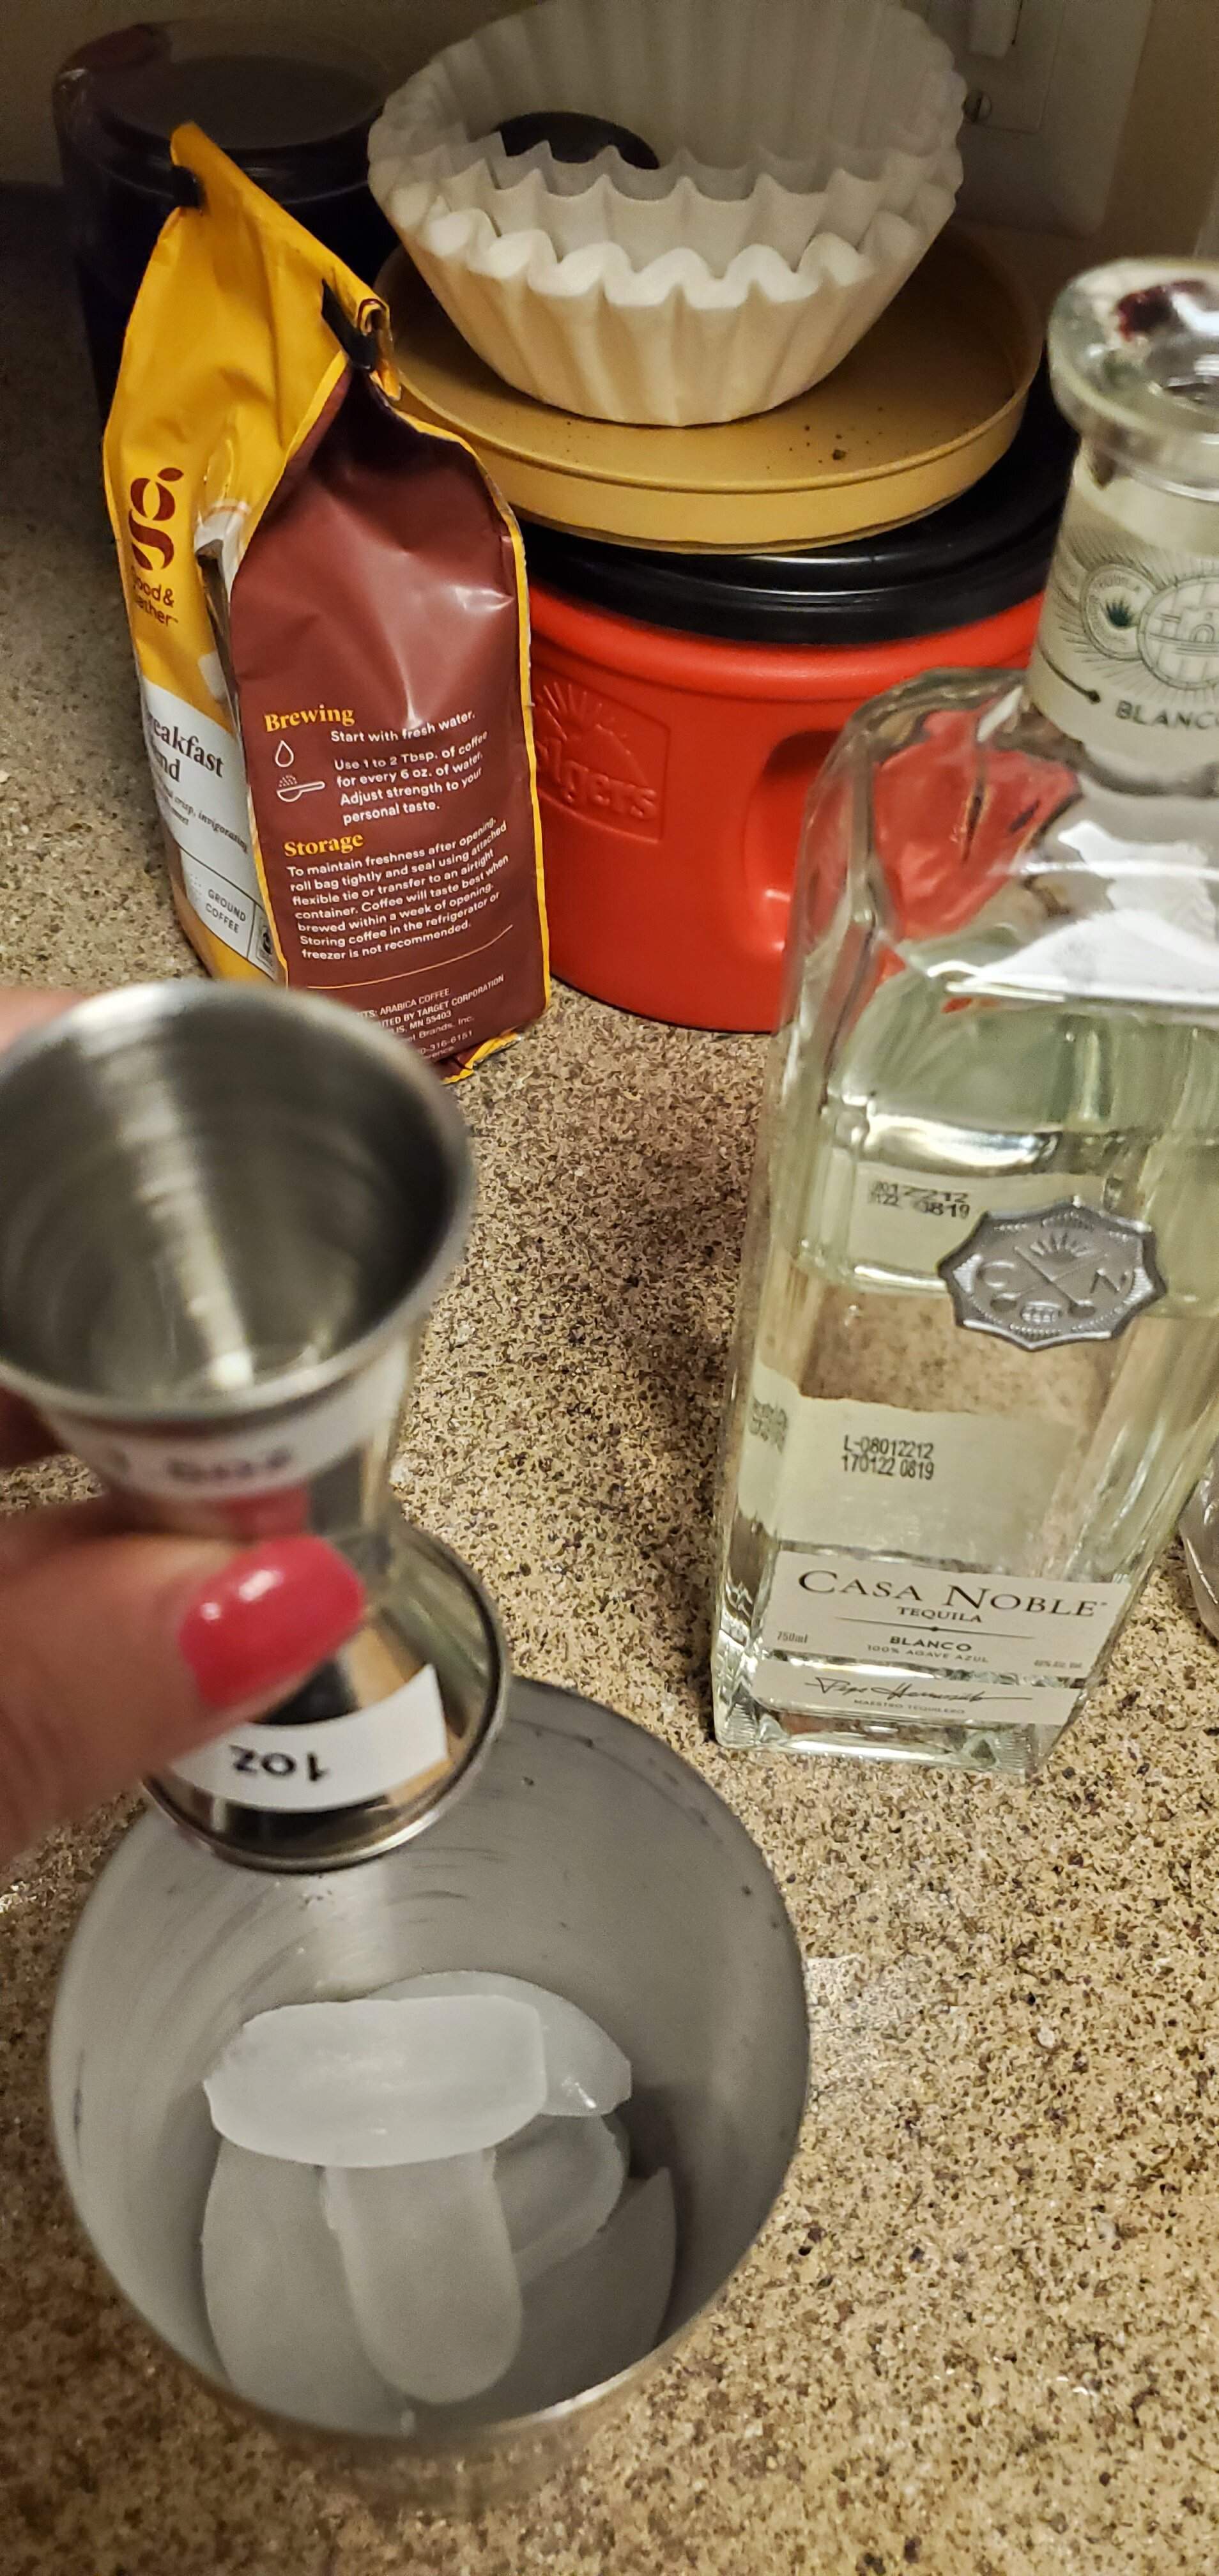
Next we will want 2oz of an orange liqueur
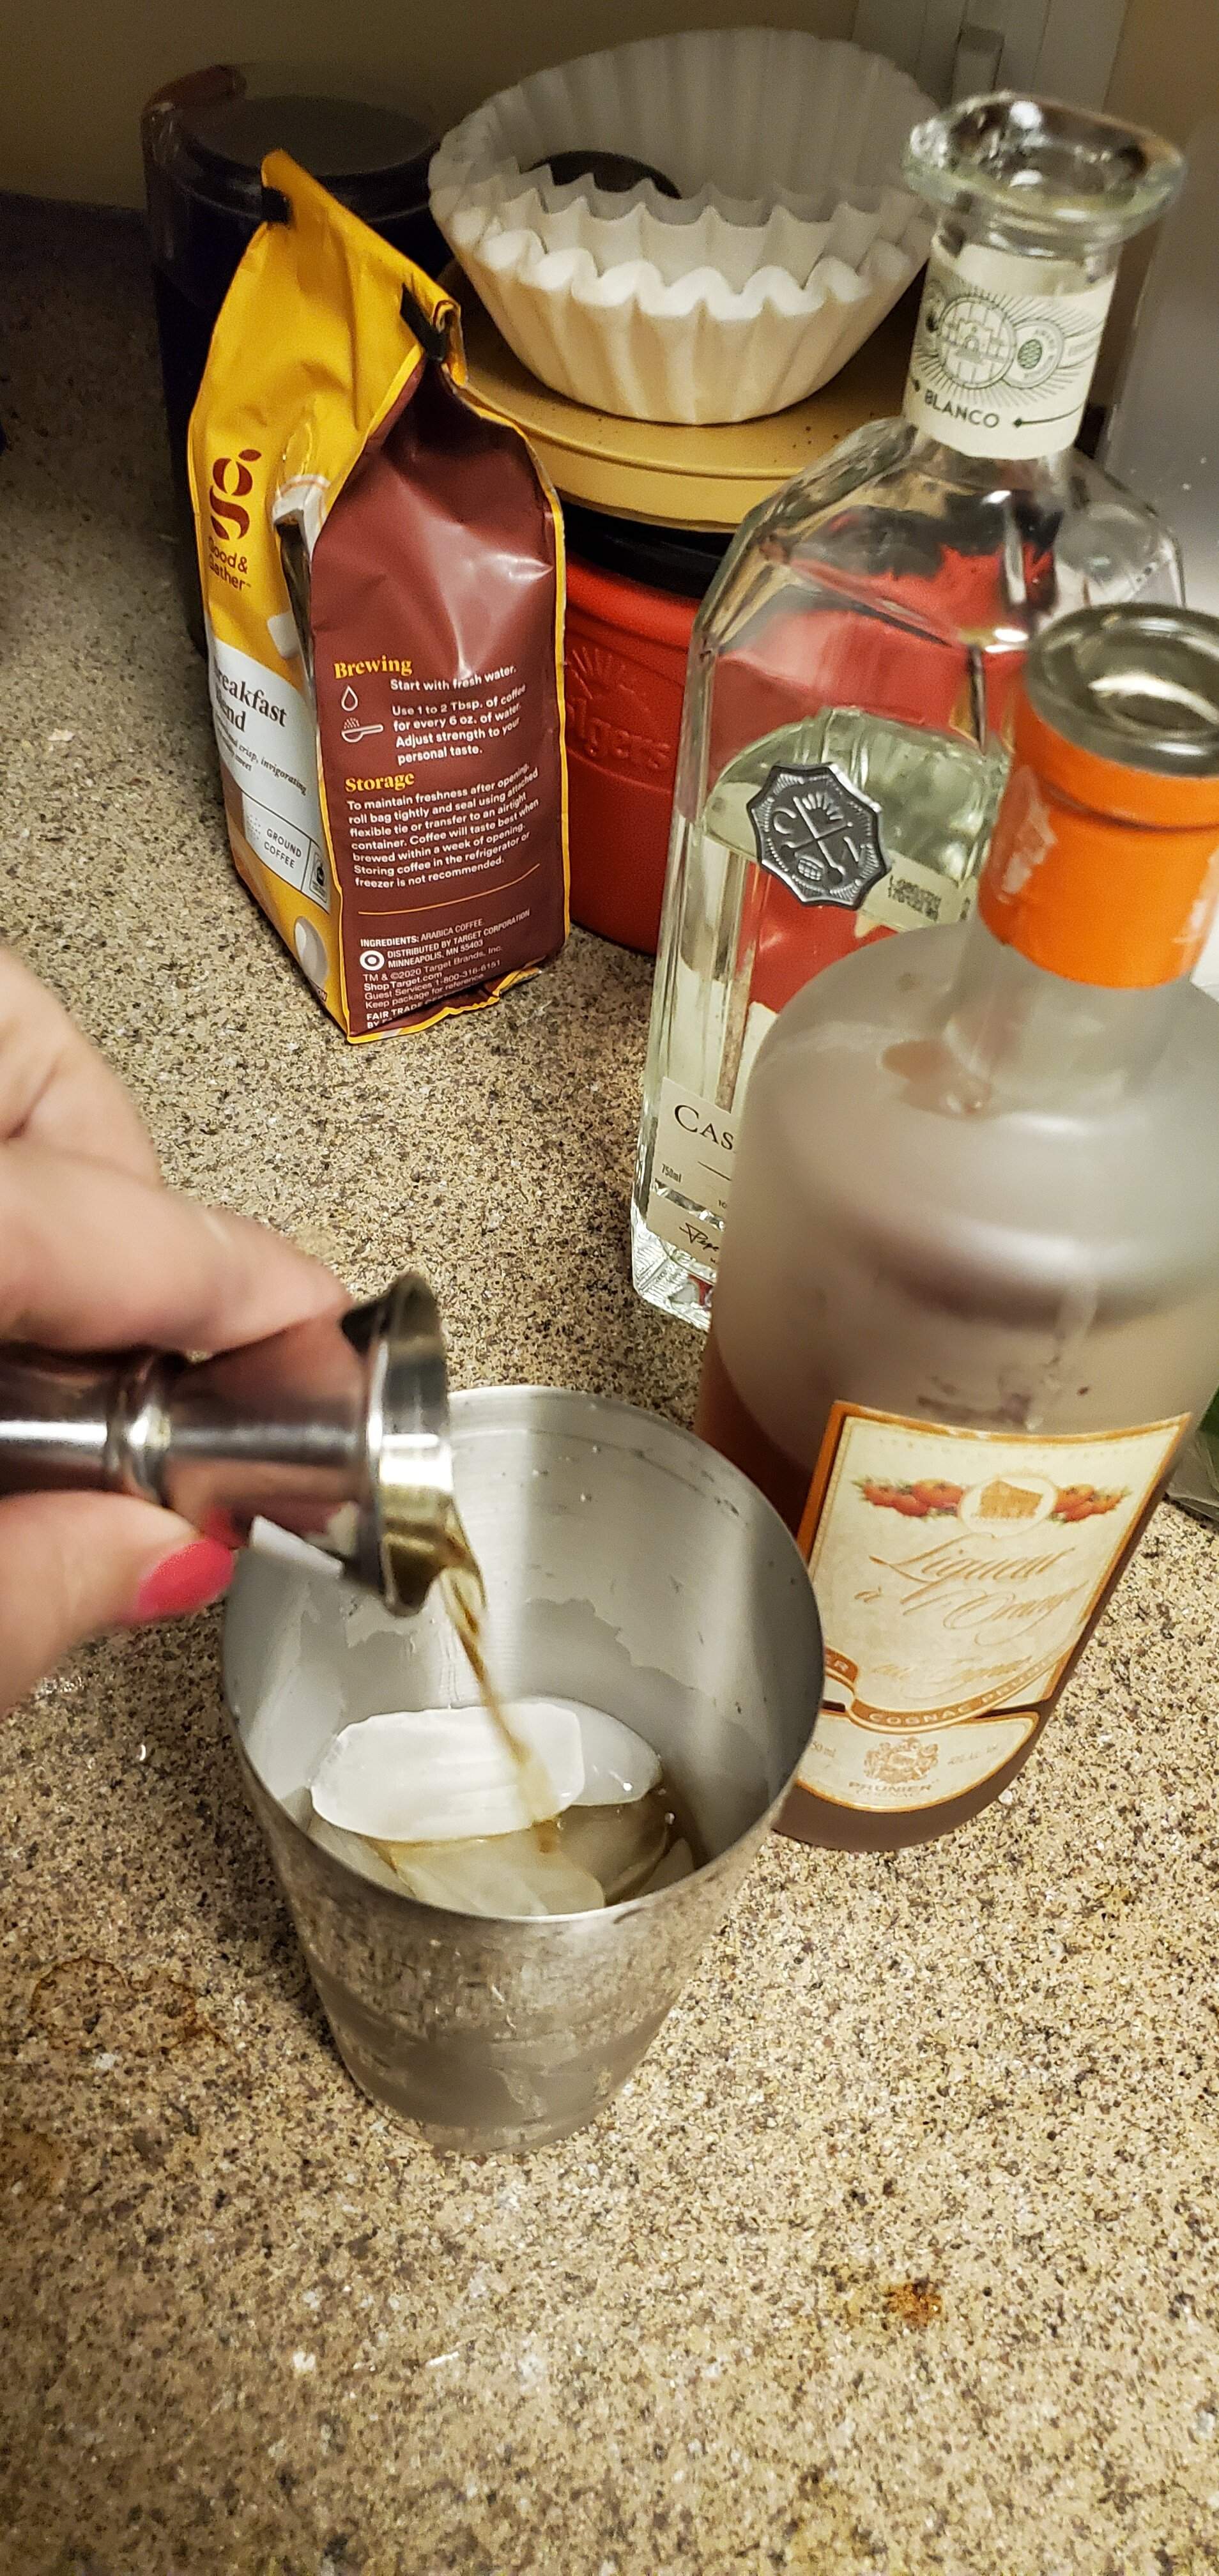
And to complete our 3, 2, 1 concoction 1oz of fresh squeezed lime but not yet or maybe so, look I photographed this weird so we'll just have to deal here.
Next is a touch of agave nectar/simple syrup. This is a taste thing and everyone likes it a little different. Some people don't like anything sweet ever, at all.
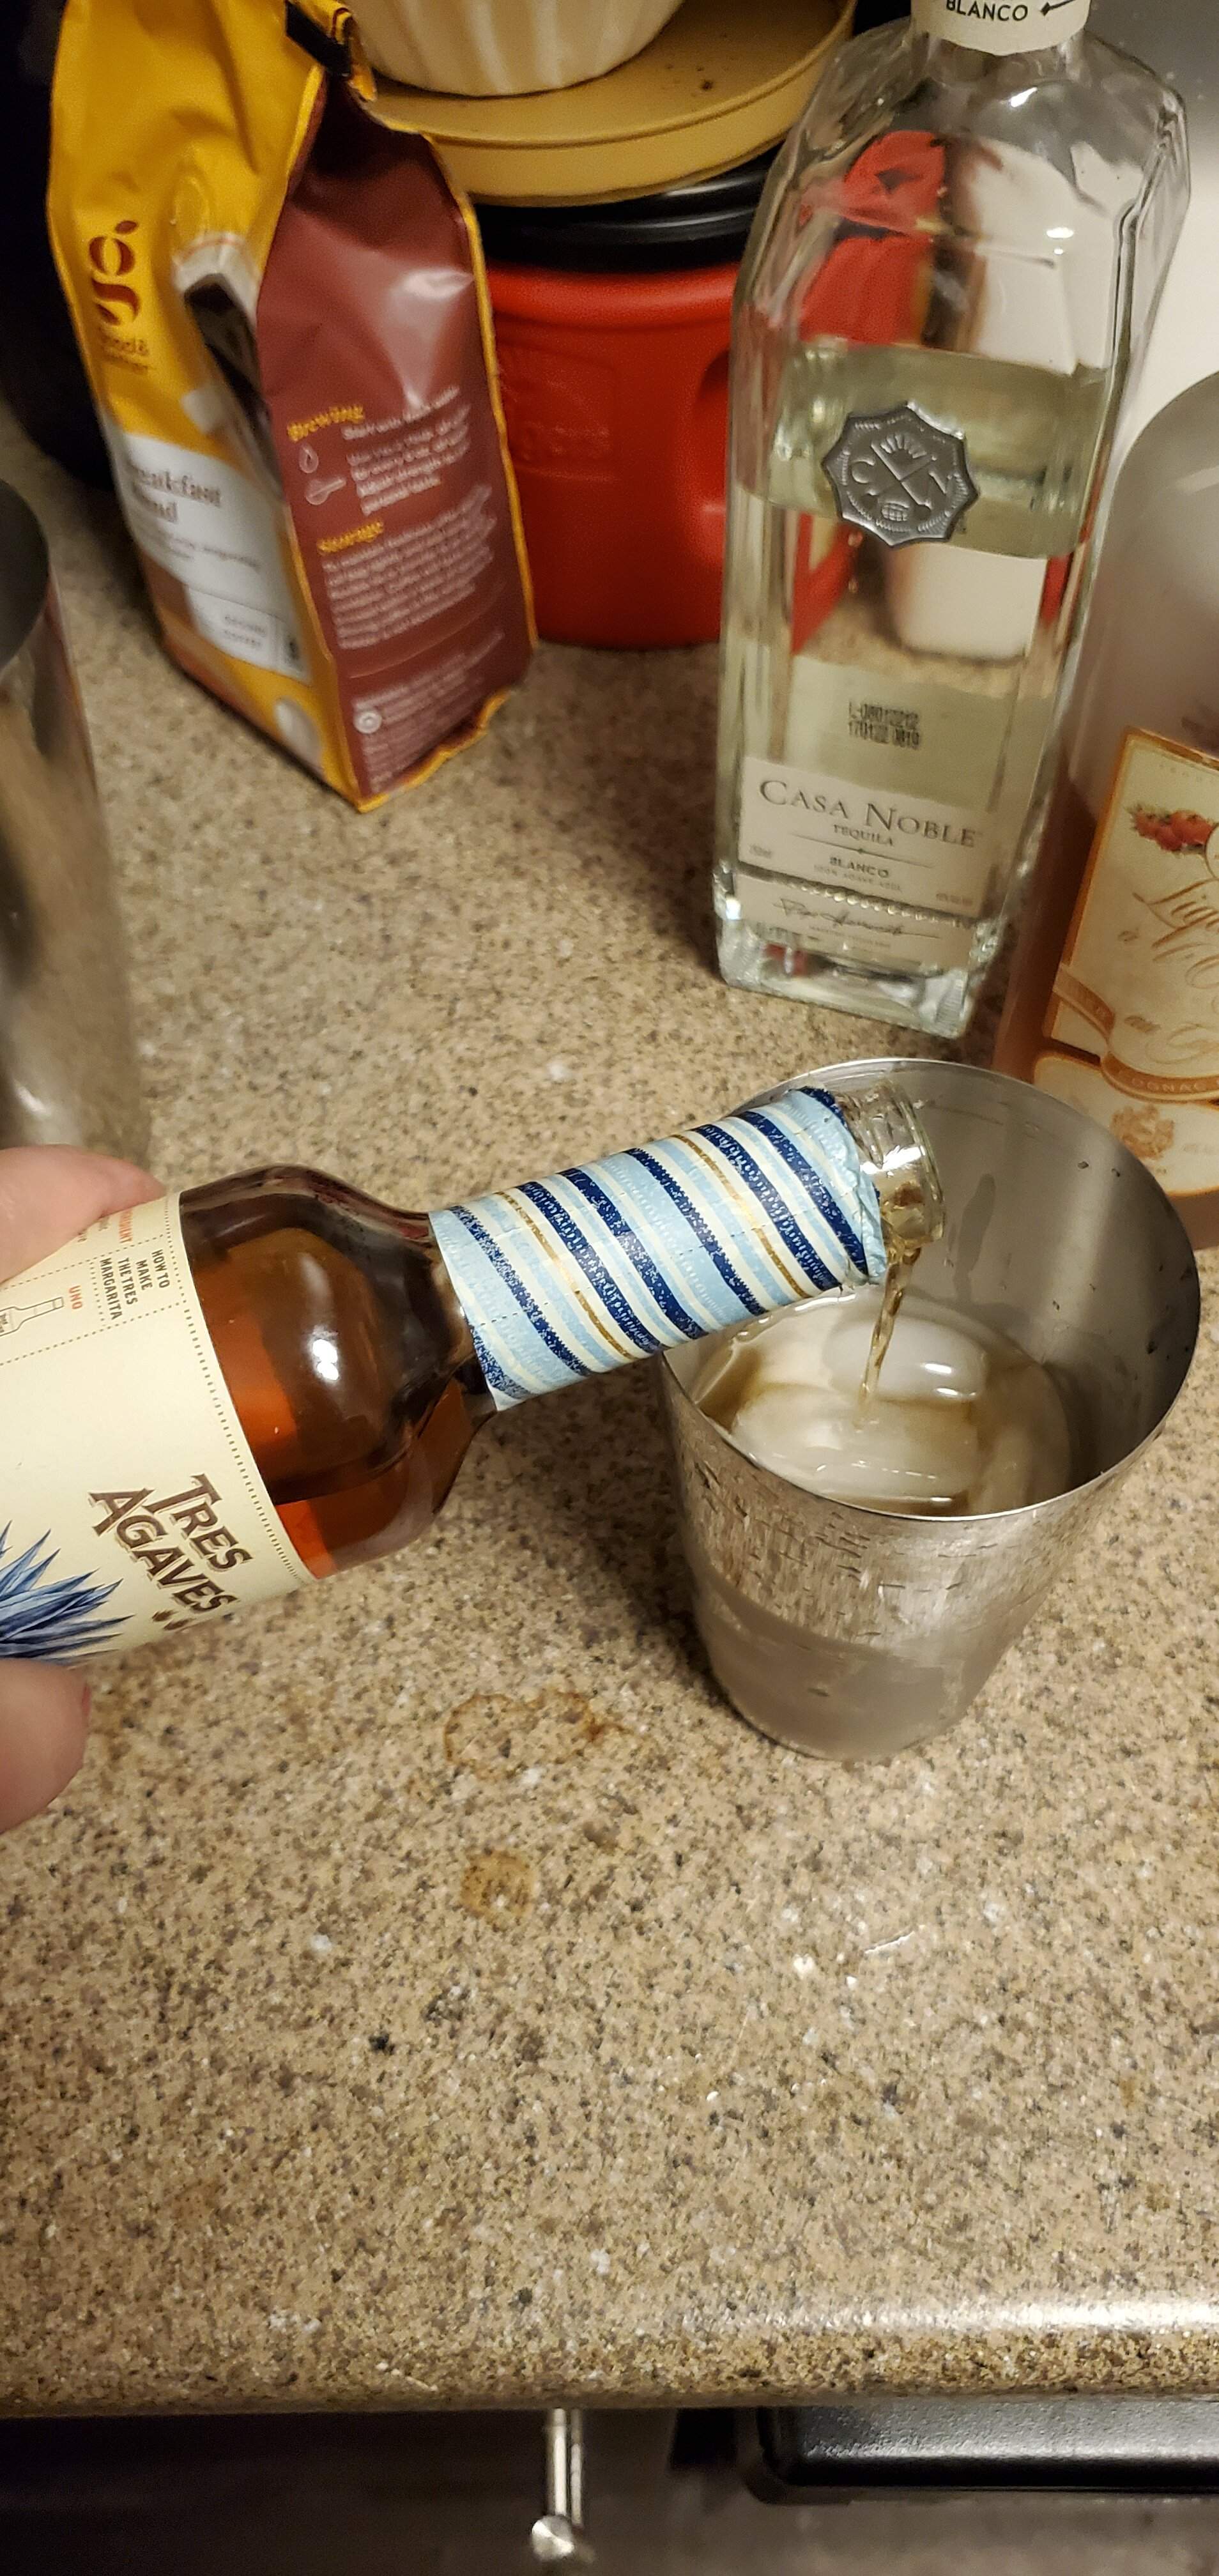
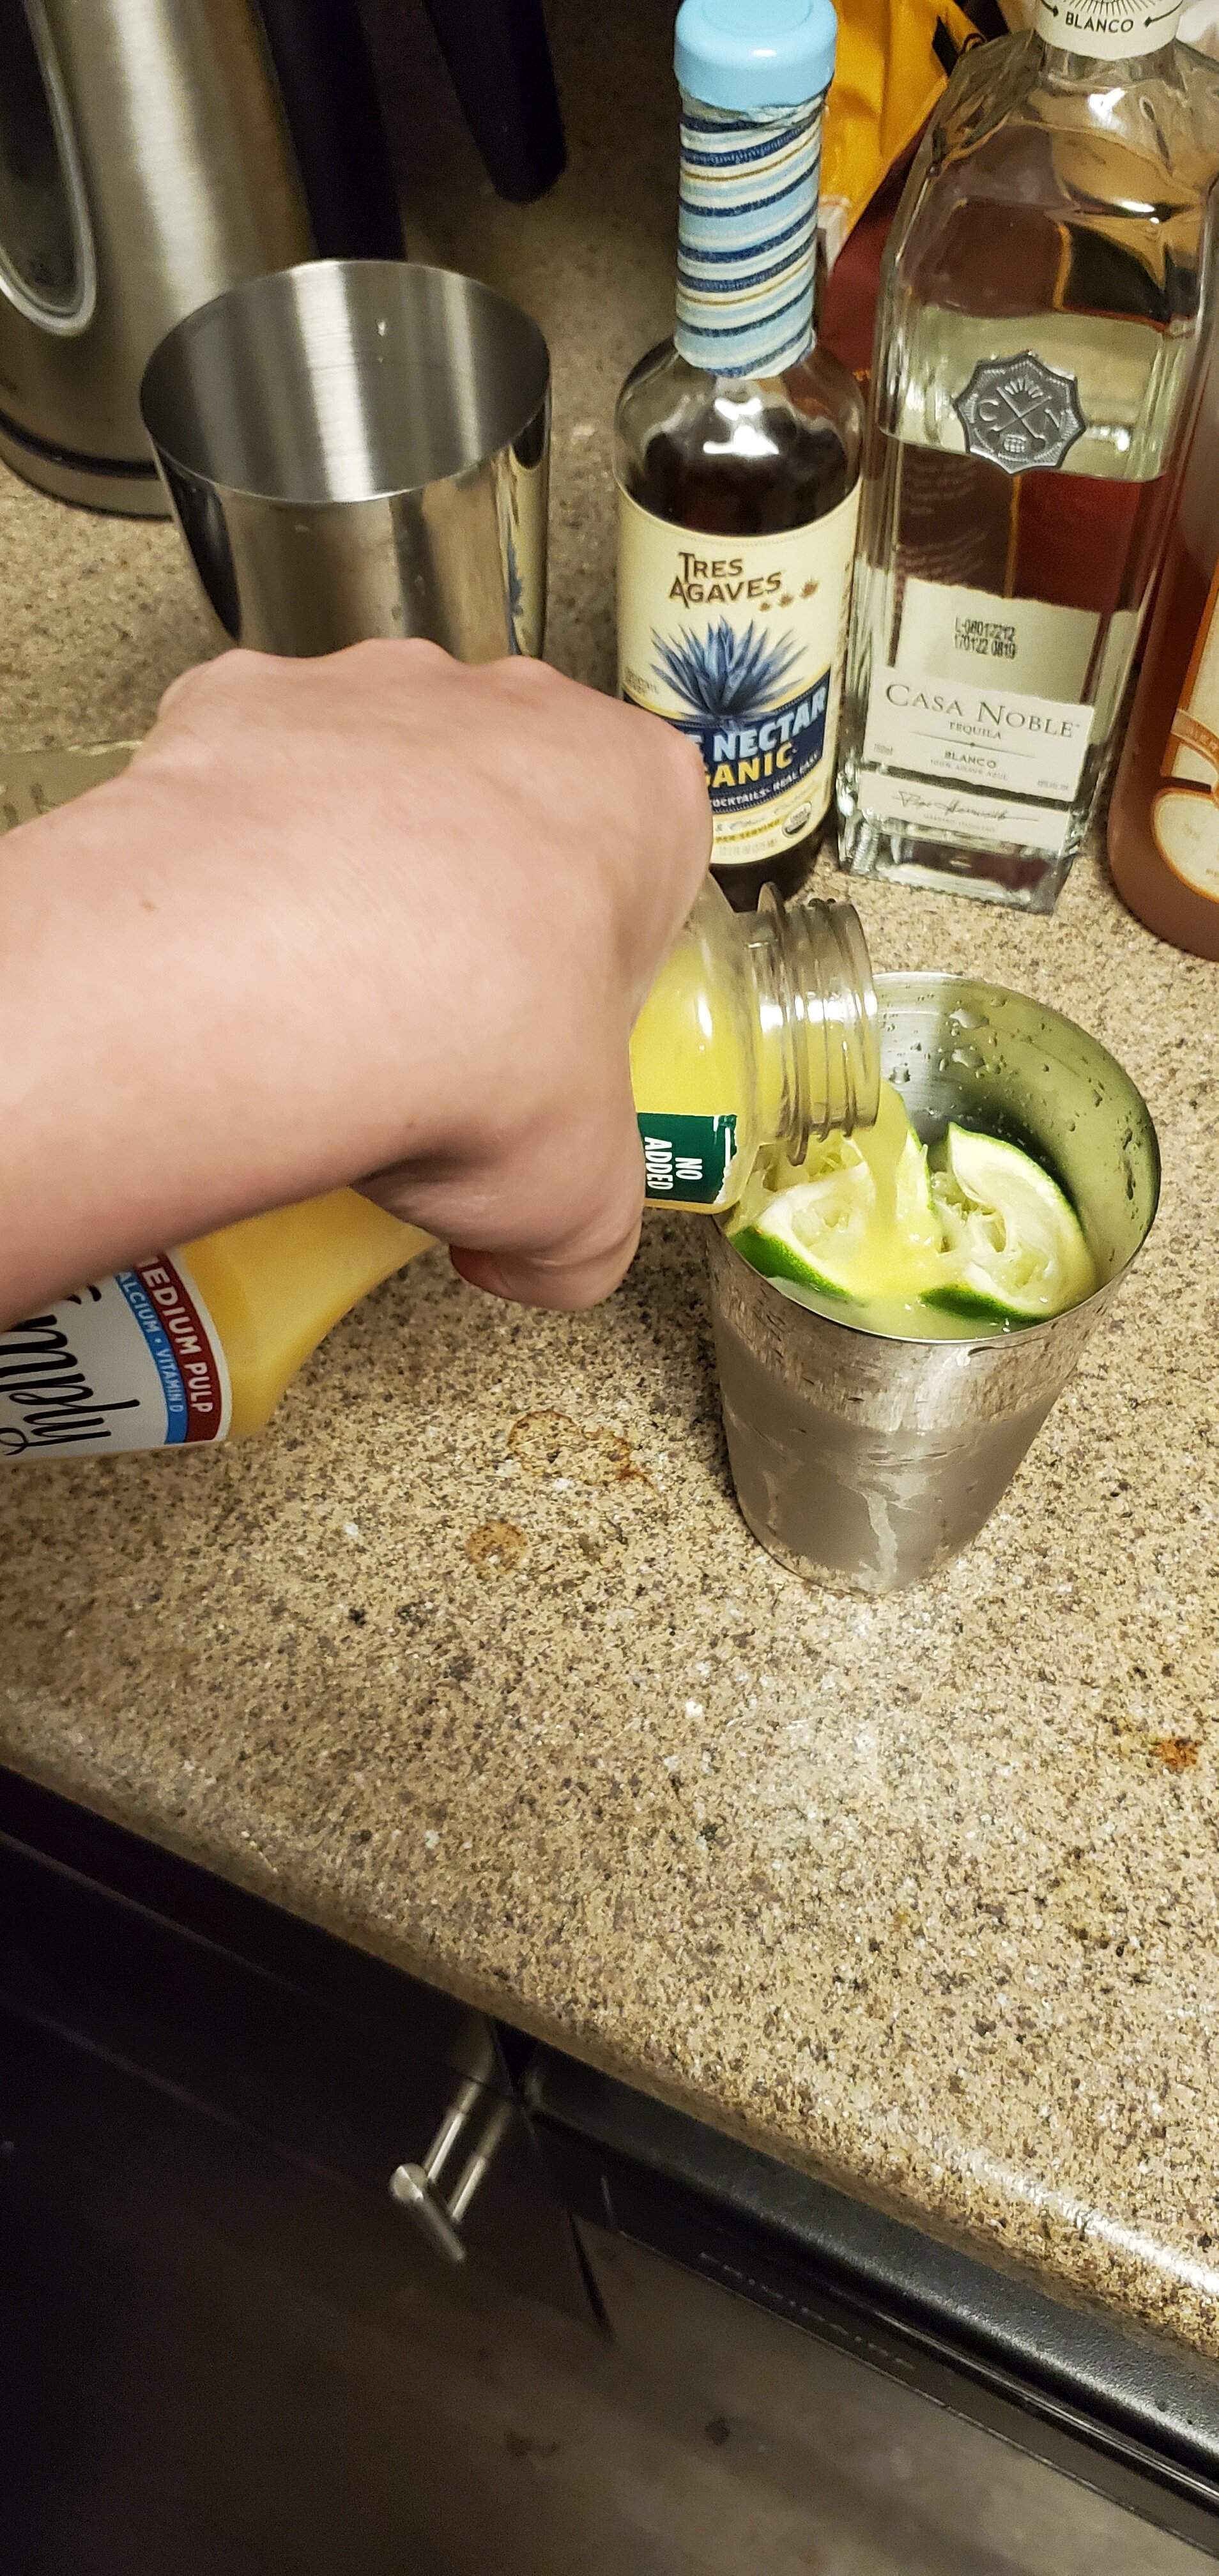
And yeah lime, 1oz fresh squeezed! I like to just quarter my limes and hand squeeze 'em, makes me feel like I'm putting in some real effort. I also like to throw the remainder in the shaker cause why not more lime.

Finally a splash (splash) of oj, don't go overboard here as it's so easy to do.
Now, prepare that glass! I like to make a little syrup puddle on the cutting board and running the rim of the glass through it and quickly dipping said rim in salt. This is so quick I didn't even photograph it.
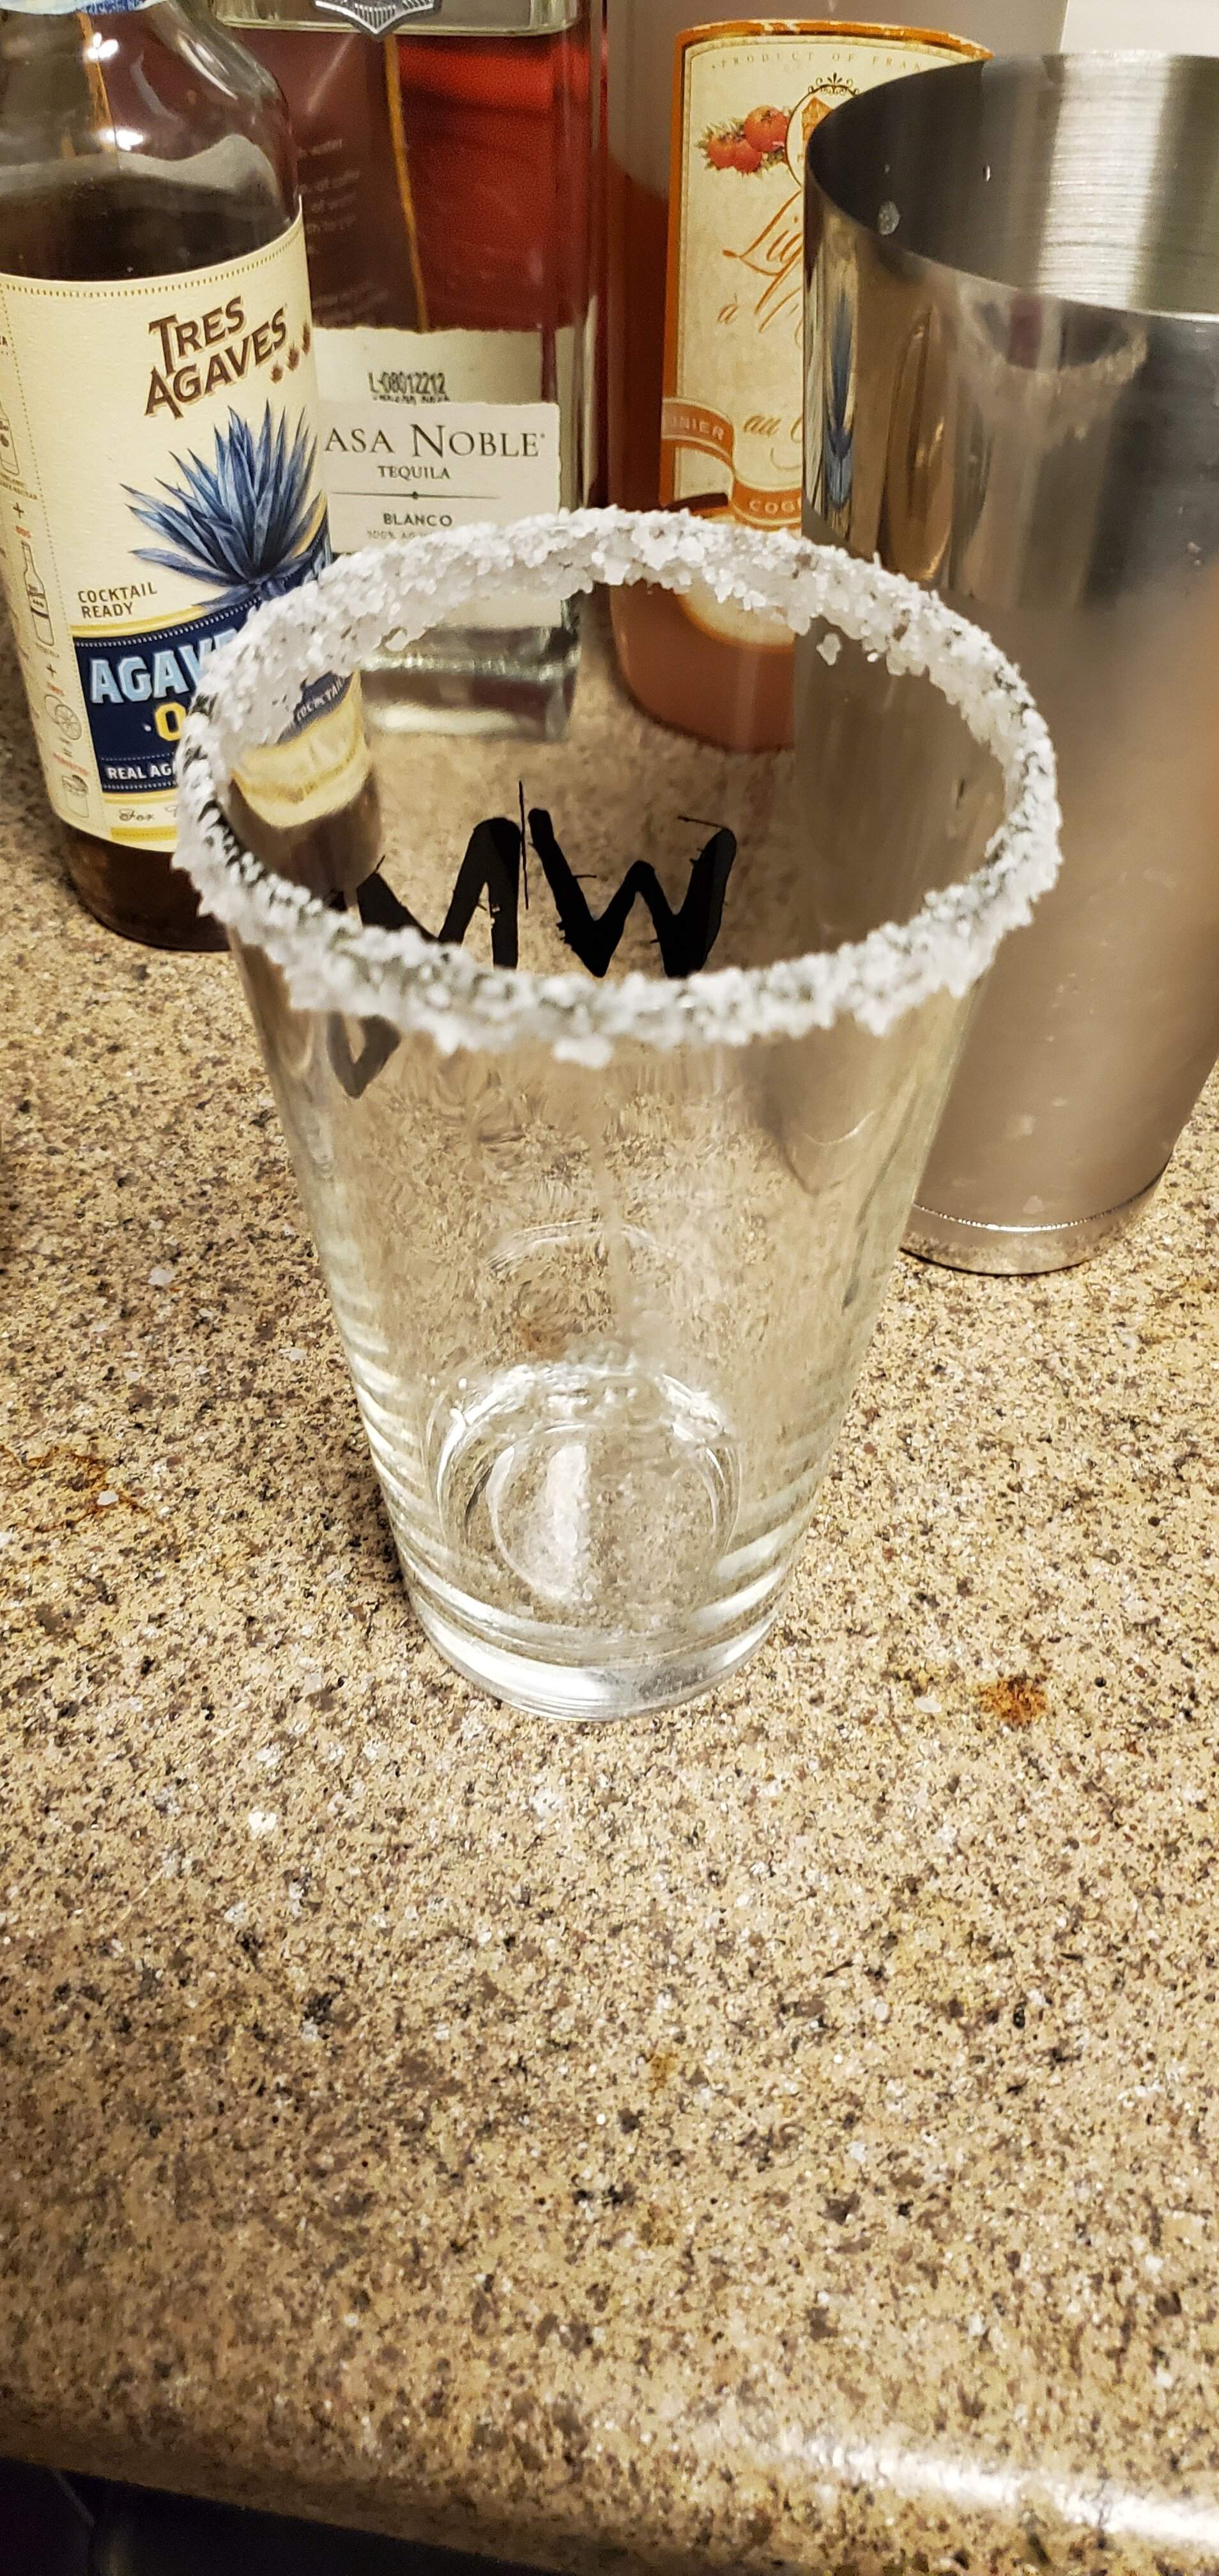
Now shake that Marg until your arms hurt, or a few seconds, whatever.. pour and enjoy another successful margarita intermission.

Yeah I know my counter is filthy, I'll get to it later geeze..
I find that for me a good build will always inevitably at some point benefit from a good margarita intermission. It's important to note that margarita intermission is not for everyone and I am in no way suggesting that you do as I do.
Now with that out of the way first we'll need some tequila. 3oz of a decent Blanco will work a treat. We'll pour this over a bit of ice in a shaker.
Next we will want 2oz of an orange liqueur
And to complete our 3, 2, 1 concoction 1oz of fresh squeezed lime but not yet or maybe so, look I photographed this weird so we'll just have to deal here.
Next is a touch of agave nectar/simple syrup. This is a taste thing and everyone likes it a little different. Some people don't like anything sweet ever, at all.
And yeah lime, 1oz fresh squeezed! I like to just quarter my limes and hand squeeze 'em, makes me feel like I'm putting in some real effort. I also like to throw the remainder in the shaker cause why not more lime.
Finally a splash (splash) of oj, don't go overboard here as it's so easy to do.
Now, prepare that glass! I like to make a little syrup puddle on the cutting board and running the rim of the glass through it and quickly dipping said rim in salt. This is so quick I didn't even photograph it.
Now shake that Marg until your arms hurt, or a few seconds, whatever.. pour and enjoy another successful margarita intermission.
Yeah I know my counter is filthy, I'll get to it later geeze..
Last edited:


Tequila and I have an understanding: I leave it alone and it leaves me alone. We get along better that way.
Crispy basses, on the other hand.... bring 'em on! And pickup winders, too!
Crispy basses, on the other hand.... bring 'em on! And pickup winders, too!

Tequila and I have an understanding: I leave it alone and it leaves me alone. We get along better that way.
Crispy basses, on the other hand.... bring 'em on! And pickup winders, too!
My niece says she's allergic to tequila.
It makes her break-out in handcuffs.

- Jun 30, 2010
- 49,587
- 221,950
- Disclosures
- musician/artist/owner - Gildaxe
I can drink maybe one Margarita - not a big tequila fan. I don't like what it tastes like straight, unlike good Vodka or Gin. As a 'mix', like a Margarita - it's ok.
Last edited:
I think I read somewhere that Tequila was involved in the invention of scatter winding. Know your spindle speed limits, and keep it between the flanges.
My niece says she's allergic to tequila.
It makes her break-out in handcuffs.


We make them similarly - cheers!Margarita intermission*
I find that for me a good build will always inevitably at some point benefit from a good margarita intermission. It's important to note that margarita intermission is not for everyone and I am in no way suggesting that you do as I do.
Now with that out of the way first we'll need some tequila. 3oz of a decent Blanco will work a treat. We'll pour this over a bit of ice in a shaker.
View attachment 4704162
Next we will want 2oz of an orange liqueur
View attachment 4704166
And to complete our 3, 2, 1 concoction 1oz of fresh squeezed lime but not yet or maybe so, look I photographed this weird so we'll just have to deal here.
Next is a touch of agave nectar/simple syrup. This is a taste thing and everyone likes it a little different. Some people don't like anything sweet ever, at all.
View attachment 4704171
And yeah lime, 1oz fresh squeezed! I like to just quarter my limes and hand squeeze 'em, makes me feel like I'm putting in some real effort. I also like to throw the remainder in the shaker cause why not more lime. View attachment 4704173
Finally a splash (splash) of oj, don't go overboard here as it's so easy to do.
View attachment 4704174
Now, prepare that glass! I like to make a little syrup puddle on the cutting board and running the rim of the glass through it and quickly dipping said rim in salt. This is so quick I didn't even photograph it. View attachment 4704184
Now shake that Marg until your arms hurt, or a few seconds, whatever.. pour and enjoy another successful margarita intermission.
View attachment 4704186
Yeah I know my counter is filthy, I'll get to it later geeze..
Pro-tip, a splash of grapefruit juice instead of orange is an interesting departure. For a wild ride, throw some black currant and grape syrup instead of agave and you've got a black margarita. I drank way too many of those on the playa a decade ago, though still not turned off tequila. It'll be my fave until it kills me.
Now you've made me thirsty!
I like a Margarita once in a while, but I'm really lazy. The last pseudo-rita I did was done by salting a rim, filling with crushed ice, double shot of Cuervo Gold, squeeze in both lime halves, and top off with 7-Up. It was what it was... adequately delicious. If I get extra gumption I'll mix the lime juice with a teaspoon of bar sugar first.
Like Manfred Mann, I like my sugar sweet!
I like a Margarita once in a while, but I'm really lazy. The last pseudo-rita I did was done by salting a rim, filling with crushed ice, double shot of Cuervo Gold, squeeze in both lime halves, and top off with 7-Up. It was what it was... adequately delicious. If I get extra gumption I'll mix the lime juice with a teaspoon of bar sugar first.
Like Manfred Mann, I like my sugar sweet!
Last edited:

Holy moly brah! Why not ditch the tequila and just go straight mountain dew and cough syrup.Poor man's margarita... mountain dew and tequila.
Applebee's has a killer margarita. The Perfect Margarita it is called... I like em!
Latest posts
-

-
Vintage German parlour looks classical but needs steel strings?
- Latest: bass player 53
-

-

-
