• TalkBass has been independent since 1998. Add your voice.
    Create a free account to reply to discussions, view embedded media, and browse with fewer display ads.
    Join freeLog in
    Want zero display ads or expanded classifieds tools? Compare plans.

First build: 5 string EUB

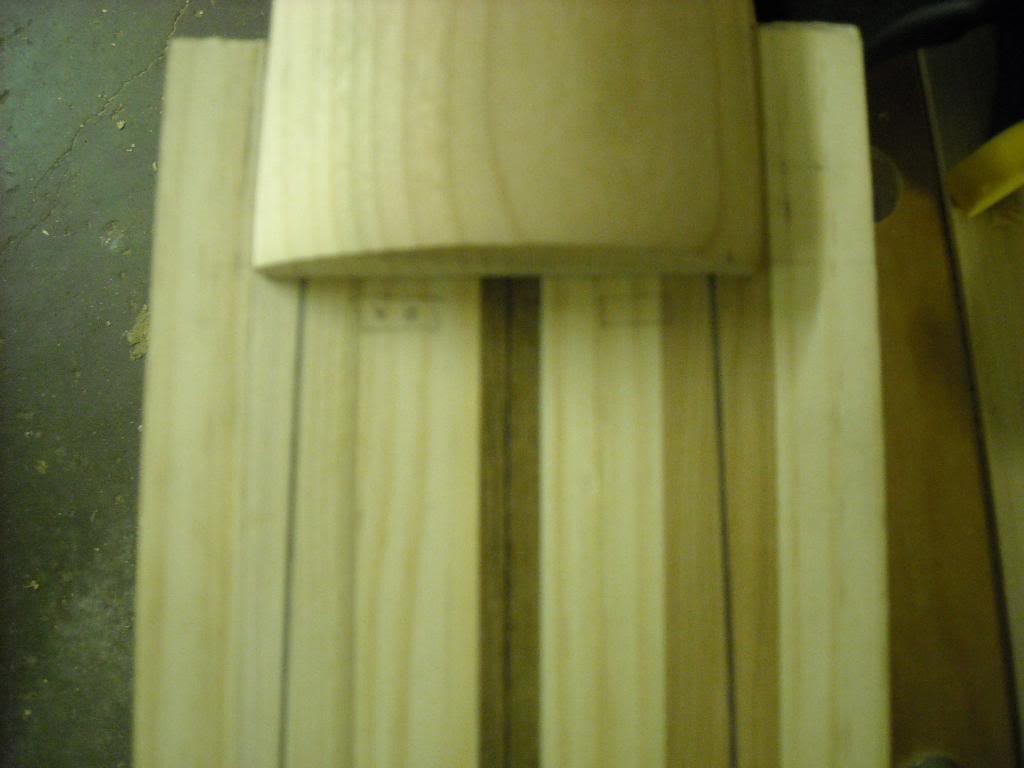
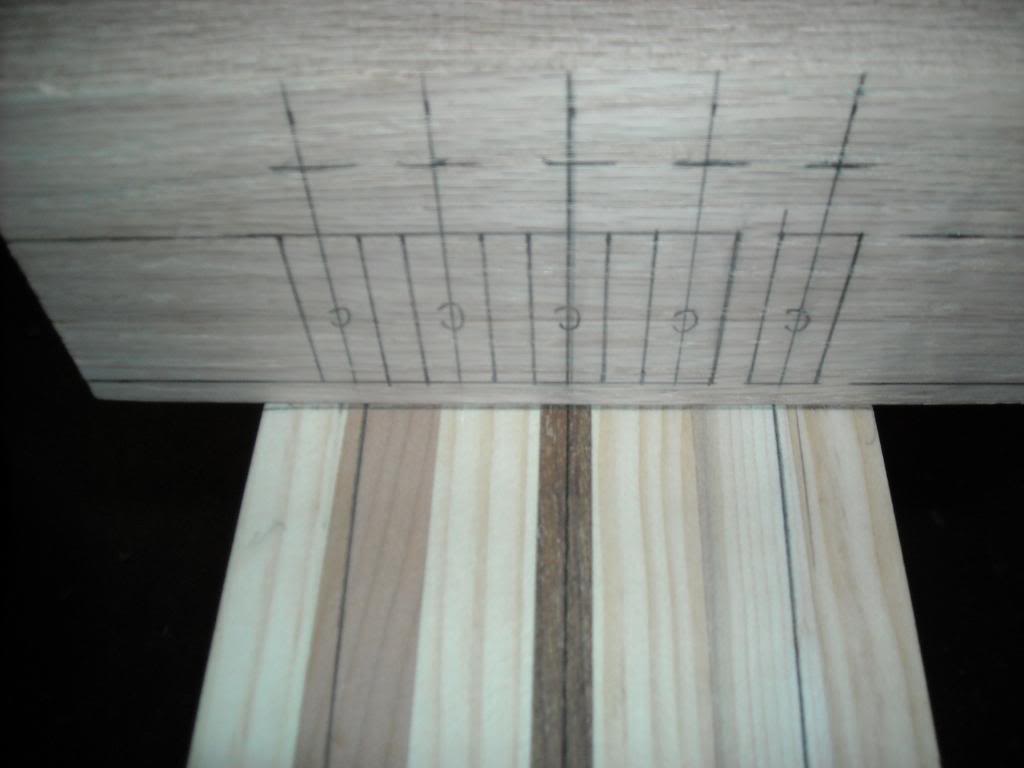
Decided to figure the layout, with the strings, found mistakes that I made...........

I figured that I would calculate the string layout, with 1/4" space on each side of the fingerboard, well the joke was on me :eyebrow:

Looks like I'll need to redo the bridge, because the spacing is way off. That's what I get for making the bridge first. I had planned a 7/8" string spacing, now a hair over 3/4" (maybe a mm past).

That's alright though, I could've done better on the routes for the saddles, so now I can.

Pics so far:
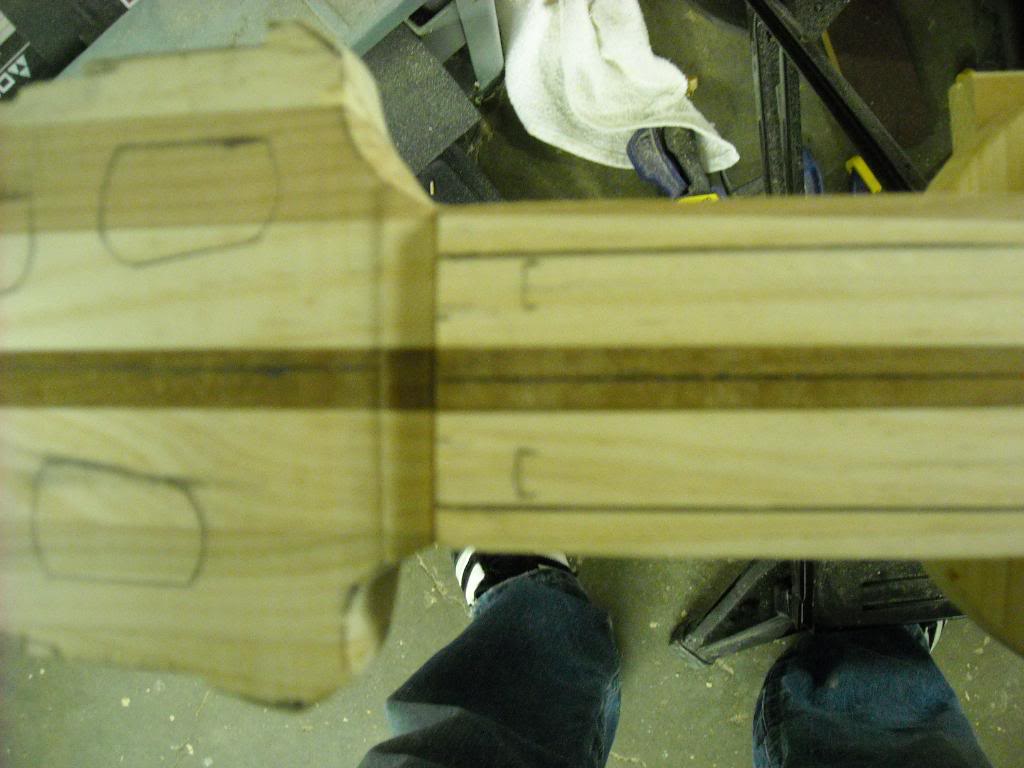
DSCN0309.jpg

DSCN0308.jpg

DSCN0316.jpg


Now it's more accurate :hiding:

DSCN0310.jpg

DSCN0318.jpg


Here's the leftover piece that will be my next one:
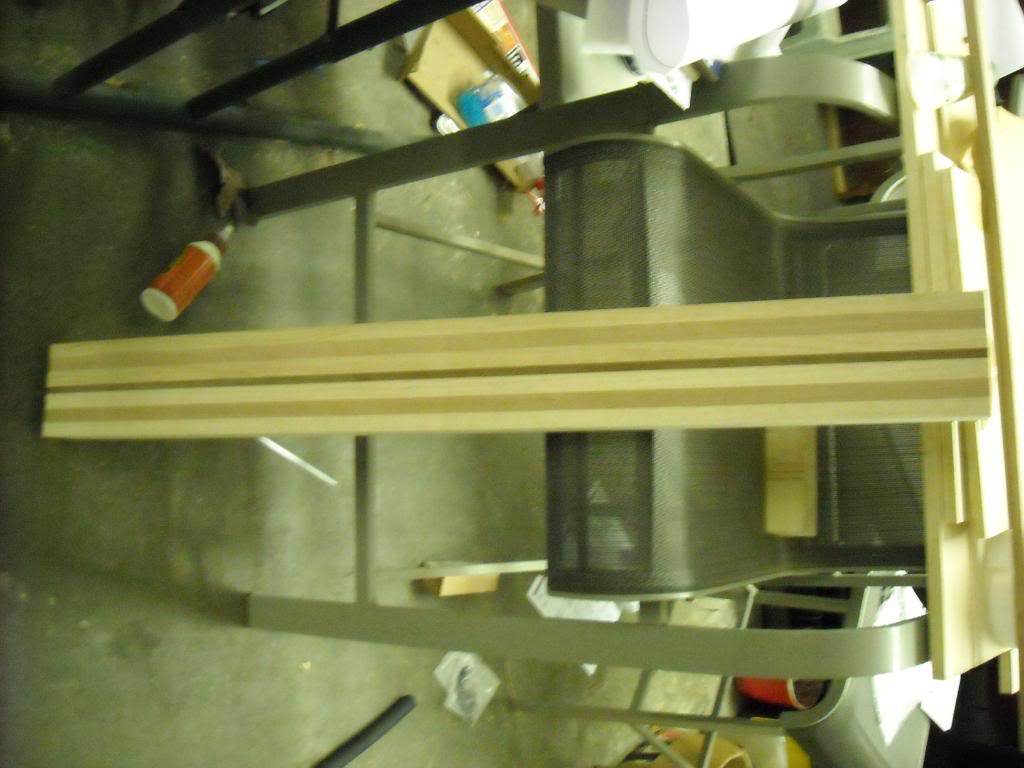
DSCN0319.jpg


There will certainly be more mistakes for you guys to laugh at soon ;)
 
Hey Jason, looking good!

How did you enjoy handplaning on your workmate? ;)

Mine drives me crazy, Ive figured out I need to stand on the bench to stop it skidding, but that makes it hard to keep the plane plumb and I cant get enough power behind it. I cant wait to get a decent bench!
 
Hey Jason, looking good!

How did you enjoy handplaning on your workmate? ;)

Mine drives me crazy, Ive figured out I need to stand on the bench to stop it skidding, but that makes it hard to keep the plane plumb and I cant get enough power behind it. I cant wait to get a decent bench!


If you're looking to build a "somewhat" decent workbench, I built this rather inexpensive bench.
http://www.talkbass.com/forum/showthread.php?t=477828

Yeah, she skids around, unless I put my foot on the foot step.
I have a nice big workbench, just have not had the opportunity to clear all the tools that are covering the top of it right now.
I remedied the skidding temporarily, by putting some weight under it (firewood logs).
 
If you're looking to build a "somewhat" decent workbench, I built this rather inexpensive bench.
http://www.talkbass.com/forum/showthread.php?t=477828

Yeah, I saw that bench being built. I liked the oak laminate over the top - good touch to get a flat, hardwearing surface! Im looking into using bamboo flooring.

Also, Ive been watching these:

Link Removed

More traditional approach, and probably very tricky to move house with!
 
Yes,
I f'd up the bridge today :hmm:

Maybe I should have stayed away from the shop today, no?

Anybody else ever felt like that?

After reading up on the "How to" section, I was looking at "building a wooden bridge", by Mario (T2W). Interesting..... I'm thinking to go that route, instead of what I'm doing currently.At least that put a smile on my face.

I should have just stayed away today. Wasn't in the right mood I guess.
 
Made the top for the bridge, but first.......

A lesson from my uncle James:

"To make a thin laminate out of a thicker piece of wood,
cut the rough thickness with a bandsaw (in this scenario)
get another bigger piece of wood, glue a paper towel to it,
then glue the piece to the paper towel and run it through the planer".

DSCN0324.jpg

DSCN0325.jpg


Unless you already know this, and I'm an idiot ;)

DSCN0326.jpg

DSCN0327.jpg
 
Ok,
Got the shop somewhat organized.......... Lost the bridge somewhere in between, had to make another one. Cut the saddles out of 1/2" dia brass, cut them all the same height for now. Still have to get some small bolts 3" long, for the adjustment screws:
DSCN0006.jpg

DSCN0007.jpg


Went ahead and got the truss rod channels cut, then also routed a pocket, just beyond the fingerboard, any nicks you see, going down the truss rod channel, was the price I payed for not doing the channels before I tapered the neck, had to build a jig. I think it worked *alright*:
DSCN0008.jpg

DSCN0009.jpg

DSCN0010-1.jpg

DSCN0011-1.jpg
 
A little bit of bridge work.

I messed up the first saddle, I need to remake 2 of them.
The second one came out the way i wanted it to via the drill press.
Now she's somewhat adjustable :
DSCN0013.jpg


(some bolts may appear slightly crooked, the holes are oversized, for some movement)
DSCN0012-1.jpg

DSCN0014-1.jpg


Now I need to figure out how to layout the bolts with the end "cap" nuts (and trim the bolts down), would be able to just twist the capped end, instead of just the phillips heads for adjustment. Just need to figure on an vibration that will affect the tension of the nuts.
DSCN0015-1.jpg

DSCN0016.jpg

 
After making multiple saddles, I'm finally happy with the last ones I finished. Got them all drilled and threaded and then decided to sand the wood down a little, so that I could seal it up with a coat of wipe on poly:
DSCN0026.jpg

DSCN0027.jpg

DSCN0028.jpg


Made a cover for the truss rod adjustment cavity:
DSCN0025.jpg

DSCN0023.jpg

DSCN0024.jpg


I've decided to wait on gluing the fingerboard, until I work on the headstock, which also means I need to order some tuners here shortly.
 
Looks pretty good, so far... I'm wondering about that fingerboard... I don't recall - are you finishing it in poly, or did you something else in mind?

I'm throwing around the idea of just sealing it with about 10 coats of poly, then sanding most of that down, should keep the dirt out.
Did not notice until I was finished with the saddles, they're aluminum........ I don't know if that's good enough (softer than brass, IIRC), I worry about the strings cutting into them. I'm still trying to find the best way to keep tension on the bolts. I was looking at the bridge on my Alembic epic, it almost appears that each end has a plastic or poly ring on each end, although the entire piece is brass and not wood.
 
Headstock has been slimmed down, fingerboard is glued and neck is in the process of being shaped.

Fingerboard went without a hitch, plenty of glue flowed out ( not too much)
DSCN0037.jpg

DSCN0038.jpg

DSCN0039.jpg


1st session of neck shaping, used a rasp, micro planer and spokeshave.
DSCN0040.jpg

DSCN0041.jpg

DSCN0042.jpg

DSCN0043.jpg

DSCN0044.jpg


Finally fornd some lock nuts....... Bridge is now attached togrther.
DSCN0046.jpg

DSCN0048.jpg