• TalkBass has been independent since 1998. Add your voice.
    Create a free account to reply to discussions, view embedded media, and browse with fewer display ads.
    Join freeLog in
    Want zero display ads or expanded classifieds tools? Compare plans.

First build bass for my daughter

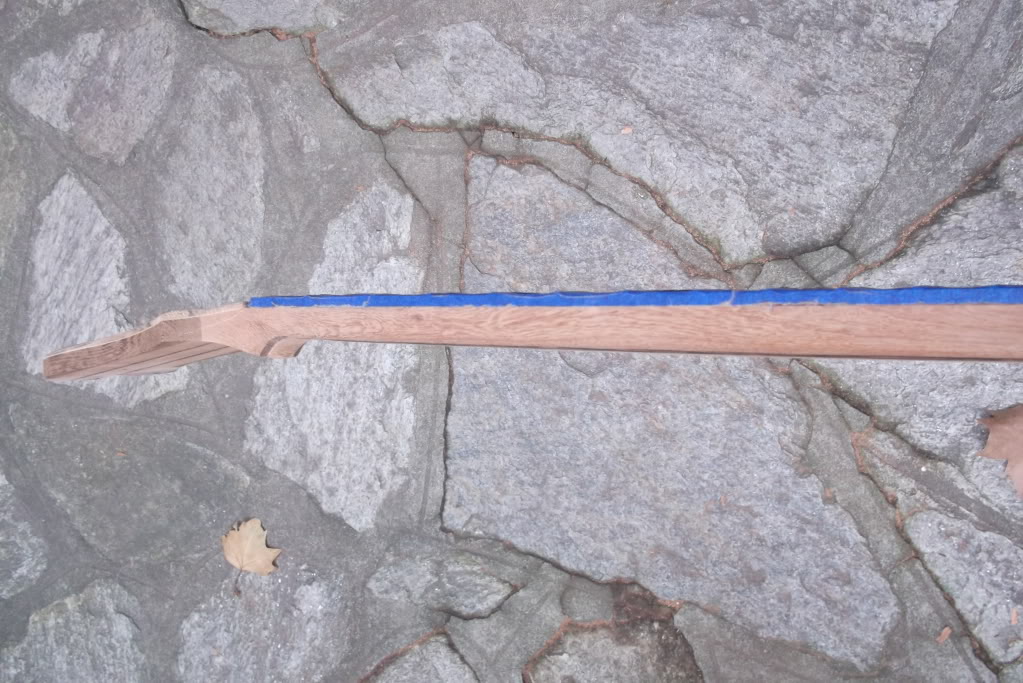
This weekend I moved a couple steps forwards.... and a couple steps back.

I've been working on the neck shaping, had it almost done, and then shaved a bit too much on the bass side near the 12th / 15th frets.
I decided to let it rest a bit and continue with a fresh head. I believe what will happen is that instead of having a C shaped neck as I was going for, I'll have a more assimetrical neck, thinner on the bass side. Ultimately, I think this might be very comfortable...
I'm not familiar with assimetrical neck shapes, but I think many builders do this?

I also cut the "logo" out of mother of pearl... it ended up really nice I think, only needs to be sanded down on the edges...
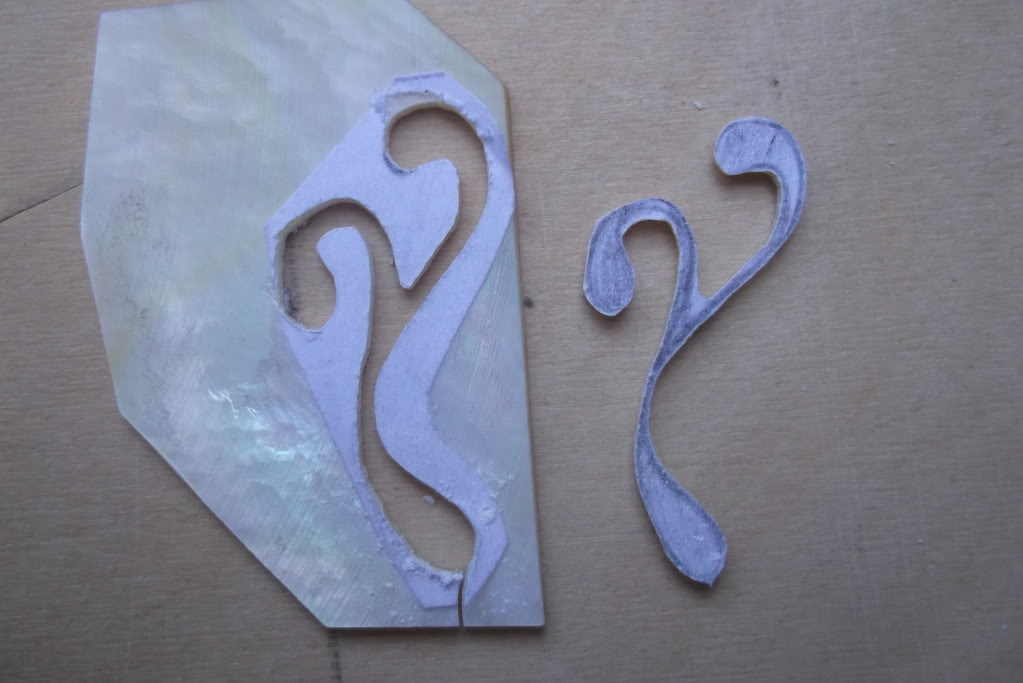
DSCF2268.jpg


this'll be it's proposed position on the headstock: (headstock still needs work of course)
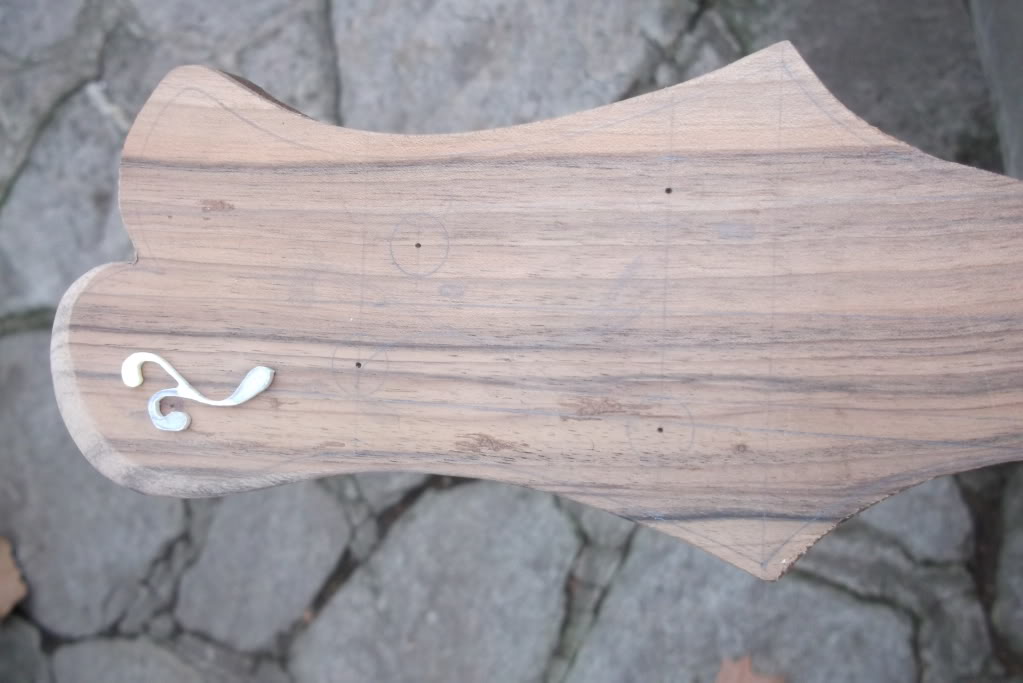
DSCF2270.jpg


so after feeling really proud with that piece, only a couple hours later, I was careless and broke it in half :crying:

It is very thin, but had I been more careless it would not be broken... I thought taping it would be a good way to keep it safe... and while trying to remove the tape, made a lot of pressure on it and it snapped...

Still, I don't think the crack will show / be noticeable when inlaying it... I can still make another one, I'm not sure right now.

I sanded down the headstock to thickness in a drum sander:
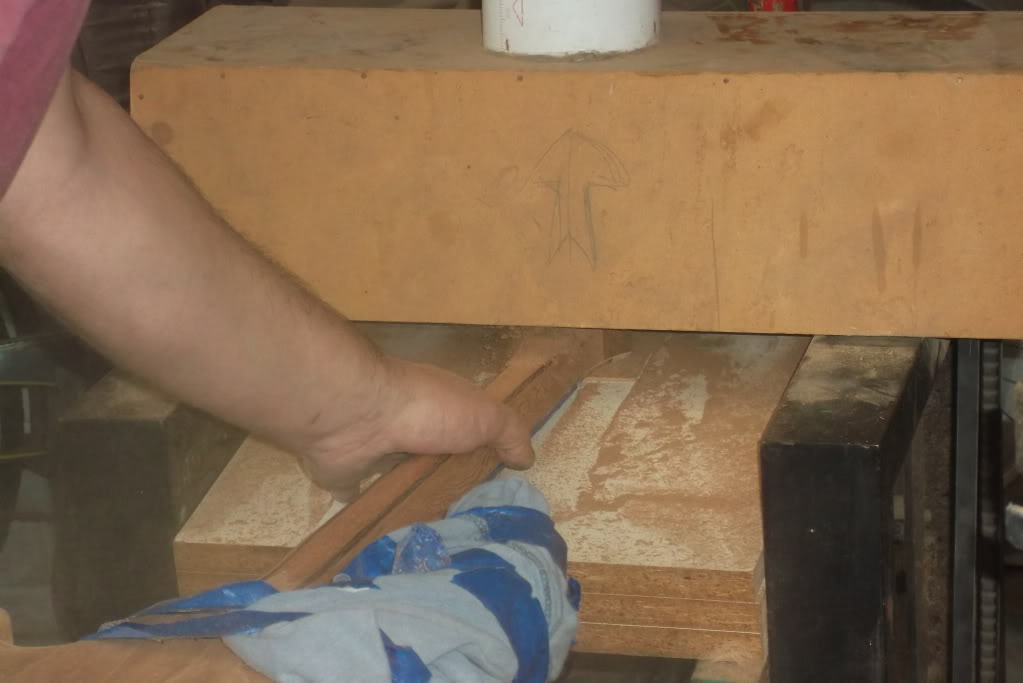
DSCF2264.jpg


DSCF2274.jpg


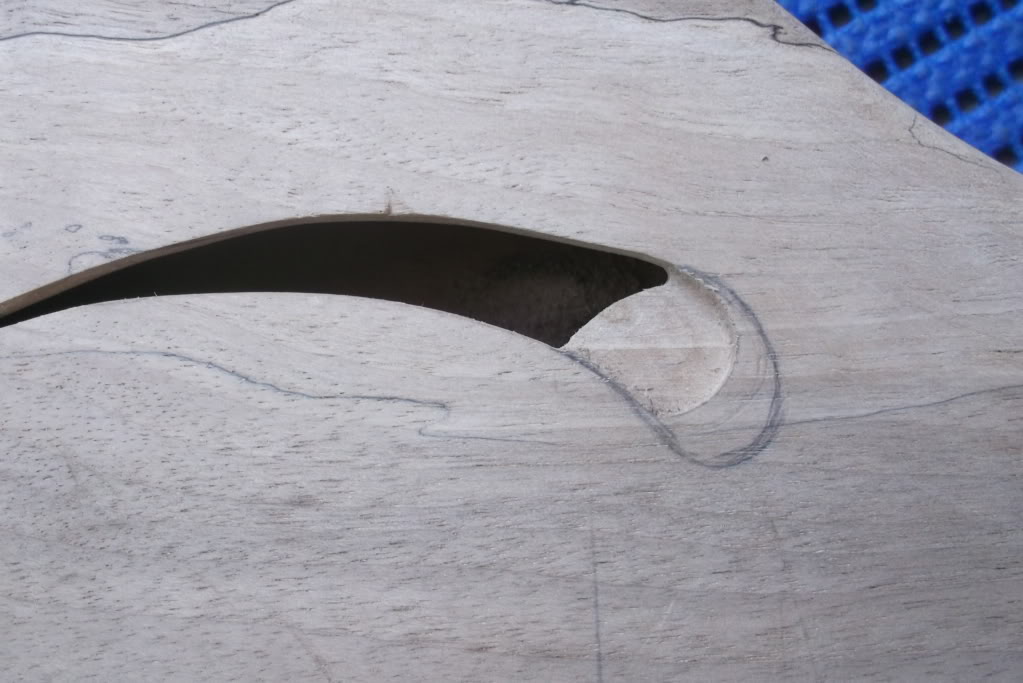
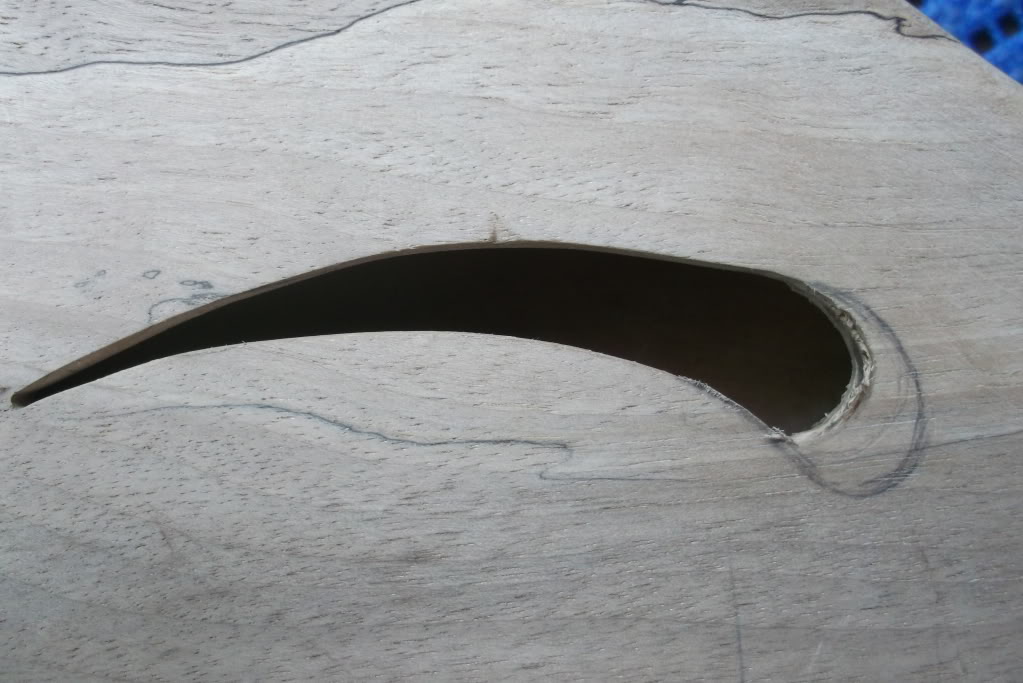
Also worked on the soundhole, to make it match the overall inlay design:
DSCF2260.jpg


I'll let it rest right there, work on it's contours, and then decide if I want it a bit bigger (as drawn with pencil)
DSCF2261.jpg


Thoughts / comments very welcome... thanks for watching!

 
My friend its looking really nice. I hadnt seen this build before and I like it. Personally I like lots of carving on a bass. I find with instruments and furniture that the more you round off and carve a piece of wood the more you can see the grain of the wood. Just make sure you know where your hollow spots are so you dont uncover them by accident.
 
My friend its looking really nice. I hadnt seen this build before and I like it. Personally I like lots of carving on a bass. I find with instruments and furniture that the more you round off and carve a piece of wood the more you can see the grain of the wood. Just make sure you know where your hollow spots are so you dont uncover them by accident.

Thanks Big B! yeah, I have them hollow spots checked!

I've been doing the final carving by hand, all the rounding of the body, I really like the way the body feels in my hands now, and you're right, the grain pops out a lot more.
 
... the more you round off and carve a piece of wood the more you can see the grain of the wood...

True :)

Hey Jmorbita, this build is looking really nice. I wouldn't worry about the inlay. If it broke clean, it should not be visible when you inlay it and sand it flush. I would glue it back now with CA to prevent further damage.
 
Your bass is coming out really nice jmorbita!
About the asimetric neck.
The ones that I've tried, particularly an Alfonso Iturra one was really nice. But the ones I've seen are always thinner on the treble side.
I think that the really natural position, at least for my hands and technique is precisely what you have, bass thinner and treble thicker.
Mistakes are the mother of invention, or the father...
Well you know what I mean ;)
So don´t get discouraged and perhaps take that asymmetry further

Buen trabajo, si señor!
:bassist:
 
True :)

Hey Jmorbita, this build is looking really nice. I wouldn't worry about the inlay. If it broke clean, it should not be visible when you inlay it and sand it flush. I would glue it back now with CA to prevent further damage.

Thanks Mizio! yeah, the inlay broke clean. I did just that, glue it back, on a piece of left over veneer, to prevent it from braking again. It seems as though it won't be visible.

Your bass is coming out really nice jmorbita!
About the asimetric neck.
The ones that I've tried, particularly an Alfonso Iturra one was really nice. But the ones I've seen are always thinner on the treble side.
I think that the really natural position, at least for my hands and technique is precisely what you have, bass thinner and treble thicker.
Mistakes are the mother of invention, or the father...
Well you know what I mean ;)
So don´t get discouraged and perhaps take that asymmetry further

Buen trabajo, si señor!
:bassist:

thank you! yeah, from what information I could find, just like you said, asymetrical necks are thinner on the treble side.
Yet I feel the same way you do, to me it seems as though having a thinner bass side might help anchoring my thumb, if that makes any sense.
I did think about taking it a bit further and give it a try, but I'm worried about the neck's stability, since it has no carbon reinforcement, I'm worried it will move a lot with changes in weather / humidity. I might take it further on the next one.
 

Thank you!

Ok, right now I believe I'm done with the neck and body shaping.

headstock shape almost done as well:

DSCF2304.jpg


I still want to work a bit more on the contours - note I did not quite manage to copy what is drawn on the template below the headstock.

DSCF2314.jpg


I had some chipoffs on the wenge on the back of the headstock, I'll fill that with wenge dust and try to fix them.
DSCF2313.jpg


the body's lines:
DSCF2318.jpg


I'm quite happy with the upper horn as well.

DSCF2315.jpg


DSCF2312.jpg


I've sanded it down to 360 and the body feels really smooth and comfortable, but there are still a few scratches here and there, so I think I'll have to go back to 150 grit to get rid of those.

Next week I guess I'll either inlay the headstock or side markers, or drill the tuning machine holes... not really sure.
thanks for watching!
 
That is seexxxy.

Subscribed. Great work so far! can't wait to see the finished product :)

Thanks a lot, much appreciated!!!

Right now it feels so close to completion, yet there's still a lot of things to do!

I routed for the control cavity cover:

20120616madera017.jpg

(note my daughter's "drawing" inside the cavity! you can't tell from this picture, but it's actually a drawing of a crab, I believe it's Sebastian from the little mermaid.)

Still need to work on the edges and get it tidy. I'm still not sure on wether working on the tail with a dremel and chisel to make it as pointy as originally drawn... any thoughts on that?

I also put the side markers on. This I should have done before gluing the neck on, beacuse the upper horn got on my way while drilling for the upper markers.

process was getting the center, then making a mark with a pointy nail:
20120616madera020.jpg


drilling for the marker:
20120616madera022.jpg


I've got no pictures of the markers, but here I've made the first "significant" mistake, in the sense that it will be visibly noticeable... on the 12th fret markers, the 2 dots are visually not aligned. I marked them correctly, but when drilling I must have not drilled correctly and one marker is a bit lower than the other. Since they are both side to side, if you look at this it's quite noticeable I think. I'll post pictures of this later.
I guess I could drill to get the marker out, fill the gap with dust, and redrill to get it perfect, but I don't think I'll do this.

Thanks for watching!
 
On a side note, I mentioned before I had the intention of finishing this bass with tung oil.

Well, my teacher finishes his guitars with shellac, which I understand is one of the most traditionally used finishes for classical guitars, and wood work in general.

So he came across this guy that applies shellac by "french polishing" for a living, and long story short, this guy is teaching us how to apply shellac.
So here are some scraps of wood we were practicing on (this is just one hand of shellac - no buffing. I think it guets shinier..)
20120616madera038.jpg


20120616madera037.jpg


wish I knew how to take good pictures... any way, shellac looks and feels good... so I'm not really sure what finish this bass will have. Not really sure if I want to go with the shinier look or not.
 
Inlayed the logo, though frankly I'm not too proud of the end result. the crack on the logo is visible, and the dust on the side for some reason did not dry evenly in colour...

003-3.jpg


024-2.jpg


closeup really shows...
023-1.jpg


012-3.jpg


I might either try to stain black all around the logo to get an even line around it, or leave it as is and hope it doesn't show much under the finish...

any advice will be appreciated! thanks for watching!
 
On any wood that is not really dark even the smallest imperfection in the inlay will show. Unfortunately filling the gaps with sawdust and CA or epoxy will only produce a poor result because it will darken.

Finish will darken it together with the surrounding wood so, in the end it will still be visible, just darker overall. I really don't know how that can be fixed - if at all. I have tried all sort of strategies and the result is still the same, more or less.

IMHO, inlaying on light/mid colour wood - if it cannot be avoided - boils down to quality tools, a firm hand and time. It's all about limiting as much as possible mistakes and imperfections.

If it really bothers you, you can redo the inlay on a small piece of Ebony, which allows you to fill the gaps so you get a clean result. Make the shape of the Ebony background simple because you'll have to inlay it in the headstock. A circle can be easy enough if you have the right bits. Once inlaid, a tiny gap around it will still be visible. But I guess that's OK. In fact, that to me is even nice ;)

Hope this helps. Nice build. But you know that :)

ps: Probably the MOP inlay didn't break cleanly. It looks like a tiny piece is missing, otherwise it would be almost invisible once sanded flush.
 
Thanks for the advice Mizio!

for now I'll just leave it I guess... the build has taken too long and I want to play this bass already! In the future I can always fix it if it really bothers me.

You might be right about the mop not breaking evenly... it's either that, or I was too careless and got too much CA between the pieces when gluing them together...

thinking back at it, I probably should have at least used ebony dust around the inlay...