• TalkBass has been independent since 1998. Add your voice.
    Create a free account to reply to discussions, view embedded media, and browse with fewer display ads.
    Join freeLog in
    Want zero display ads or expanded classifieds tools? Compare plans.

First Build - "Lucifer"

Okay, let's make some more progress!

I got home early from the race shop today, so I had a bit of time to play around. The race car was ready to run two weeks ago, but we got rained out, so today was basically a bulls$#t session in the shop since we don't race again until next Saturday. It's nice to not be thrashing for a change. :cool:

After drilling out the broken "stuff" I was left with a round hole. I considered squaring it off again and trying to cut another square plug with matching grain (or as close as I could get) but then I said to myself "Self, you have a lathe, just turn a dowel!" Oh yeah, great idea Self! Why didn't I think of that? :roflmao:

Luckily, I had a scrap of wenge left from some past Christmas Ornaments, I used the wenge for finials on a couple. For those who haven't seen my ornaments, here's a shot (these were purpleheart finials, but you get the idea) -
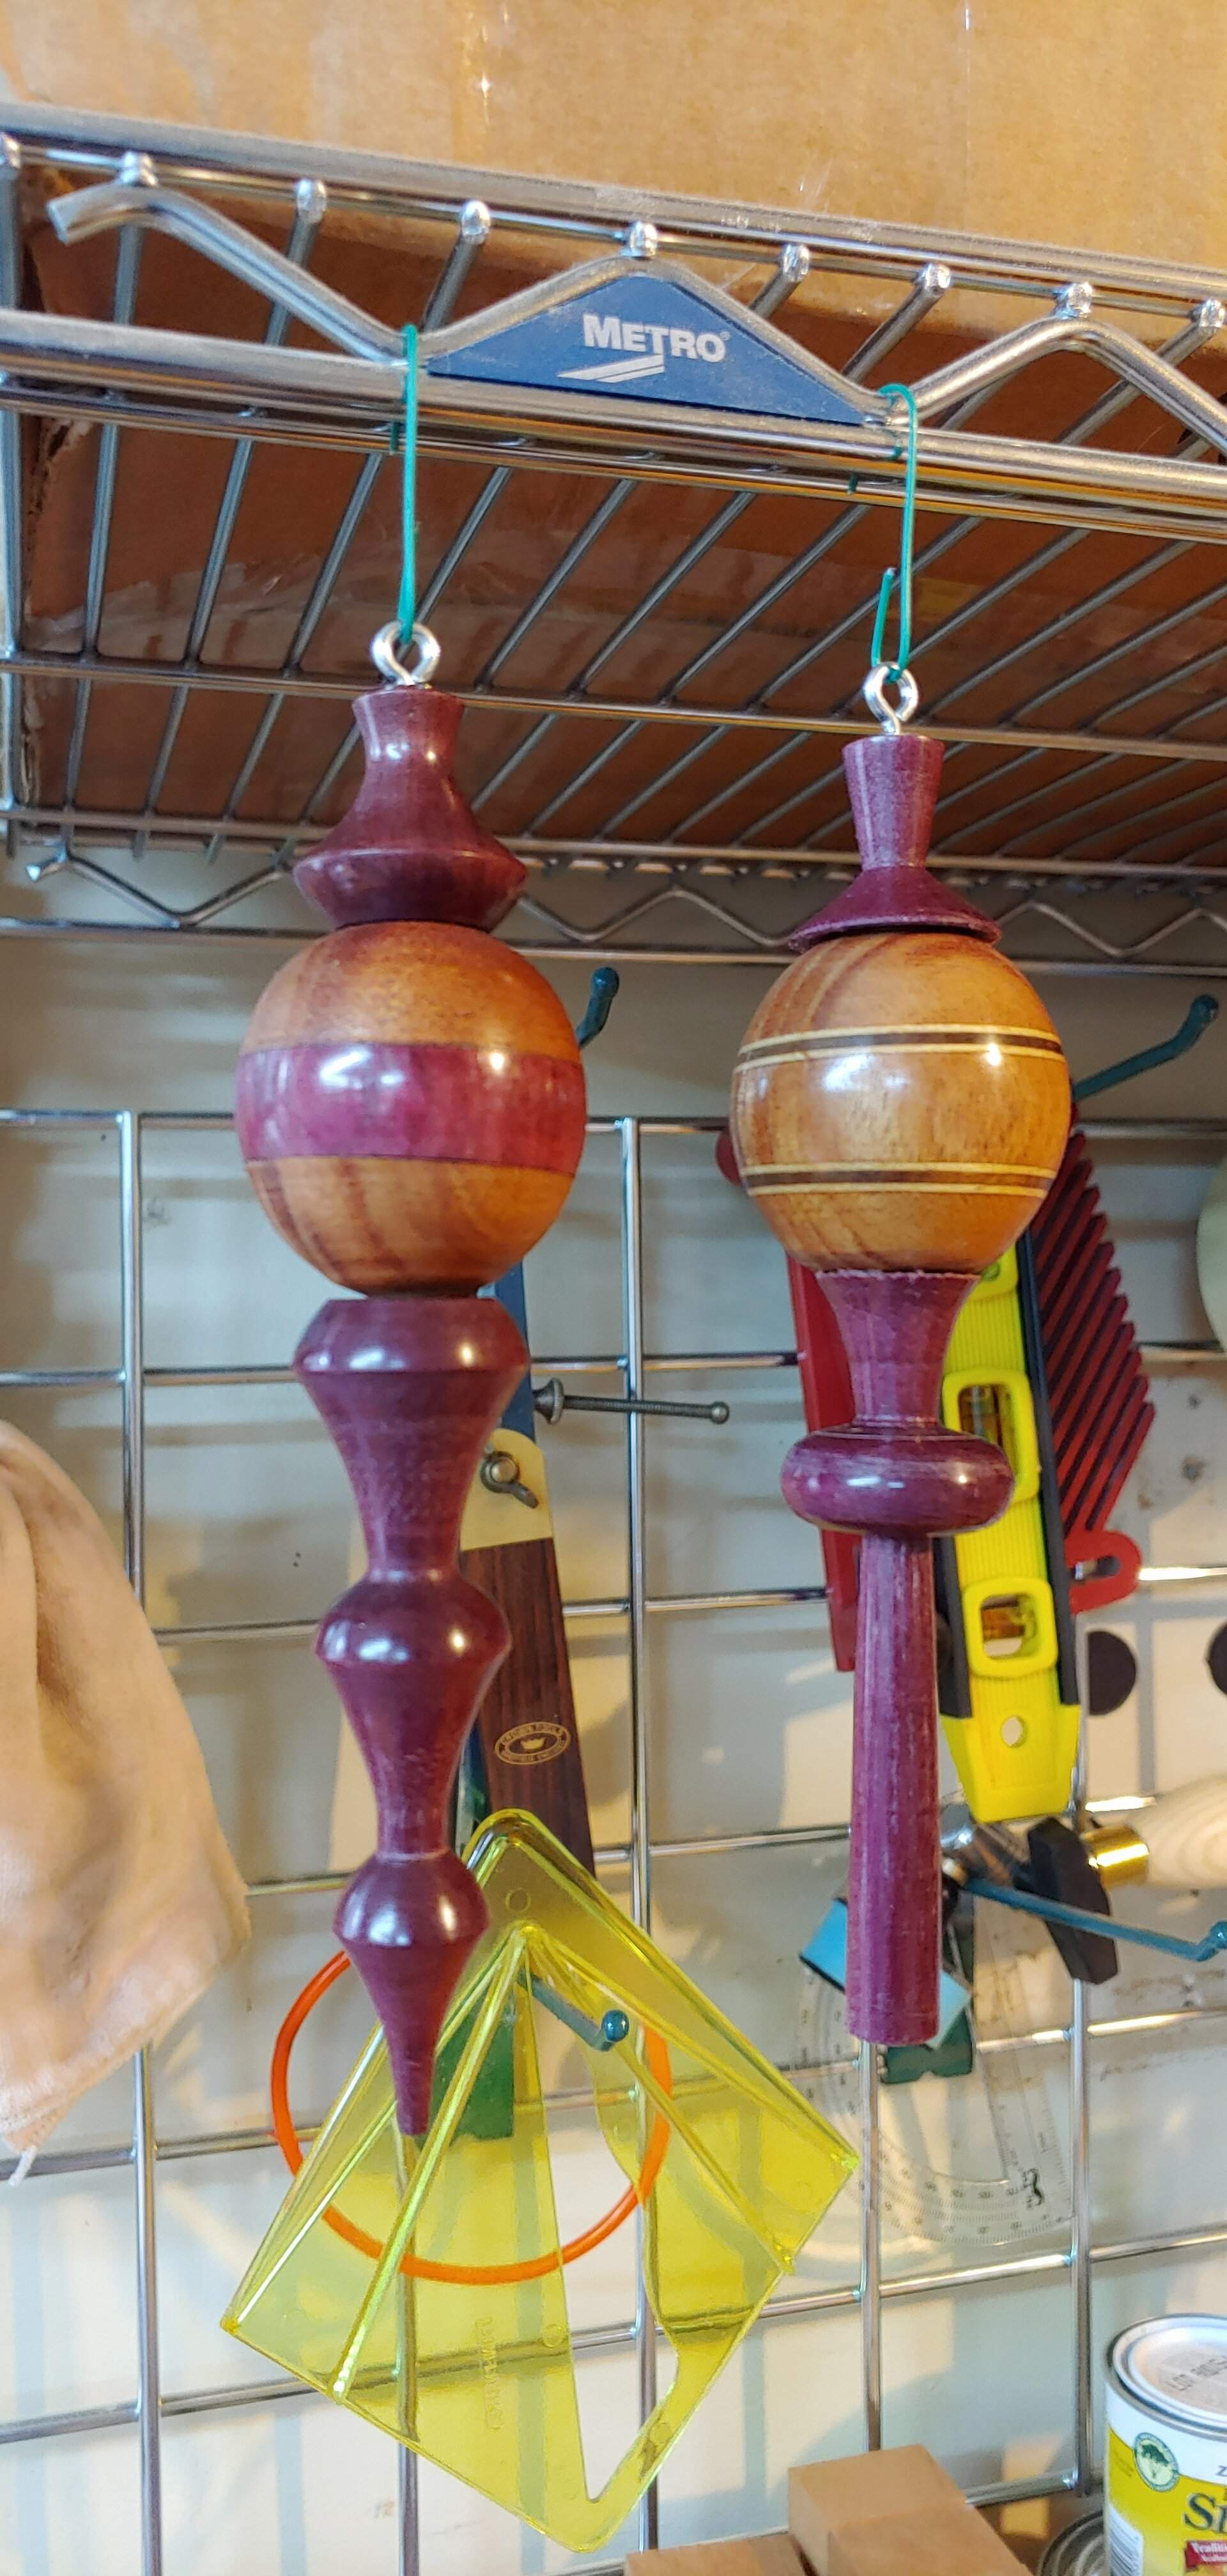
20210508_165900.jpg

So I chucked up the scrap piece of wenge and started turning -
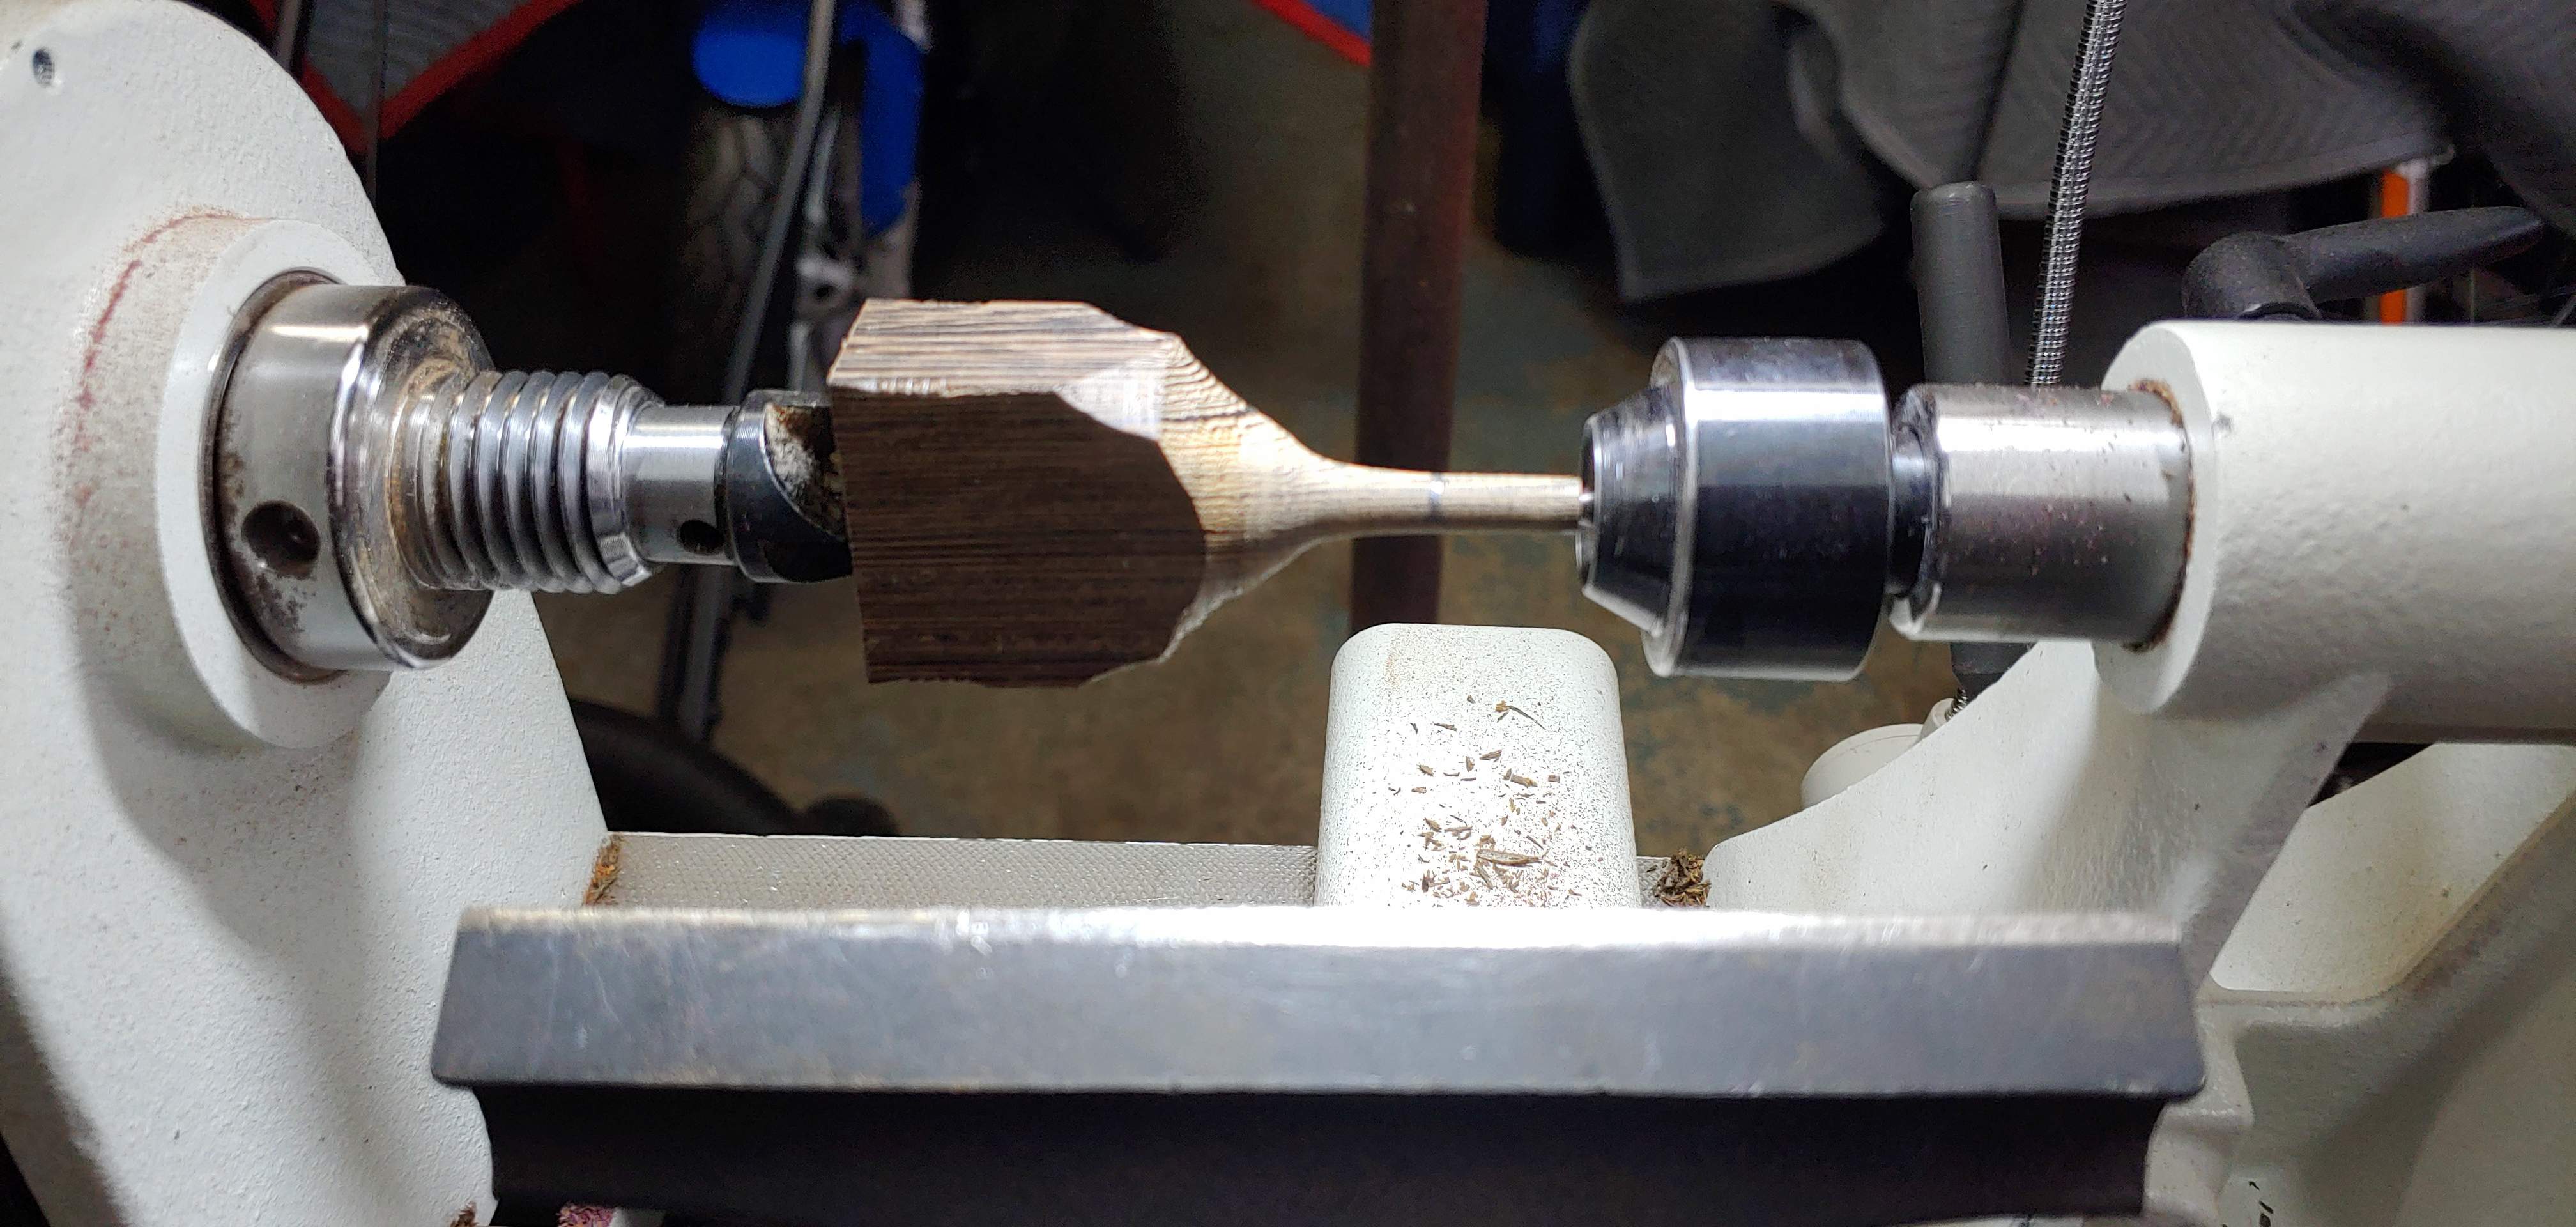
20210508_164727.jpg

With the help of a few measuring tools -
20210508_164719_HDR.jpg

I was able to turn a wenge dowel perfectly sized for said hole! A little glue (okay, maybe more than "a little" ) and the aid of my custom Thor hammer I made a while back (I really love that hammer) -
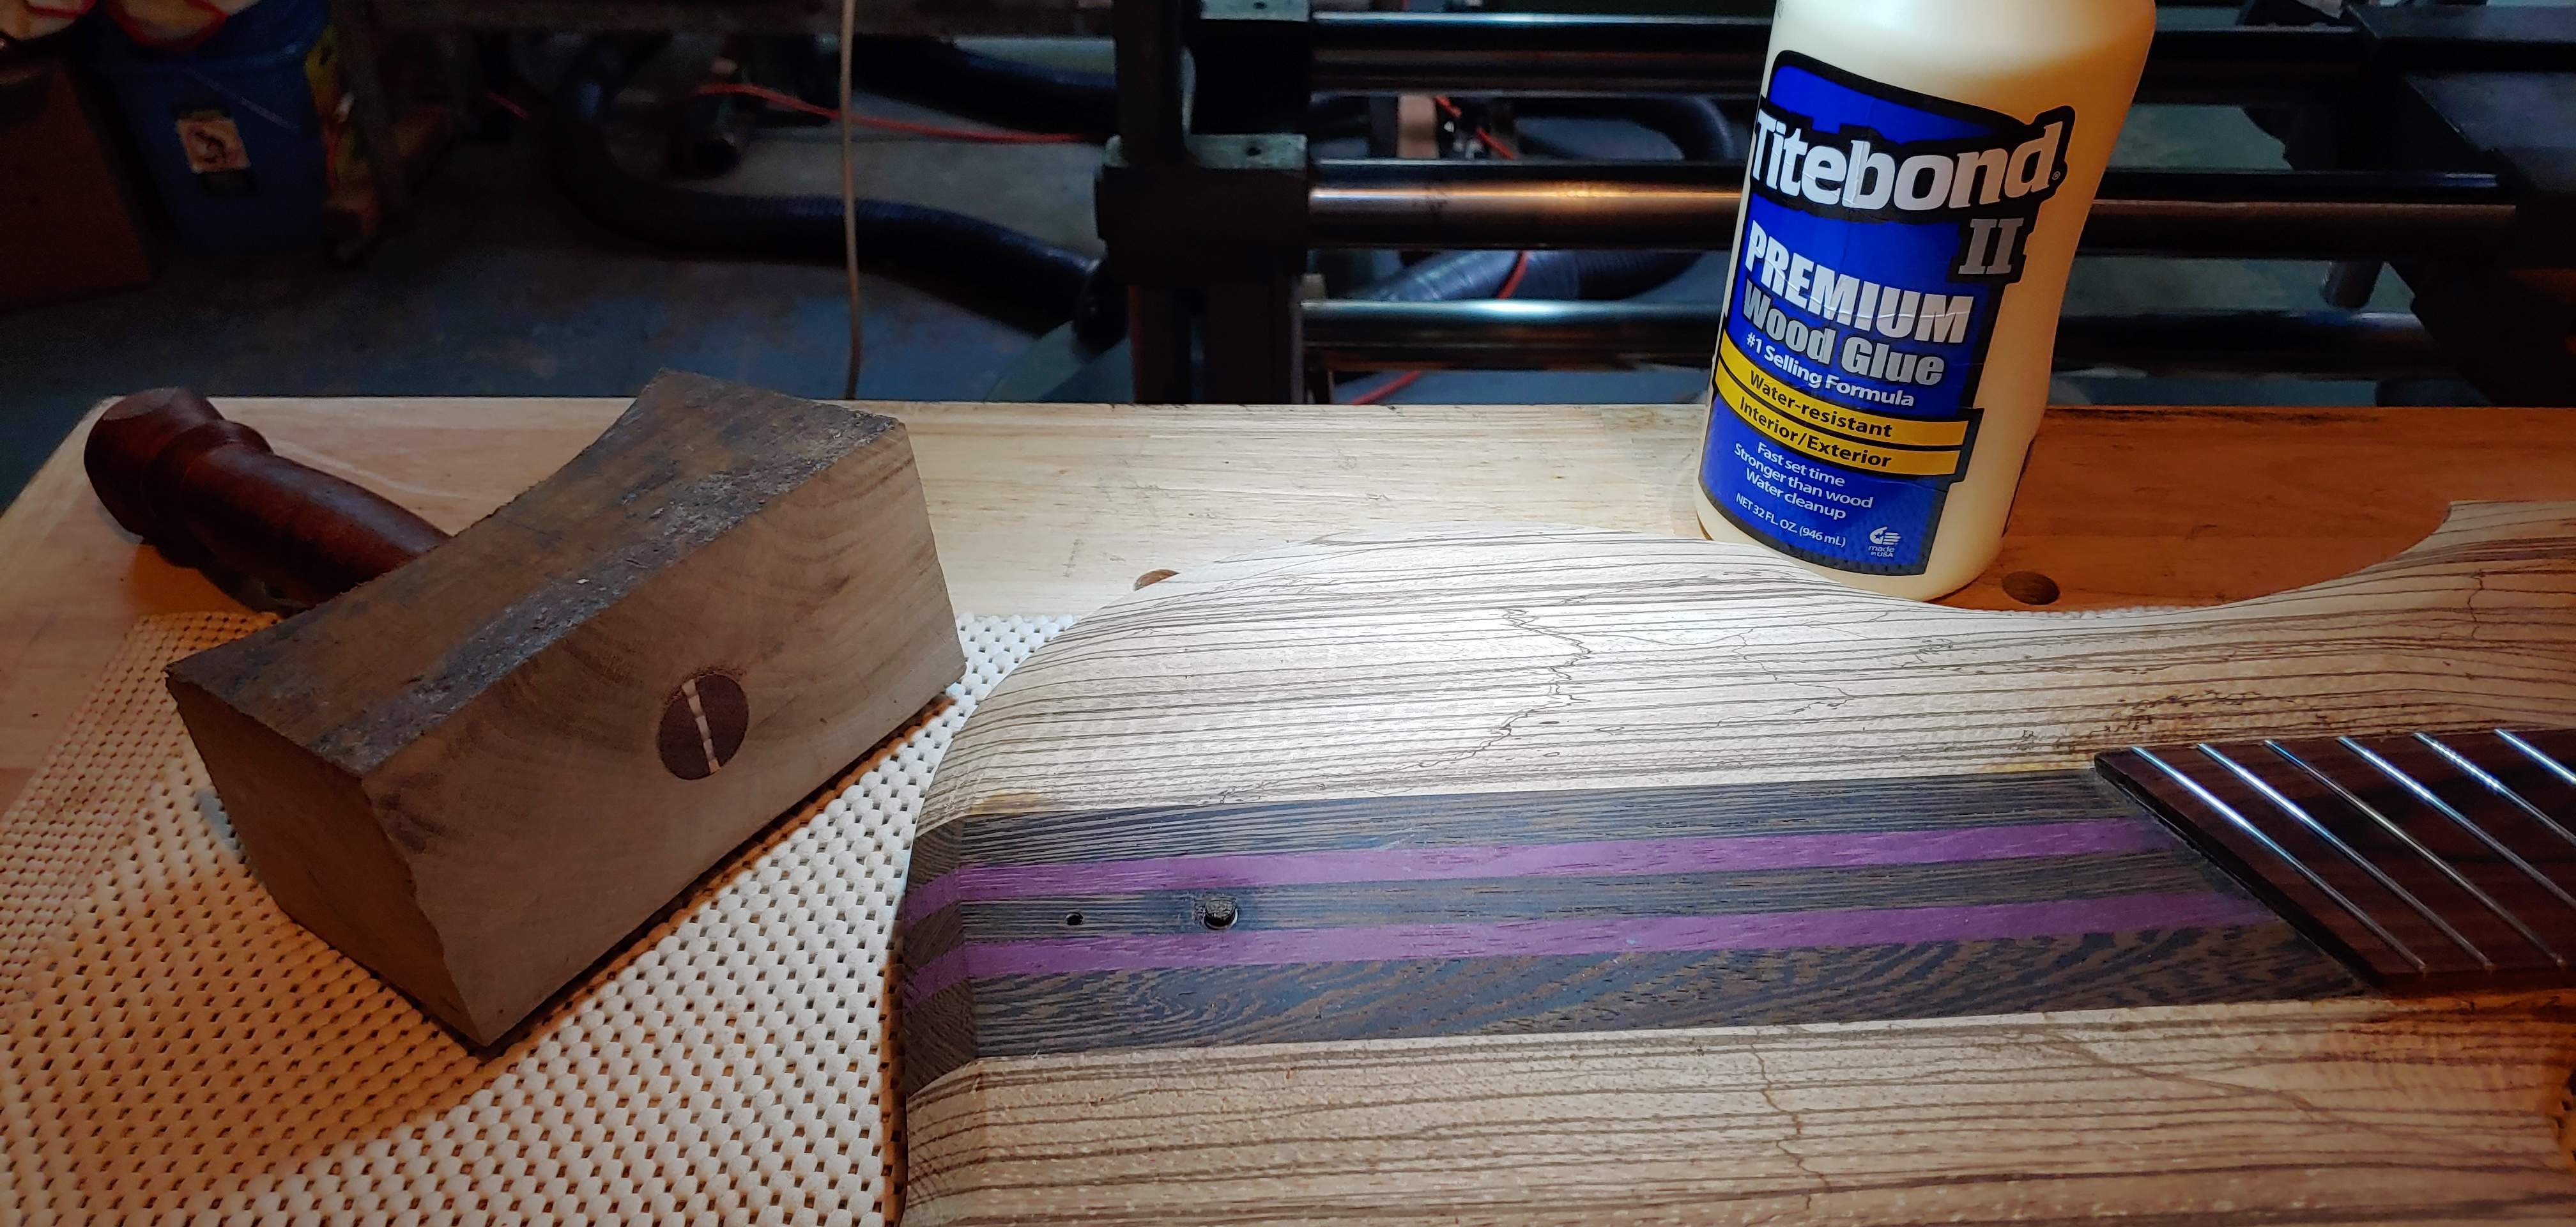
20210508_165334.jpg

I now have the hole plugged -
20210508_165344.jpg

Gonna let this dry for a while and then file it flush (or something, maybe sand, maybe chisel, we'll see how I feel) and then get back to working on mounting the dang bridge saddles......again. :meh:

I might be back on track here. :cool:
 
So, clearly the key here is a proper drill press. I set everything up with the depth stop set and just went real slow with a brad point bit, ease it in about a 1/8", back it out, ease it in another 1/8", back it out and just keep doing that until I hit the depth stop. It went way better with an actual drill press. Trying to drill wenge with a handheld drill is a no go man, trust me. :meh:

So, I've now hit this point -
20210508_195142.jpg

A couple notes here, because I know it's coming:
  1. Yes, that low B saddle is hanging off the bevel. However....it isn't actually past the body, the photo angle just makes it look that way. So this is a product of one of my many rookie mistakes that are starting to show their hand now. I didn't measure the overall length of the multiscale as precisely as I should have and I ended up with the body wings slightly forward of where they probably should have been. That 1/4"-1/2" makes a yuge difference, and I'm paying for it now by hanging that low B saddle off the bevel. Is it the end of the world? No. But it is something I'll have to answer for every time someone picks this thing up.
  2. I may or may not have to rout a recess to lower those bridge saddles. The lack of a neck angle might force me to compensate somewhere, another rookie mistake that may be showing its hand now. I laid my straight edge on the saddle at the string witness point and the other end on the frets, I think it reached to about the 14th fret or so. The gap to the fretboard at the 24th fret was about 1/8". I measured a bunch of my other basses and 1/8" of action there seems fairly normal. So either it's not gonna be a big problem or I'm just not a good enough player to lower my action any more than that. But, even if I do have to rout a recess under the saddles, it isn't gonna be very deep at all.
I want to try and get a nut figured out next, along with routing the pickup recess. I feel like if I can do those two things it'll put me in a pretty good place both with the build and my mental state. I took a pretty good mental beating over that broken screw deal so small victories would be really nice here. :cool:

Thanks for the input on the drill bit size and the wax, I did both those things and I think it went pretty well. You guys are awesome and I appreciate every one of you that has commented on this thread, encouraged me to keep going and given advice on how to do all of this. It wasn't that long ago that I literally had no clue what I was doing, and you guys have taught me so much with your mentorship. I'm humbled and grateful for each of you. :cool:
 
Last edited:
#BoneForTone: The Start Of A Nut
So I really need to get a nut figured out for this thing, and I agonized over this for a long time, because with it being a multiscale the nut is wider than any off the shelf product, thus some issues arose. I forget who, but another fellow luthier here in the LC (am I the only one that says "the LC" with a surfer attitude and thinks about Southern California and that whole "the OC" thing? ) sent me some scraps of ebony, and for a long time I had considered making the nut out of that ebony. Then I stumbled across a video recently posted by Chris over at Highline Guitars specifically on carving a nut. Chris, being the astute luthier that he is, said "Don't buy bone from some online vendor, go to your local pet store!" Wait....what?!?!?!

PetSmart: The Luthier Supply Store
A quick trip to my local PetSmart (I actually needed some flea stuff for my kitty) and a quick perusal of the doggy chew toy section led me to a "cow femur for heavy chewers". Yeah man, right there on the shelf, guitar nut carving blanks in stock! Who knew? :roflmao: Cost me a whole $3.99 for the smaller size (they were actually out of the large ones, turns out I didn't need that anyways) and after a few passes through the trusty ShopSmith band saw, I've got something that I can start with here -
20210509_162344.jpg

Yeah man, that should work fine! And, check this out, I've got enough left over for like 4 or 5 more builds! -
20210509_162349.jpg


Not bad for a $4 investment! Thanks for the tip Chris! :cool:
Okay, now I just need to start shaping this thing. But it's dinner time and I've got some slow-cooked beef short ribs and roasted potatoes calling my name. No, not the same cow that the femur came from, but that would have been funny! :roflmao:
 
Last edited:
#BoneForTone: The Start Of A Nut
So I really need to get a nut figured out for this thing, and I agonized over this for a long time, because with it being a multiscale the nut is wider than any off the shelf product, thus some issues arose. I forget who, but another fellow luthier here in the LC (am I think only one that says "the LC" with a surfer attitude and thinks about Southern California and that whole "the OC" thing? ) sent me some scraps of ebony, and for a long time I had considered making the nut out of that ebony. Then I stumbled across a video recently posted by Chris over at Highline Guitars specifically on carving a nut. Chris, being the astute luthier that he is, said "Don't buy bone from some online vendor, go to your local pet store!" Wait....what?!?!?!

PetSmart: The Luthier Supply Store
A quick trip to my local PetSmart (I actually needed some flea stuff for my kitty) and a quick perusal of the doggy chew toy section led me to a "cow femur for heavy chewers". Yeah man, right there on the shelf, guitar nut carving blanks in stock! Who knew? :roflmao: Cost me a whole $3.99 for the smaller size (they were actually out of the large ones, turns out I didn't need that anyways) and after a few passes through the trusty ShopSmith band saw, I've got something that I can start with here -
View attachment 4263739
Yeah man, that should work fine! And, check this out, I've got enough left over for like 4 or 5 more builds! -
View attachment 4263738

Not bad for a $4 investment! Thanks for the tip Chris! :cool:
Okay, now I just need to start shaping this thing. But it's dinner time and I've got some slow-cooked beef short ribs and roasted potatoes calling my name. No, not the same cow that the femur came from, but that would have been funny! :roflmao:


Plus it smells great when you cut it! :rollno: :p
 
I totally applaud your nut-bone efforts, but I feel I must put a turd on the table. :bag:

With all the beautiful dark woods on this bass, I think that bone nut's going to stand out like a bone nut. :whistle:
You absolutely may be right. But I think I want to pursue the bone thing just as a learning exercise if nothing else. I’ll see what it looks like at the end and if it really needs a different nut I’ll know how to handle it. ;)
 
Any reason you couldn't paint or dye a bone nut? Never used bone before so no idea really.
Absolutely... bone takes dye. Doesn't it?
What if you soak it... before polishing.?

And... seeing as how this instrument shares a name with the Dark Lord... :nailbiting:
You might wanna go ahead and ward-up with a few scrimshaw'd protection runes...while you're at it. :cautious:;)
Screenshot_20210510-175050_Chrome.jpg
 
Last edited: