
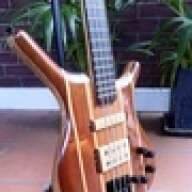
Hi,
Since finishing my last bass, I was approached to build a bass by a guy here in Australia.
I wanted to post the progress shots of this bass as the woods have some cool grains, it should look great when finished, plus if anyone has some input that is welcome.
The plan is:
5 string, neck thru.
19mm string spacing.
35" scale.
Tas oak neck with 2 strips of rose mahogany.
New Guinea Rose wood body.
Tasmanian Myrtle top cap for body.
Pau Ferro fretboard (so far).
PJ pickups
3 band active EQ.
Onto the build.
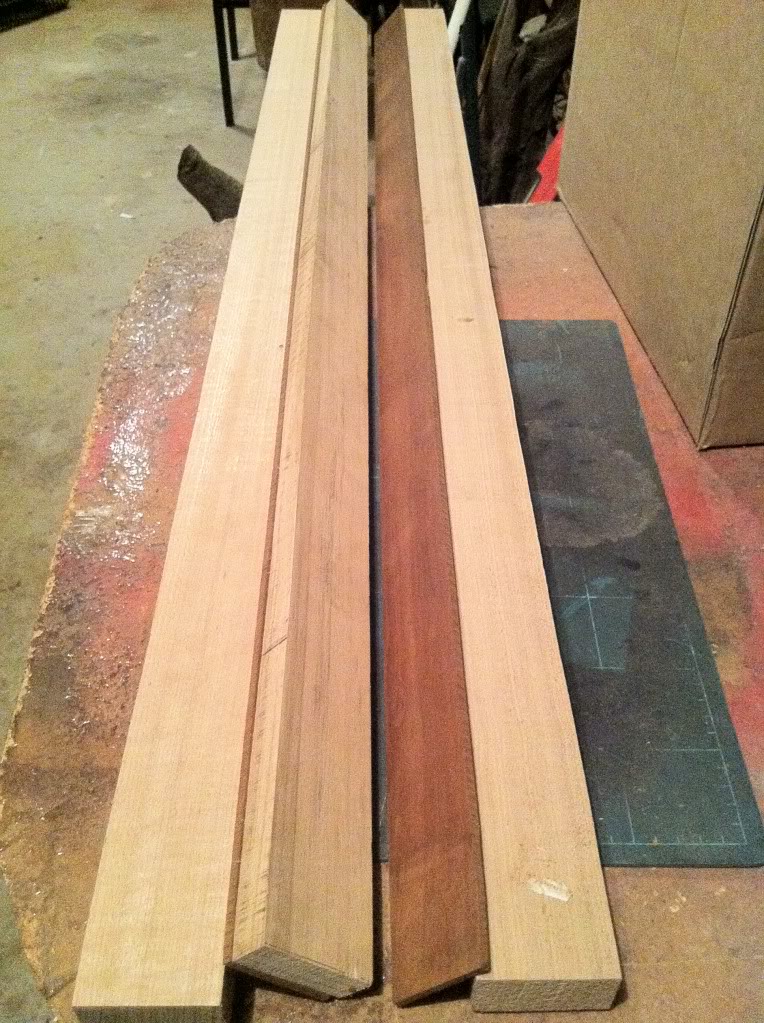
This is the trimmed tas oak and rose mahogany strips for the neck.
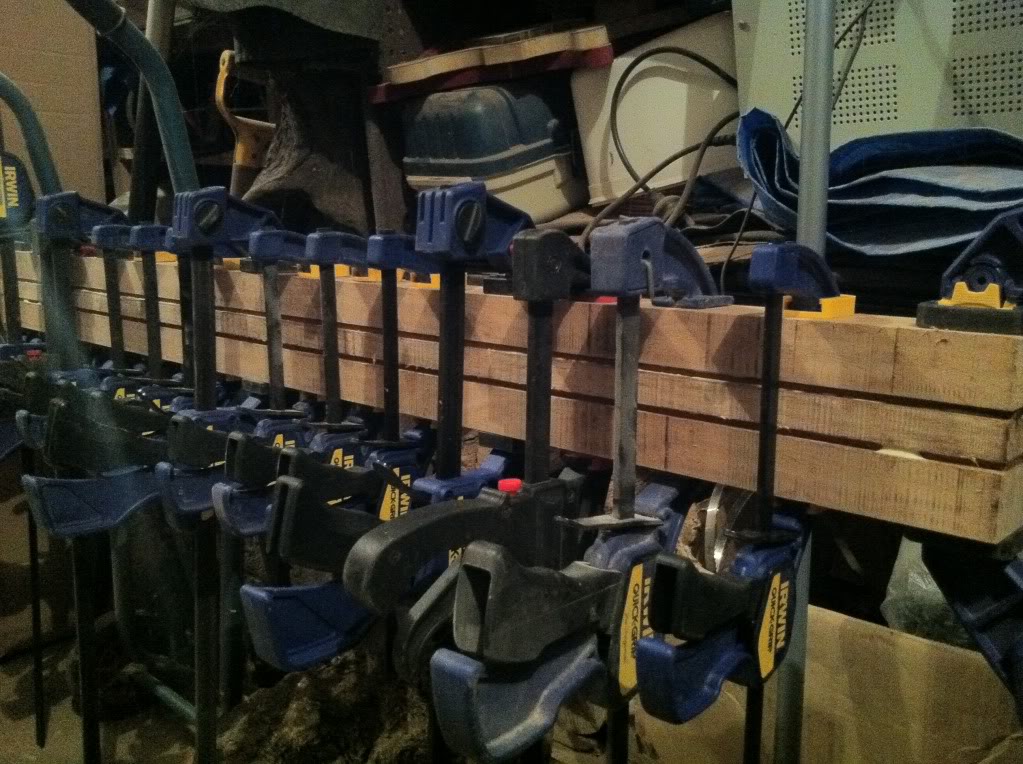
Neck lams being glued.
Cut the scarf joint using a basic jig on the band saw.
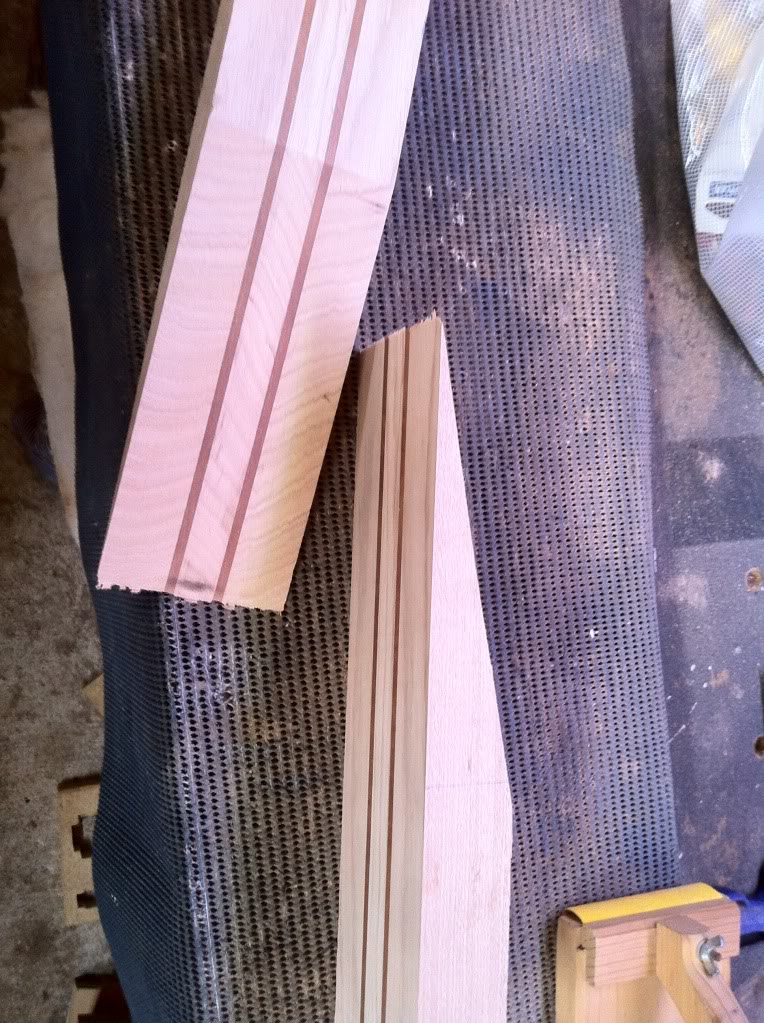
Glue dried and a bit of cleaning up.
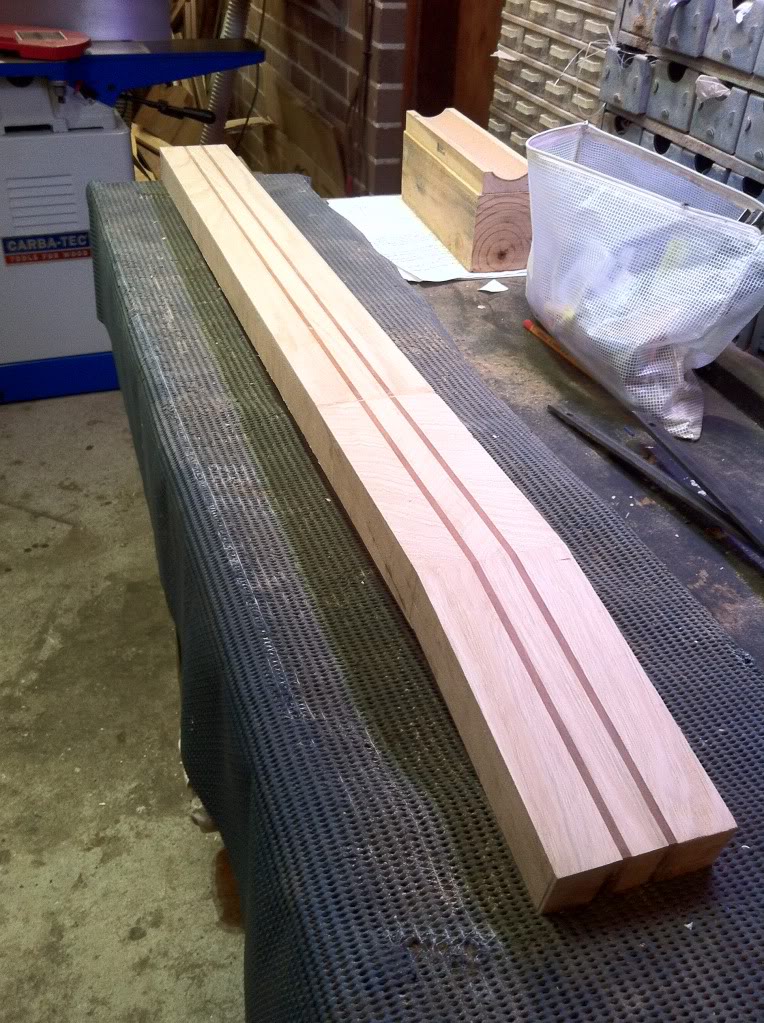
Then I routed the truss rod slot, I like the 2 way truss rods, they work well, easy to adjust.
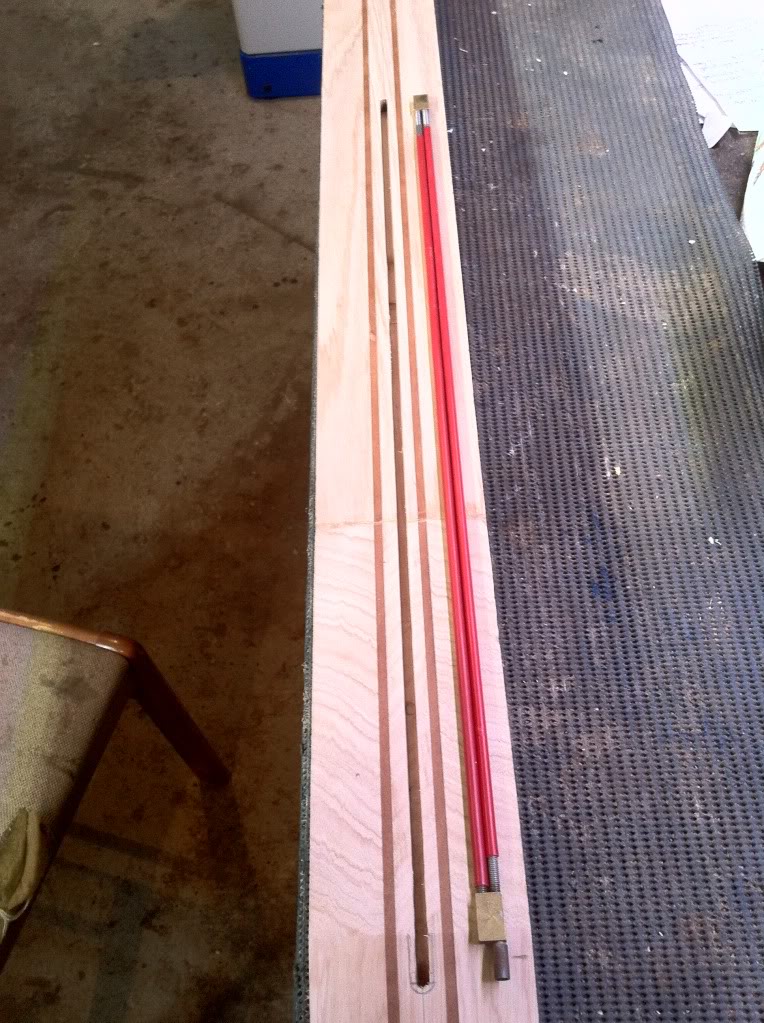
I cut the width of the neck, and it seems thick. But that's because my last 5 string build had 16.5mm spacing and this will be 19mm.
You can also see on the left the design.
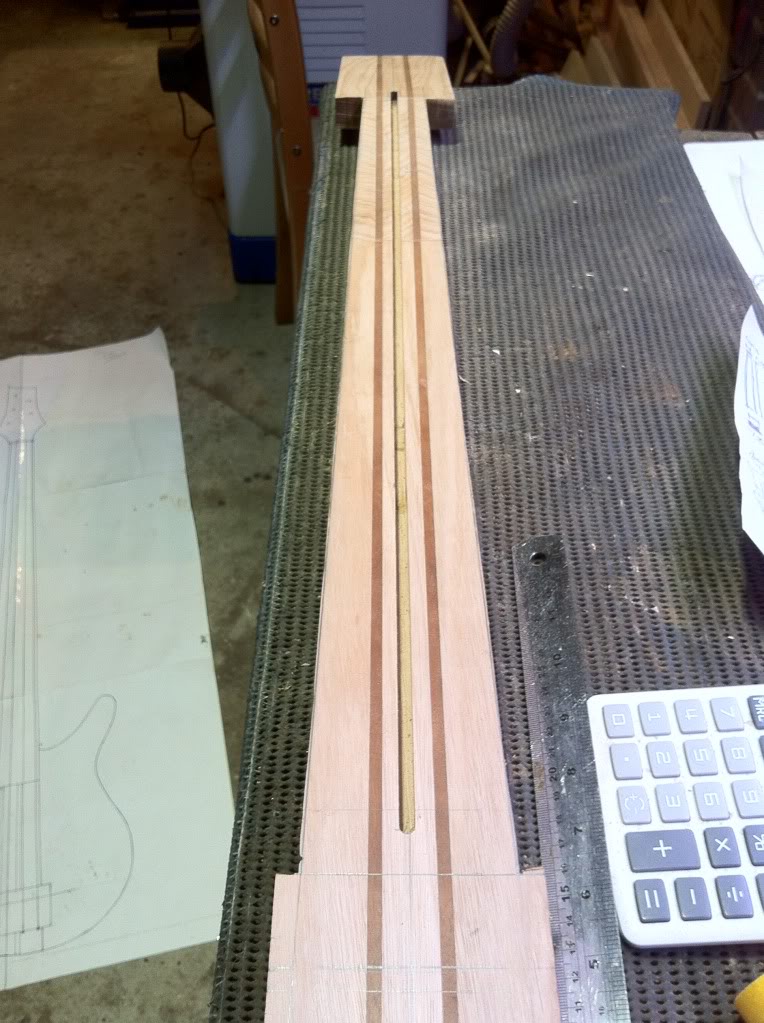
Headstock cut out and cleaned up on the spindle sander.
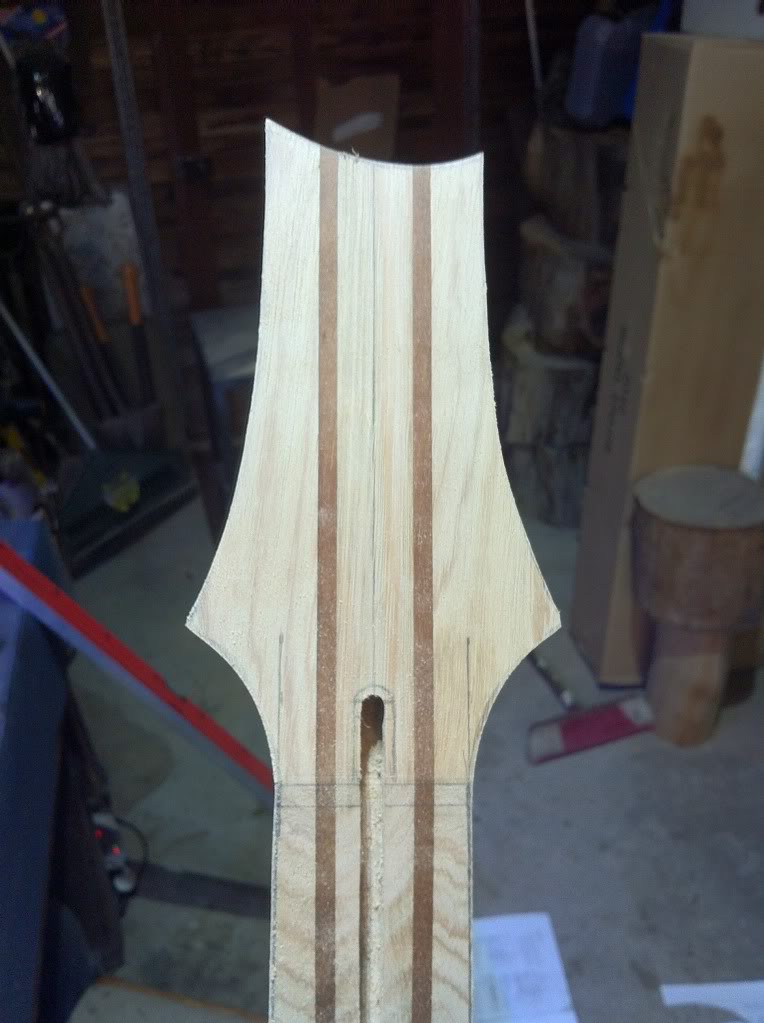
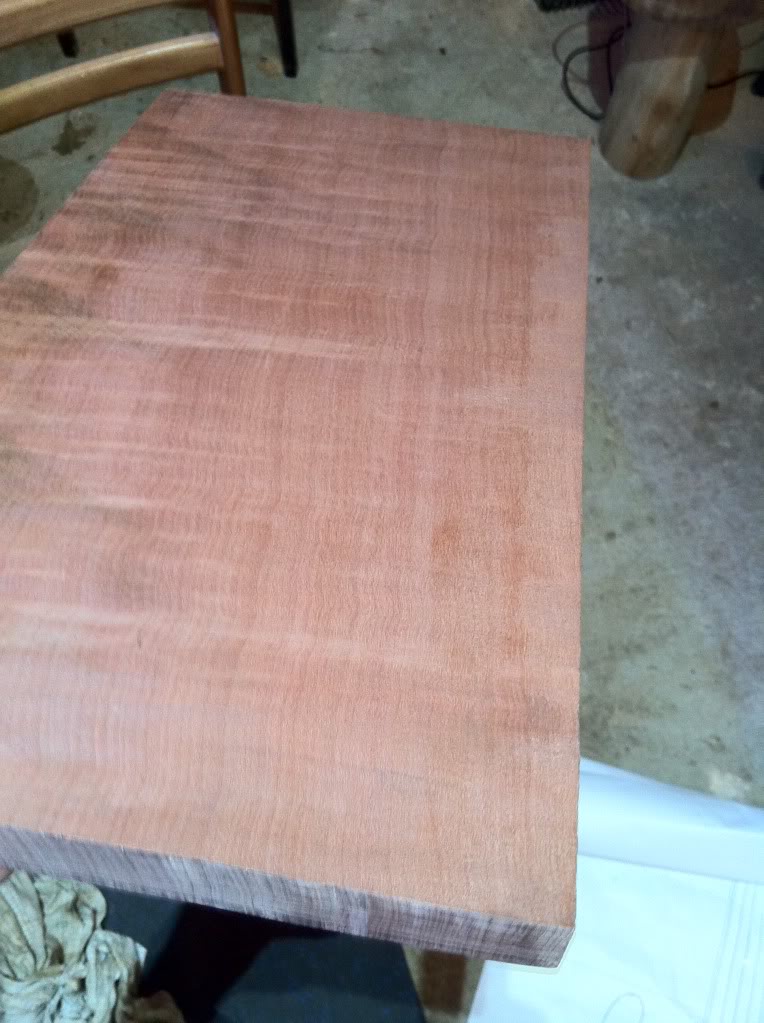
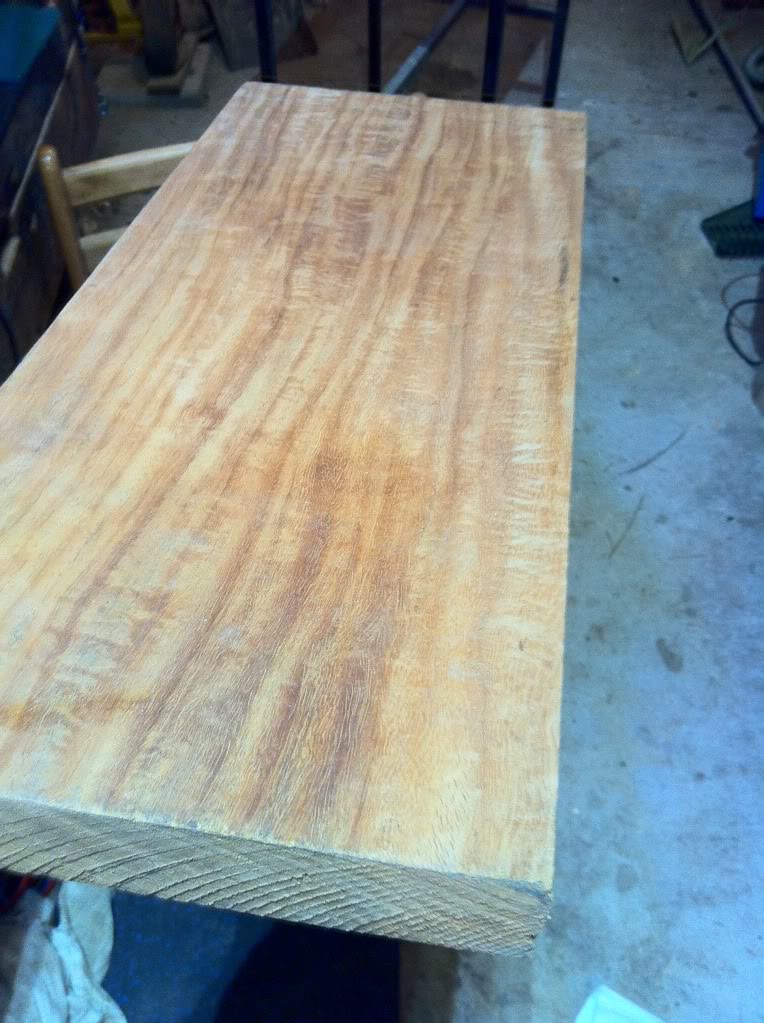
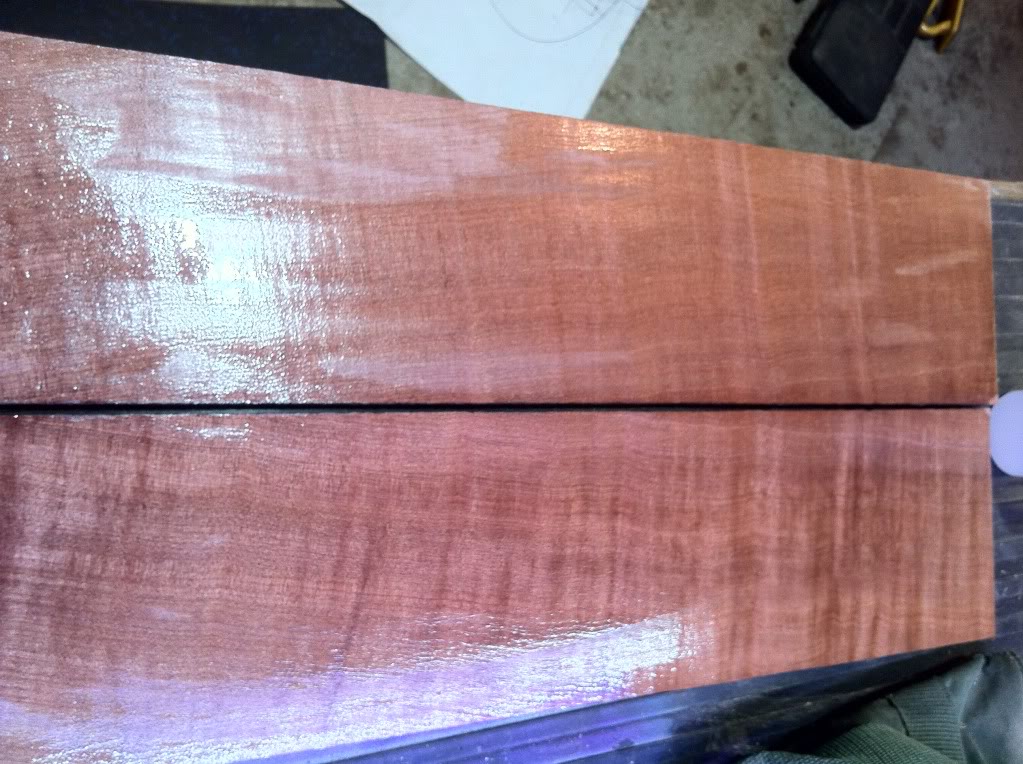
Now up to the body wings, we spent awhile going over different woods. At the end we ended up with New Guinea Rosewood for the main piece of the body and Myrtle for the top.
The photos don't do the wood justice, it looks alot better in person. I will invest in a good camera soon.
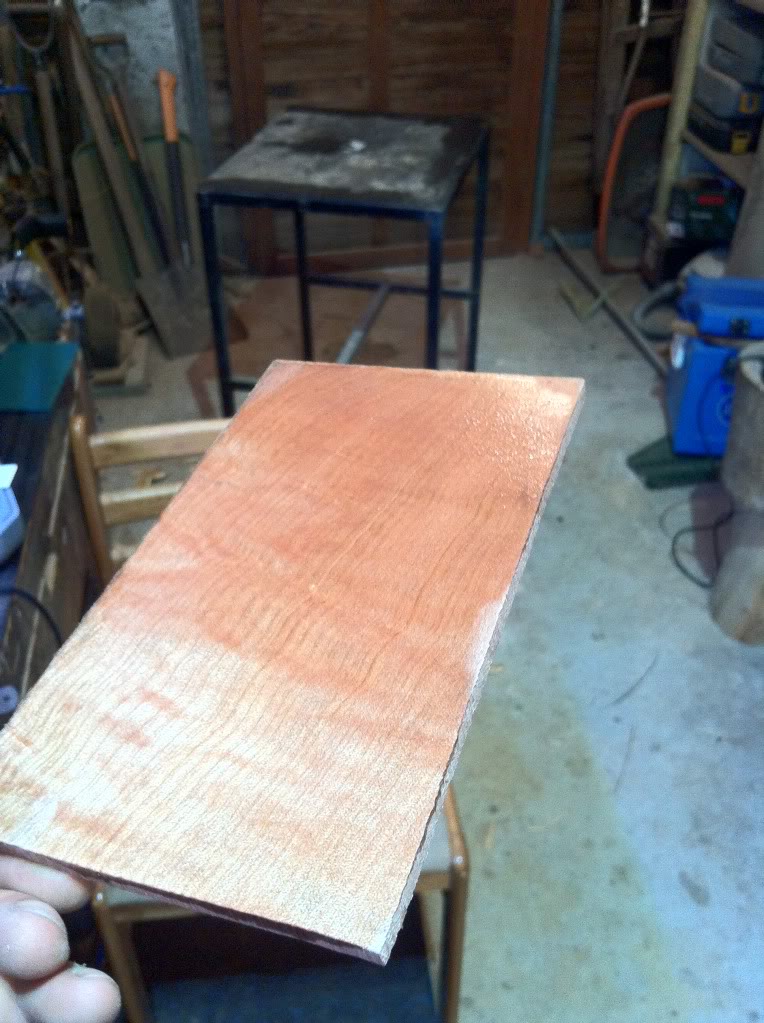
Here is the Myrtle.
This is the New Guinea Rosewood.
Myrtle book matched on the bank saw.
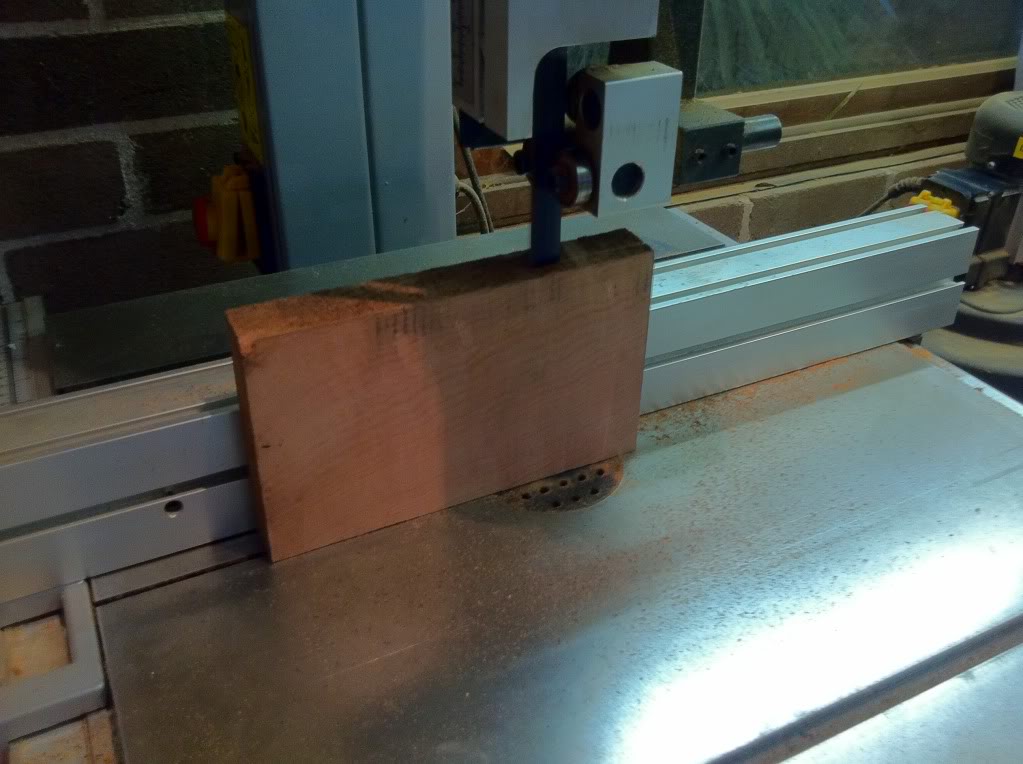
Myrtle headstock veneer.
This is all the body bits and neck all together, just getting an idea of the colours. We are thinking of putting a strip of New Guinea rosewood between the neck and body wings, but I'm worried about the grains matching on the back or even the rear of the body were the New guinea bits meet up.
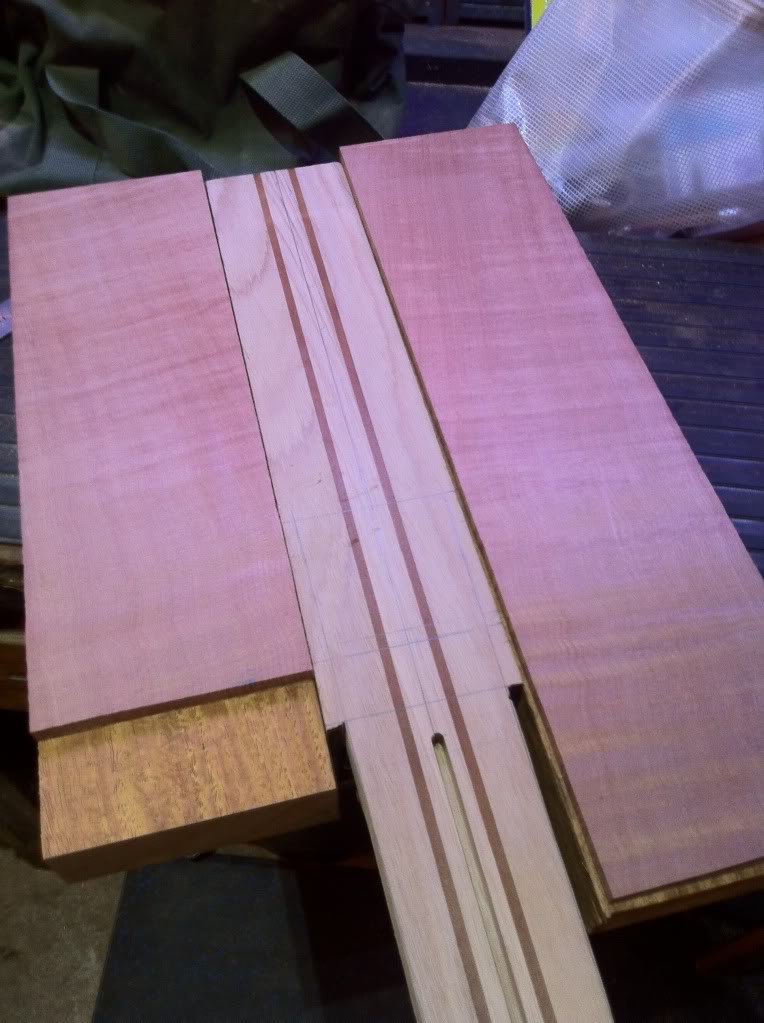
So that's were its up to now.
The body feels to heavy, I will chamber the right wing on the body to roughly the same amount as the left wing is routed out for the electronics cavity, which should bring down the weight.
Since finishing my last bass, I was approached to build a bass by a guy here in Australia.
I wanted to post the progress shots of this bass as the woods have some cool grains, it should look great when finished, plus if anyone has some input that is welcome.
The plan is:
5 string, neck thru.
19mm string spacing.
35" scale.
Tas oak neck with 2 strips of rose mahogany.
New Guinea Rose wood body.
Tasmanian Myrtle top cap for body.
Pau Ferro fretboard (so far).
PJ pickups
3 band active EQ.
Onto the build.
This is the trimmed tas oak and rose mahogany strips for the neck.
Neck lams being glued.
Cut the scarf joint using a basic jig on the band saw.
Glue dried and a bit of cleaning up.
Then I routed the truss rod slot, I like the 2 way truss rods, they work well, easy to adjust.
I cut the width of the neck, and it seems thick. But that's because my last 5 string build had 16.5mm spacing and this will be 19mm.
You can also see on the left the design.
Headstock cut out and cleaned up on the spindle sander.
Now up to the body wings, we spent awhile going over different woods. At the end we ended up with New Guinea Rosewood for the main piece of the body and Myrtle for the top.
The photos don't do the wood justice, it looks alot better in person. I will invest in a good camera soon.
Here is the Myrtle.
This is the New Guinea Rosewood.
Myrtle book matched on the bank saw.
Myrtle headstock veneer.
This is all the body bits and neck all together, just getting an idea of the colours. We are thinking of putting a strip of New Guinea rosewood between the neck and body wings, but I'm worried about the grains matching on the back or even the rear of the body were the New guinea bits meet up.
So that's were its up to now.
The body feels to heavy, I will chamber the right wing on the body to roughly the same amount as the left wing is routed out for the electronics cavity, which should bring down the weight.





