
Looks good to me. I think the easiest thing to disguise the transition if you want to would be some thinned out black dye for the back and sides, shooting for a gray tone similar to the top.Routs and roundover done. I don't hate the way it looks, but I'm considering a cheeky black burst around the edge to hide the seam.
View attachment 5289949

Enjoy the benefits of a premium membership!
Upgrade Account
-
TalkBass has been independent since 1998. Add your voice.
Create a free account to reply to discussions, view embedded media, and browse with fewer display ads.
Join free Log in
Want zero display ads or expanded classifieds tools? Compare plans.
You are using an out of date browser. It may not display this or other websites correctly.
You should upgrade or use an alternative browser.
You should upgrade or use an alternative browser.
Not another Tele build! Yawn
- Thread starter Flying B
- Start date
More options
Who Replied?

Small progress on this, i got the jack hole drilled out and the wiring channels drilled. I went in through the neck pocket with a long drill bit.


The 25mm forstner I used to recess the jack was pretty blunt so it's not the neatest but it should tidy up ok. Can't put off starting the neck for much longer....
The 25mm forstner I used to recess the jack was pretty blunt so it's not the neatest but it should tidy up ok. Can't put off starting the neck for much longer....
Made a start on the neck today. After dimensioning my neck blank I started routing for the truss rod. Here's my setup, the workpiece is stuck down to the bench with the masking tape trick.

That's as far as I could get, I'm waiting for a slightly bigger cutter to arrive for around the nut and the access slot.
Happy weekend everyone!
That's as far as I could get, I'm waiting for a slightly bigger cutter to arrive for around the nut and the access slot.
Happy weekend everyone!
My router cutter showed up so I was able to finish off the truss rod slot. I squared up the two bits at the end with a chisel, all fits well. I think last time I glued a little piece above the adjustment nut, so I'll probably do the same this time.

I also made a start cutting out the neck shape on the bandsaw but didn't get any pics.
I also made a start cutting out the neck shape on the bandsaw but didn't get any pics.
Shape rough cut on the band saw to within 1mm of the line.

Then template stuck on and routed. Looking forward to seeing the grain when I carve the back of this neck

Couple of small tear outs but nothing we can't handle. This wenge is quite splintery stuff.
Then template stuck on and routed. Looking forward to seeing the grain when I carve the back of this neck
Couple of small tear outs but nothing we can't handle. This wenge is quite splintery stuff.
Got the neck mounting holes and ferrules drilled out today.

I did the recess for the ferrules first, then drilled through into the neck, then finally enlarged the holes on the top of the neck to take the threaded inserts.
Also started thinking about a fretboard; I have this piece of birds eye maple which is nice but not that special. That's all I've got in my stash without buying something else, but I think the maple/ wenge combo looks pretty sharp?

Or should I find something dark and have the whole guitar in dark woods? That's the original image I had in my head before I started.
I did the recess for the ferrules first, then drilled through into the neck, then finally enlarged the holes on the top of the neck to take the threaded inserts.
Also started thinking about a fretboard; I have this piece of birds eye maple which is nice but not that special. That's all I've got in my stash without buying something else, but I think the maple/ wenge combo looks pretty sharp?
Or should I find something dark and have the whole guitar in dark woods? That's the original image I had in my head before I started.
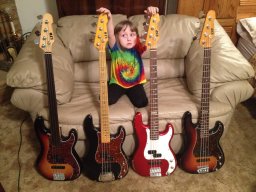
I like the contrast with the lighter fingerboard since the rest is so dark.
Plus you won’t have to buy anything.
Plus you won’t have to buy anything.

Wenge and maple makes a nice contrast and will look good, for sure!
On the other hand, I did a couple wenge necks with wenge fretboard that I thought looked cool. Like maple on maple, but dark!
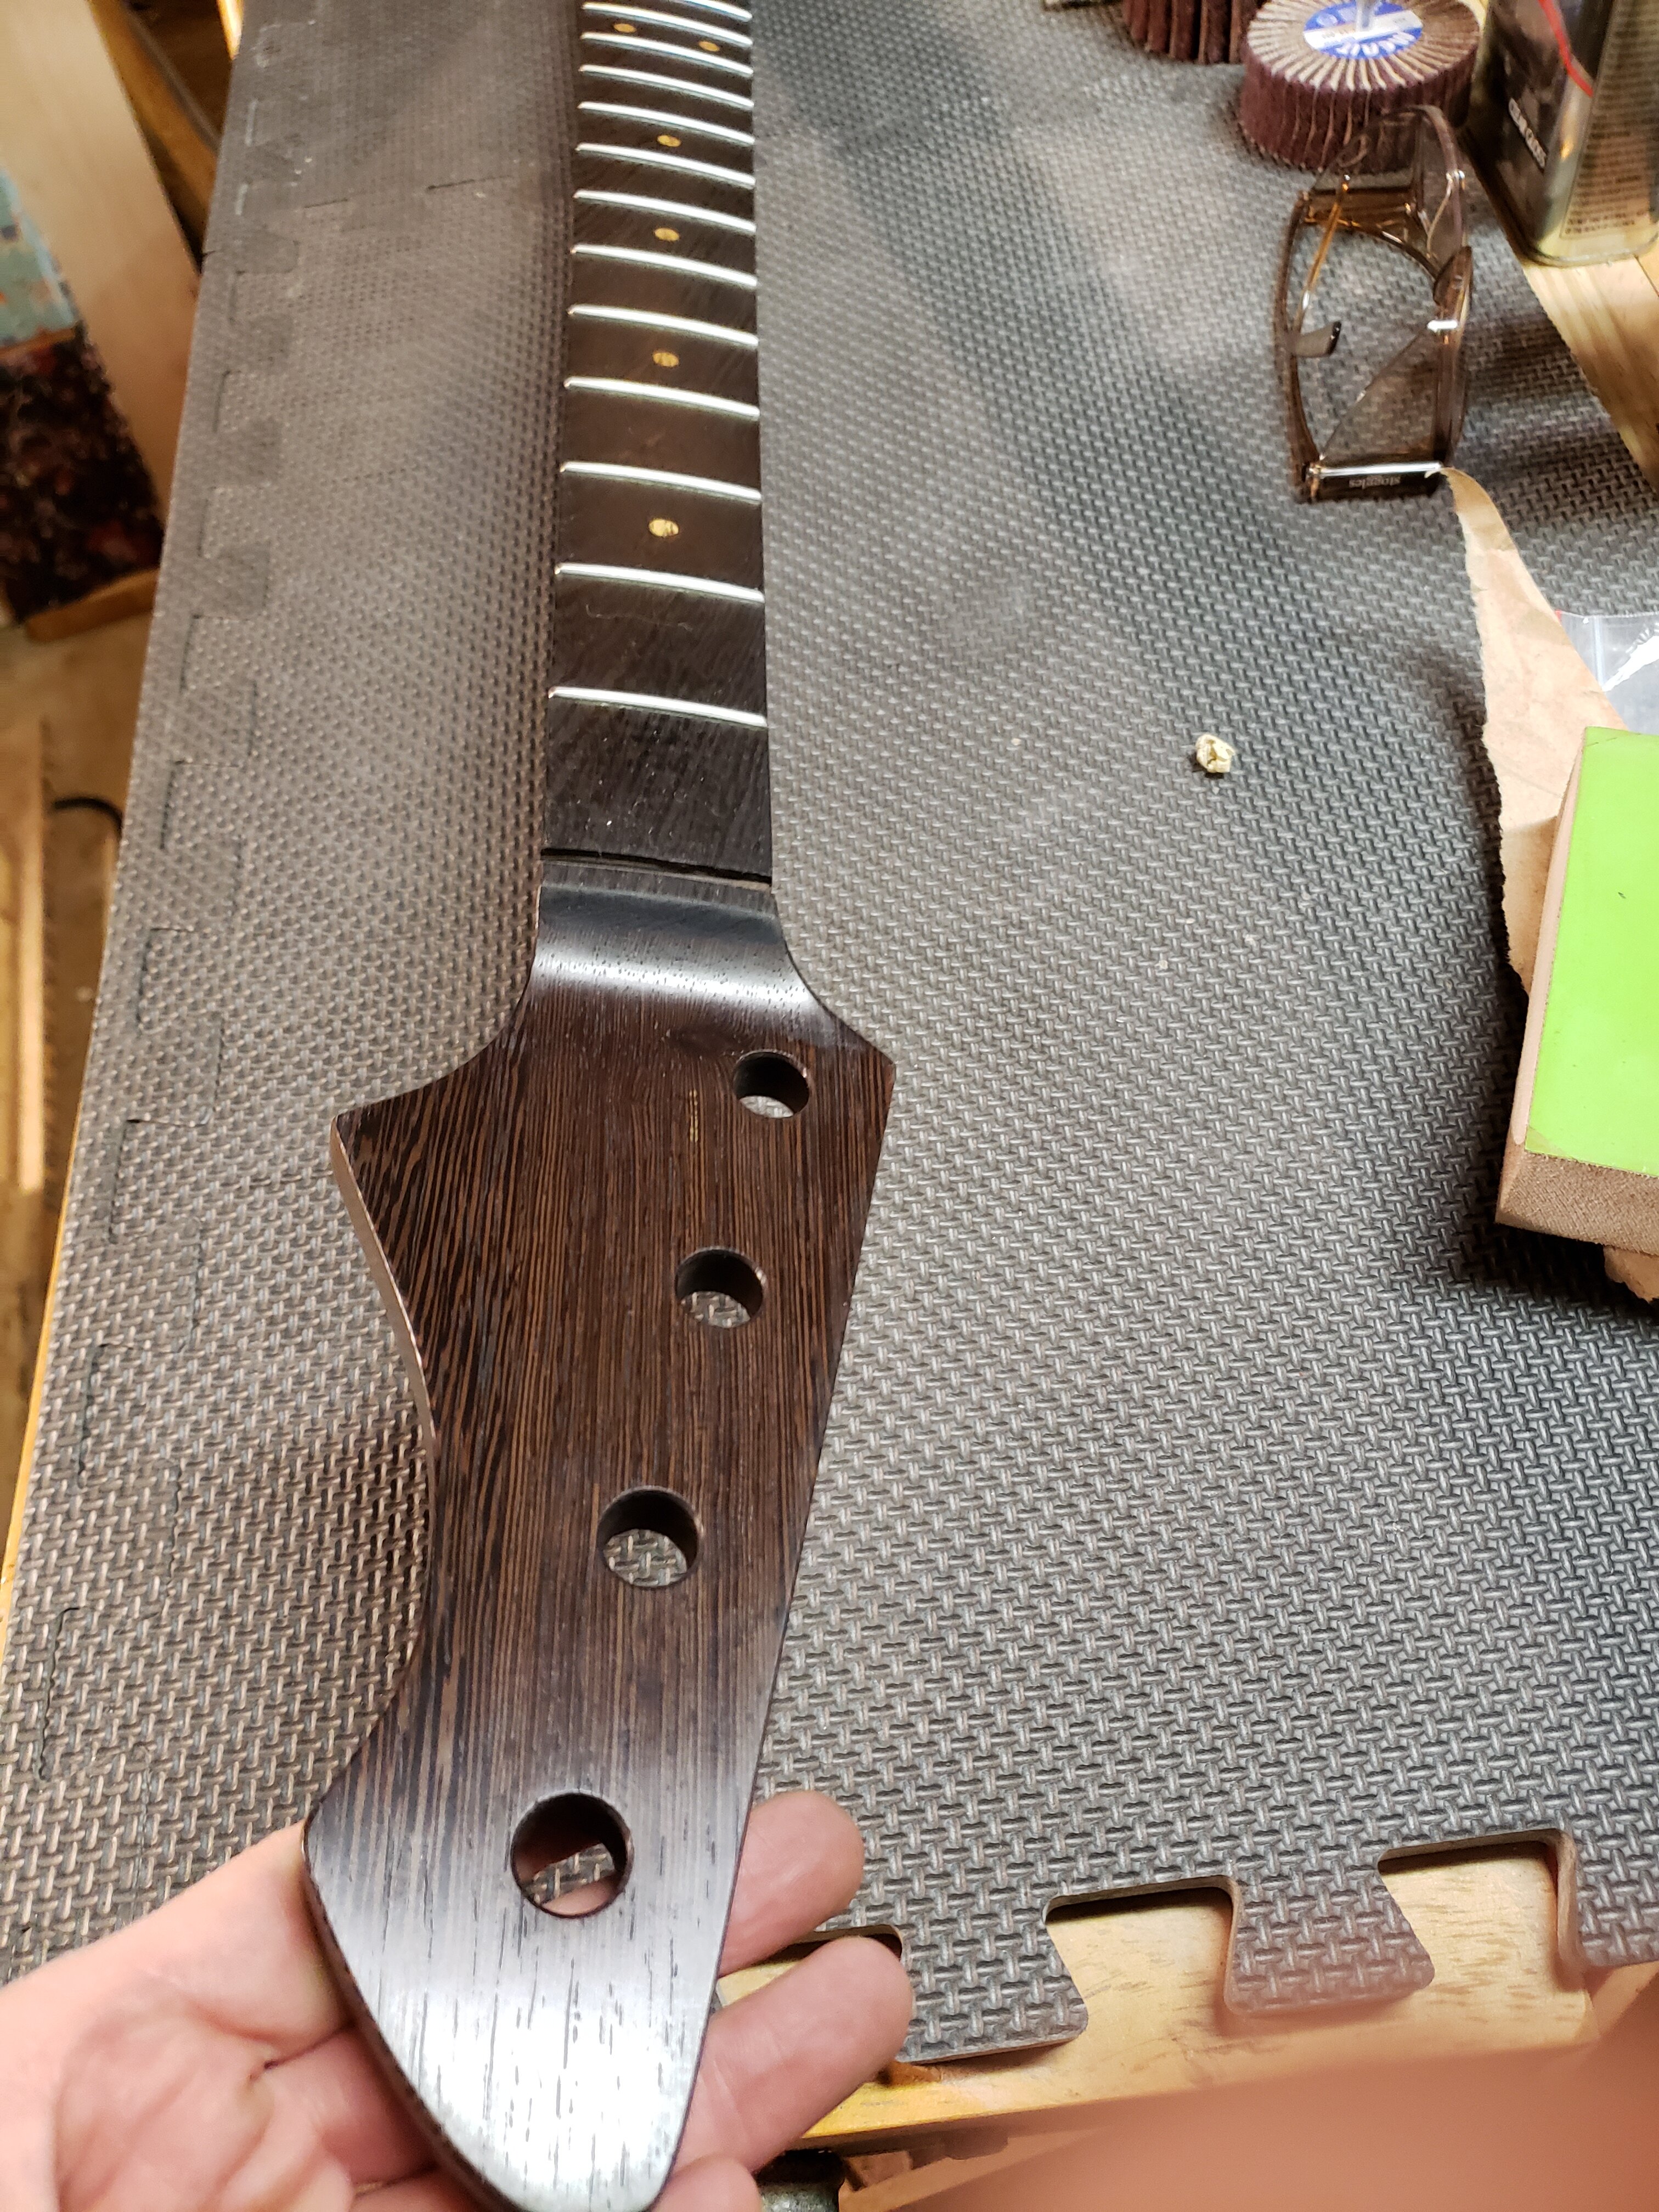 ...don't seem to have better pic.
On the other hand, I did a couple wenge necks with wenge fretboard that I thought looked cool. Like maple on maple, but dark!
Wenge and maple makes a nice contrast and will look good, for sure!
On the other hand, I did a couple wenge necks with wenge fretboard that I thought looked cool. Like maple on maple, but dark!
View attachment 5322737...don't seem to have better pic.
That does look tasty! But the only wenge i have is the super quarter sawn stuff which I would like to keep for necks. For a fretboard I would much rather use a flat sawn piece as the figure will be much more interesting.
That does look tasty! But the only wenge i have is the super quarter sawn stuff which I would like to keep for necks. For a fretboard I would much rather use a flat sawn piece as the figure will be much more interesting.
I getcha. That's what I did, too.


Not much to report. I did mark out the fretboard today for the frets, but my slot cutting rig is elsewhere so I probably won't be able to cut them until next week

Here's a cheeky mockup just to keep you going.

Here's a cheeky mockup just to keep you going.

Not much to report. I did mark out the fretboard today for the frets, but my slot cutting rig is elsewhere so I probably won't be able to cut them until next week
View attachment 5327463
Here's a cheeky mockup just to keep you going.
View attachment 5327465
Beautiful. I just love the shape of the Telecaster and this is turning into a real special one.
Managed to get the board slotted this afternoon. Here's my simple setup. I mark the slot positions on the board then just line them up with the cut line on the jig.

I do have another slightly more sophisticated jig which you stick a slotted template on the underside of the board and it aligns to the blade, but I would have to have make the template in exactly the same way, and since I mostly make basses I didn't bother. I suppose I could now use this board to make a template in case I decide to make another guitar!
I do have another slightly more sophisticated jig which you stick a slotted template on the underside of the board and it aligns to the blade, but I would have to have make the template in exactly the same way, and since I mostly make basses I didn't bother. I suppose I could now use this board to make a template in case I decide to make another guitar!
Last edited:
I had a go with this new router cutter to cut the finger board radius today. After setting the height, I temporarily stuck the board to this thick piece of scrap to help keep it vertical then ran it through, flipped it then again on the other side.
Here you can see the setup, but with a test piece of MDF.

And after running one side through, you can see I needed to raise the height a touch to get to the centre line.

And here's the finished board. It will still need a sand but it's taken the hard work out of it.

Should hopefully get it stuck on to the neck tomorrow.
Here you can see the setup, but with a test piece of MDF.
And after running one side through, you can see I needed to raise the height a touch to get to the centre line.
And here's the finished board. It will still need a sand but it's taken the hard work out of it.
Should hopefully get it stuck on to the neck tomorrow.

I had a go with this new router cutter to cut the finger board radius today. After setting the height, I temporarily stuck the board to this thick piece of scrap to help keep it vertical then ran it through, flipped it then again on the other side.
Here you can see the setup, but with a test piece of MDF.
View attachment 5334923
And after running one side through, you can see I needed to raise the height a touch to get to the centre line.
View attachment 5334936
And here's the finished board. It will still need a sand but it's taken the hard work out of it.
View attachment 5334937
Should hopefully get it stuck on to the neck tomorrow.
Yay! Welcome to the radius-yer-fretboard-on-the-router-table Team!

Yay! Welcome to the radius-yer-fretboard-on-the-router-table Team!
I'm pretty sure it was you I first saw doing it like this, so thank you for that. It sure beats doing it with a sanding block!

I'm pretty sure it was you I first saw doing it like this, so thank you for that. It sure beats doing it with a sanding block!
Well, you're the first person I've seen doing it (first time I even knew those bits existed). They're not crazy expensive, either. I'll probably do the current build with the facet+block method, but for later builds that's very intriguing. Thanks to Gary for starting the chain.
Well, you're the first person I've seen doing it (first time I even knew those bits existed). They're not crazy expensive, either. I'll probably do the current build with the facet+block method, but for later builds that's very intriguing. Thanks to Gary for starting the chain.
For me, it's waaaaay faster and certainly more consistent. Even taking very light passes, it only takes a few minutes to radius a board, then a few minutes more with a sanding beam to clean up. Of course if you want a compound radius, this isn't the method to go with.

Got the fretboard shaped. Here it is just sitting on the neck.

I clamped it in place and drilled some holes for locating pins. The first one hit the metal insert, doh!
Glue up hopefully tomorrow.

I clamped it in place and drilled some holes for locating pins. The first one hit the metal insert, doh!
Glue up hopefully tomorrow.


