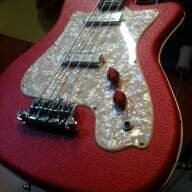
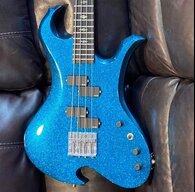
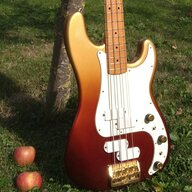
What kind of pickguard I should make?
The same as on the bass or a pickguard like on the Rickenbacker [Invalid or Expired Link Removed]?
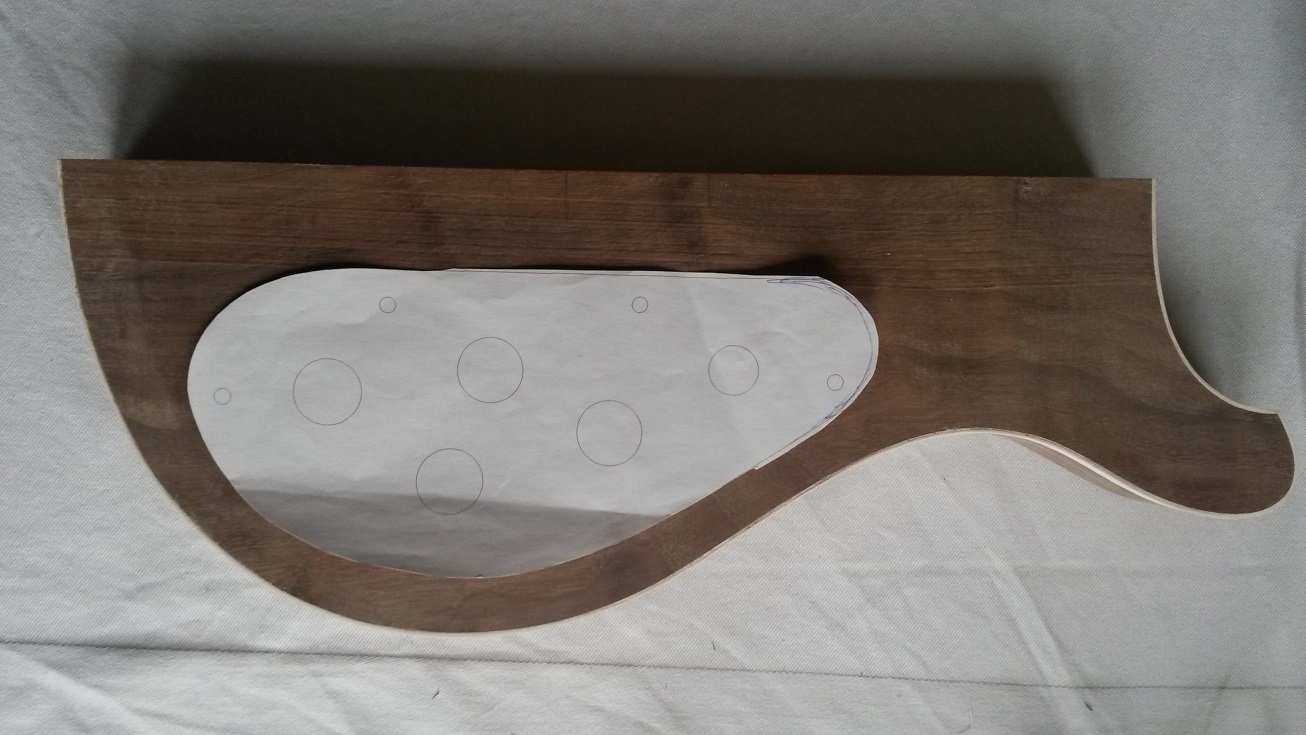
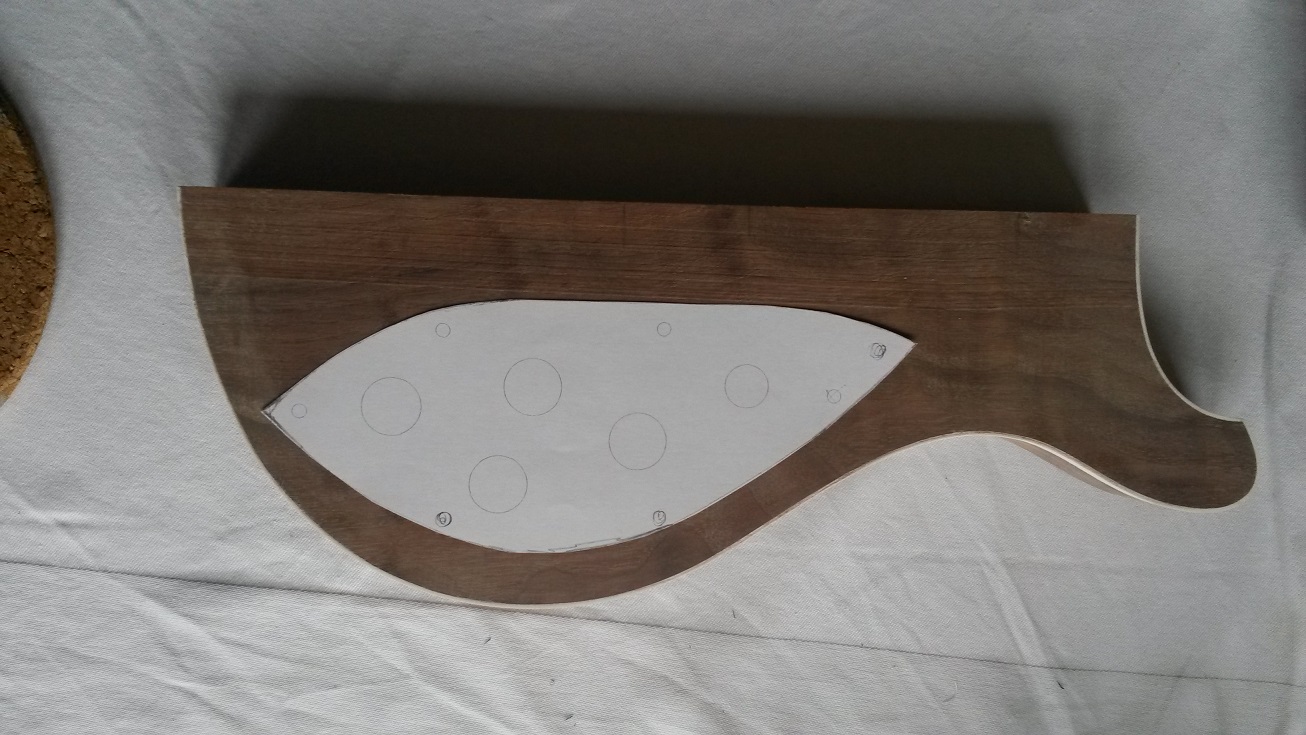
What do you think?
If I had the two instruments, I'd want them to match. I'd go same as the bass.

TalkBass has been independent since 1998. Add your voice.
Create a free account to reply to discussions, view embedded media, and browse with fewer display ads.
Join free Log in
Want zero display ads or expanded classifieds tools? Compare plans.
What kind of pickguard I should make?
The same as on the bass or a pickguard like on the Rickenbacker [Invalid or Expired Link Removed]?
What do you think?


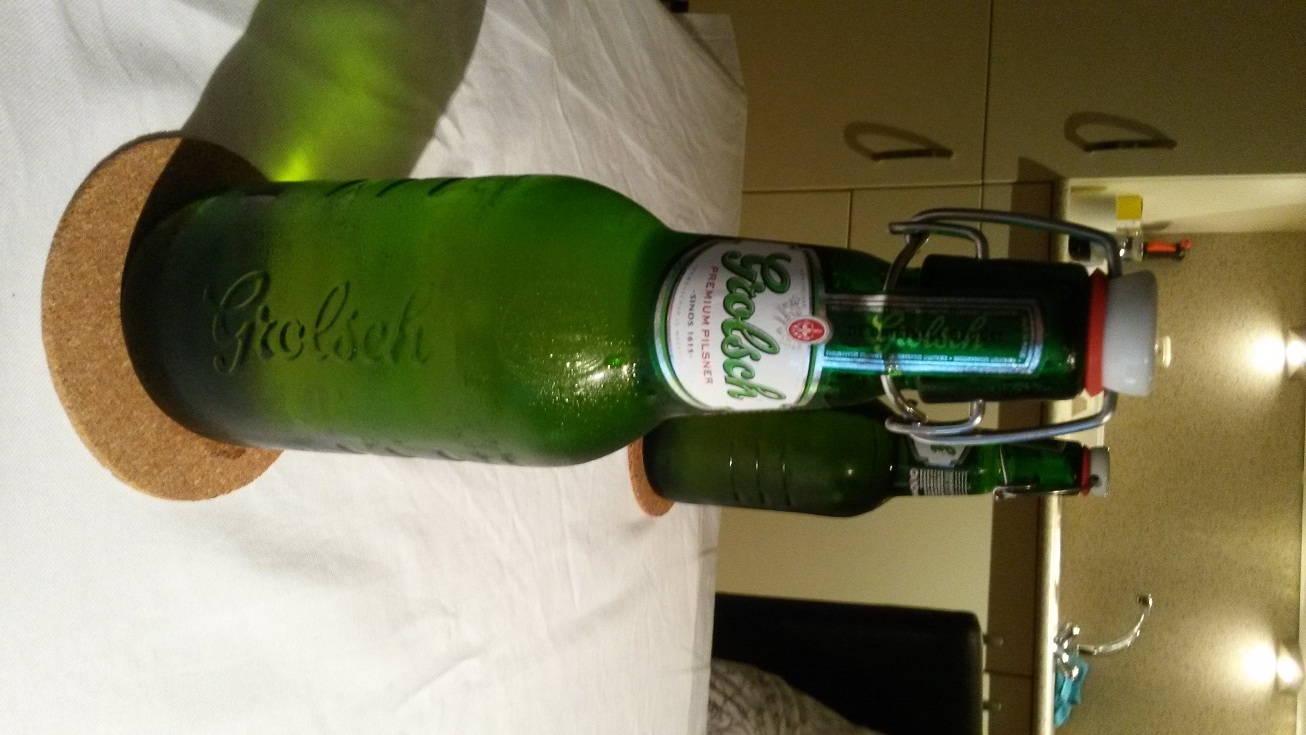
Save those gaskets for straplocks for the guitar!After all that hard work, time for a drink:

Thanks Mapleglo and Gilmour!
So the pickguard is going to be like the one on the bass.
Hey Tonh,
I notice you ran the truss rod slot right out till it exits the angled headstock face. Was this to provide for future truss rod replacement, or just easier than a stopped rout? I started a thread asking about that, and the consensus was "couldn't hurt,but not necessary".
 :
:
Save those gaskets for straplocks for the guitar!


Sound great Tonh, definitely Ric tone, but nice thick lower end.
I love the sound and it is my favorite bass for the (rock)band I play in.Sounds like a fattened-up Ric. Good sound!