• TalkBass has been independent since 1998. Add your voice.
    Create a free account to reply to discussions, view embedded media, and browse with fewer display ads.
    Join freeLog in
    Want zero display ads or expanded classifieds tools? Compare plans.

Show your tidy pedalboard!

So you are bypassing the preamp stage of your amp?
I'm using the pedal preamps (SA ZIO Bass and the Orange Bass Butler Bi-Amp Preamp) into an Orange Pedal Baby 100 with an Orange OBC115 cabinet. (HX One is inline) Very easy schlepping!

Definitely sufficient for recording, many if not most, stage environments and IEM situations. Provided backline is, of course, provided.
 
Complete rebuild and update of my effects.
I sold off several pedals that were near and dear to me but were simply never used in a playing environment.
I also went all in on a Temple Audio board and modules.
IMG_3681.jpeg

IMG_3682.jpeg

IMG_3683.jpeg
 
It’s not that that tidy but a ton of function in the smallest space. The stomp does most of the work. The unit 67 (first) sets the level for different basses’ input easily (no bass specific patches for gain staging). Drums on tap and 45W or DI out. Also the looper is second and useful both for practice and for setting presets in the stomp.

Of course most of these are high current draw and don’t like to be together for power even on the best supply, so there are multiple adapters so underneath is a huge mess tied up with cable ties.
IMG_1371.jpeg
 
pedalboard.jpg


1. KORG Pitchblack X (tuner / mute)
2. MXR M133 micro amp (boost / "shape" / "compressor")
3. MXR M152 micro flanger ("chorus" / flanger / "vibe" / "rotary" / "Leslie")
4. MXR M169 carbon copy (analog delay / "reverb")
5. MXR M80 bass D.I. + (preamp / overdrive / distortion / DI)
or / and CAVEMAN AUDIO BP1 COMPACT Bass Preamp


BOSS OC-2 Japan and BOSS CE-3 Japan with fretless basses...

+ PEDALTRAIN Mini
+ CIOKS SOL Power Supply (9V / 12V / 15V / 18V)
+ Custom Made 6 Inch Patch Cables
(MOGAMI 2319 wire and EMINENCE nickel plated pancake type connectors)

Nothing special, nothing fancy but it works on Dagobahss !

May the Groove be with you.
 
I am always on a quest of making my bass gear being as light as possible. (and still sounding good)

One day i came across a random doormat i bought sometime...
and thought.. Velcro sticks to it. So.. Why not?

* It's even lighter then my previous aluminium home made one. (half the weight? or maybe one third?)
* Less height and unused sides of the doormat can be folded, it saves space when transporting. = i could buy a smaller suitcase where i put all my stuff in.. double weight wins..
* It's actually not a fixed pedalboard, very easy to change things and diagnose.

Although it was not easy to make it look clean and tidy, the cable hose and short cables made it look quite nice.

View attachment 5480288

View attachment 5480310

That's cool. I dig it.
 
  • Like
Reactions: Ögon
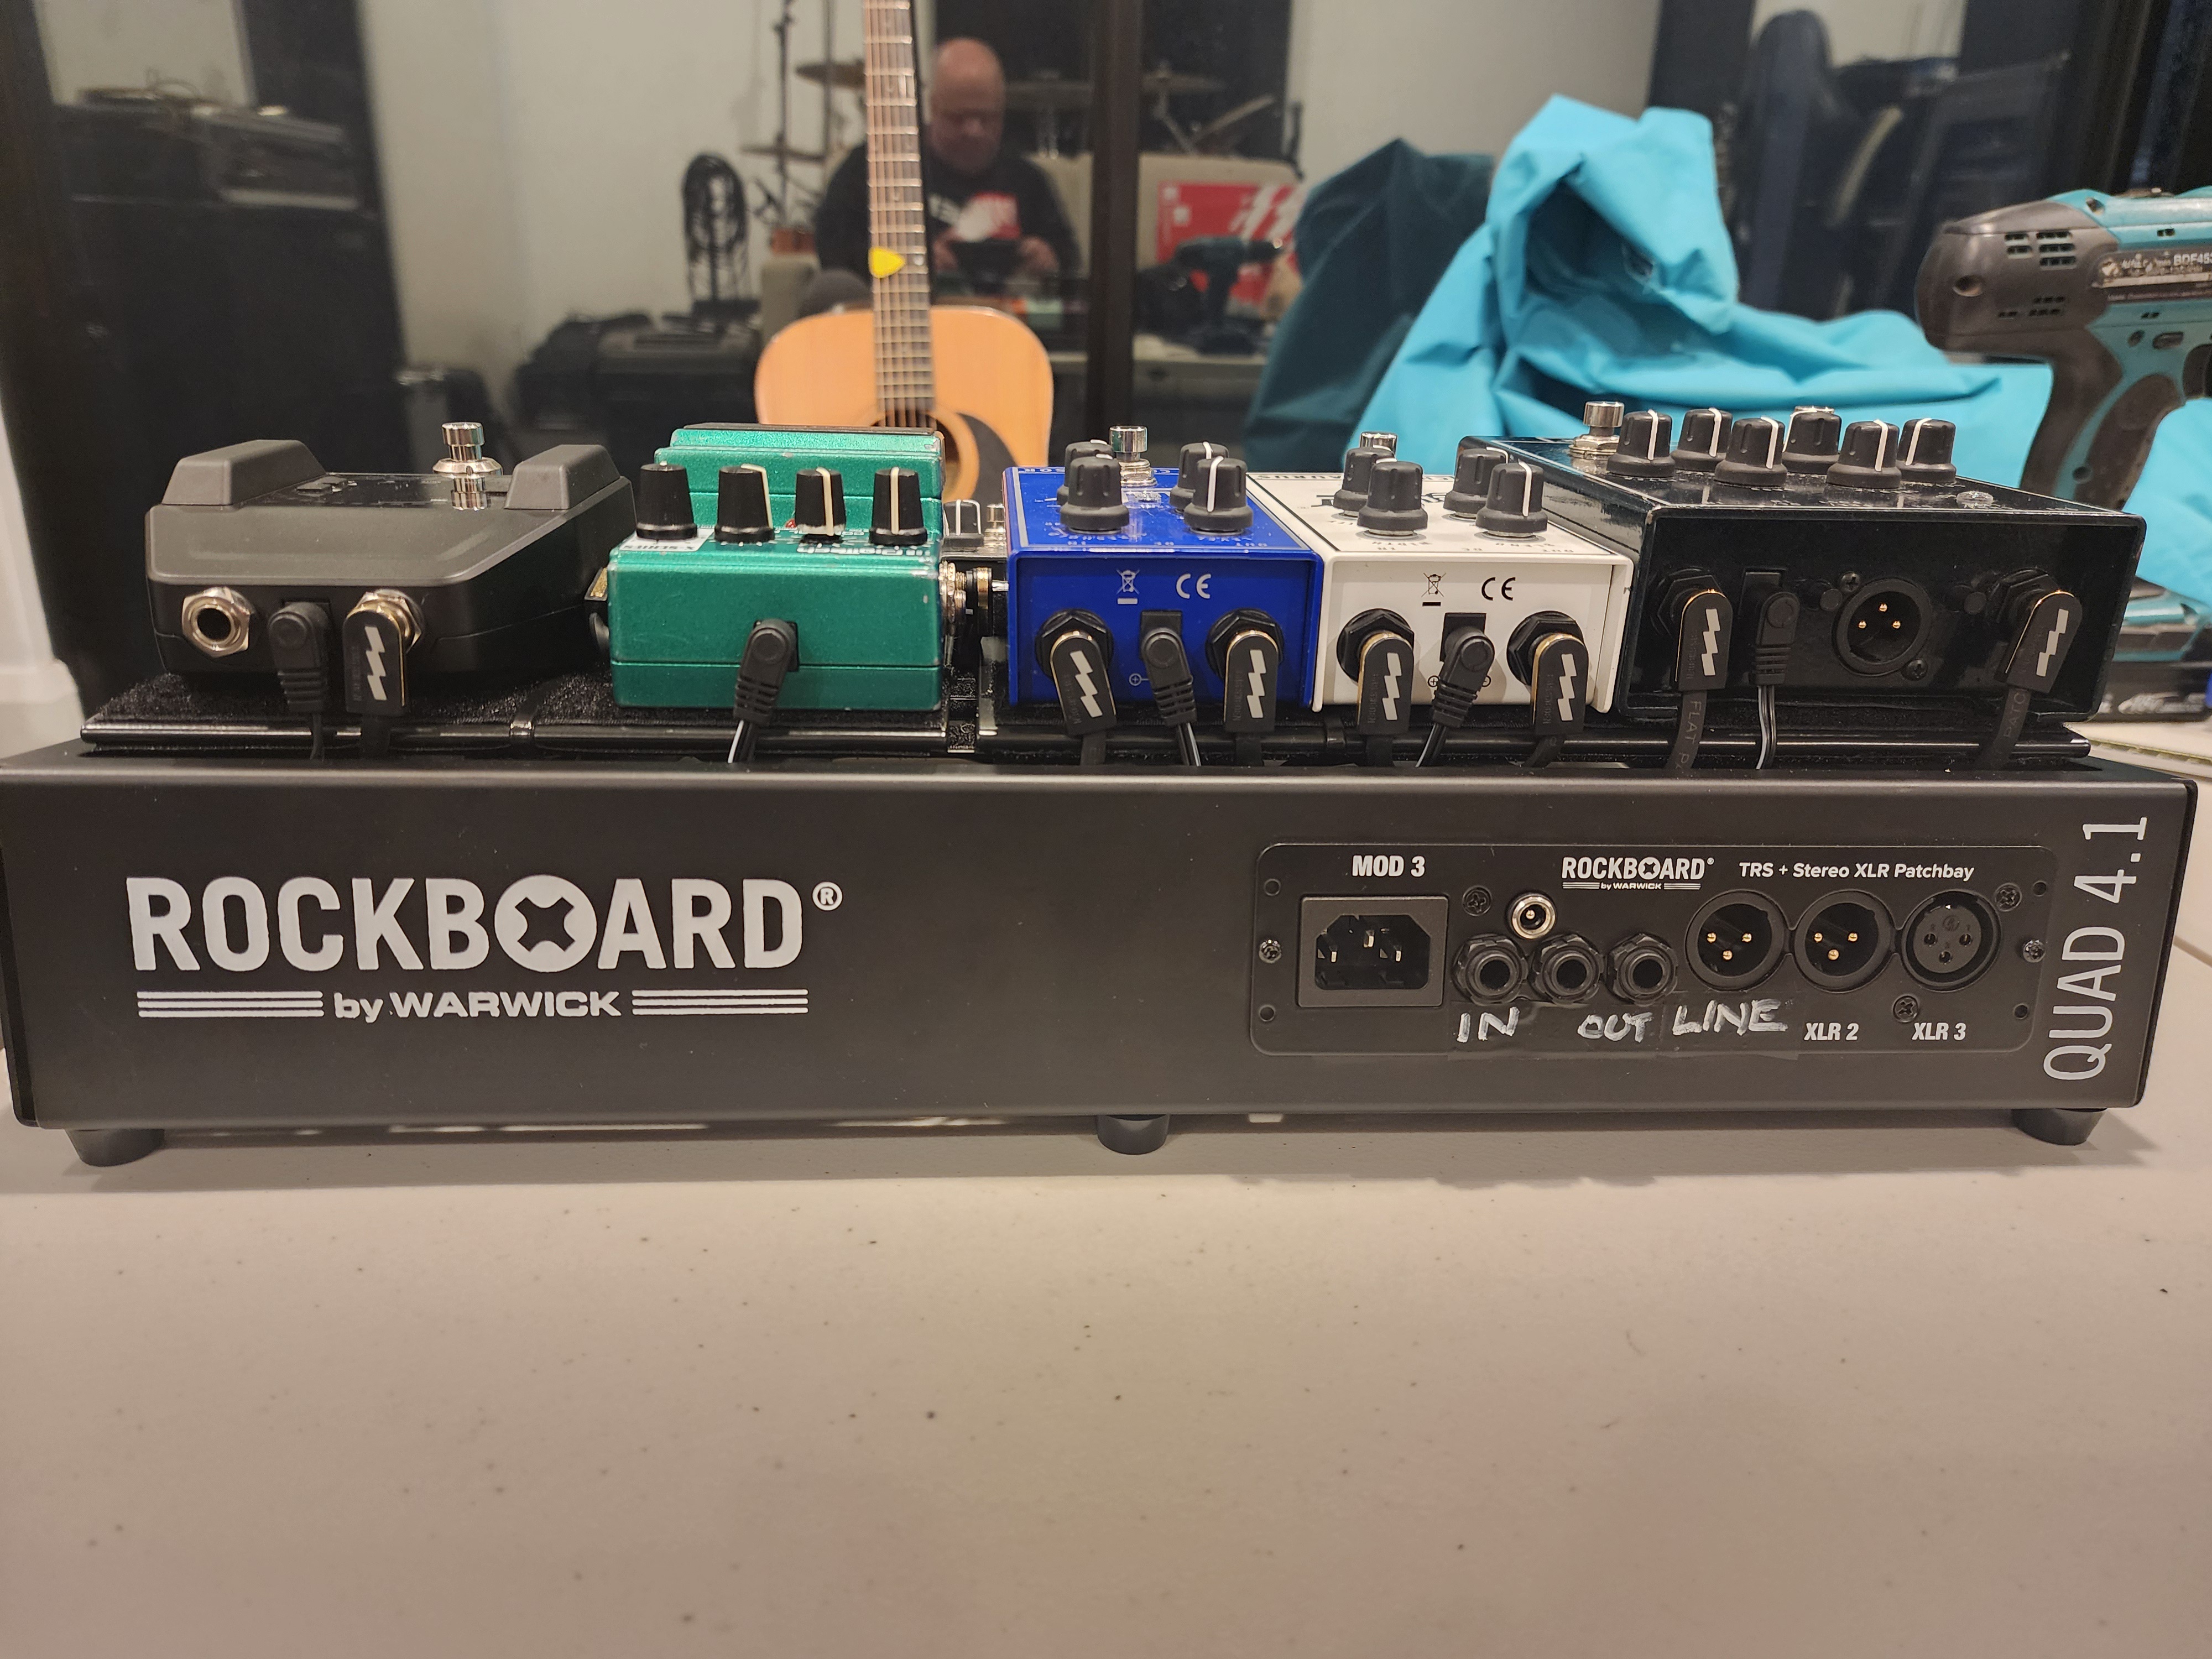
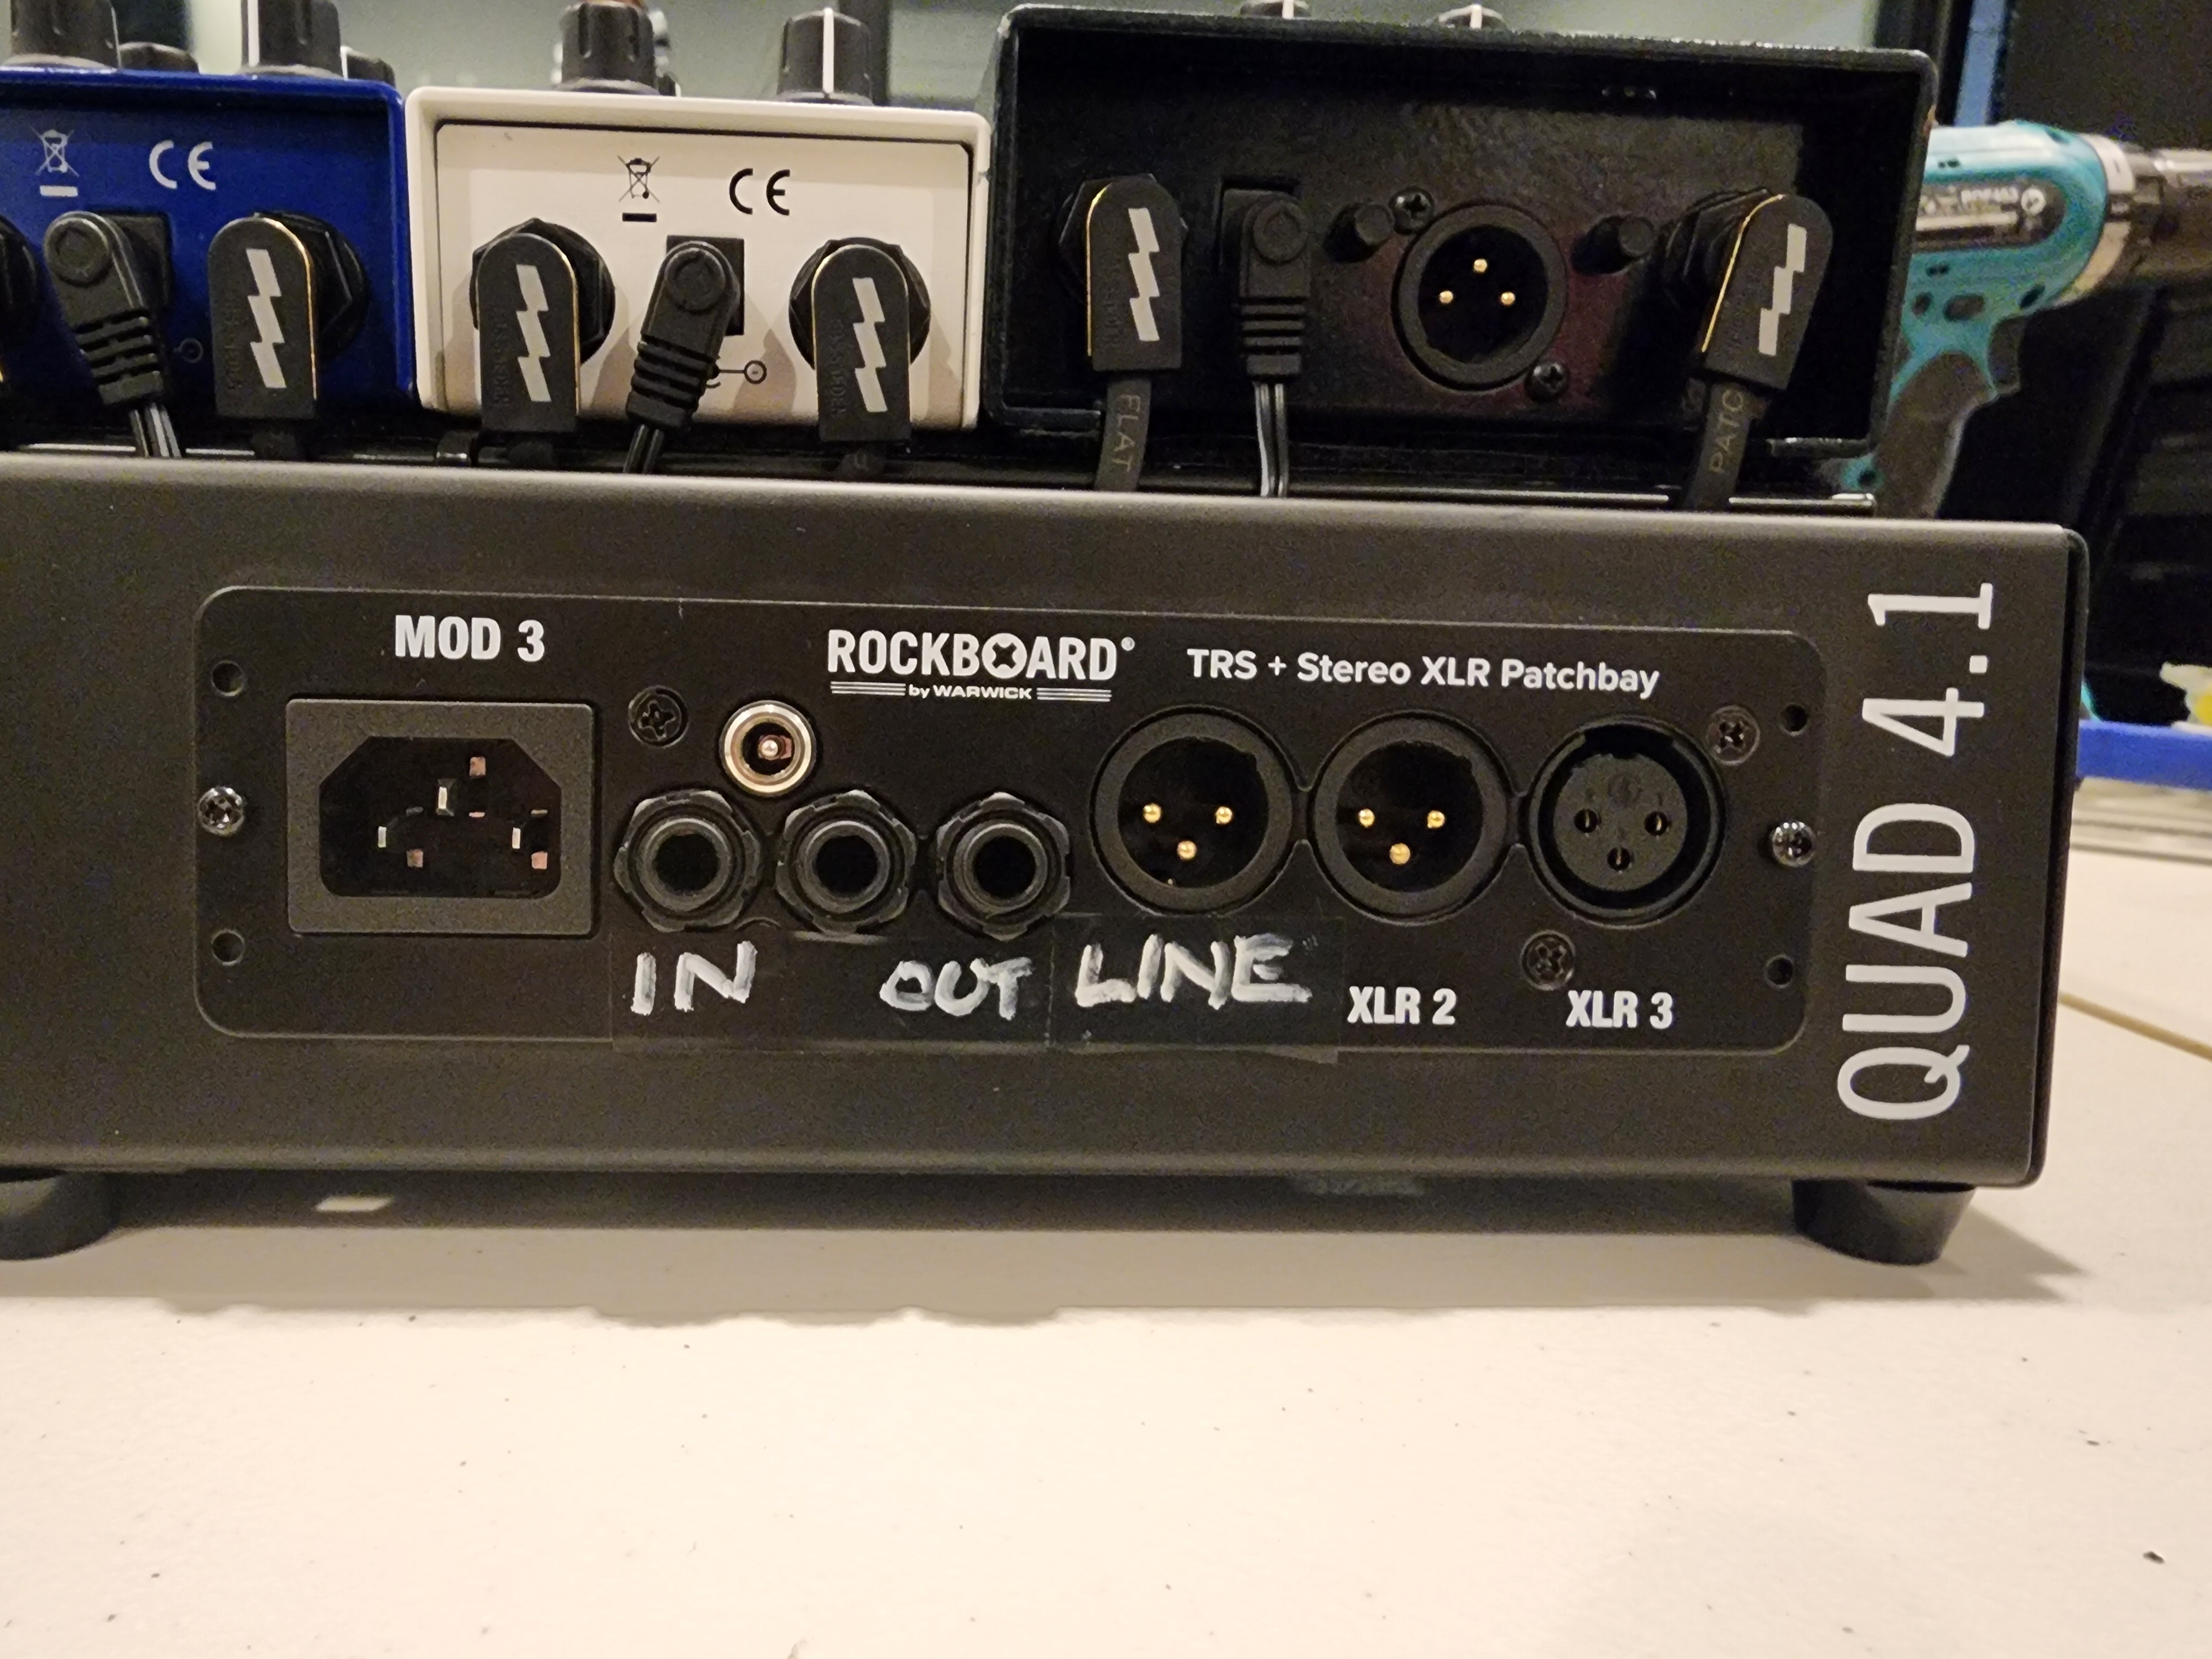
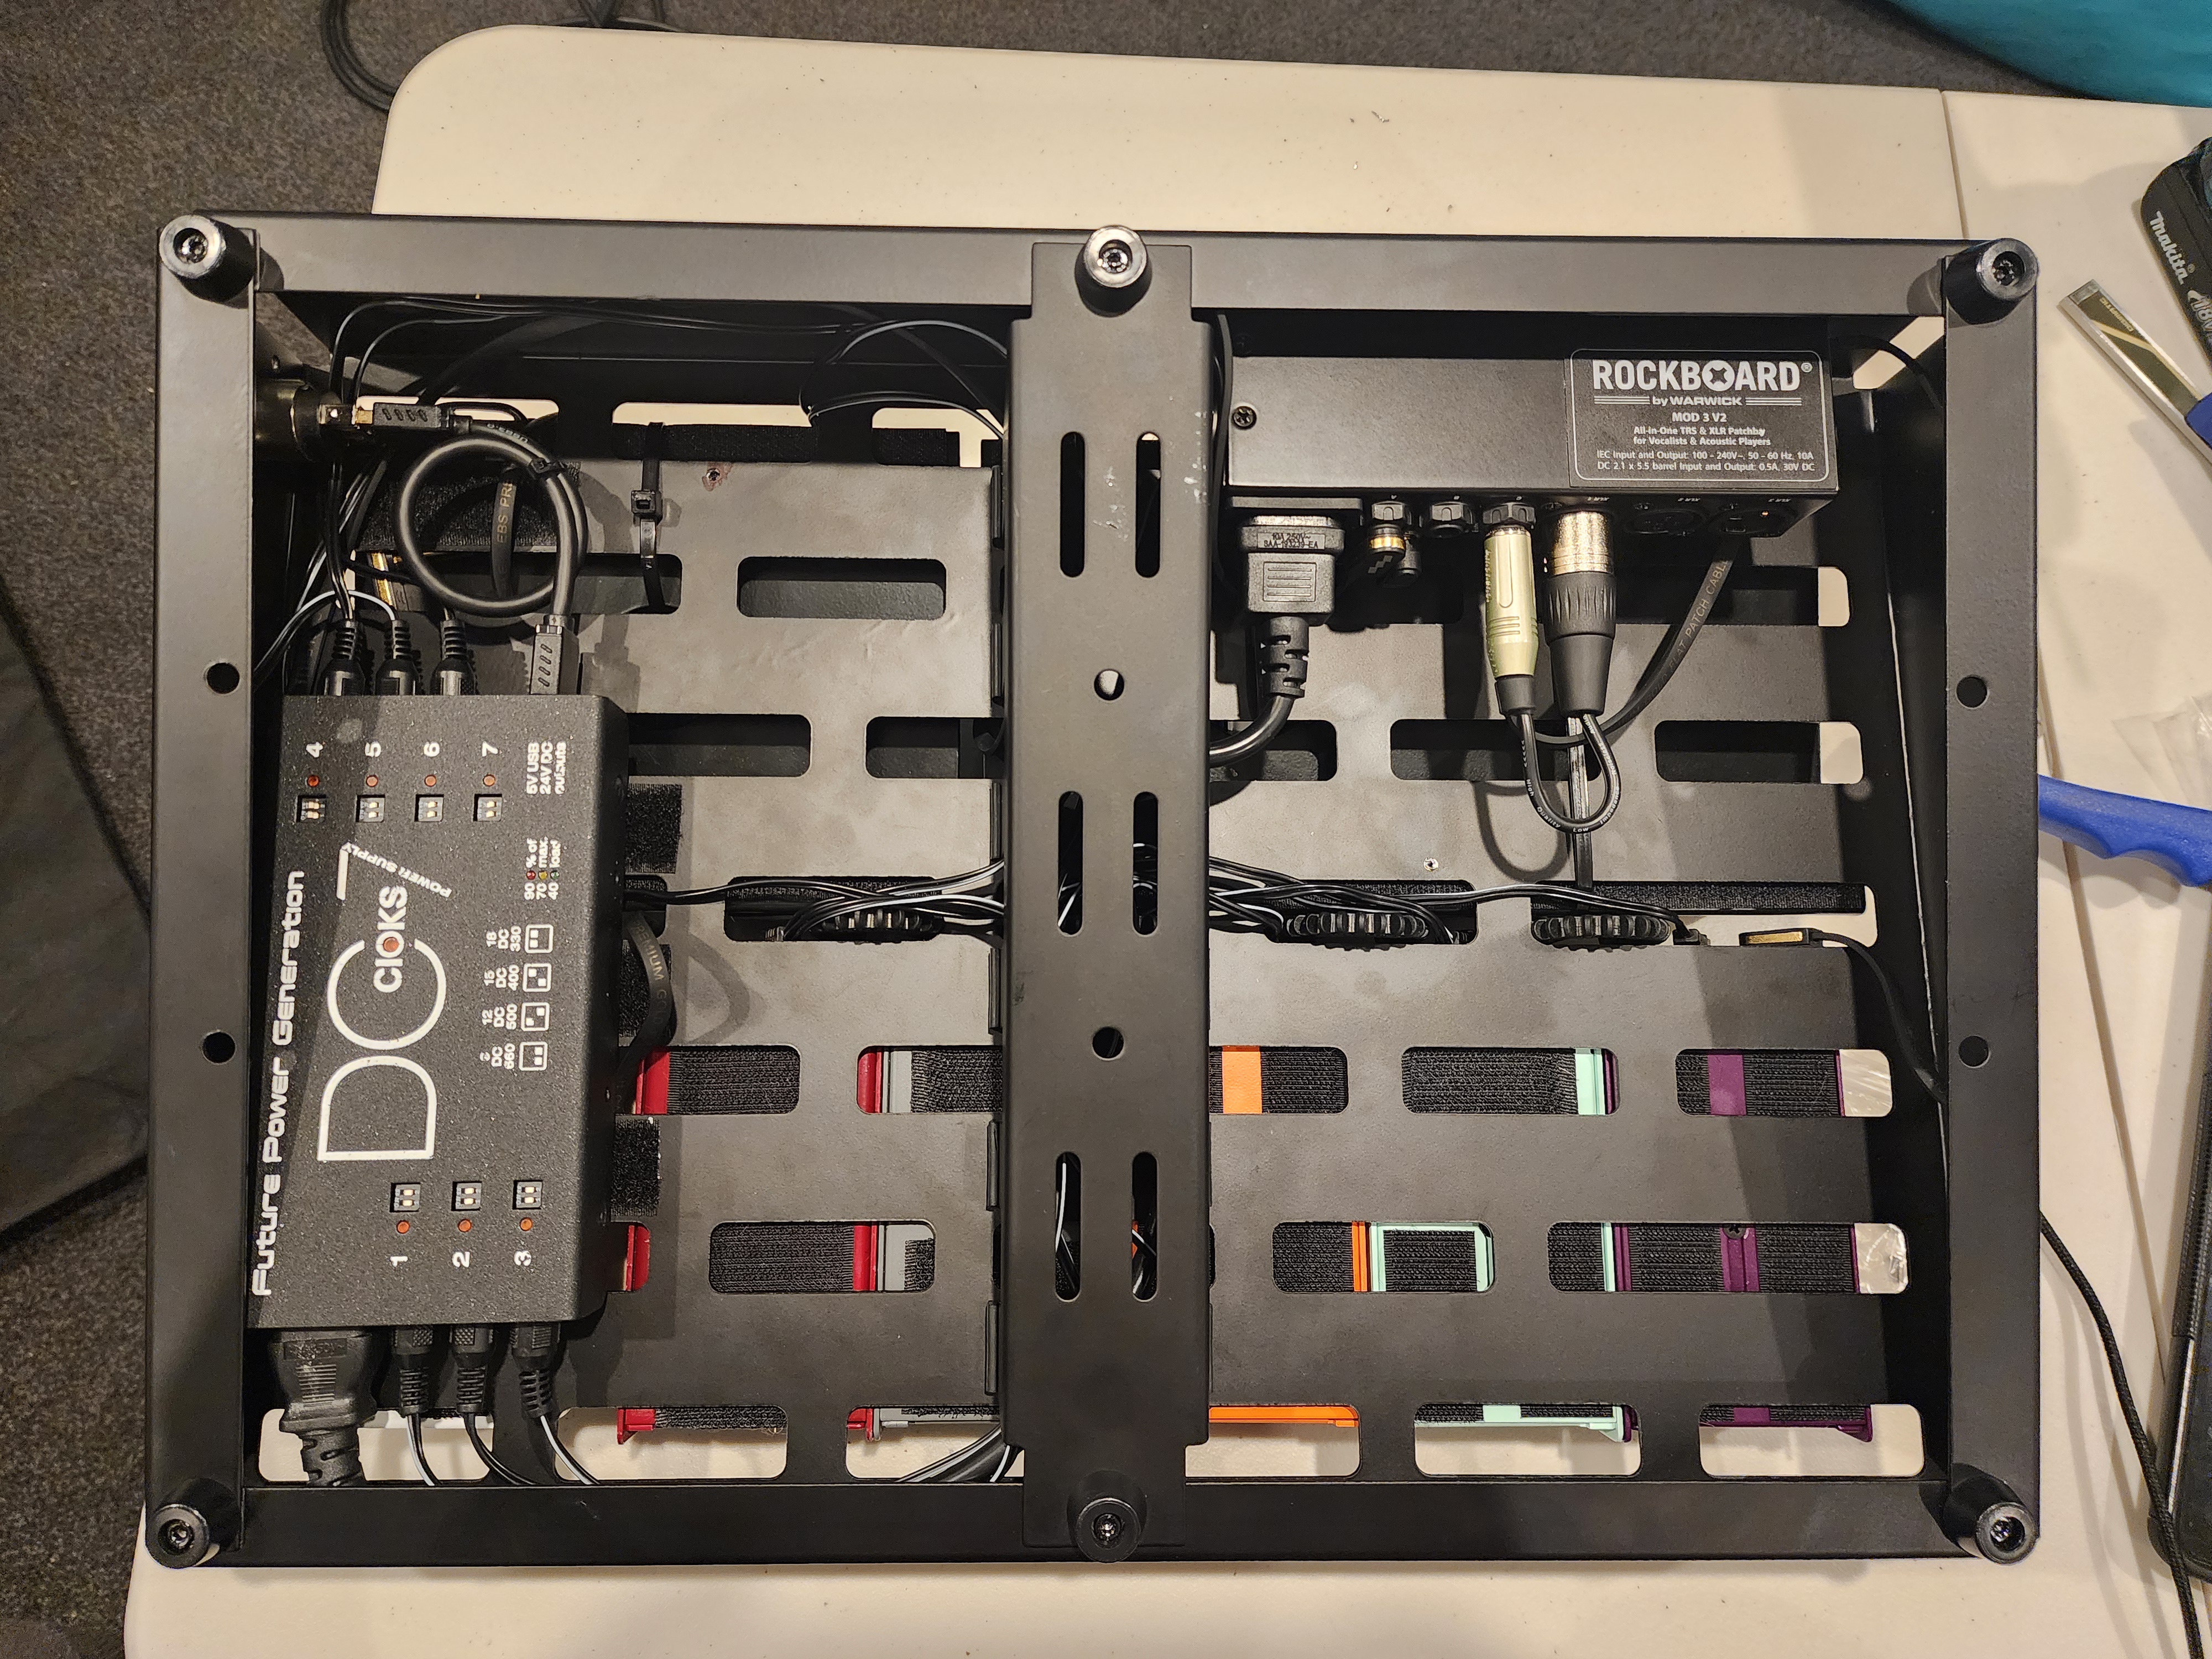
Migrated my board to a Rockboard Quad 4.1 after many years of making my own. Generally happy with the results. Some great features to the rockboards, but a couple of annoying issues also. Not the latest and greatest pedals by any means, but compact, reliable and all the basic effects I will ever need.
5cosBdv.jpg

7WF0j4l.jpg

GnbUfqC.jpg

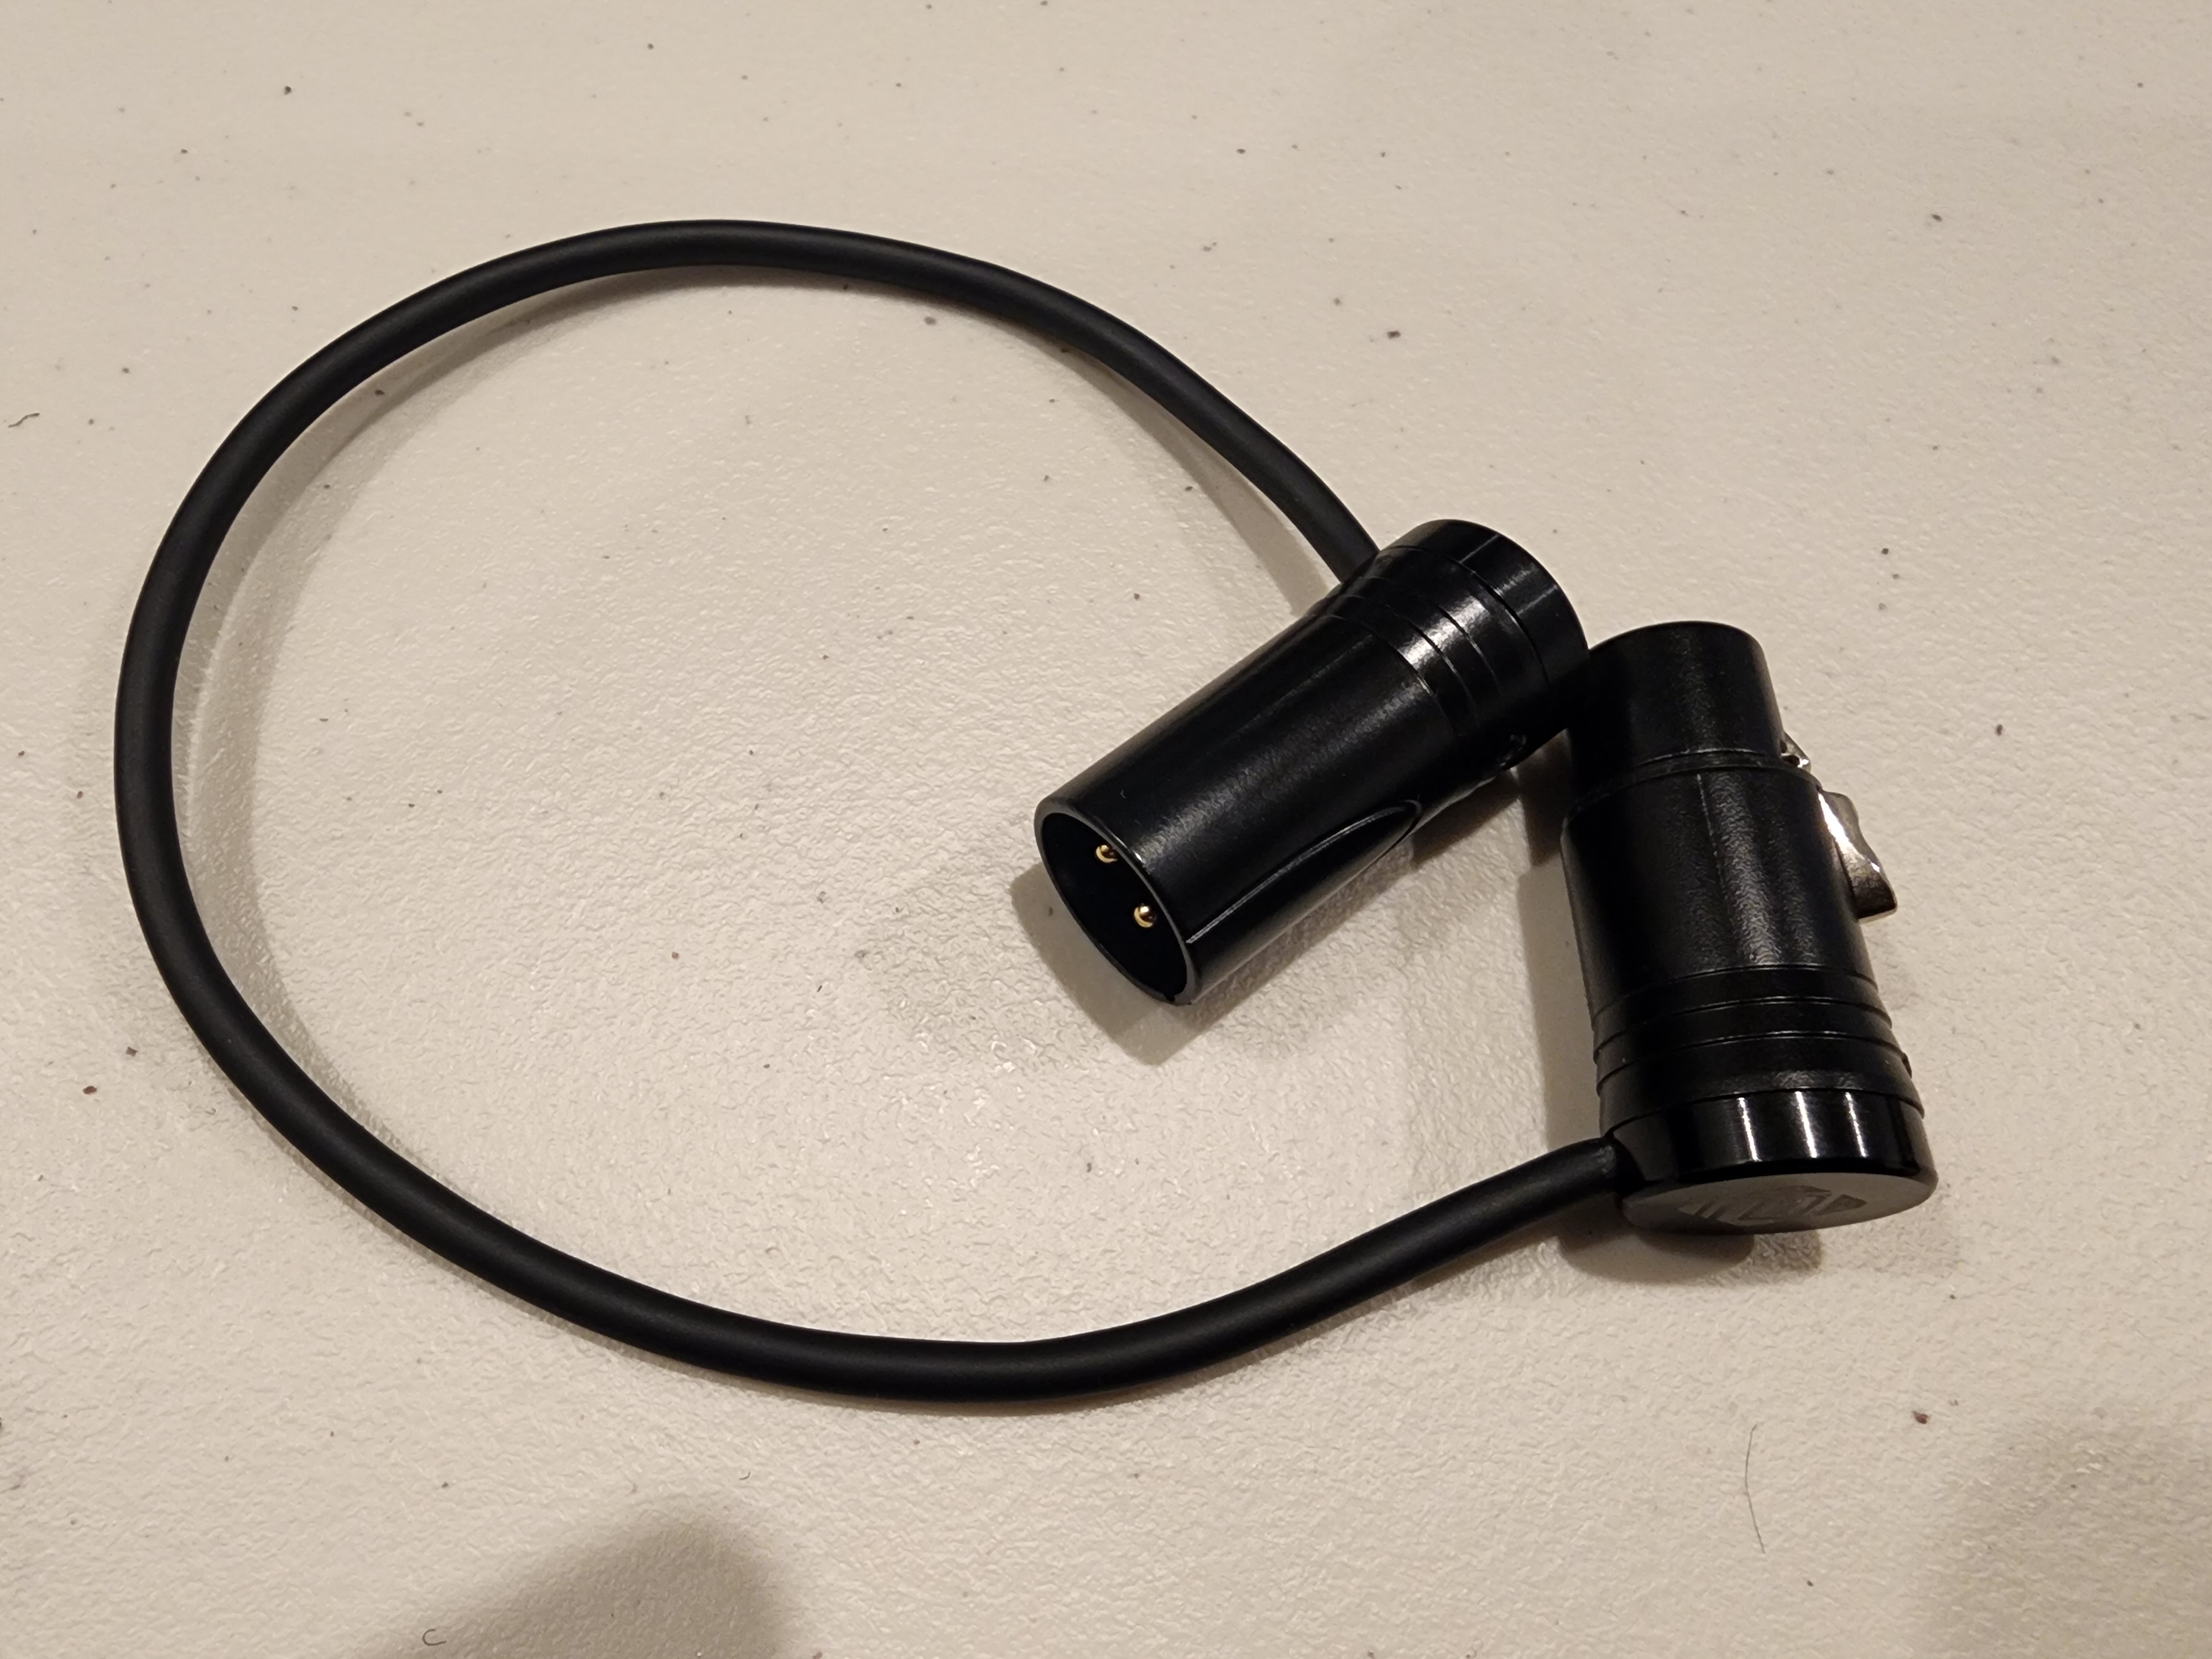
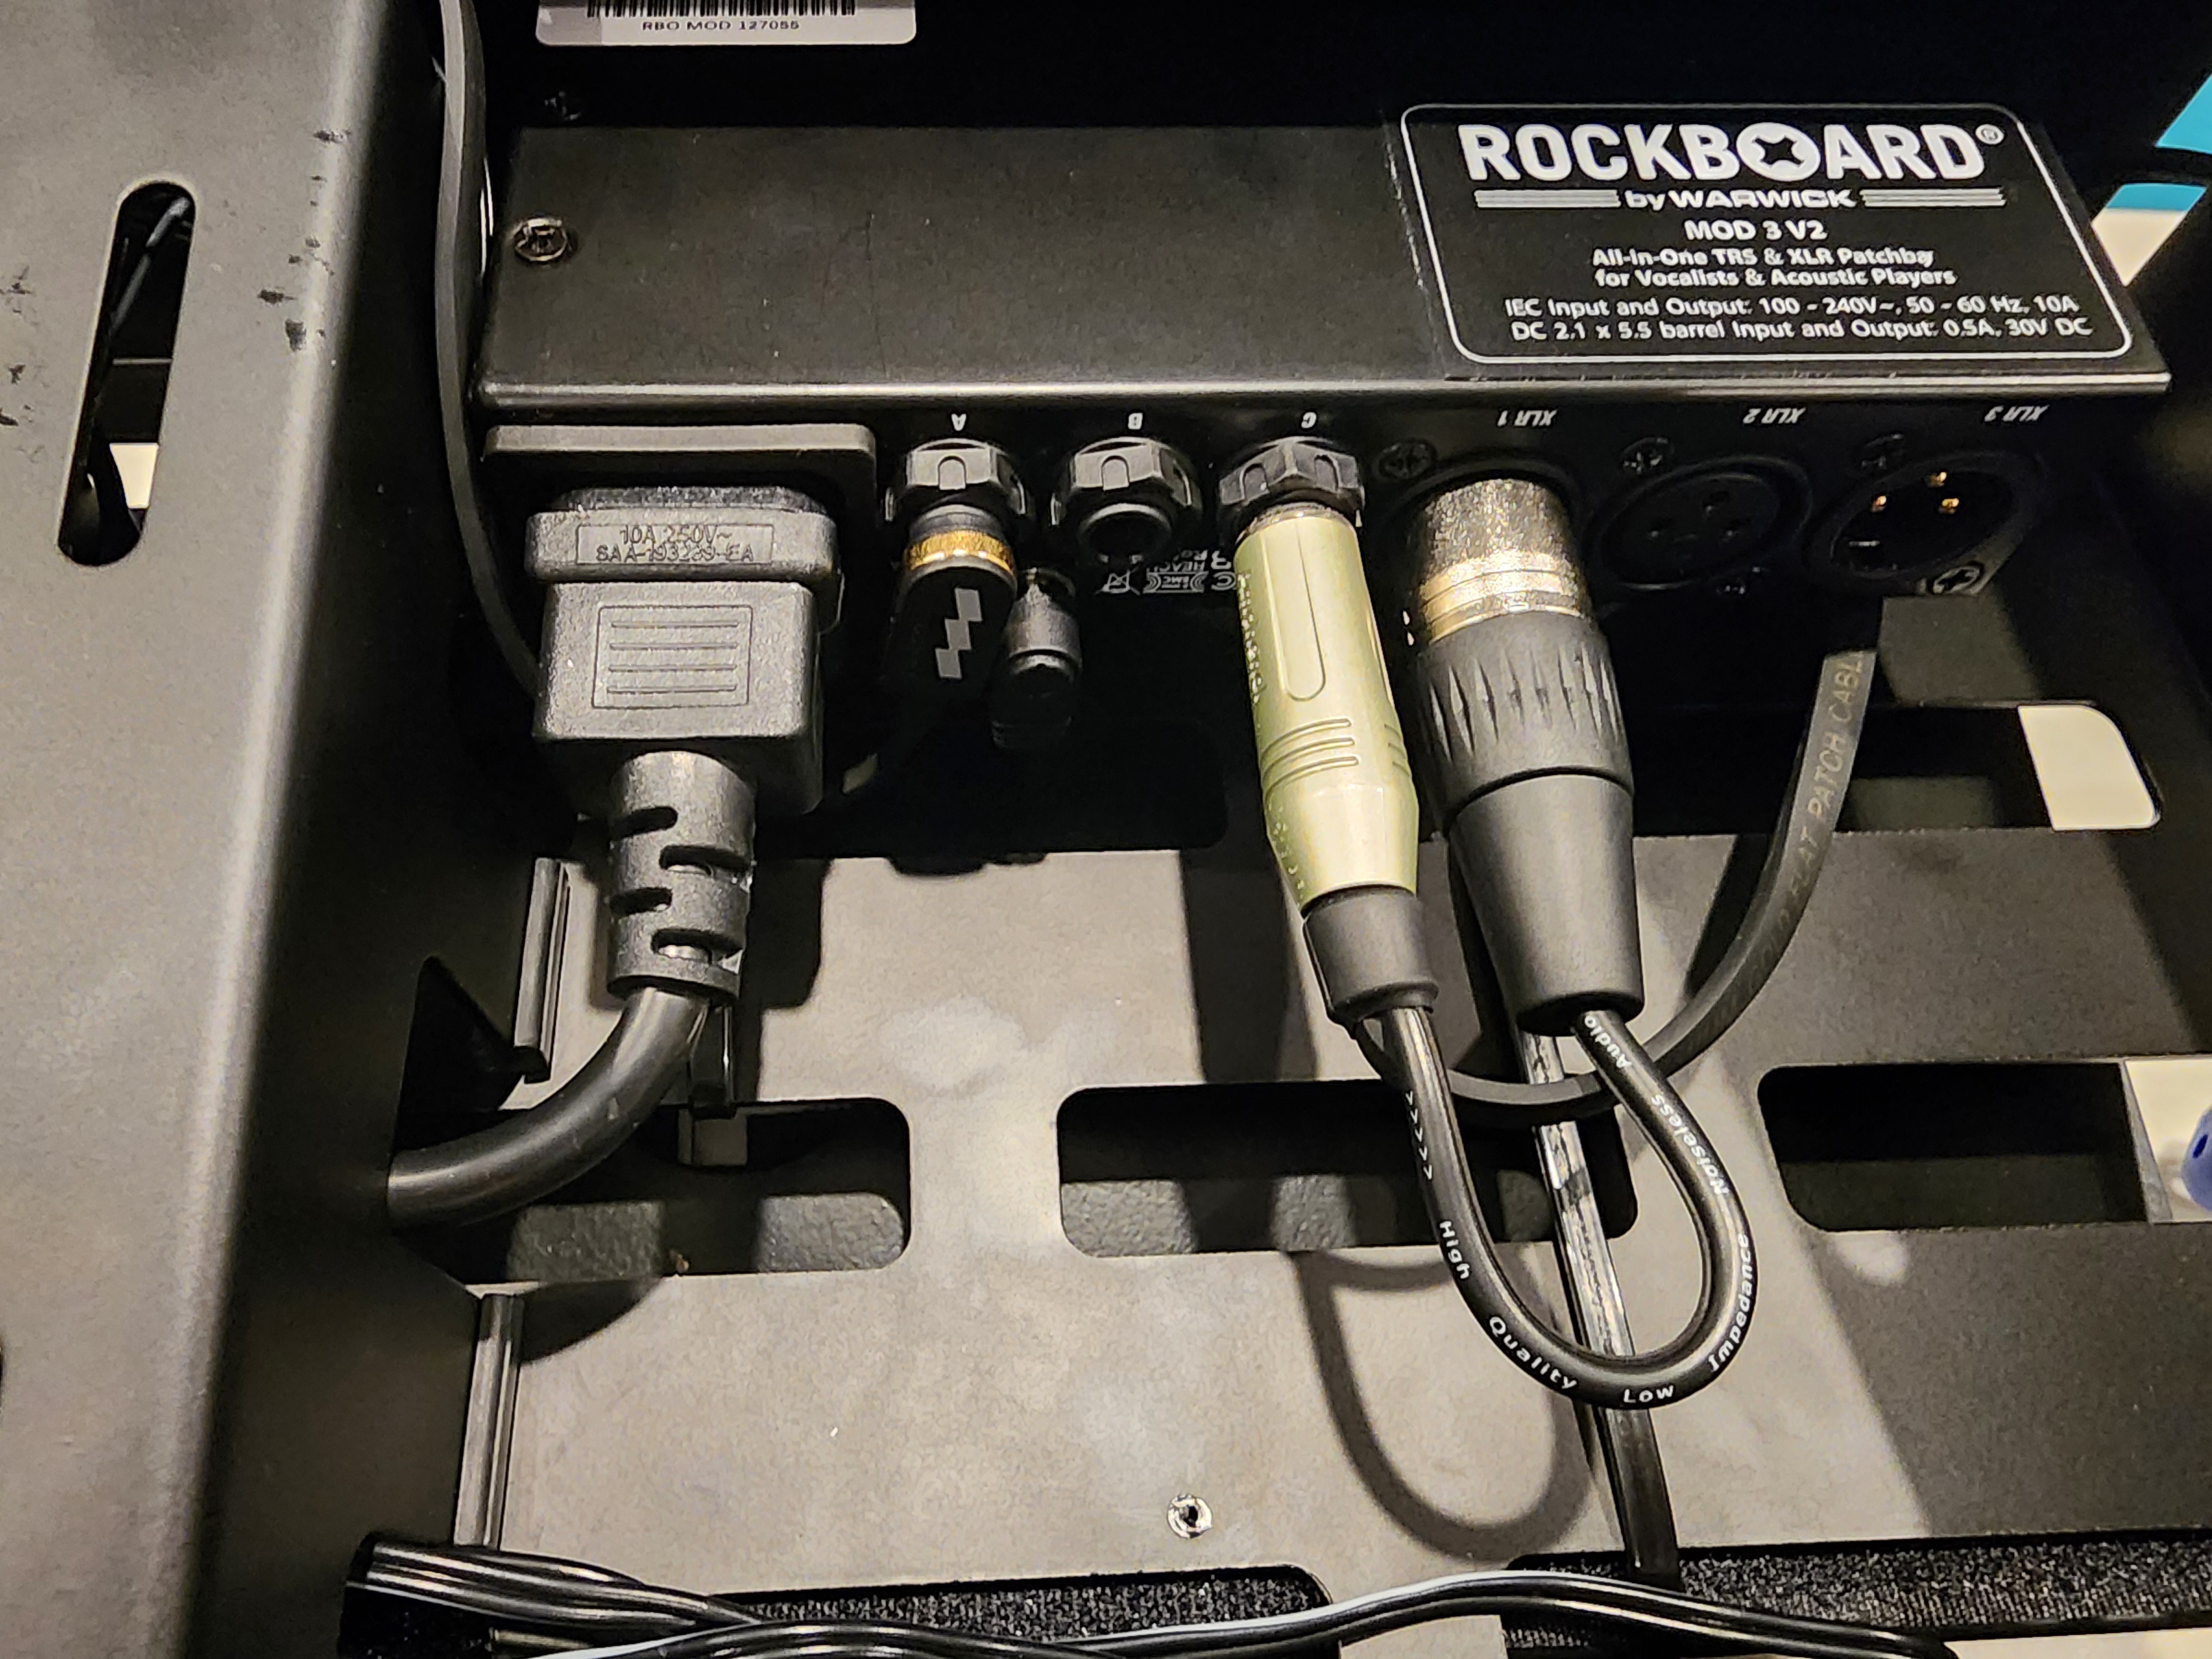
Went with a module 3 for this. I do on occasion use a vocal effect pedal, and figured one day down the road it might go on this board. The thing is, no xlr fits thru the slots on the rockboard! very annoying. Apparently Rockboard make a flat xlr that fits. I had hoped to use right angle xlr cables.
U6gbBkn.jpg

qgFuGuc.jpg

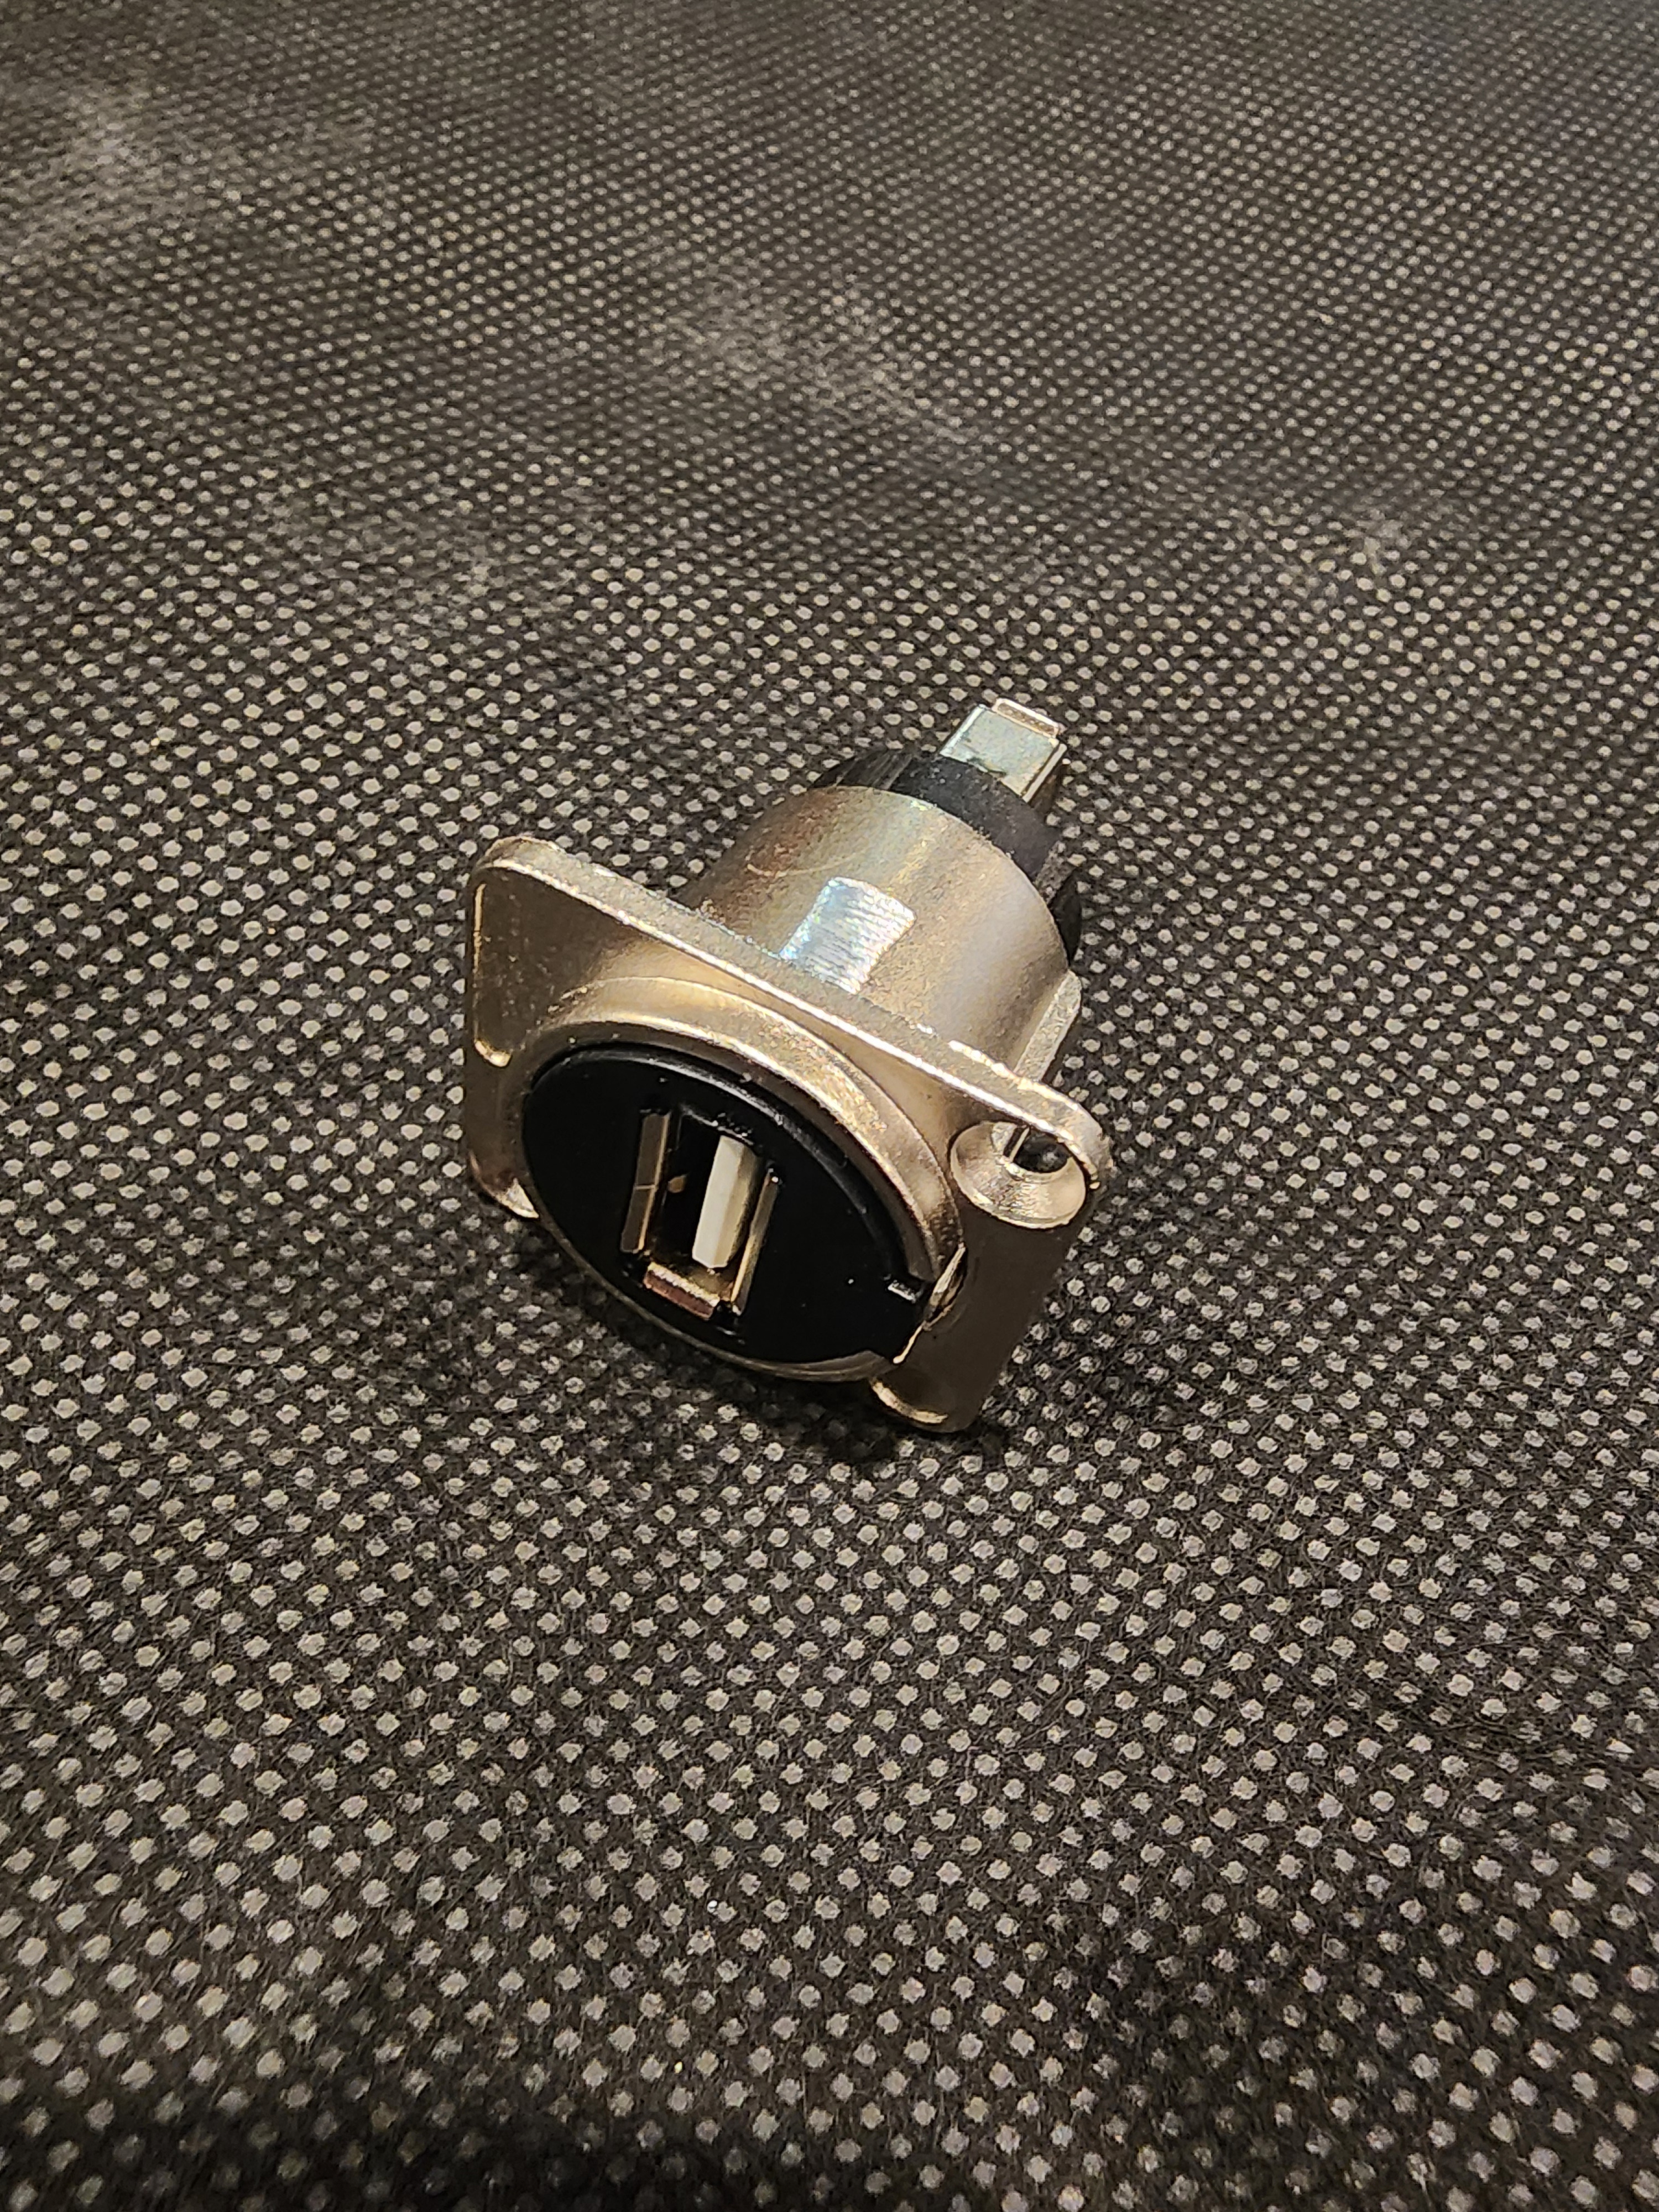
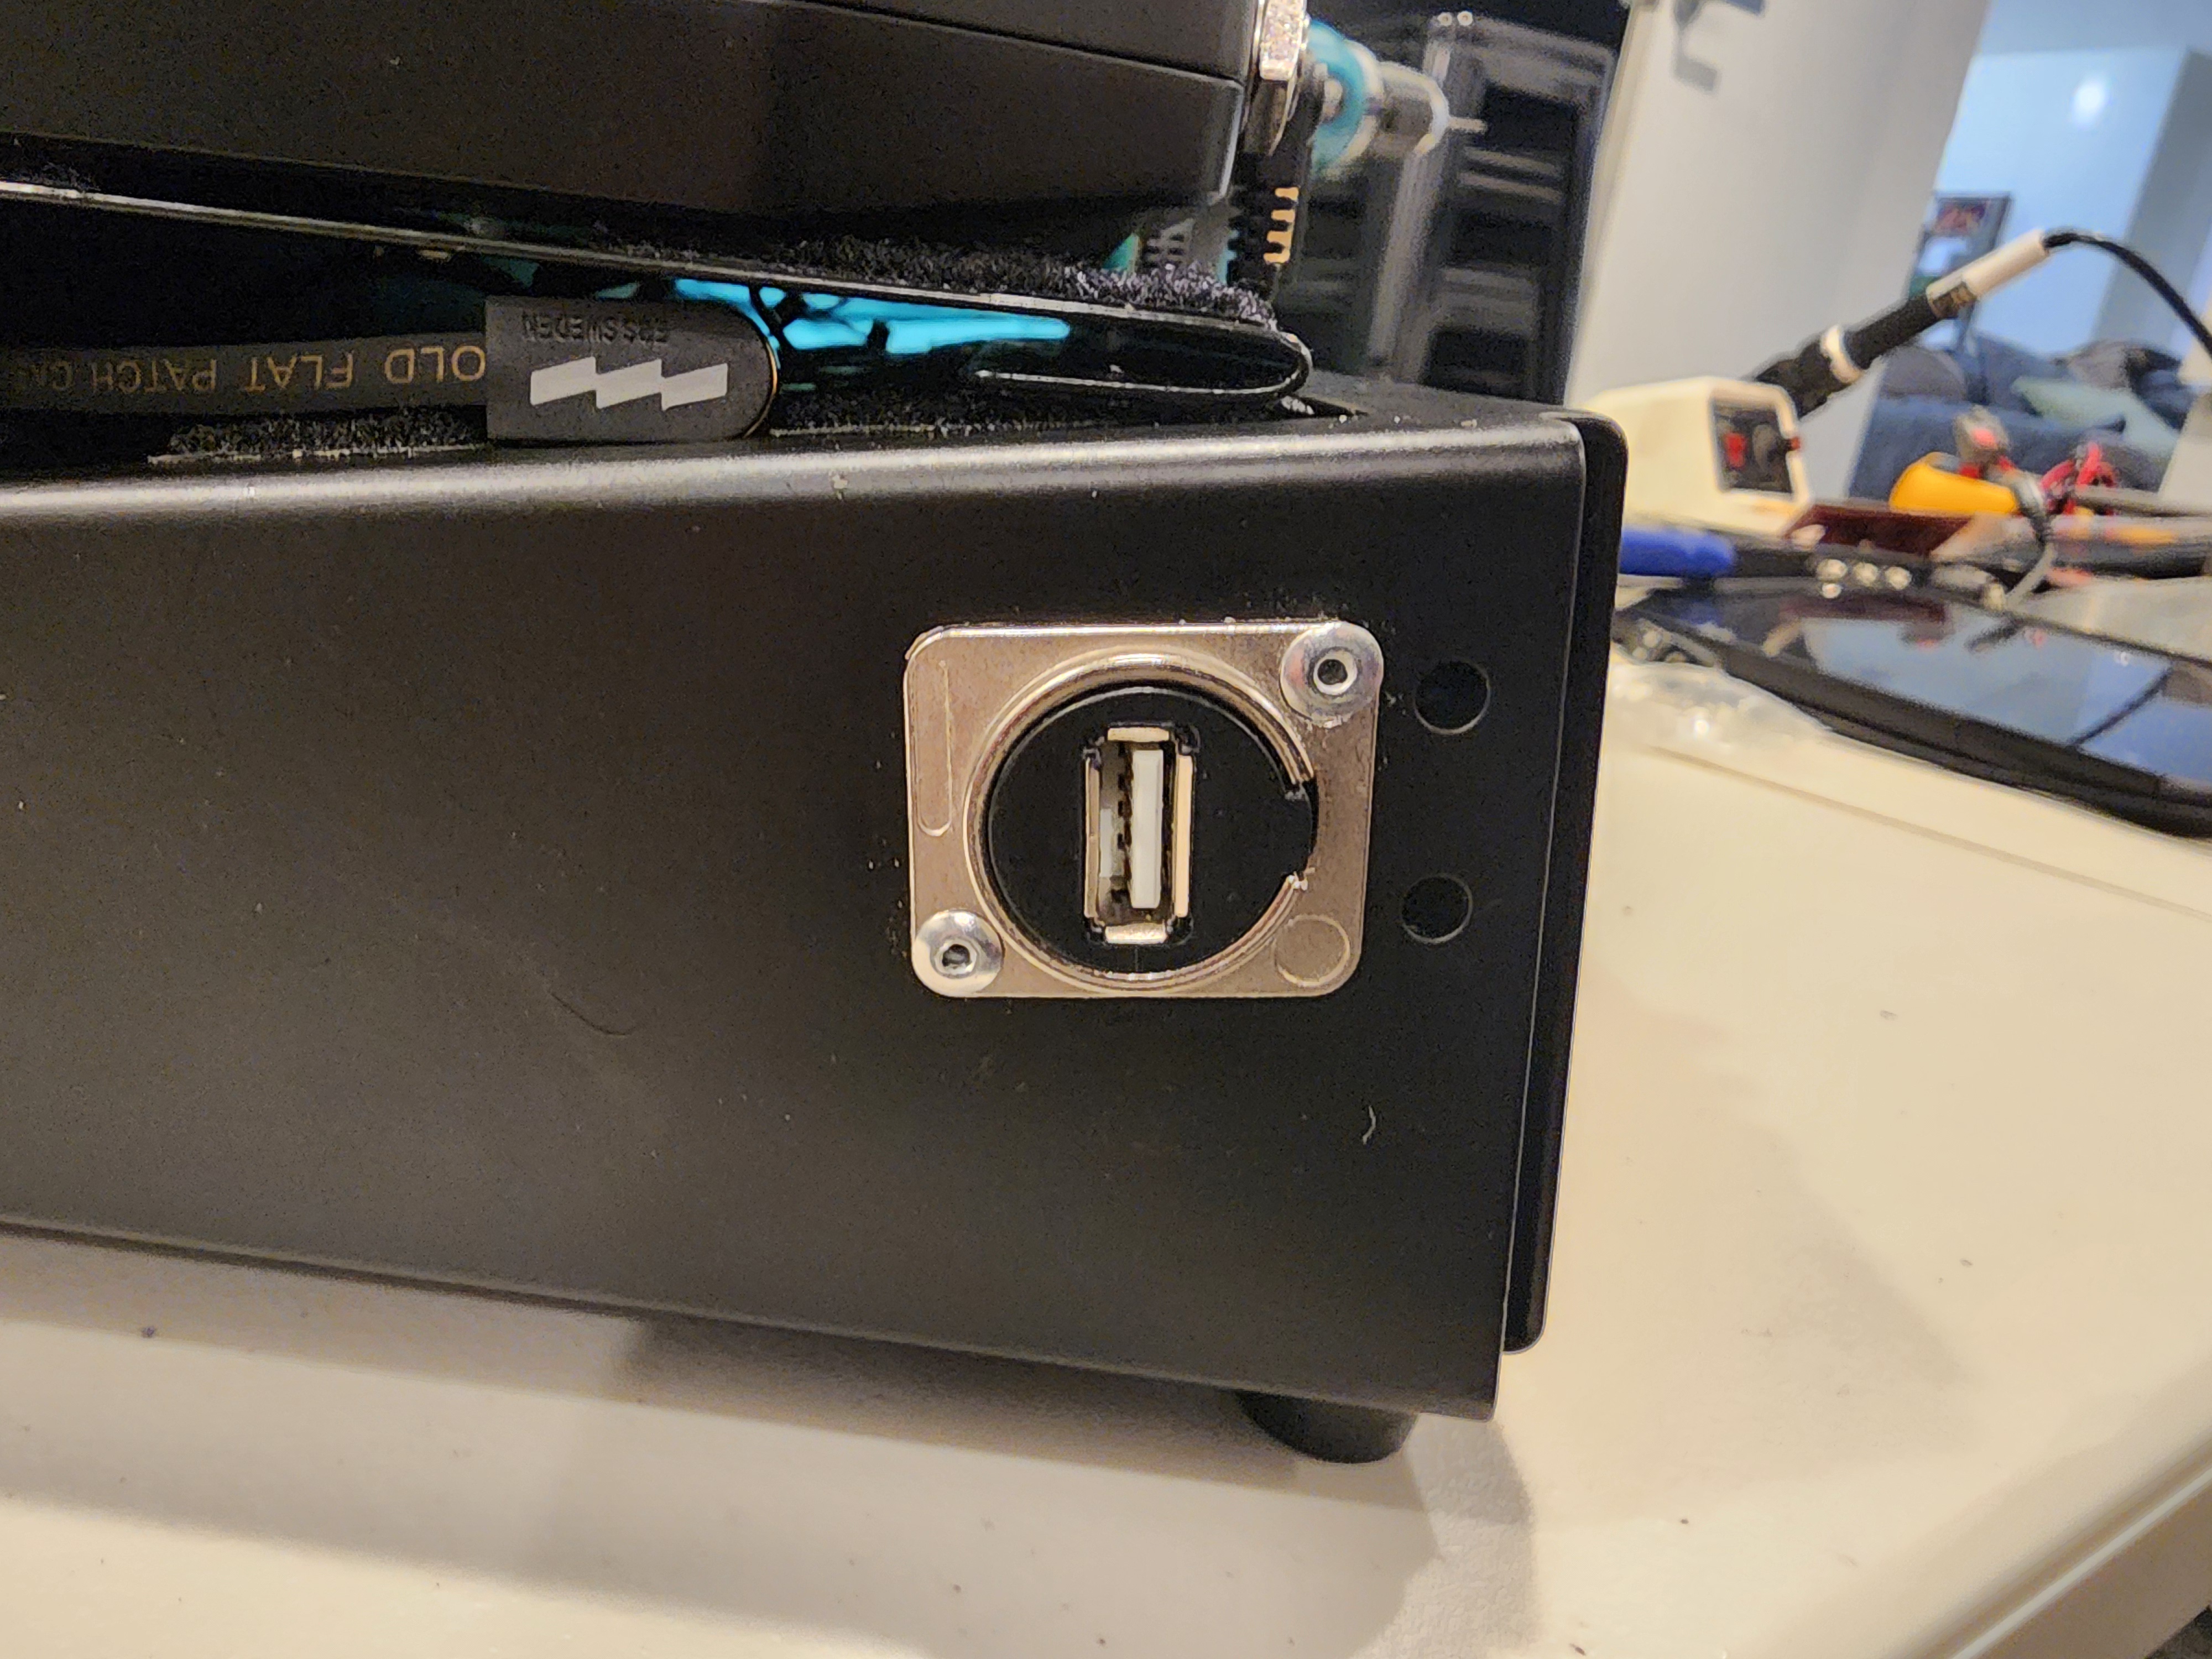
Ended up mounting a USB pass thru panel mount connector in the light hole to make charging my tablet at gigs easier, just had to file the ribs of the connector to get it to fit
nPHkqK5.jpg

5ptLOCa.jpg

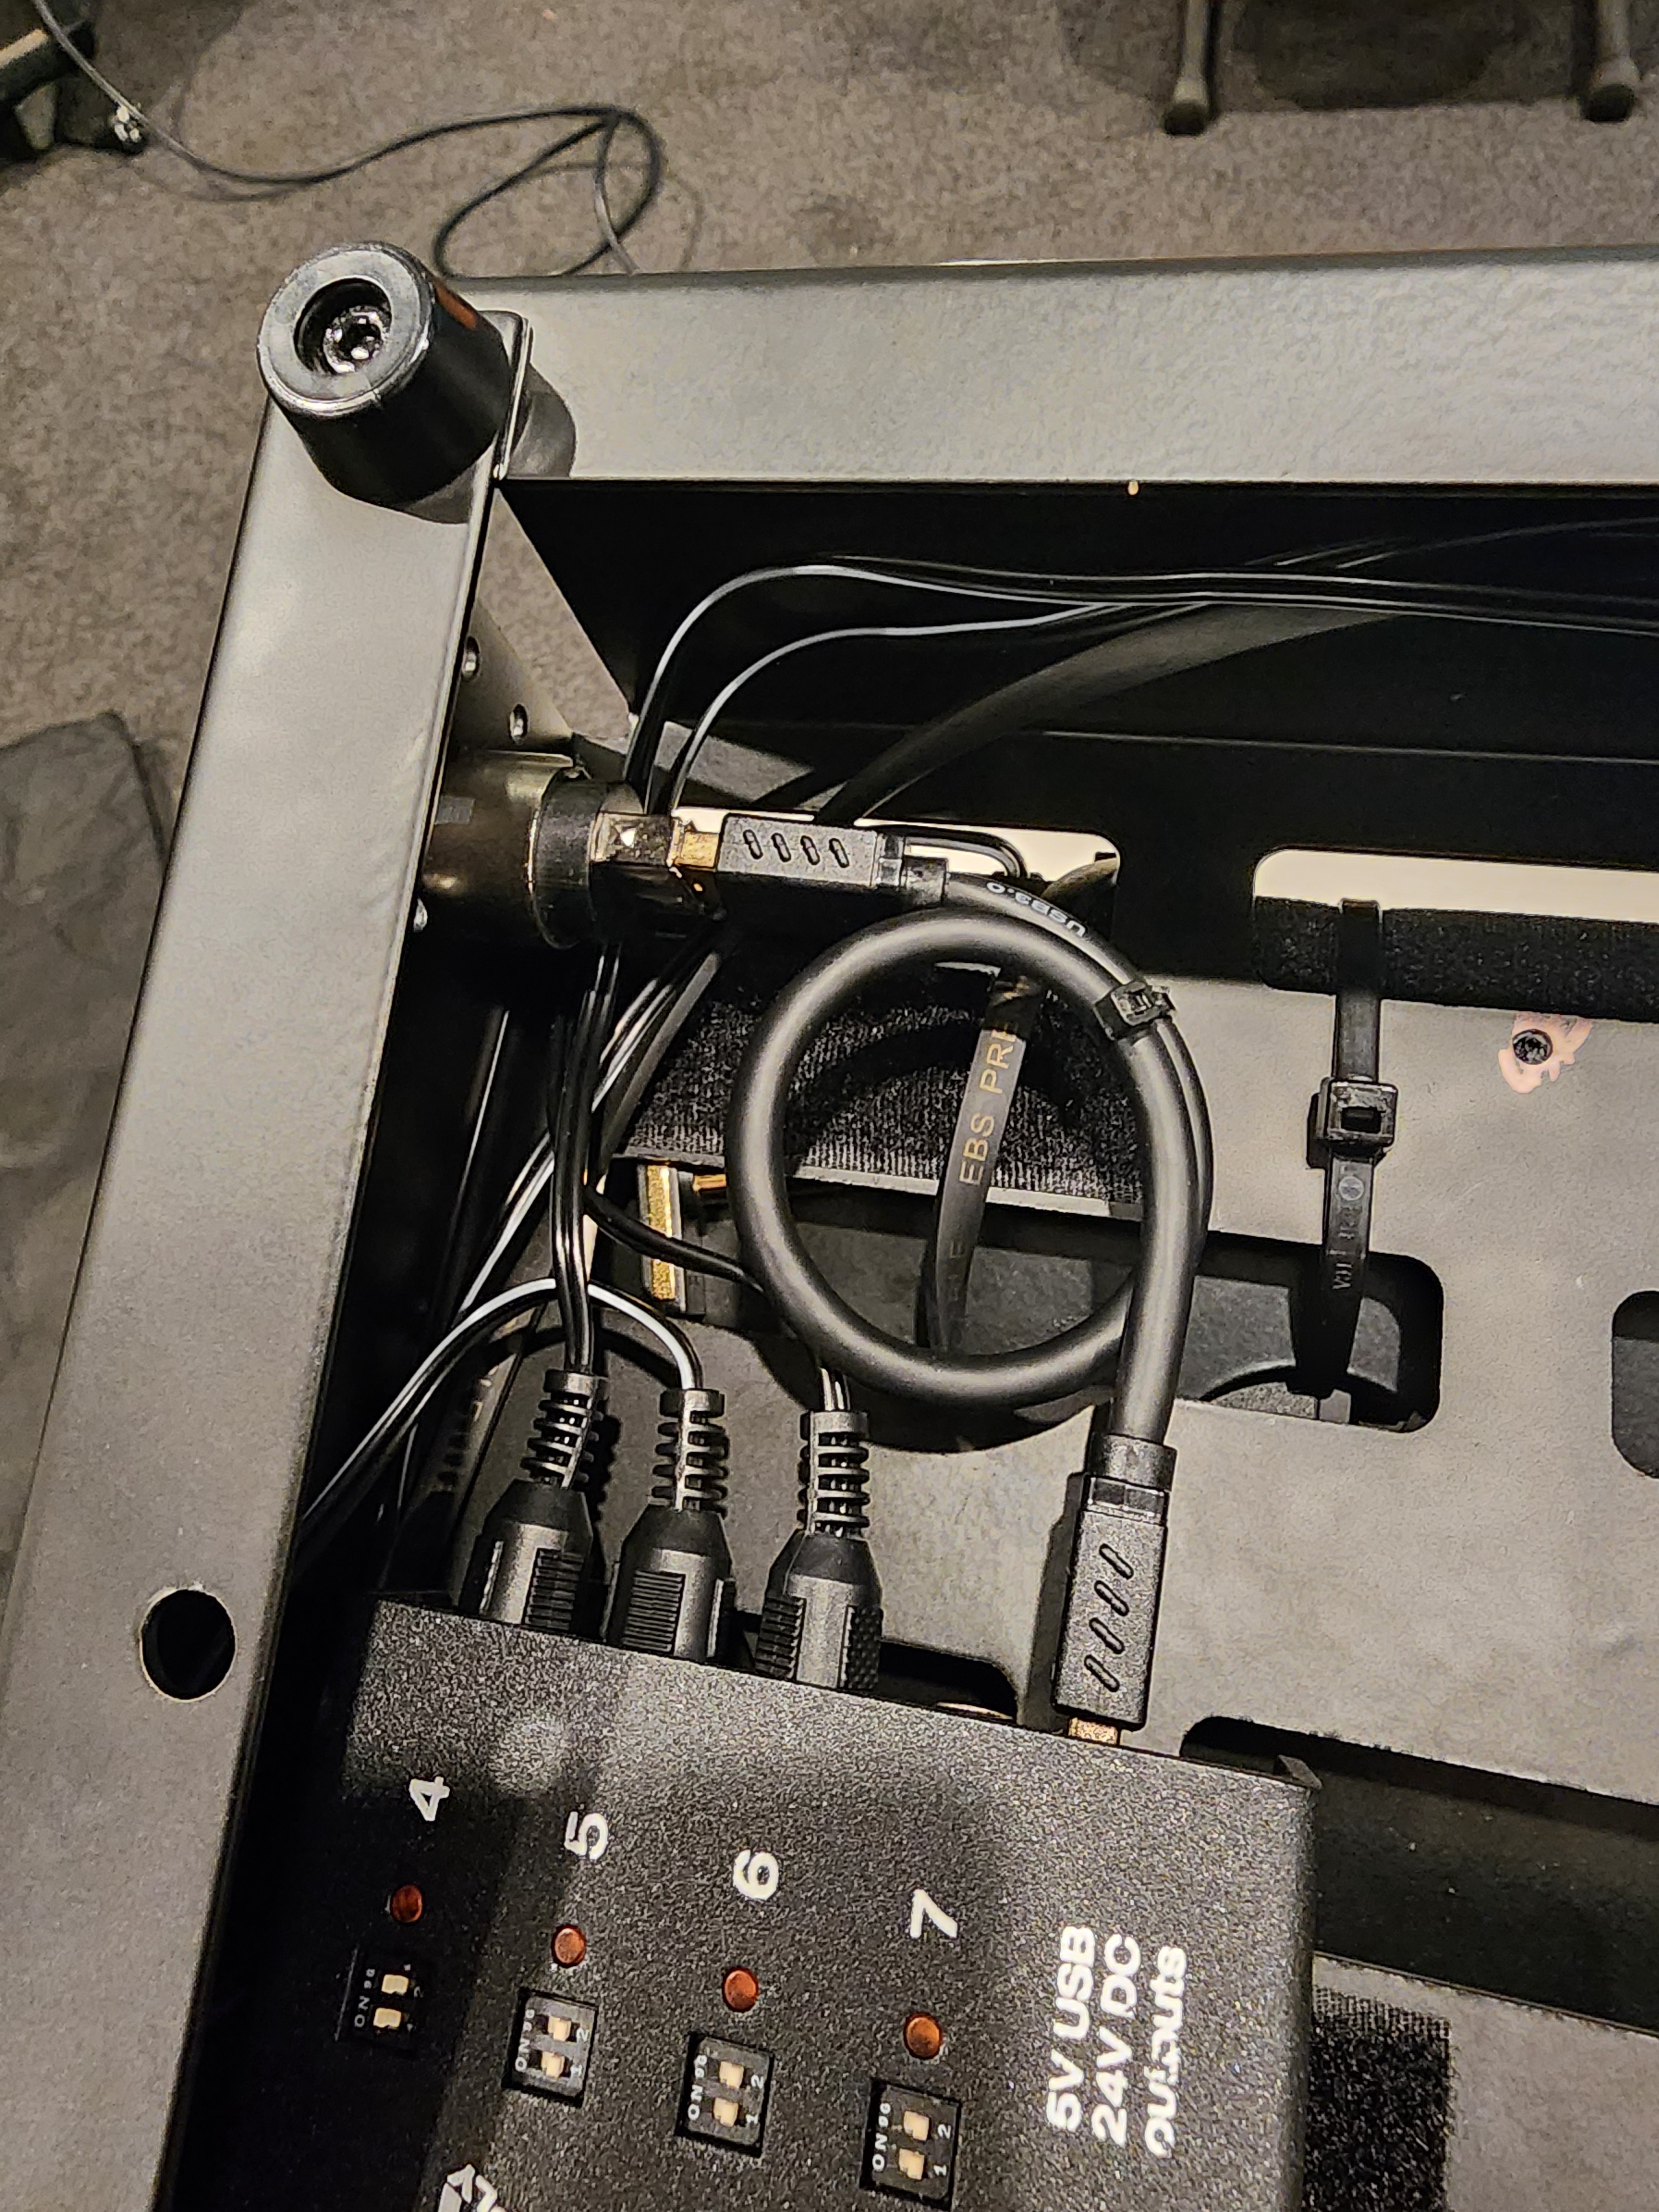
The extra cable under the riser is to use with a regular tuner pedal if/when I remove the GLXD16+. It is routed to the in on the module 3
XAwBqIg.jpg

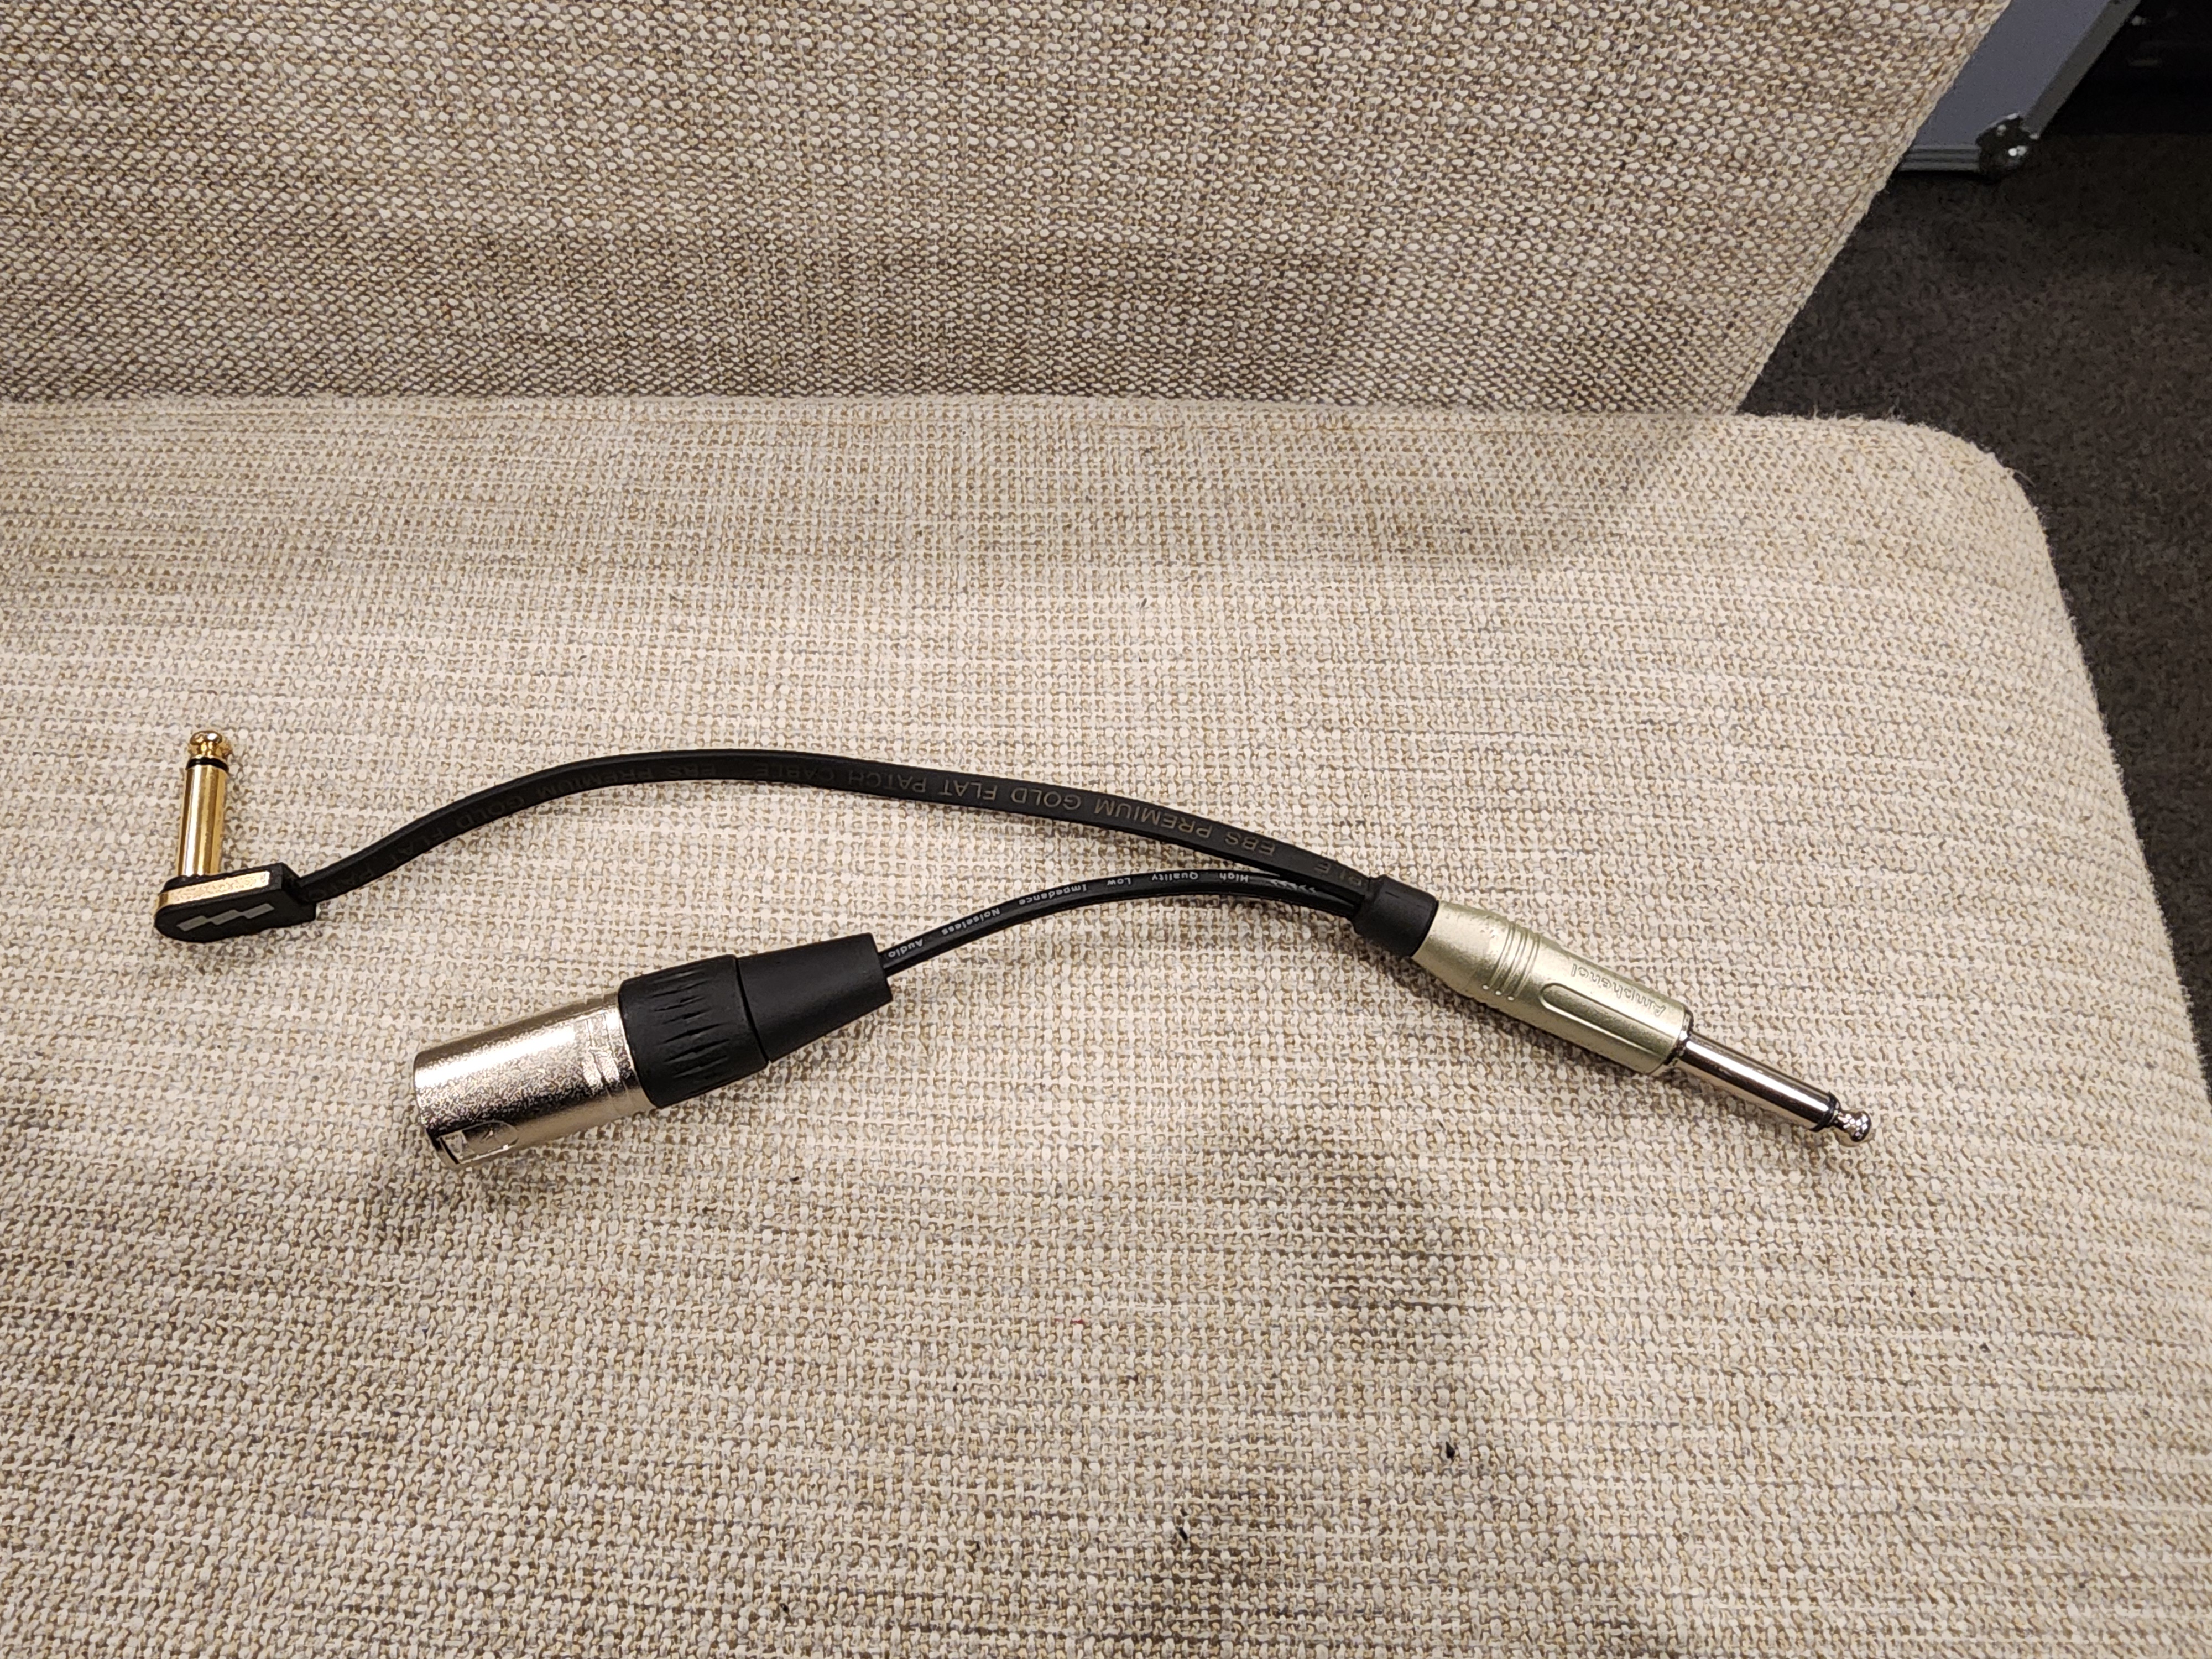
I sometimes run direct to a powered cab (Berg IP310) or a monitor wedge, so I made a Y cable. Cut the end off an EBS flat patch and ran it to a TS jack and an XLR to feed the module 3. No need to keep a special TS to xlr cable with me now. It will happily feed the monitor wedge and amp simultaneously with no noise, so that is an option also.
s4HvwwB.jpg

S9iMhHS.jpg

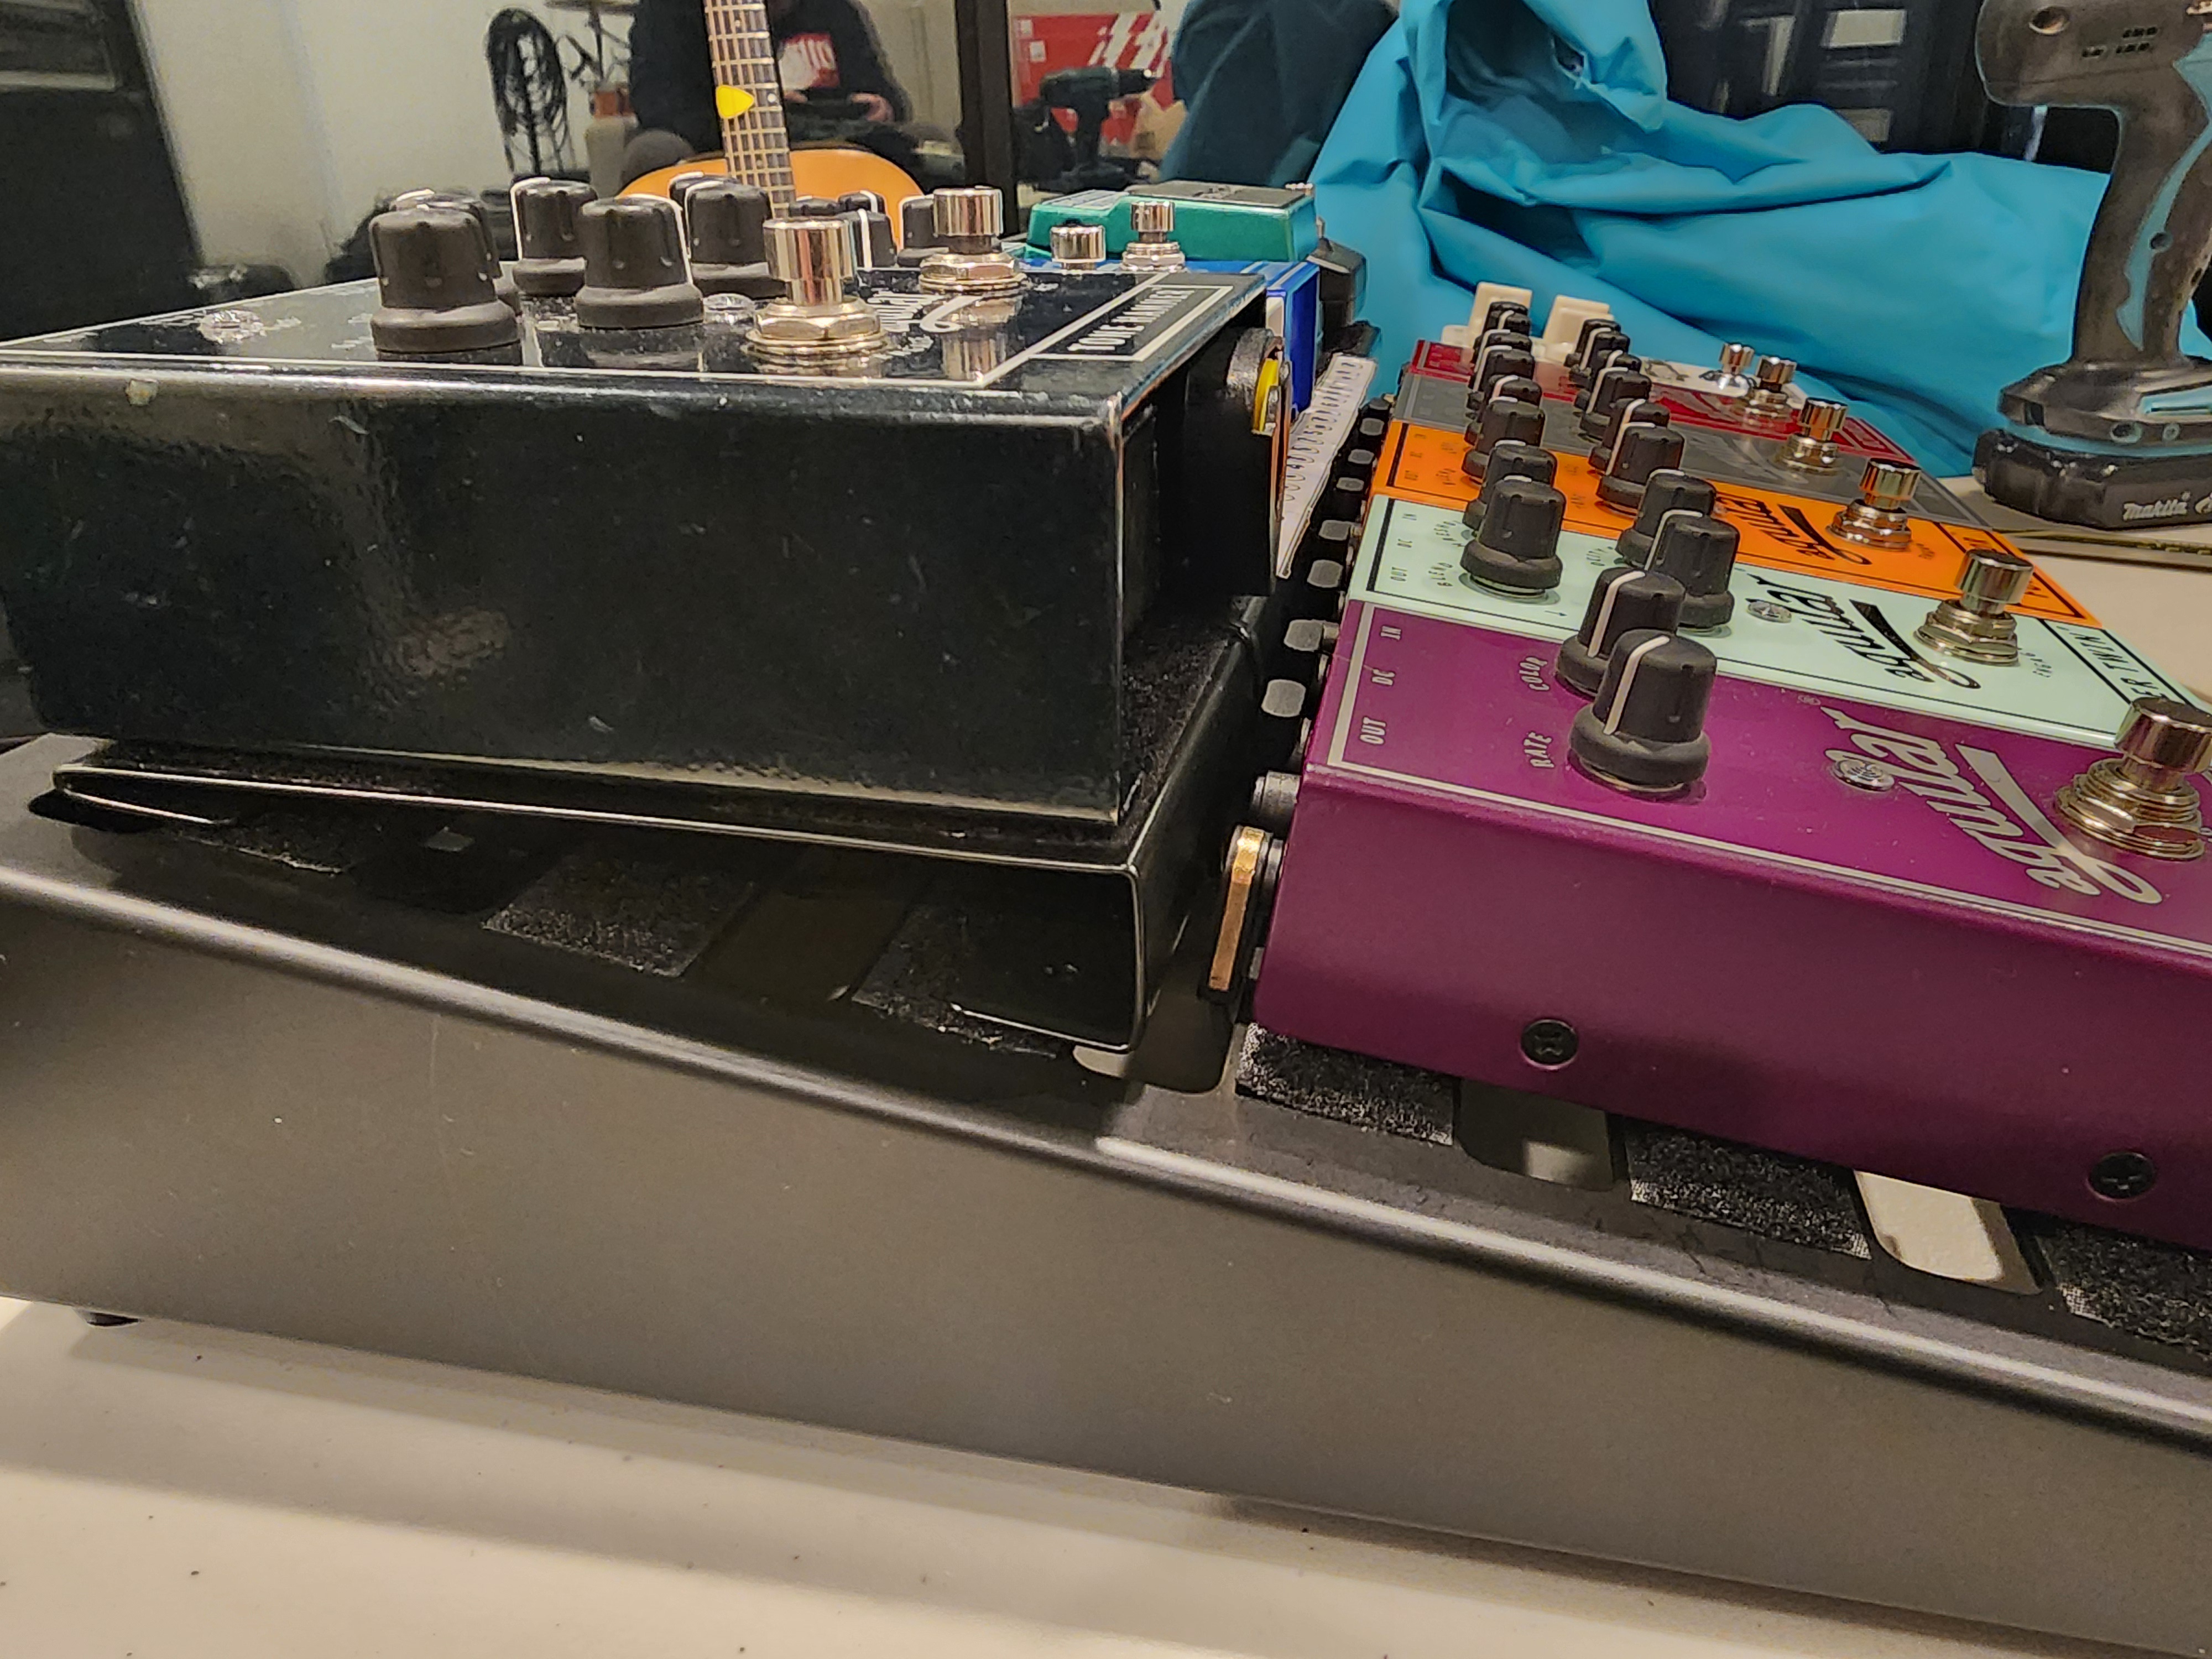
The step up risers are a great idea, but on the 4.1 the size is such that you can't get good purchase on the velcro on the board. They do supply screws but not a great solution if you have a failure at a gig, as you can't easily pull it apart. Ended up using velcro and cable ties to hold them down to the board.
1Mznq6X.jpg
 
Last edited:
As an Amazon Associate, TalkBass may receive commissions from qualifying purchases made via links on this site.
Migrated my board to a Rockboard Quad 4.1 after many years of making my own. Generally happy with the results. Some great features to the rockboards, but a couple of annoying issues also. Not the latest and greatest pedals by any means, but compact, reliable and all the basic effects I will ever need.


Went with a module 3 for this. I do on occasion use a vocal effect pedal, and figured one day down the road it might go on this board. The thing is, no xlr fits thru the slots on the rockboard! very annoying. Apparently Rockboard make a flat xlr that fits. I had hoped to use right angle xlr cables.


Ended up mounting a USB pass thru panel mount connector in the light hole to make charging my tablet at gigs easier, just had to file the ribs of the connector to get it to fit

The extra cable under the riser is to use with a regular tuner pedal if/when I remove the GLXD16+. It is routed to the in on the module 3

I sometimes run direct to a powered cab (Berg IP310) or a monitor wedge, so I made a Y cable. Cut the end off an EBS flat patch and ran it to a TS jack and an XLR to feed the module 3. No need to keep a special TS to xlr cable with me now. It will happily feed the monitor wedge and amp simultaneously with no noise, so that is an option also.


The step up risers are a great idea, but on the 4.1 the size is such that you can't get good purchase on the velcro on the board. They do supply screws but not a great solution if you have a failure at a gig, as you can't easily pull it apart. Ended up using velcro and cable ties to hold them down to the board.

Very nice board. My compliments. :thumbsup:

One small advice: to make it 100% reliable i would change 2 small things:

The AC-power connectors have a really small bend, that brings a lot of tension/pulling force on the cable. It may cause the cables and/or the ac-connectors inside the cloks/output block to become lose.

I would:
* Move the cloks up, until the blue line. (if its possible)
* Put the cable to the output a little more straight as drawn in blue.
upload_2024-6-19_18-38-4.png
 
View attachment 5309551 View attachment 5309552

My first ever pedalboard submission on Talkbass is actually my two smallest and most straightforward boards, hooked up in series on a flat board that I've just finished making. I hope this qualifies as tidy. :)

Above all this year, I intend to improve my fretless playing. Finally.
The nano+ is my "essentials plus some modulation for colour" grab-and-go board, powered by a Voodoo Lab Pedal Power X4. On the nano board, the DITTO looper and the EHX Freeze come in very handy for fretless practice, especially the Freeze for holding a reference note. Reverb and delay make the journey more pleasurable, right? :D The home-made ring/tip momentary switcher expands the DD-8's capabilities. The nano's also got a PPX4 under it.

There are simpler (better?) ways to create a practice/looping set-up in 2024, but I wanted to do this without buying any new devices. Everything apart from the wood and metal for the flat board has been with me for a number of years and it all sounds beautiful directly into a headphone amp.

Why mount two boards on yet another board? Convenience. And tidiness. ;)
I don't currently have a space where I can leave all this permanently connected. The PPX4 supplies are small and produce surprisingly -- to me, at least -- clean power for such lightweight compact units, but their AC adaptors (also attached under the nano and nano+) take a two-pole 'figure-eight' C7 connector, which I find a PITA to plug in and then remove from the underside of the pedalboards afterwards each time.
View attachment 5309575
I don't like packing the nano/nano+ away with the power cables attached. Therefore I've Dual Locked the two Pedaltrain boards onto the flat board and then connected the two PPX4s to a robust multi-socket adapter (itself attached by magnets). For the flat board I used 12 mm (~1/2") phenolic resin-coated marine ply that didn't really add that much weight.

Now I can set up for a session in seconds and clear away the flat board afterwards just as quickly. If I need to break either Pedaltrain board off for something else, the Dual Lock means I can do that just as quickly and put everything back again after with a snap.

The only remaining question is what I should do with the empty space in the lower right. I don't *need* anything else (I don't need more gear, I don't need more gear), and I wasn't going to spend any more on this... but I was wondering whether a mini expression pedal (DOD? Other?) plugged into the RV-6 might be worth it. Or I've got some other modulation pedals that sometimes replace the WaterFall, which have expression sockets...
Yay? Nay? Too much distraction from practice? Any other suggestions for the space? Thanks. :thumbsup:
Beautiful, stunning. Very smooth looking!

I was seriously thinking: Where are the wires?? Almost don't see them. :D
 
  • Like
Reactions: Redshift Crilly