
What the added route would be:
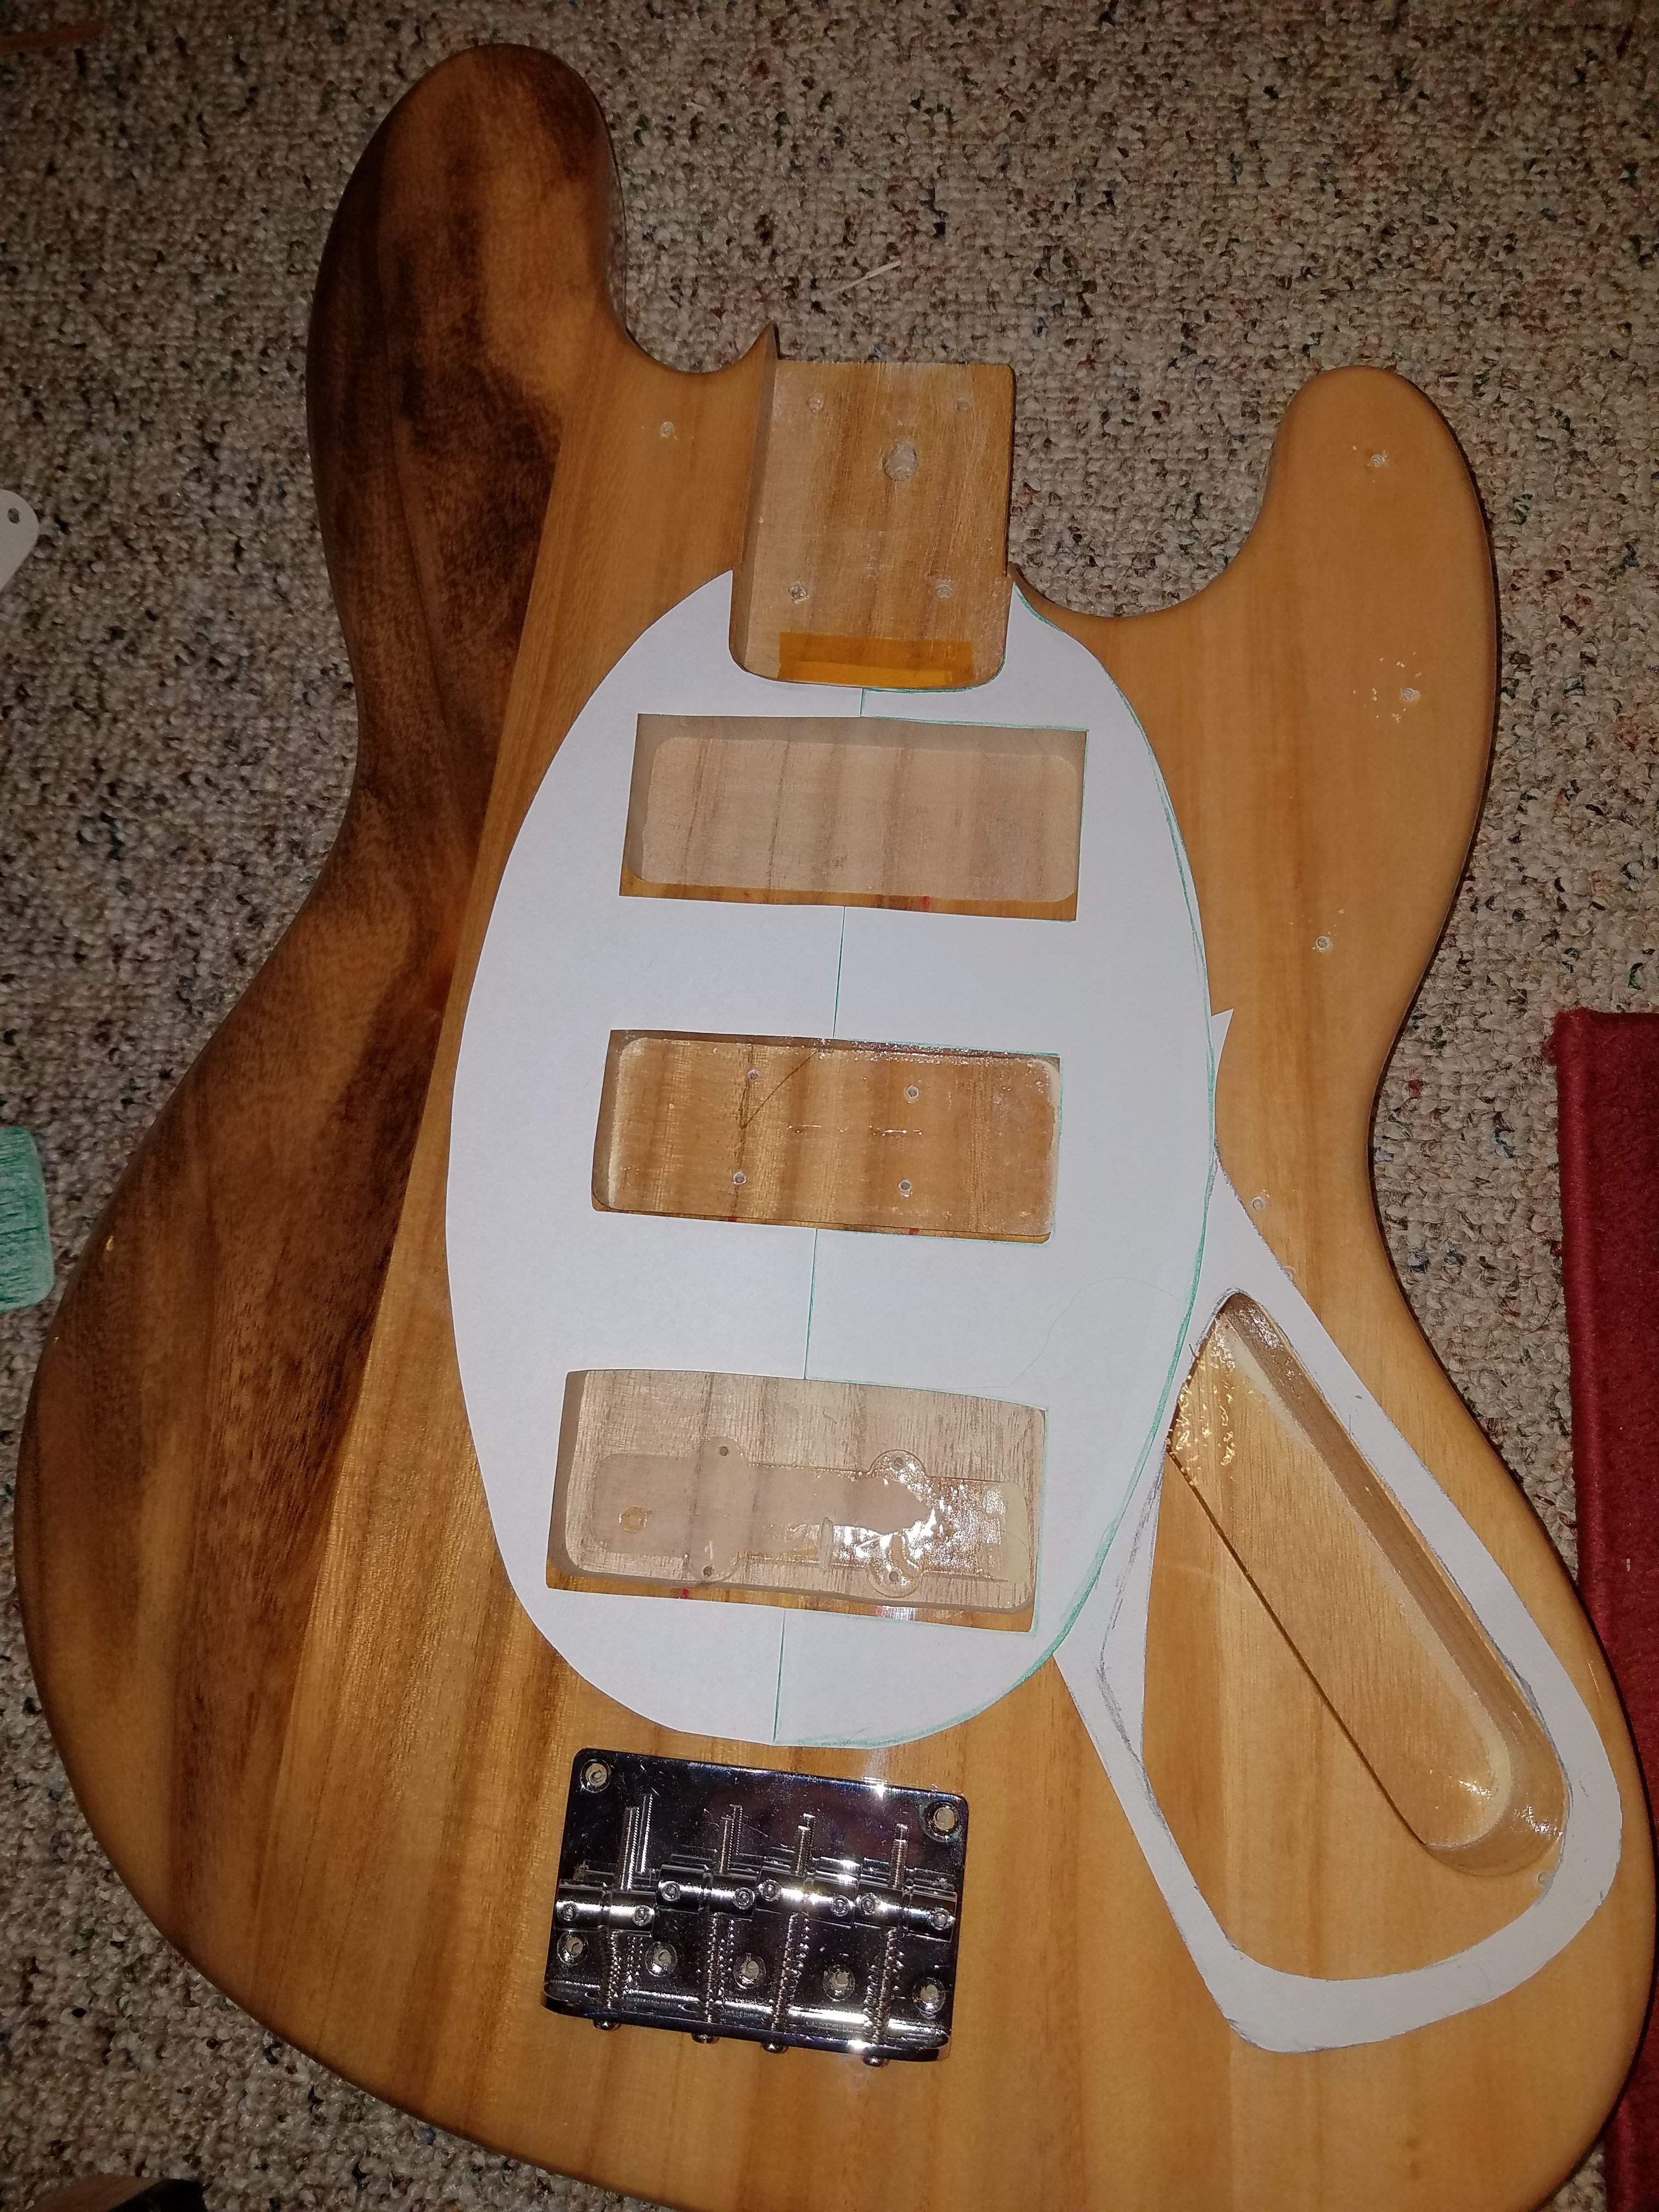
I think I addressed the area near the roundover, Beej.
I think I addressed the area near the roundover, Beej.
Last edited:

TalkBass has been independent since 1998. Add your voice.
Create a free account to reply to discussions, view embedded media, and browse with fewer display ads.
Join free Log in
Want zero display ads or expanded classifieds tools? Compare plans.

Looking good. Your “test with paper” approach is wise.
Don’t forget, you’re going to have a lot of wires in that cavity too. Leave plenty of room for them!

If I may- instead of a huge hole and requisite guard to hold and cover it all, consider back routing instead. You could use a modified Jazz plate for the knobs and put the switches in the wood. I think it would look a hell of a lot better. Football plate for the jack.Trying to decide if this would be enough for 4 knobs, 3 switches and the jack...
View attachment 4029579
The control section will be a separate piece, so you see I lose a little bit at the top...
Hmmmm gotta think about this...

GeniusIf I may- instead of a huge hole and requisite guard to hold and cover it all, consider back routing instead. You could use a modified Jazz plate for the knobs and put the switches in the wood. I think it would look a hell of a lot better. Football plate for the jack.

If I may- instead of a huge hole and requisite guard to hold and cover it all, consider back routing instead. You could use a modified Jazz plate for the knobs and put the switches in the wood. I think it would look a hell of a lot better. Football plate for the jack.
Sure but this way you don't REALLY need a pickguard at all. Paint the pickup cavities with black conductive paint and nobody but you will see the gaps. I'm a little surprised you didn't route for the ears but it is what it is. Or make one anyway with a little corner cut to clear the plate...I had thought about this, but not in a while, I went and checked and it *could" work... But I just make another change that would kinda fubar this if I can't figure something out.
I have 3-way on-on-on switches and everything I've read was pointing at using on-off-on for North/Series/South switching... soooooooooooooooooooooooo I bought some SLIDE switches to keep the profiles down. I literally ordered them last hour! Its not a big financial deal, 5x for $8, but they don't do as well for back routes as they don't have a shaft like the throw switch.
https://www.amazon.com/uxcell-Position-Panel-Slide-Switch/dp/B008DFYNX4/ref=sr_1_1?dchild=1&keywords=uxcell+5+Pcs+On/Off/On+3+Position+DPDT+2P3T+PCB+Panel+Slide+Switch+6A/125V+3A/250V+AC&qid=1603675122&s=industrial&sr=1-1
So if someone can point me at a diagram for North/Series/South with on-on-on, I would definitely consider this suggestion! The Pickguard would be a little different though...
View attachment 4030768
Sure but this way you don't REALLY need a pickguard at all. Paint the pickup cavities with black conductive paint and nobody but you will see the gaps. I'm a little surprised you didn't route for the ears but it is what it is. Or make one anyway with a little corner cut to clear the plate...
Gotcha, I thought you'd just made rectangles and were leaving it at that.I have not routed for ears, yet. I basically replicated the J Neck pup route over the old bridge single coil route and made a new route for the "Neck-ier" neck route. I need to go back when the whether permits and add the ear-divots. Remember, while I could have made the Bridge and (new) neck routes perfectly contoured, the (old/original) neck route is what it is... so I just make them all the same...
Gotcha, I thought you'd just made rectangles and were leaving it at that.
That's called a wire passage, not a mistake. You need to run wires between them anyway...I'm concerned I'll go in to the back side of the top route if I'm not careful...

What are those switches resting on? Is that another epoxy project?Welp I found 10x 3 way on/off/on switches for $5 on Amazon and they ended getting here faster than the sliding switches... now I have to decide if I'll back route for these or stick to the top route plan...
The thing about backrouting is that I'm concerned I'll go in to the back side of the top route if I'm not careful...
At least these are even skinnier that the red dpdt switches I was going to use:
View attachment 4032406
That's called a wire passage, not a mistake. You need to run wires between them anyway...
lol no, dining rom table set up for Halloween.What are those switches resting on? Is that another epoxy project?
...but you can make another...if you need to...I really brain farted on the amount to pour so I won't have the redundancy I had hoped for...
...but you can make another...if you need to...


