• TalkBass has been independent since 1998. Add your voice.
    Create a free account to reply to discussions, view embedded media, and browse with fewer display ads.
    Join freeLog in
    Want zero display ads or expanded classifieds tools? Compare plans.

What's On Your Workbench?

Nice work on the guitar, Rock! I’ve been using .060” thick hobby store aluminum sheet stock to line the “roof” of the cavities on my wood top basses, seems to work really well. I epoxy them in and cover with copper foil so I can solder to them if necessary, seems to work well as shielding too. Consorting with Rock Stars now, are you? By all accounts the Dude in question is a nice guy, did you get to meet him?
Thanks brother.
Yup... them cavities are scary.
But that's how they been doing em since the 70s....so...??
Neal's electronics looms ARE installed on brass sheet cut the same size as the cavity.
It's not exceptionally thick though.
Shucks... IDK :whistle:...
I don't even worry about what's going on in that cavity :nailbiting: :woot:

Haven't met Slash yet. Seems like a cool dude.
But I'm working on getting contact info for Jason Mamoa's (people) .
HBO max renewed his show "On The Roam" for a second season. If you've seen it, you know what I'm talking about. He's nuts for guitar builders and old motorcycles.
Dude went all fanboi over Carl Thompson at his shop... & Neal is twice the industry legend Carl is. o_O Just saying :D
 
Last edited:
Thanks brother.
Yup... them cavities are scary.
But that's how they been doing em since the 70s....so...??
Neal's electronics looms ARE installed on brass sheet cut the same size as the cavity.
It's not exceptionally thick though.
Shucks... IDK :whistle:...
I don't even worry about what's going on in that cavity :nailbiting: :woot:

Haven't met Slash yet. Seems like a cool dude.
But I'm working on getting contact info for Jason Mamoa's (people) .
HBO max renewed his show "On The Roam" for a second season. If you've seen it, you know what I'm talking about. He's nuts for guitar builders and old motorcycles.
Dude went all fanboi over Carl Thompson at his shop... & Neal is twice the industry legend Carl is. o_O Just saying :D
In all fairness, it’s hard not to go all fanboi in CT’s shop. Aside from the obvious historical significance of Carl and his basses, Carl is also just a super interesting guy to sit and talk with as well as being a really nice guy. He’s batsh*t crazy, too, but I consider that a feature, not a bug!
 
I received my reworked tapped P pu yesterday from Tom Brantley. I will hopefully install it soon. Among the repairs, he cleaned up the wiring upon my request. It was a cluster.
Removed wires pictured next to the PU.
View attachment 5421203
Re-installed the tapped pu back in my old friend.
All is right again in my trusted friend/bass.

Tom Brantley is a stand up guy, he charged off the repair to warranty. But I’m gonna pay him anyway. It was probably my fault in the PU failure, there was such a mess of wires there originally from Schecter. The mounting flexed the bottom of the PU and broke sumthin. There was not enough room for all the wires in the PU route.

And I installed some glow in the dark side markers that I got before I started buying the FretFX.
IMG_6696.jpeg
IMG_6697.jpeg


This bass was put together in 1982. It’s been been played a LOT!
The body has been modded and refinished a few times.
 
It was a busy week so I haven’t had time to post.

Last Sunday I used the splining jig to good effect:
IMG_6835.jpeg

IMG_6836.jpeg

Then I ripped some splines from a scrap piece of walnut:
IMG_6838.jpeg

IMG_6839.jpeg

Then I perched the table (a little precariously) in the chop saw to cut the slot for changing blades:
IMG_6842.jpeg

Above, the inlaid brass bar is keeping the two sides of the cut aligned, as planned.

Unplanned was the realization that the left blade guard isn’t going to clear the edge of the table (whoops!) but I have a plan to remedy that. Once that’s fixed I’ll inlay a throat plate, put some finish on the bare wood and then it’s time to reassemble the saw! I guess I’d better order some blades….
IMG_6841.jpeg
 
Another couple of hours in the shop yesterday. I cut the splines flush and rounded the corners off a bit with a sanding block. A wipe of denatured alcohol approximates the contrast I’ll get once some finish is applied:
IMG_6860.jpeg

The splines are completely gratuitous. The miters are, too, to be completely honest. It’s a work surface, for cryin’ out loud, but I think there’s merit in making something look nice just because you can. I had never splined miter joints before and this seemed like a good excuse to try an unfamiliar technique on a piece where it wouldn’t matter if I botched it. I’m pleased with it.

Next I had to address the little problem of the table being too wide to fit inside the blade guard. I definitely get the Rubber Ruler Award for that one!
Easily remedied with a 1 1/8” Forstner bit and a couple of connecting cuts with my little band saw:
IMG_6854.jpeg

IMG_6856.jpeg

To give credit where it’s due, my tiny little 3-wheel Craftsman bandsaw - the one this saw is destined to replace - has been very, very useful in this process. It’s still not a good quality tool but with careful treatment it can punch well above its weight.

The last thing I did was to cut a throat plate out of some aluminum C-channel that was floating around amidst some clutter in my shop. I laid out some mounting holes but I was tired and opted to call it a day.
IMG_6857.jpeg


I’ll drill the holes during my next session and inlay the plate into the table. I’ll also rout a slot for a miter gauge.

I’m starting to see glimpses of the finish line….
 

Attachments

  • IMG_6857.jpeg
    IMG_6857.jpeg
    1.3 MB · Views: 12
Another couple of hours in the shop yesterday. I cut the splines flush and rounded the corners off a bit with a sanding block. A wipe of denatured alcohol approximates the contrast I’ll get once some finish is applied:
View attachment 5426713
The splines are completely gratuitous. The miters are, too, to be completely honest. It’s a work surface, for cryin’ out loud, but I think there’s merit in making something look nice just because you can. I had never splined miter joints before and this seemed like a good excuse to try an unfamiliar technique on a piece where it wouldn’t matter if I botched it. I’m pleased with it.

Next I had to address the little problem of the table being too wide to fit inside the blade guard. I definitely get the Rubber Ruler Award for that one!
Easily remedied with a 1 1/8” Forstner bit and a couple of connecting cuts with my little band saw:
View attachment 5426716
View attachment 5426717
To give credit where it’s due, my tiny little 3-wheel Craftsman bandsaw - the one this saw is destined to replace - has been very, very useful in this process. It’s still not a good quality tool but with careful treatment it can punch well above its weight.

The last thing I did was to cut a throat plate out of some aluminum C-channel that was floating around amidst some clutter in my shop. I laid out some mounting holes but I was tired and opted to call it a day.
View attachment 5426738

I’ll drill the holes during my next session and inlay the plate into the table. I’ll also rout a slot for a miter gauge.

I’m starting to see glimpses of the finish line….


Nothing wrong with making a work surface fancy. It’s the sort of thing that, if I had made it, would probably make me happy anytime I cut something on that bandsaw.
 
Yeah only small projects these days. I replaced my pu in one of my basses. I reused the mini on/off/on switch…but it didn’t work really well. They are hard to reuse.
I decided to replace it. Got he bass back together. Discovered the switch broke from tightening the nut too much….:meh:
Replaced it again…

I need to order more spares. Jeez…
IMG_6714.jpeg
 
Yeah only small projects these days. I replaced my pu in one of my basses. I reused the mini on/off/on switch…but it didn’t work really well. They are hard to reuse.
I decided to replace it. Got he bass back together. Discovered the switch broke from tightening the nut too much….:meh:
Replaced it again…

I need to order more spares. Jeez…
View attachment 5427196
So you had to switch switches.
 
Yeah only small projects these days. I replaced my pu in one of my basses. I reused the mini on/off/on switch…but it didn’t work really well. They are hard to reuse.
I decided to replace it. Got he bass back together. Discovered the switch broke from tightening the nut too much….:meh:
Replaced it again…

I need to order more spares. Jeez…
View attachment 5427196


Oh man, I wish I like say that’s never happened to me. All I got is it hasn’t happened recently. :rolleyes::D
 
  • Like
Reactions: StereoPlayer
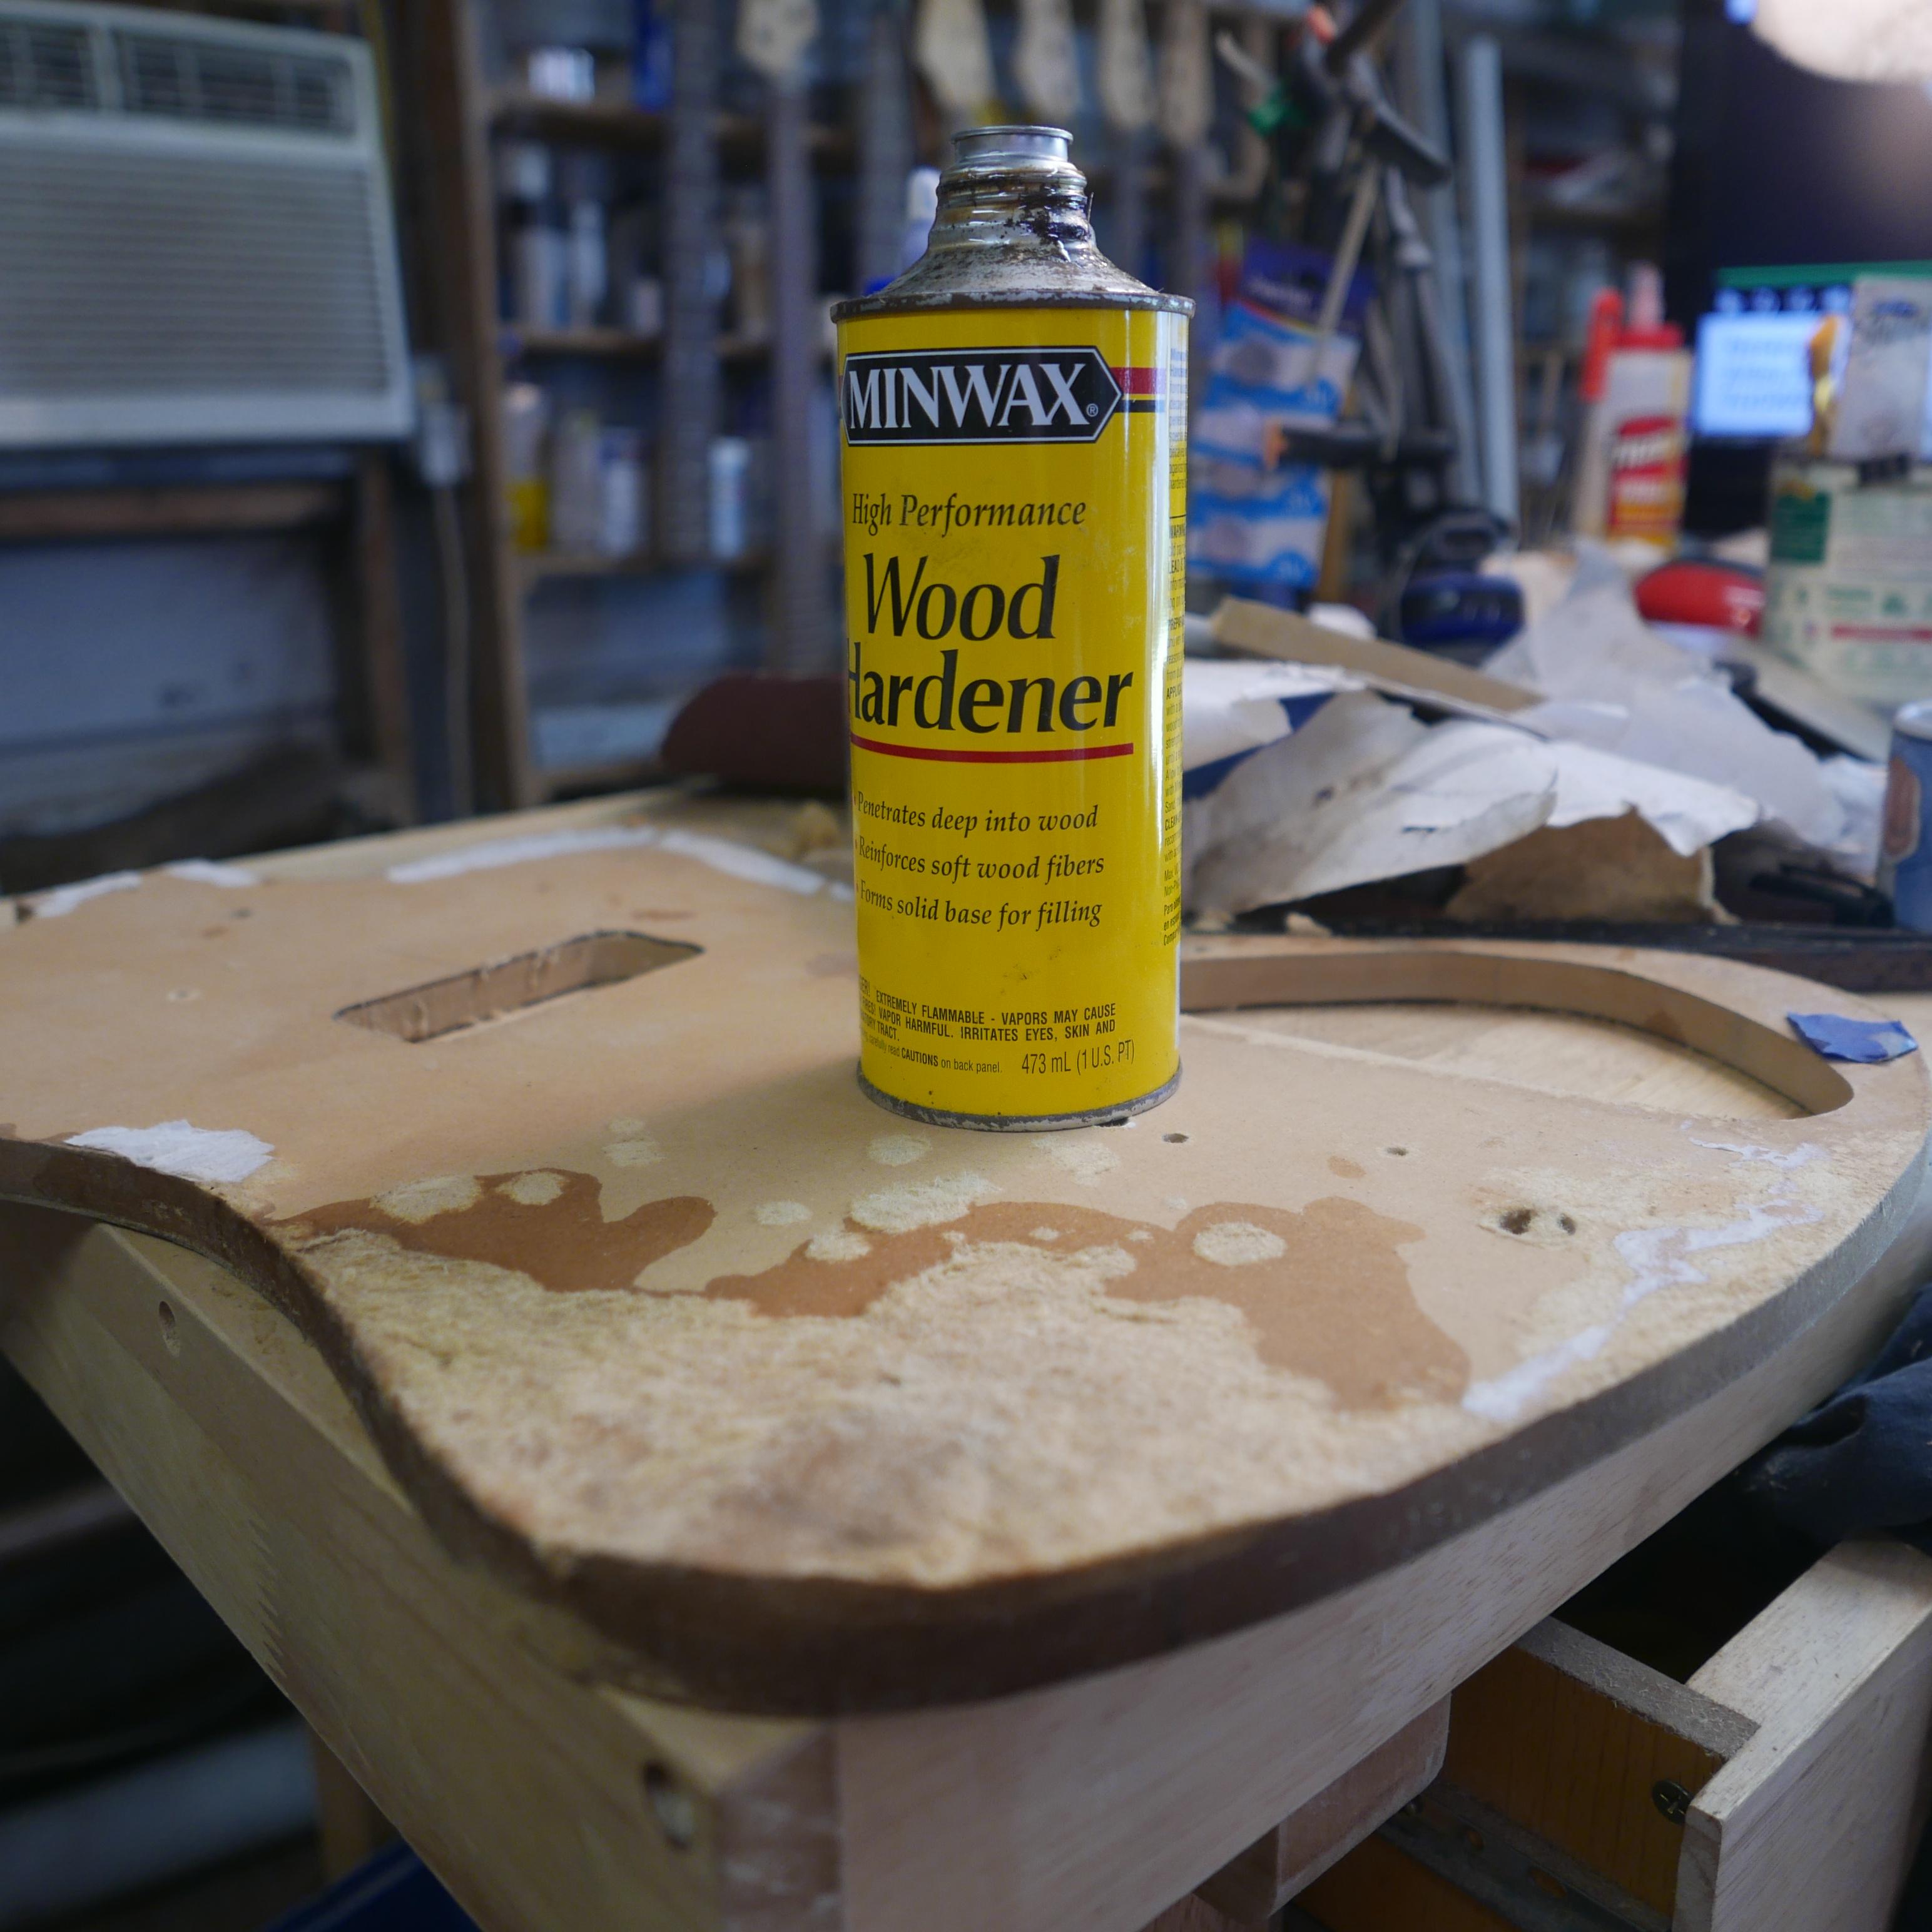
Repairing a 1/2" MDF template? This end had swollen to about 2 Inches due to a roof leak, I attacked it with a shinto to get it semi manageable. Then gave some of this a try, it worked well on spalted alder. Soaked it and it's now clamped in the bench vise. Nothing ventured...

oSYJhi7.jpg
 
Repairing a 1/2" MDF template? This end had swollen to about 2 Inches due to a roof leak, I attacked it with a shinto to get it semi manageable. Then gave some of this a try, it worked well on spalted alder. Soaked it and it's now clamped in the bench vise. Nothing ventured...

oSYJhi7.jpg

I used that stuff on a body I cut out of really light torrified swamp ash. Maybe the slab was light to begin with but it was pretty soft. The product helped.
 
  • Like
Reactions: Dadagoboi
I used that stuff on a body I cut out of really light torrified swamp ash. Maybe the slab was light to begin with but it was pretty soft. The product helped.
An hour into the vise, I popped it out for a sec and it's doing the job. I'll give a few more hours. Wish I'd taken a Before pic. Looked like a loaf of bread. There's a big pile of fur on the shop floor.
 
Last edited:
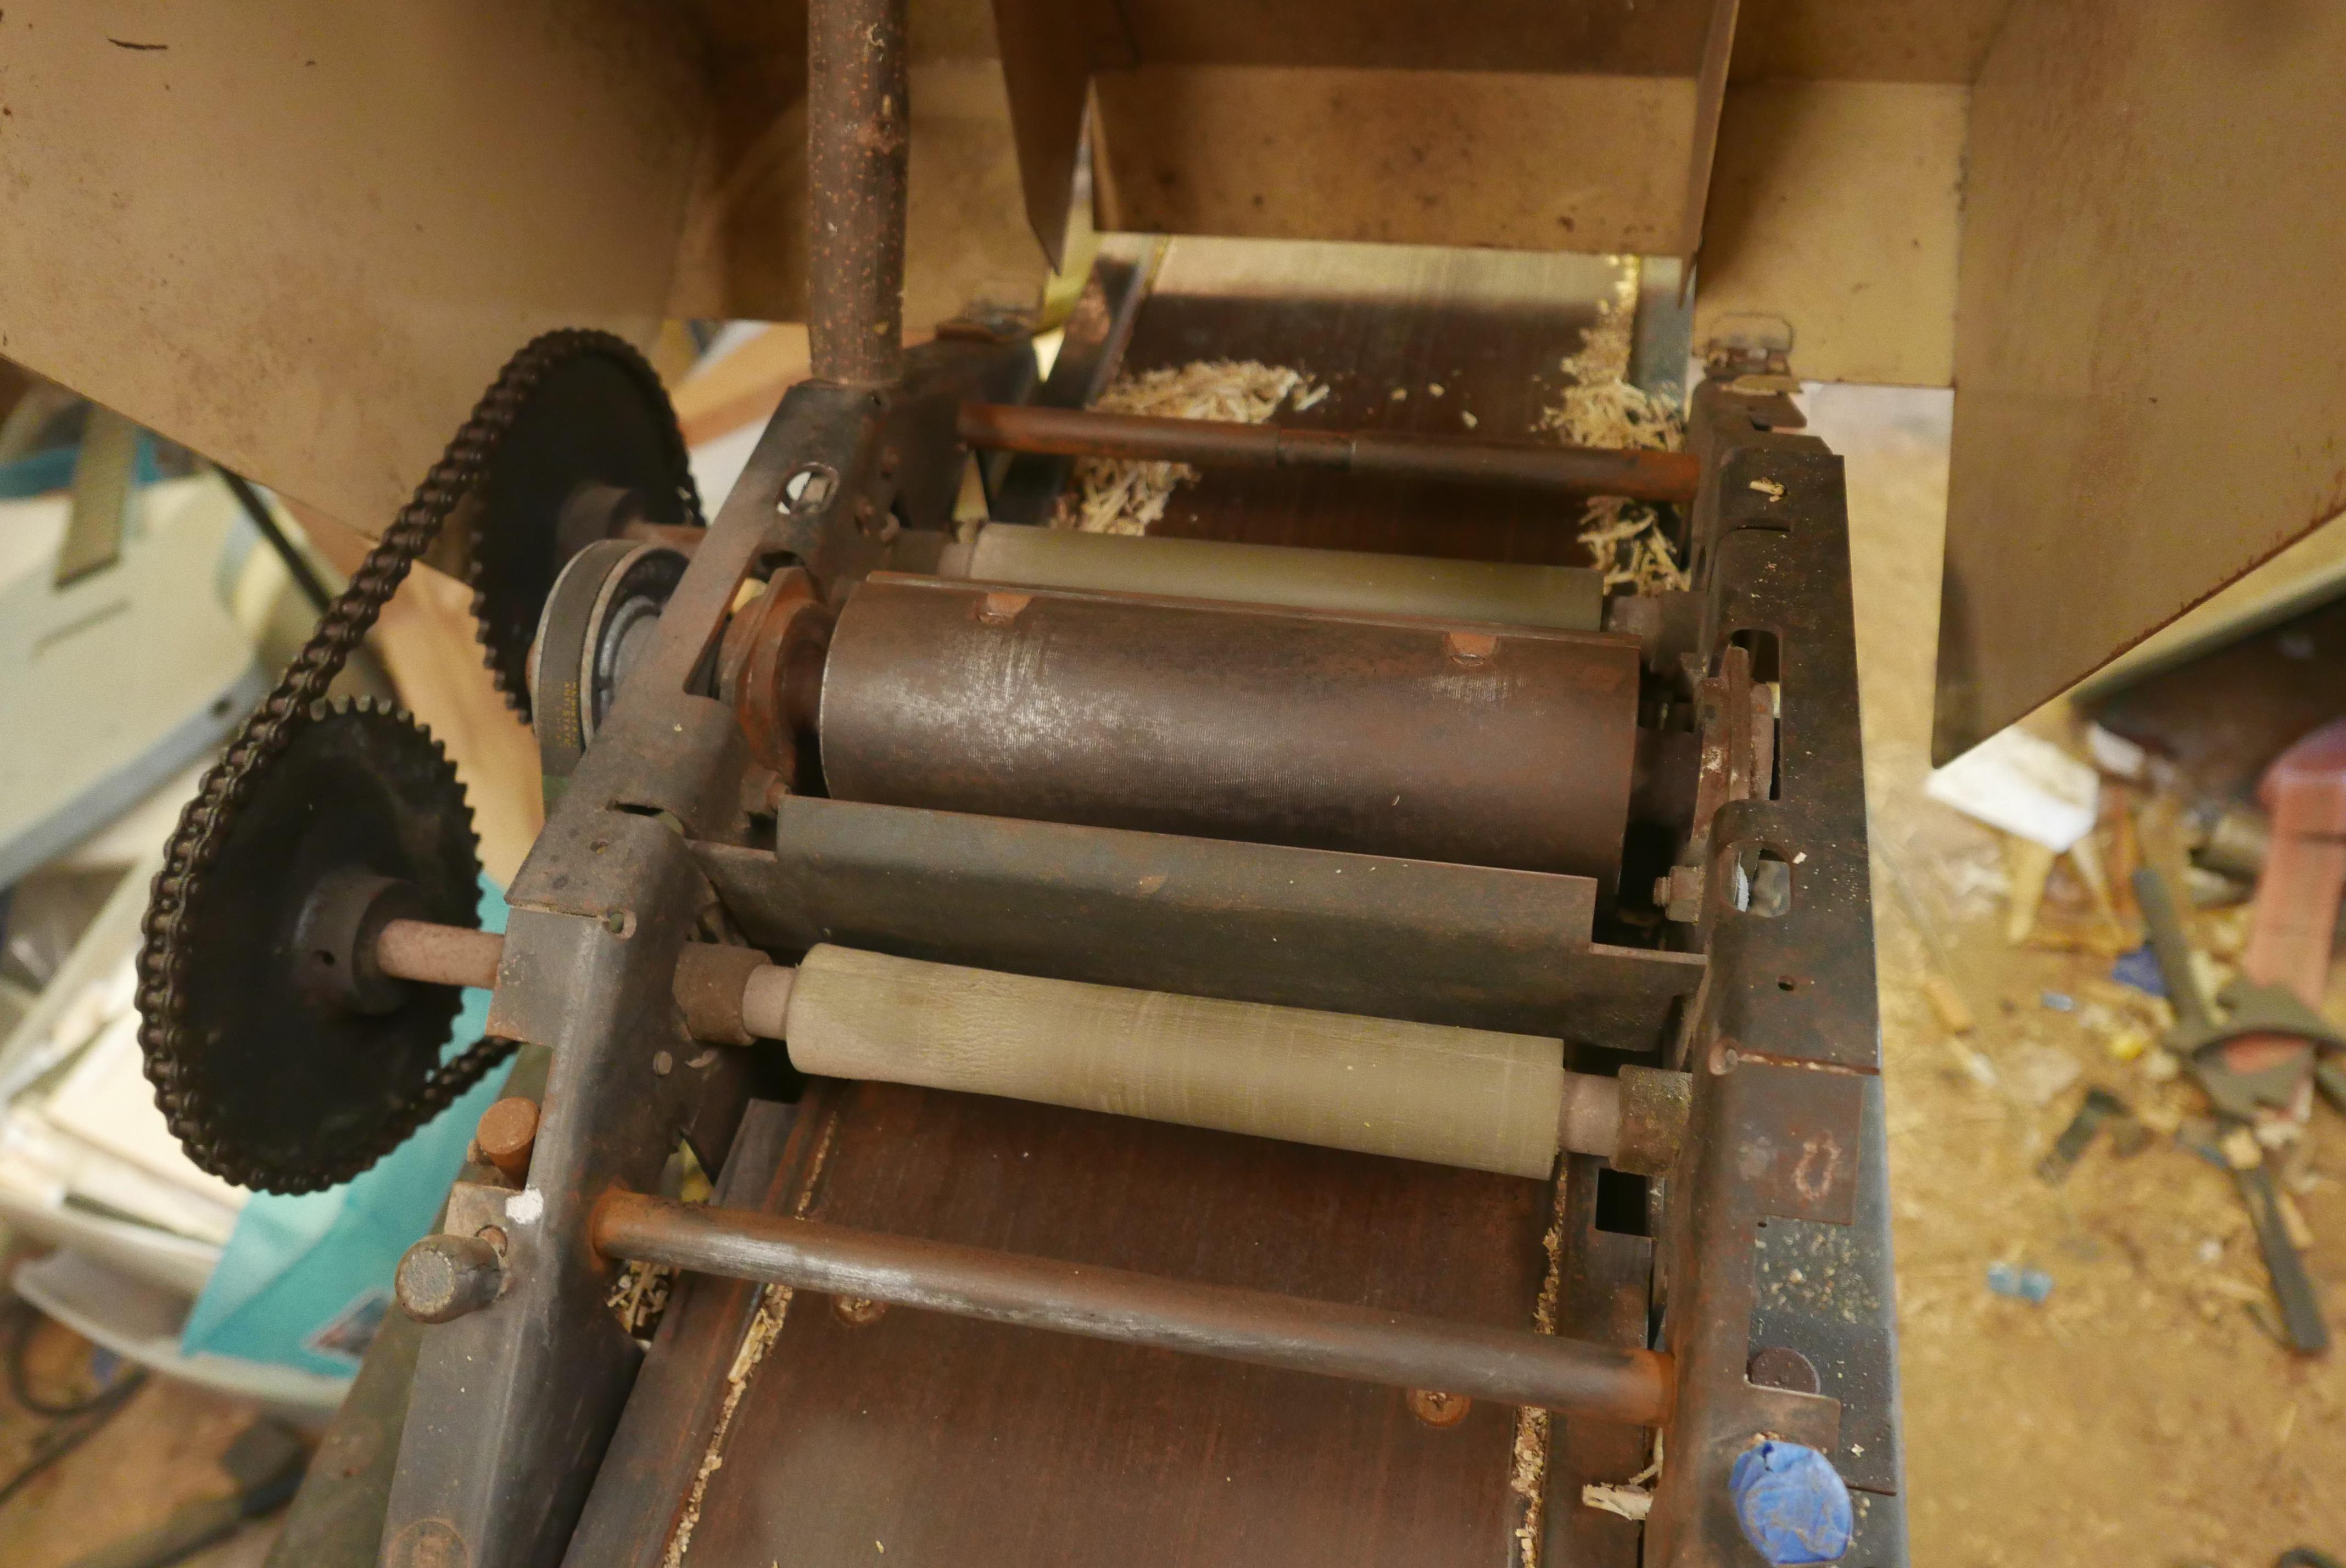
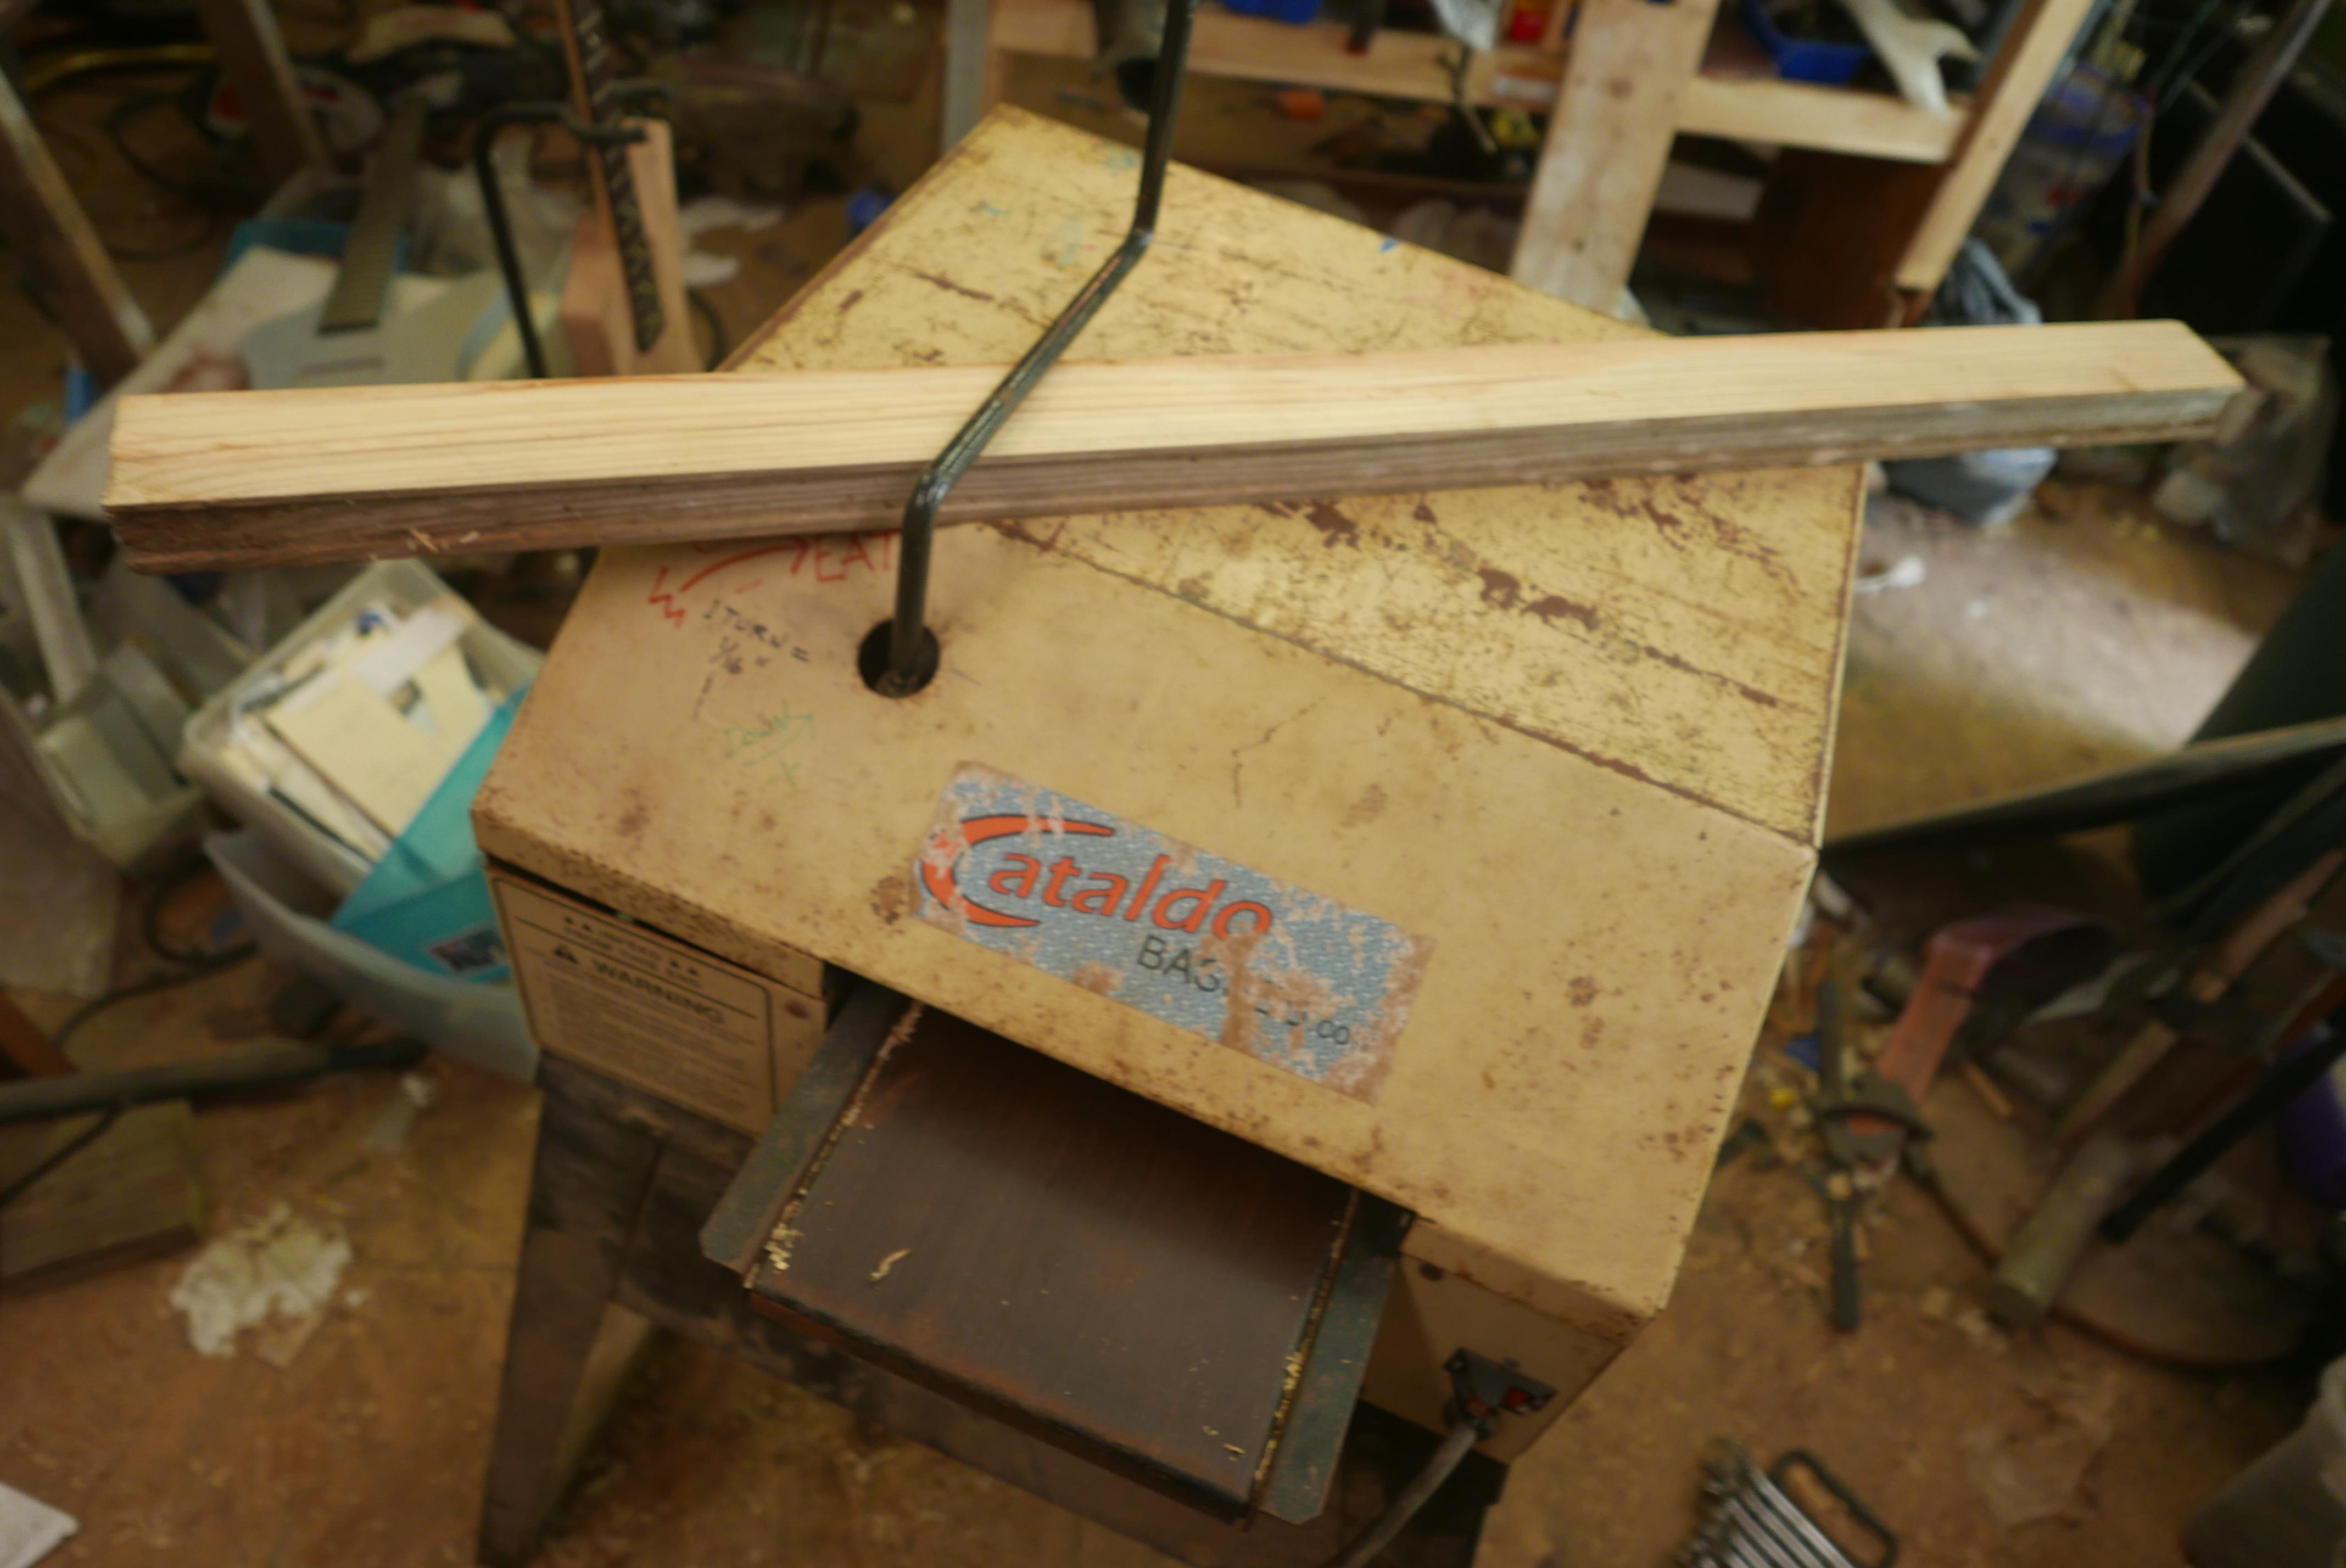
And to whittle down that pile... Belsaw 804 Planer-Molder. It's been gathering dust for around the last five years and I was dreading what I'd find inside.

8u7Hn4p.jpg


Turned out not too bad considering humidity in the shop killed my Onsrud. Just surface rust.

JFcCaOR.jpg


The feed rollers are chain driven as well as the four- 3/4" diameter height adjustment screws. The cutter head is belt driven off the motor, as are the feed rollers before transitioning to chain drive.

7ZBd8Db.jpg


Up and running. All sheet metal is at least 16 gauge steel. America at its finest!
 
Last edited:
I’ve had this lovely 4001FL for over 10 years:
IMG_6895.jpeg

and I really dig it but there were several things that bugged me about it that I never bothered to fix…. Until now.

One thing was that stupid pickup cover:
IMG_6884.jpeg

I left it on there for years because I thought it looked cool (and it does) but it’s completely impractical and just gets in the way so I finally ordered a treble bezel and changed it out:
IMG_6890.jpeg

So that was one problem solved. Next was that the bakelite nut was shifted towards the bass side so that the strings weren’t centered on the fingerboard. Easy enough to fix while I had it up on the bench anyway:
IMG_6887.jpeg

It’s poorly cut but the strings don’t rattle and I don’t have a bakelite blank with which to replace it so it’s staying where it is.

The last issue was that Rickenbacker decided (in their curious wisdom) to place their side dots NOT at the typical 3-5-7-9-12, etc… where most fretless basses are marked but, instead, to put a dot at every fret. This was nearly useless to me. If there’s a dot at every fret, the important ones have no significance at all. My temporary solution at the time I bought the bass was to cover the unwanted dots with cream-colored nail polish until I found time to replace the black dots with cream ones. …and that’s how it’s stayed for about a dozen years:
IMG_6885.jpeg


It was time to finish the job. For delicate work like this I prefer hand tools over power tools so I have a little more control:
IMG_6888.jpeg

That I was able to find the cream dot material I bought years ago is nothing short of a miracle. I drilled out the unwanted black dots:
IMG_6889.jpeg

And replaced them with cream:
IMG_6893.jpeg

They’re not invisible but they’re far less distracting than the black dots and they look a helluva lot better than the nail polish. This bass has already had some repairs and replaced parts from a rough life prior to my owning it so I’m really not worried about originality or invisible repairs.

This is a bass I’ve always liked a lot but those few issues were keeping it from being a first-call instrument for me. Now I’ll be a lot more likely to reach for it!
 
I’ve had this lovely 4001FL for over 10 years:
View attachment 5438311
and I really dig it but there were several things that bugged me about it that I never bothered to fix…. Until now.

One thing was that stupid pickup cover:
View attachment 5438312
I left it on there for years because I thought it looked cool (and it does) but it’s completely impractical and just gets in the way so I finally ordered a treble bezel and changed it out:
View attachment 5438315
So that was one problem solved. Next was that the bakelite nut was shifted towards the bass side so that the strings weren’t centered on the fingerboard. Easy enough to fix while I had it up on the bench anyway:
View attachment 5438316
It’s poorly cut but the strings don’t rattle and I don’t have a bakelite blank with which to replace it so it’s staying where it is.

The last issue was that Rickenbacker decided (in their curious wisdom) to place their side dots NOT at the typical 3-5-7-9-12, etc… where most fretless basses are marked but, instead, to put a dot at every fret. This was nearly useless to me. If there’s a dot at every fret, the important ones have no significance at all. My temporary solution at the time I bought the bass was to cover the unwanted dots with cream-colored nail polish until I found time to replace the black dots with cream ones. …and that’s how it’s stayed for about a dozen years:
View attachment 5438319

It was time to finish the job. For delicate work like this I prefer hand tools over power tools so I have a little more control:
View attachment 5438320
That I was able to find the cream dot material I bought years ago is nothing short of a miracle. I drilled out the unwanted black dots:
View attachment 5438321
And replaced them with cream:
View attachment 5438323
They’re not invisible but they’re far less distracting than the black dots and they look a helluva lot better than the nail polish. This bass has already had some repairs and replaced parts from a rough life prior to my owning it so I’m really not worried about originality or invisible repairs.

This is a bass I’ve always liked a lot but those few issues were keeping it from being a first-call instrument for me. Now I’ll be a lot more likely to reach for it!
All very good improvements, thanks for sharing.
For a tone monster like this, it’s well worth the efforts.
 
  • Like
Reactions: Lo-E