

Enjoy the benefits of a premium membership!
Upgrade Account
-
TalkBass has been independent since 1998. Add your voice.
Create a free account to reply to discussions, view embedded media, and browse with fewer display ads.
Join free Log in
Want zero display ads or expanded classifieds tools? Compare plans.
You are using an out of date browser. It may not display this or other websites correctly.
You should upgrade or use an alternative browser.
You should upgrade or use an alternative browser.
Winter build off 2019 - Victory 5D
- Thread starter Jon Clegg
- Start date
More options
Who Replied?


- Apr 18, 2008
- 16,007
- 1
- 31,705
- Disclosures
- I'm highly opinionated and extremely self-assured
The cherry is second from the top, quite a bit darker than the cherry in the body so still contrasting, imho..
Oh. Yeah, I see that now.
Got anything that matches better?

My opinion is that if it doesn't match exactly, or close to it, then a contrasting color looks better. To me an almost matching piece makes it look like you tried and failed. The worst covers are of the same wood that the body is made out of, but cut from a different piece so the grain doesn't match, that bugs me. I know it's not technically OCD, but stuff like that really bugs my brain.
I know that's not entirely fair, just the way my brain processes it.
I know that's not entirely fair, just the way my brain processes it.
I'm of a like mind on this; a contrasting material like the walnut or mahogany looks deliberate, whereas the cherry or the maple (even though it has a nice flame going on) is too close but not close enough if you get my drift. I could see doing the maple within a ring of walnut to delineate it (which seems like a lot of work for a back cover)My opinion is that if it doesn't match exactly, or close to it, then a contrasting color looks better. To me an almost matching piece makes it look like you tried and failed. The worst covers are of the same wood that the body is made out of, but cut from a different piece so the grain doesn't match, that bugs me. I know it's not technically OCD, but stuff like that really bugs my brain.
I know that's not entirely fair, just the way my brain processes it.
Last edited:

Ooooo that would be sharp! And well worth the work involvedI could see doing the maple within a ring of walnut to delineate it (which seems like a lot of work for a back cover)
Ooooo that would be sharp! And well worth the work involved


Ooooo that would be sharp! And well worth the work involved

 Keep at it... you'll get into his subconscious yet...

This might actually be easier than I thought; just need to use the proper tool.I'm of a like mind on this; a contrasting material like the walnut or mahogany looks deliberate, whereas the cherry or the maple (even though it has a nice flame going on) is too close but not close enough if you get my drift. I could see doing the maple within a ring of walnut to delineate it (which seems like a lot of work for a back cover)

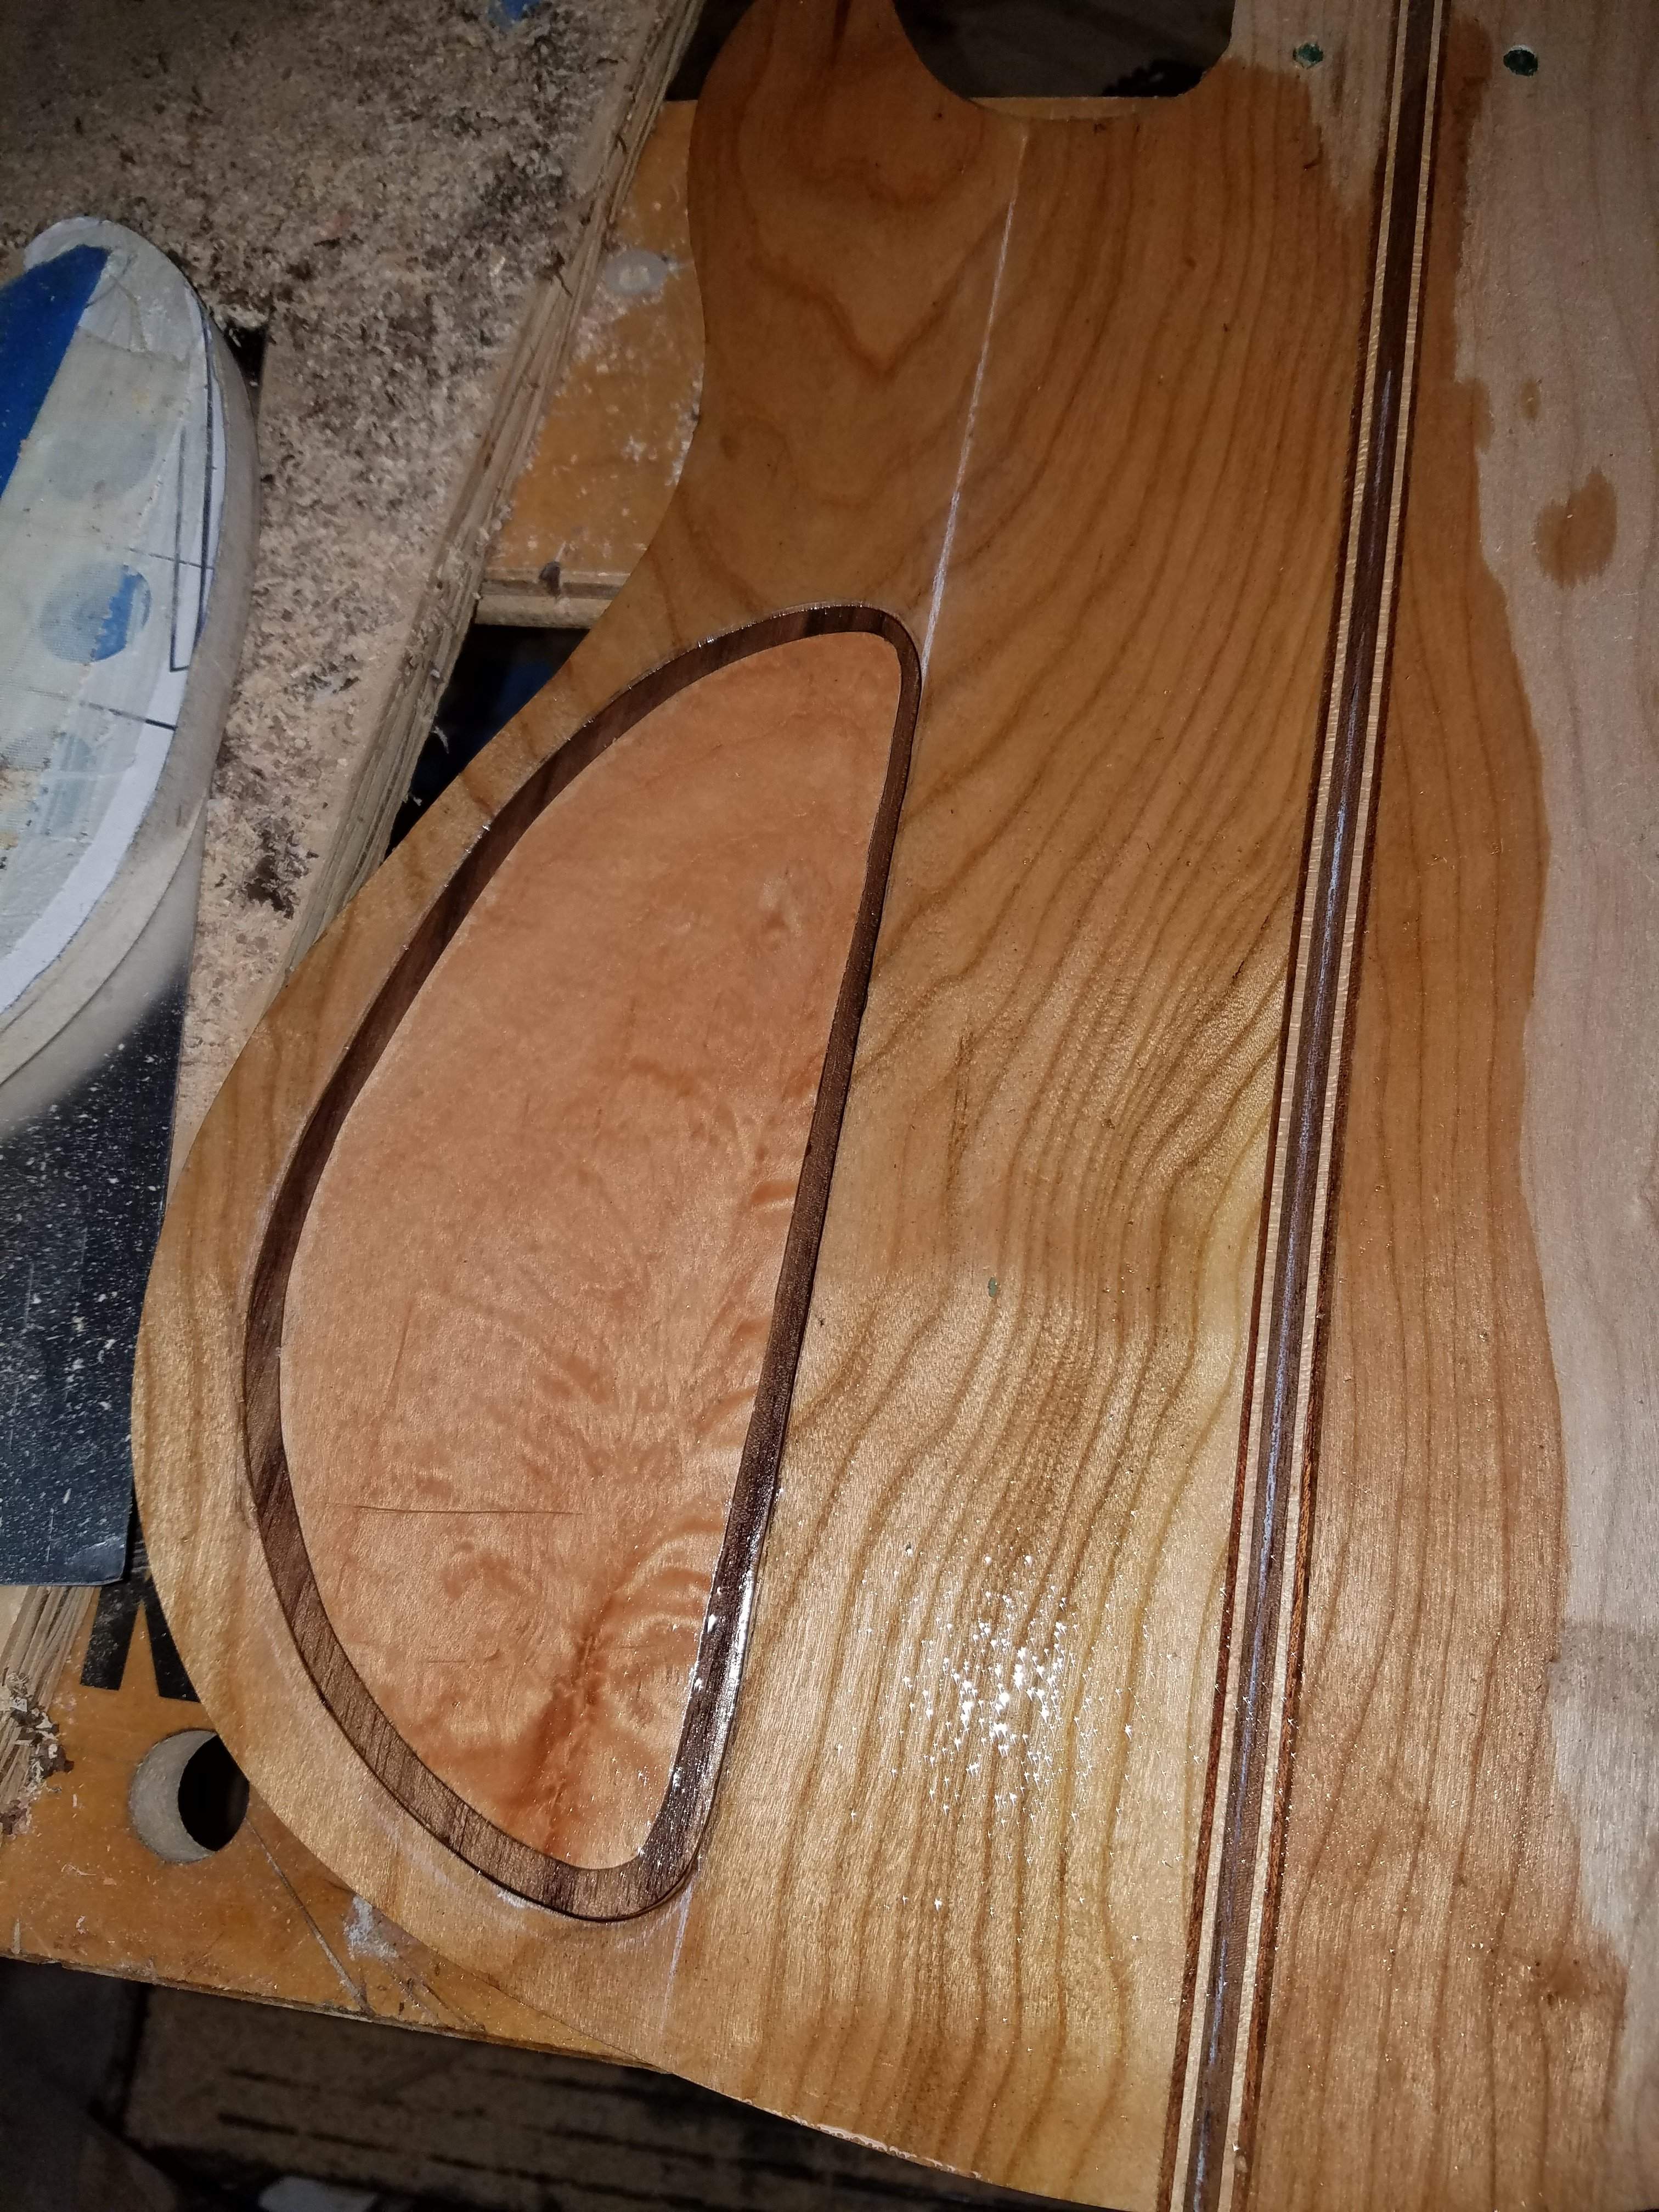
I'll post pictures of the process when I get home, but here's the cavity cover, in place and wiped with a bit of naptha:
As promised... The afore-mentioned right tool; an inlay template / bit setup
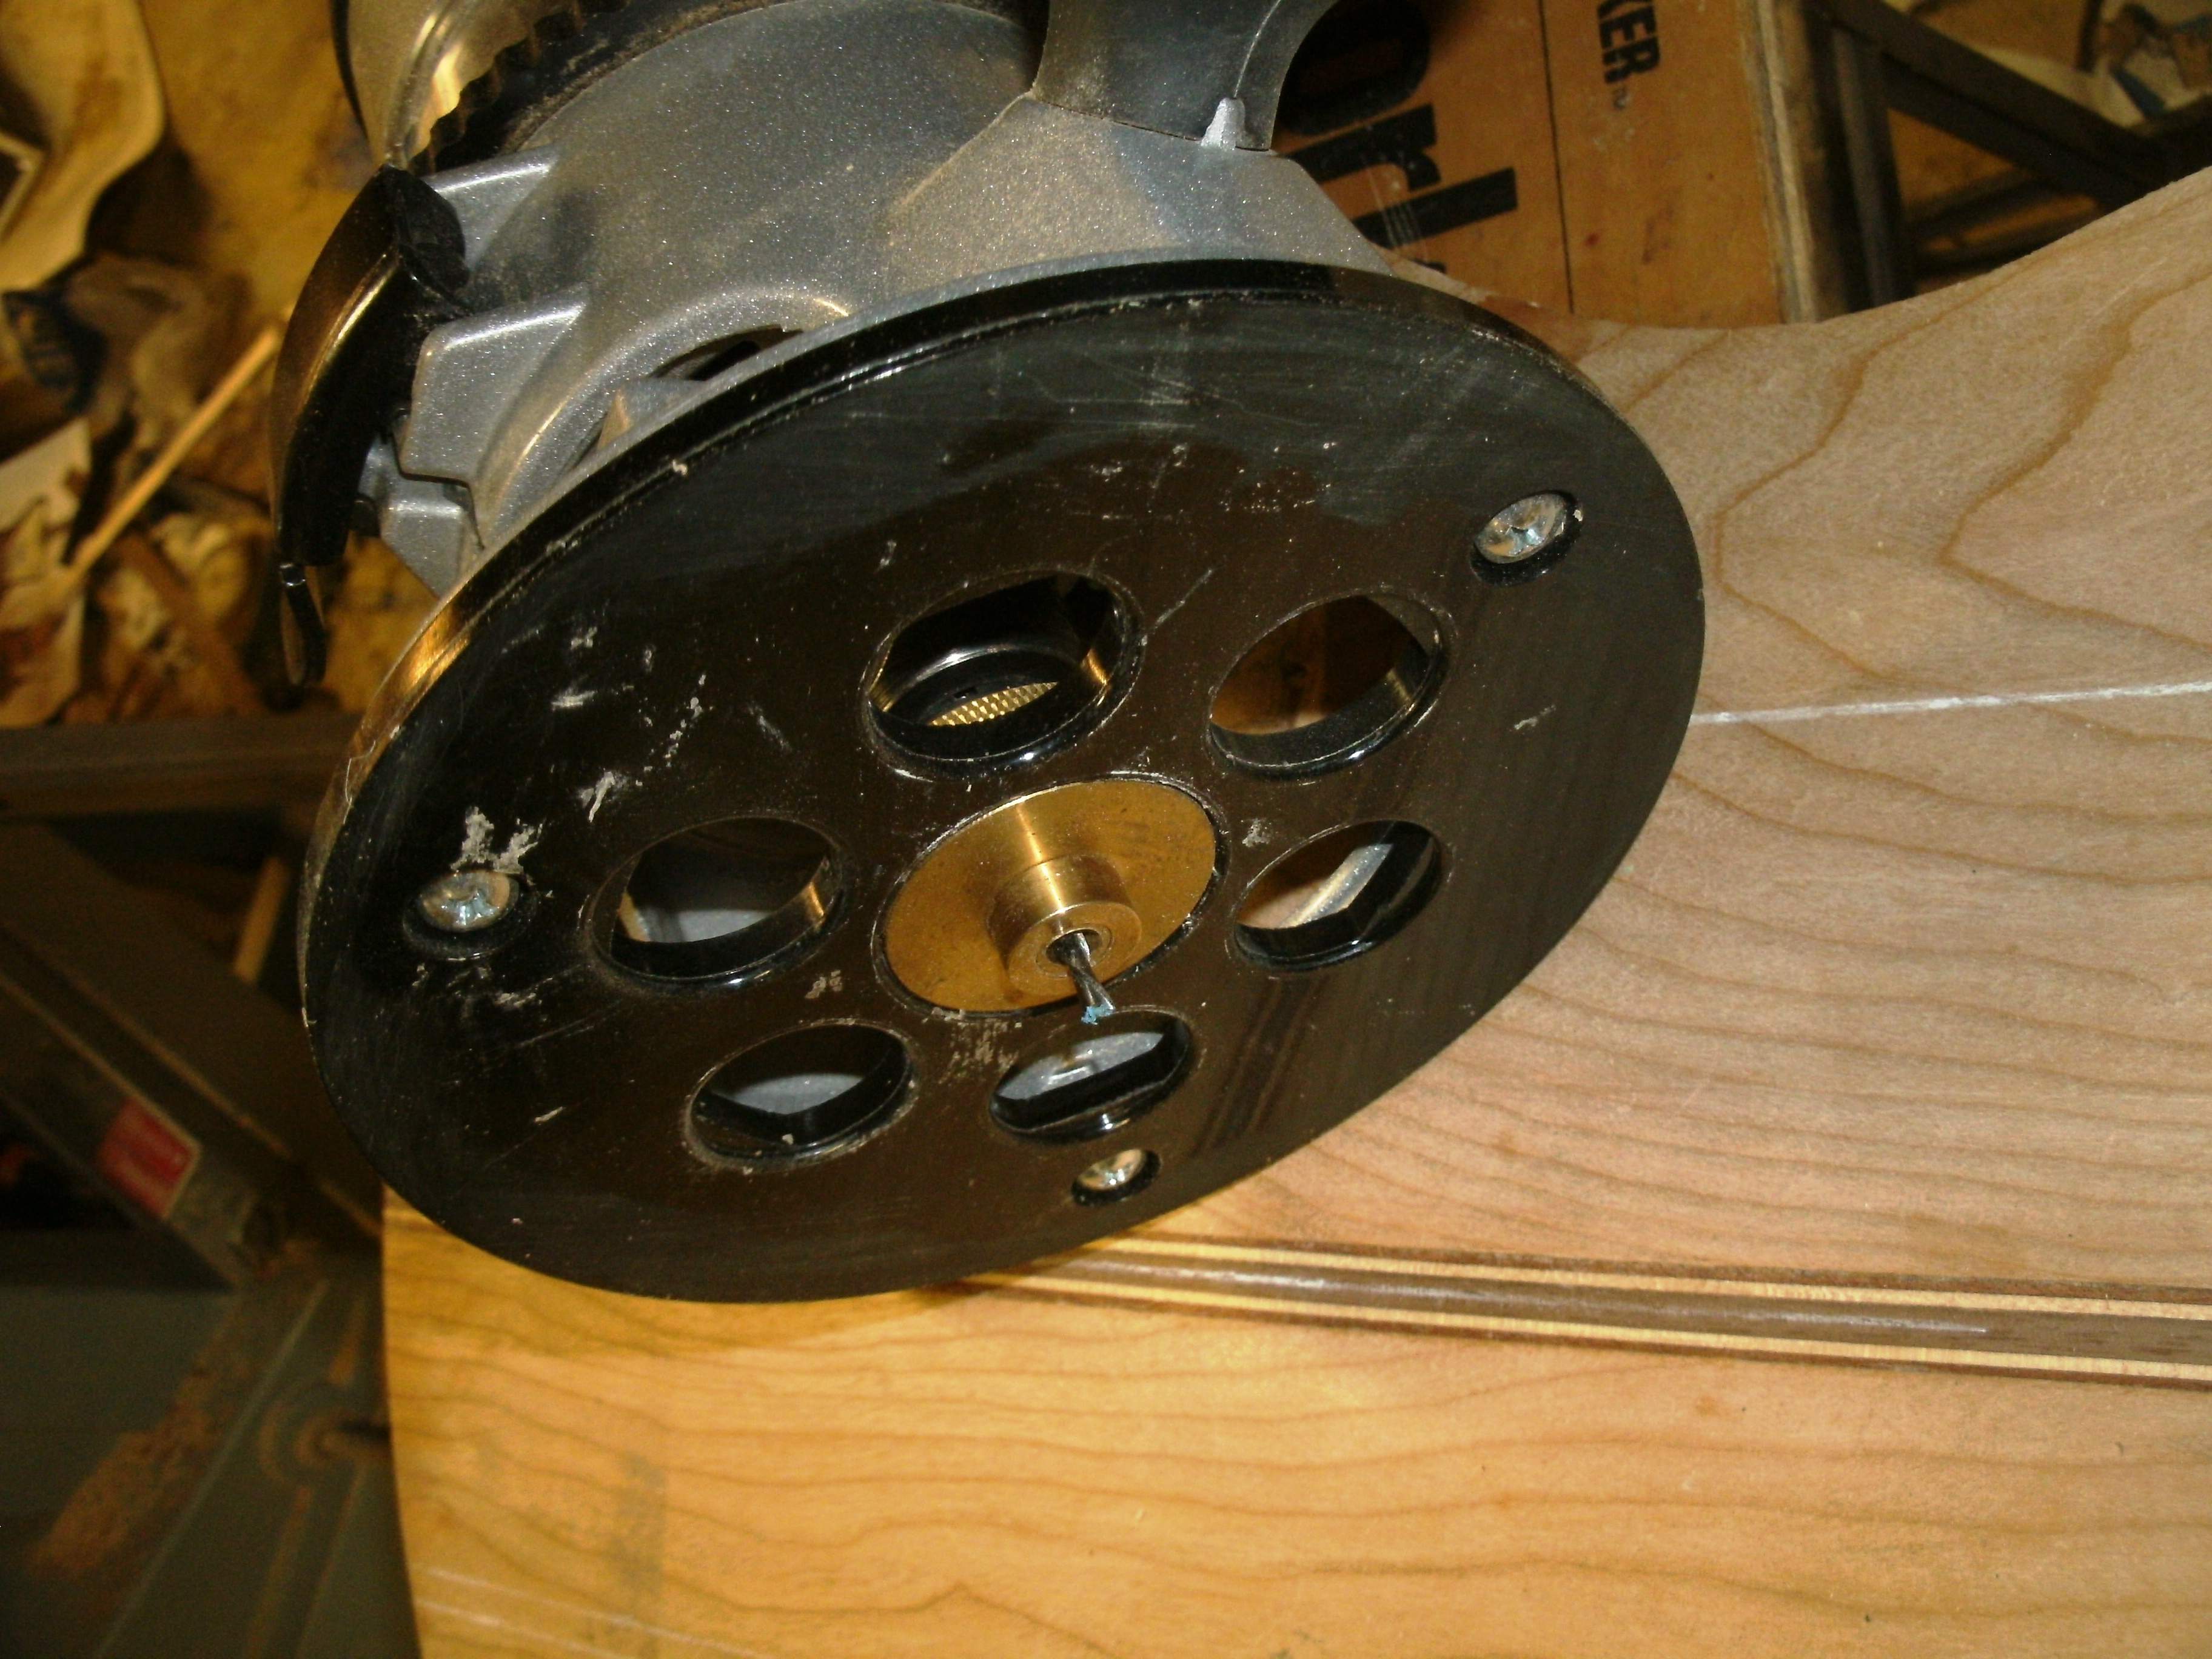
I cut the 1/16th walnut first with the collar installed to form the ring, using the control cavity template as the guide:
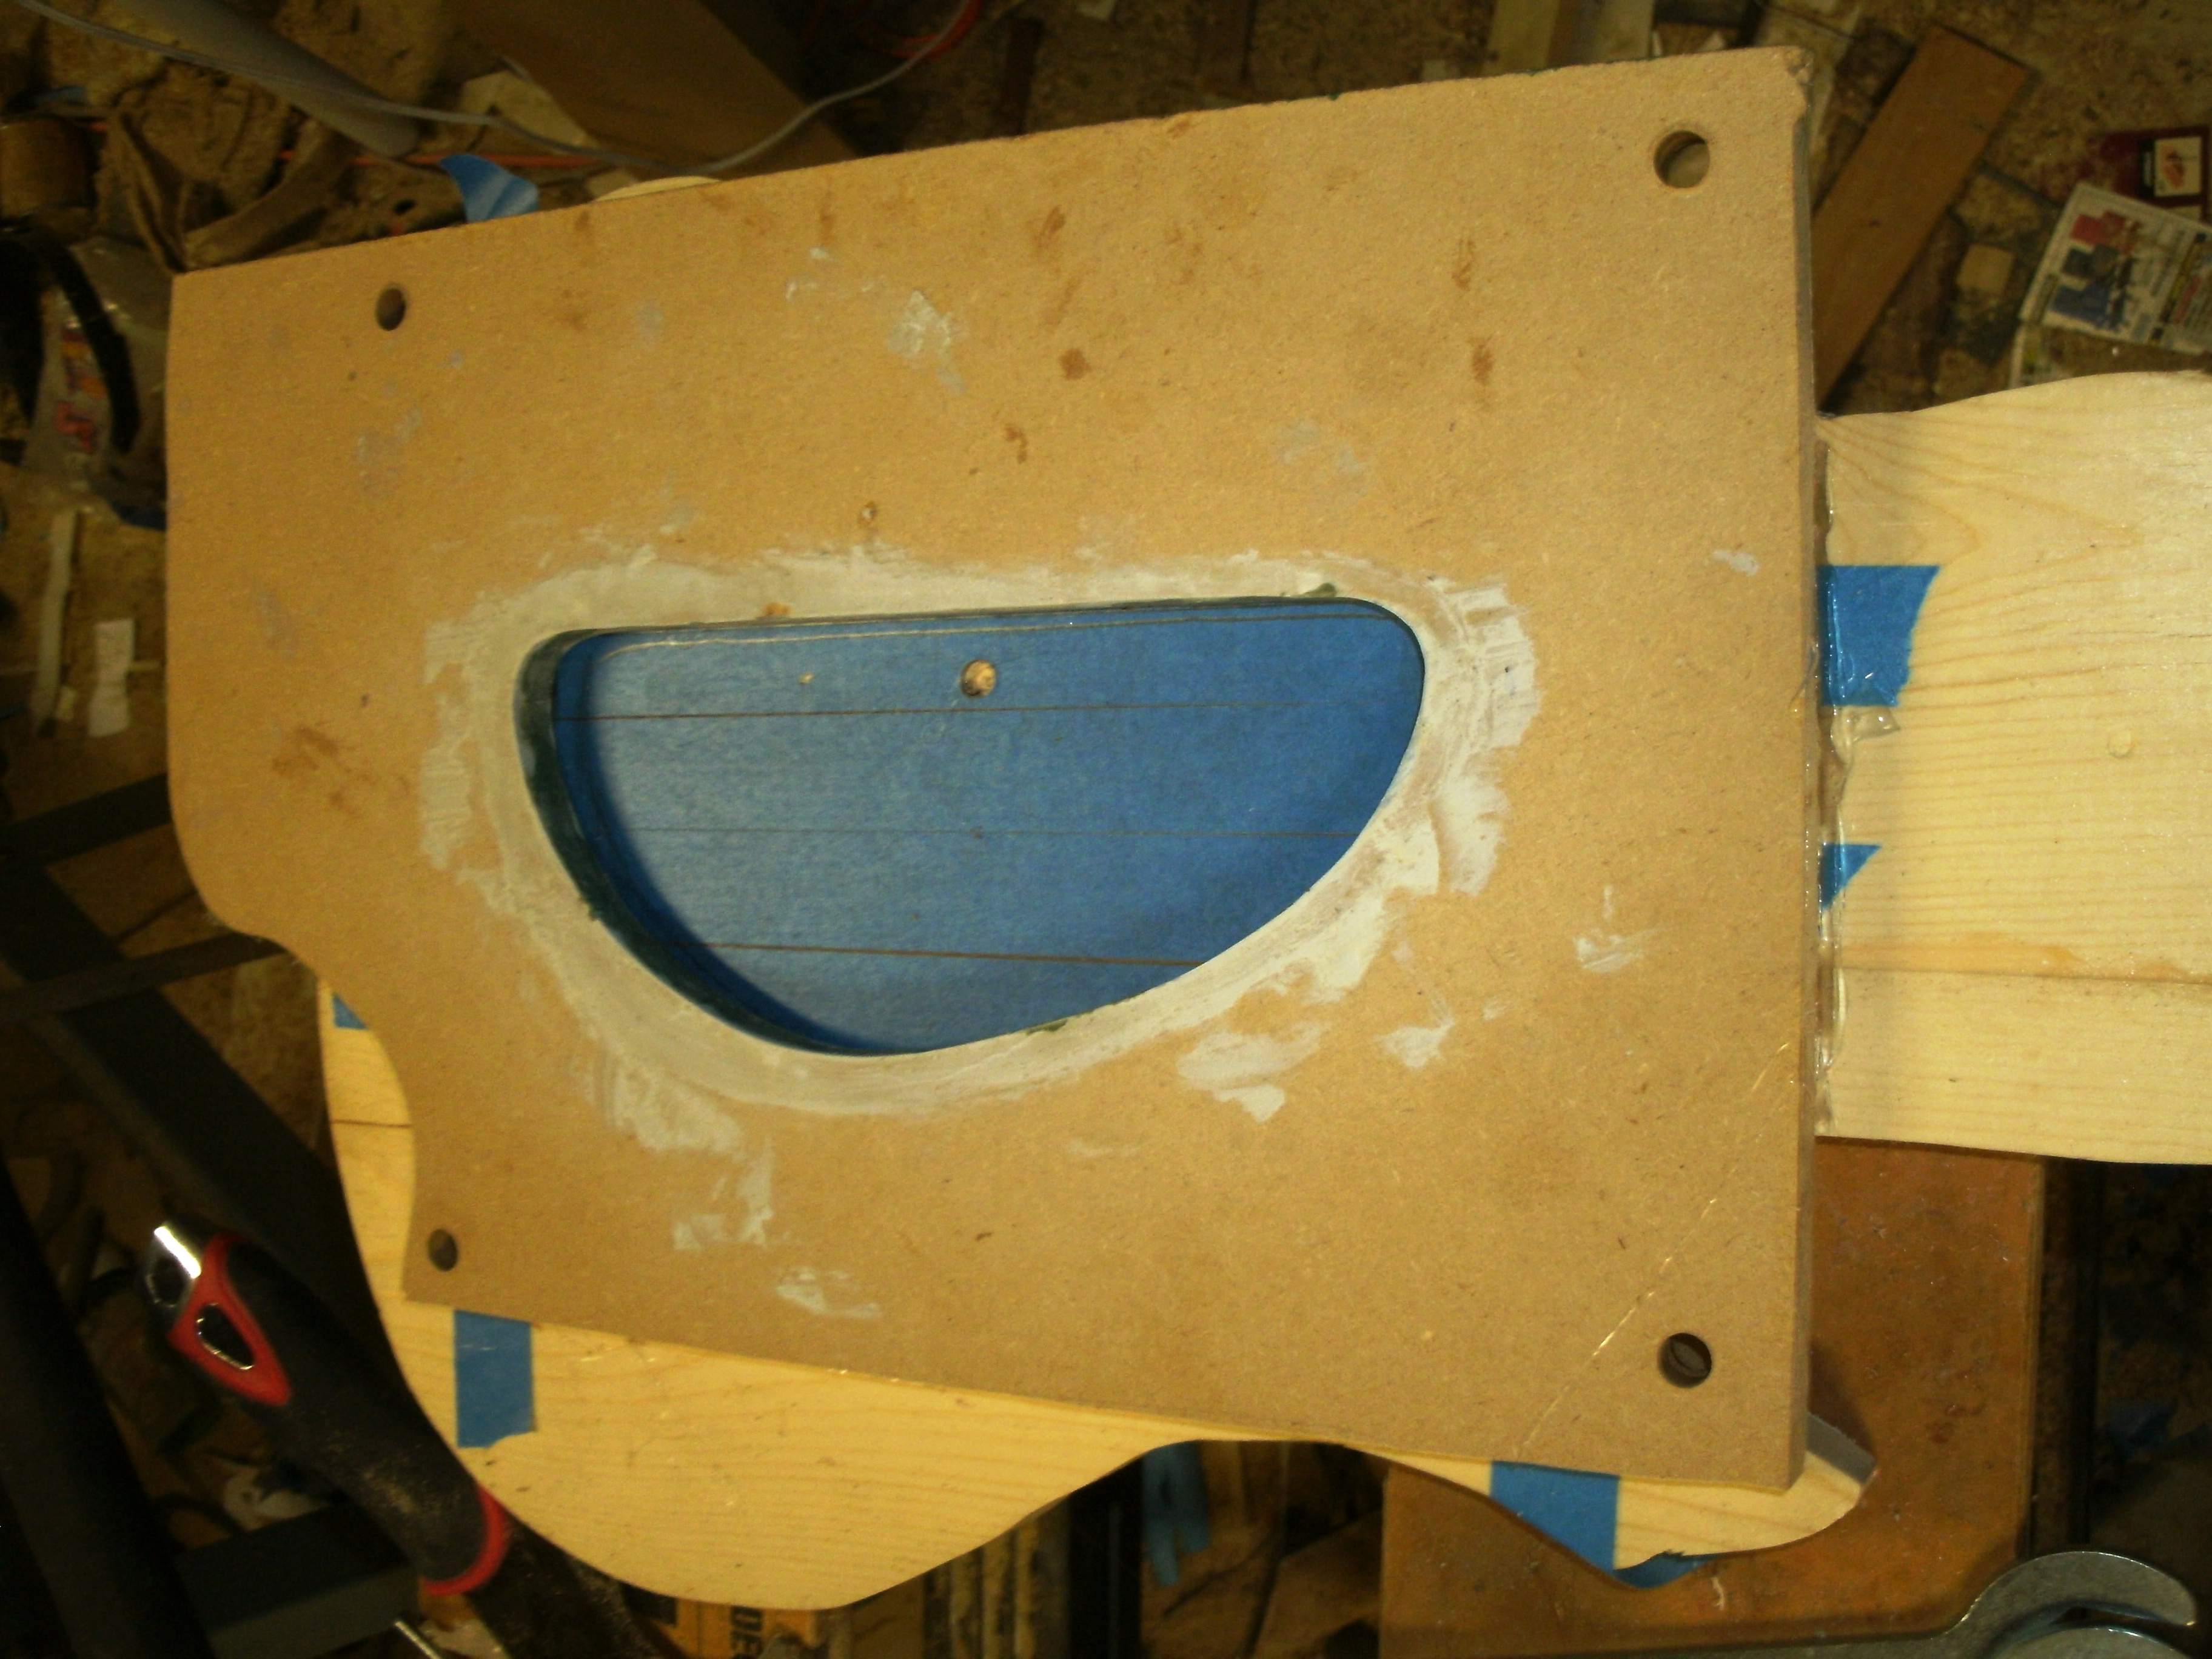
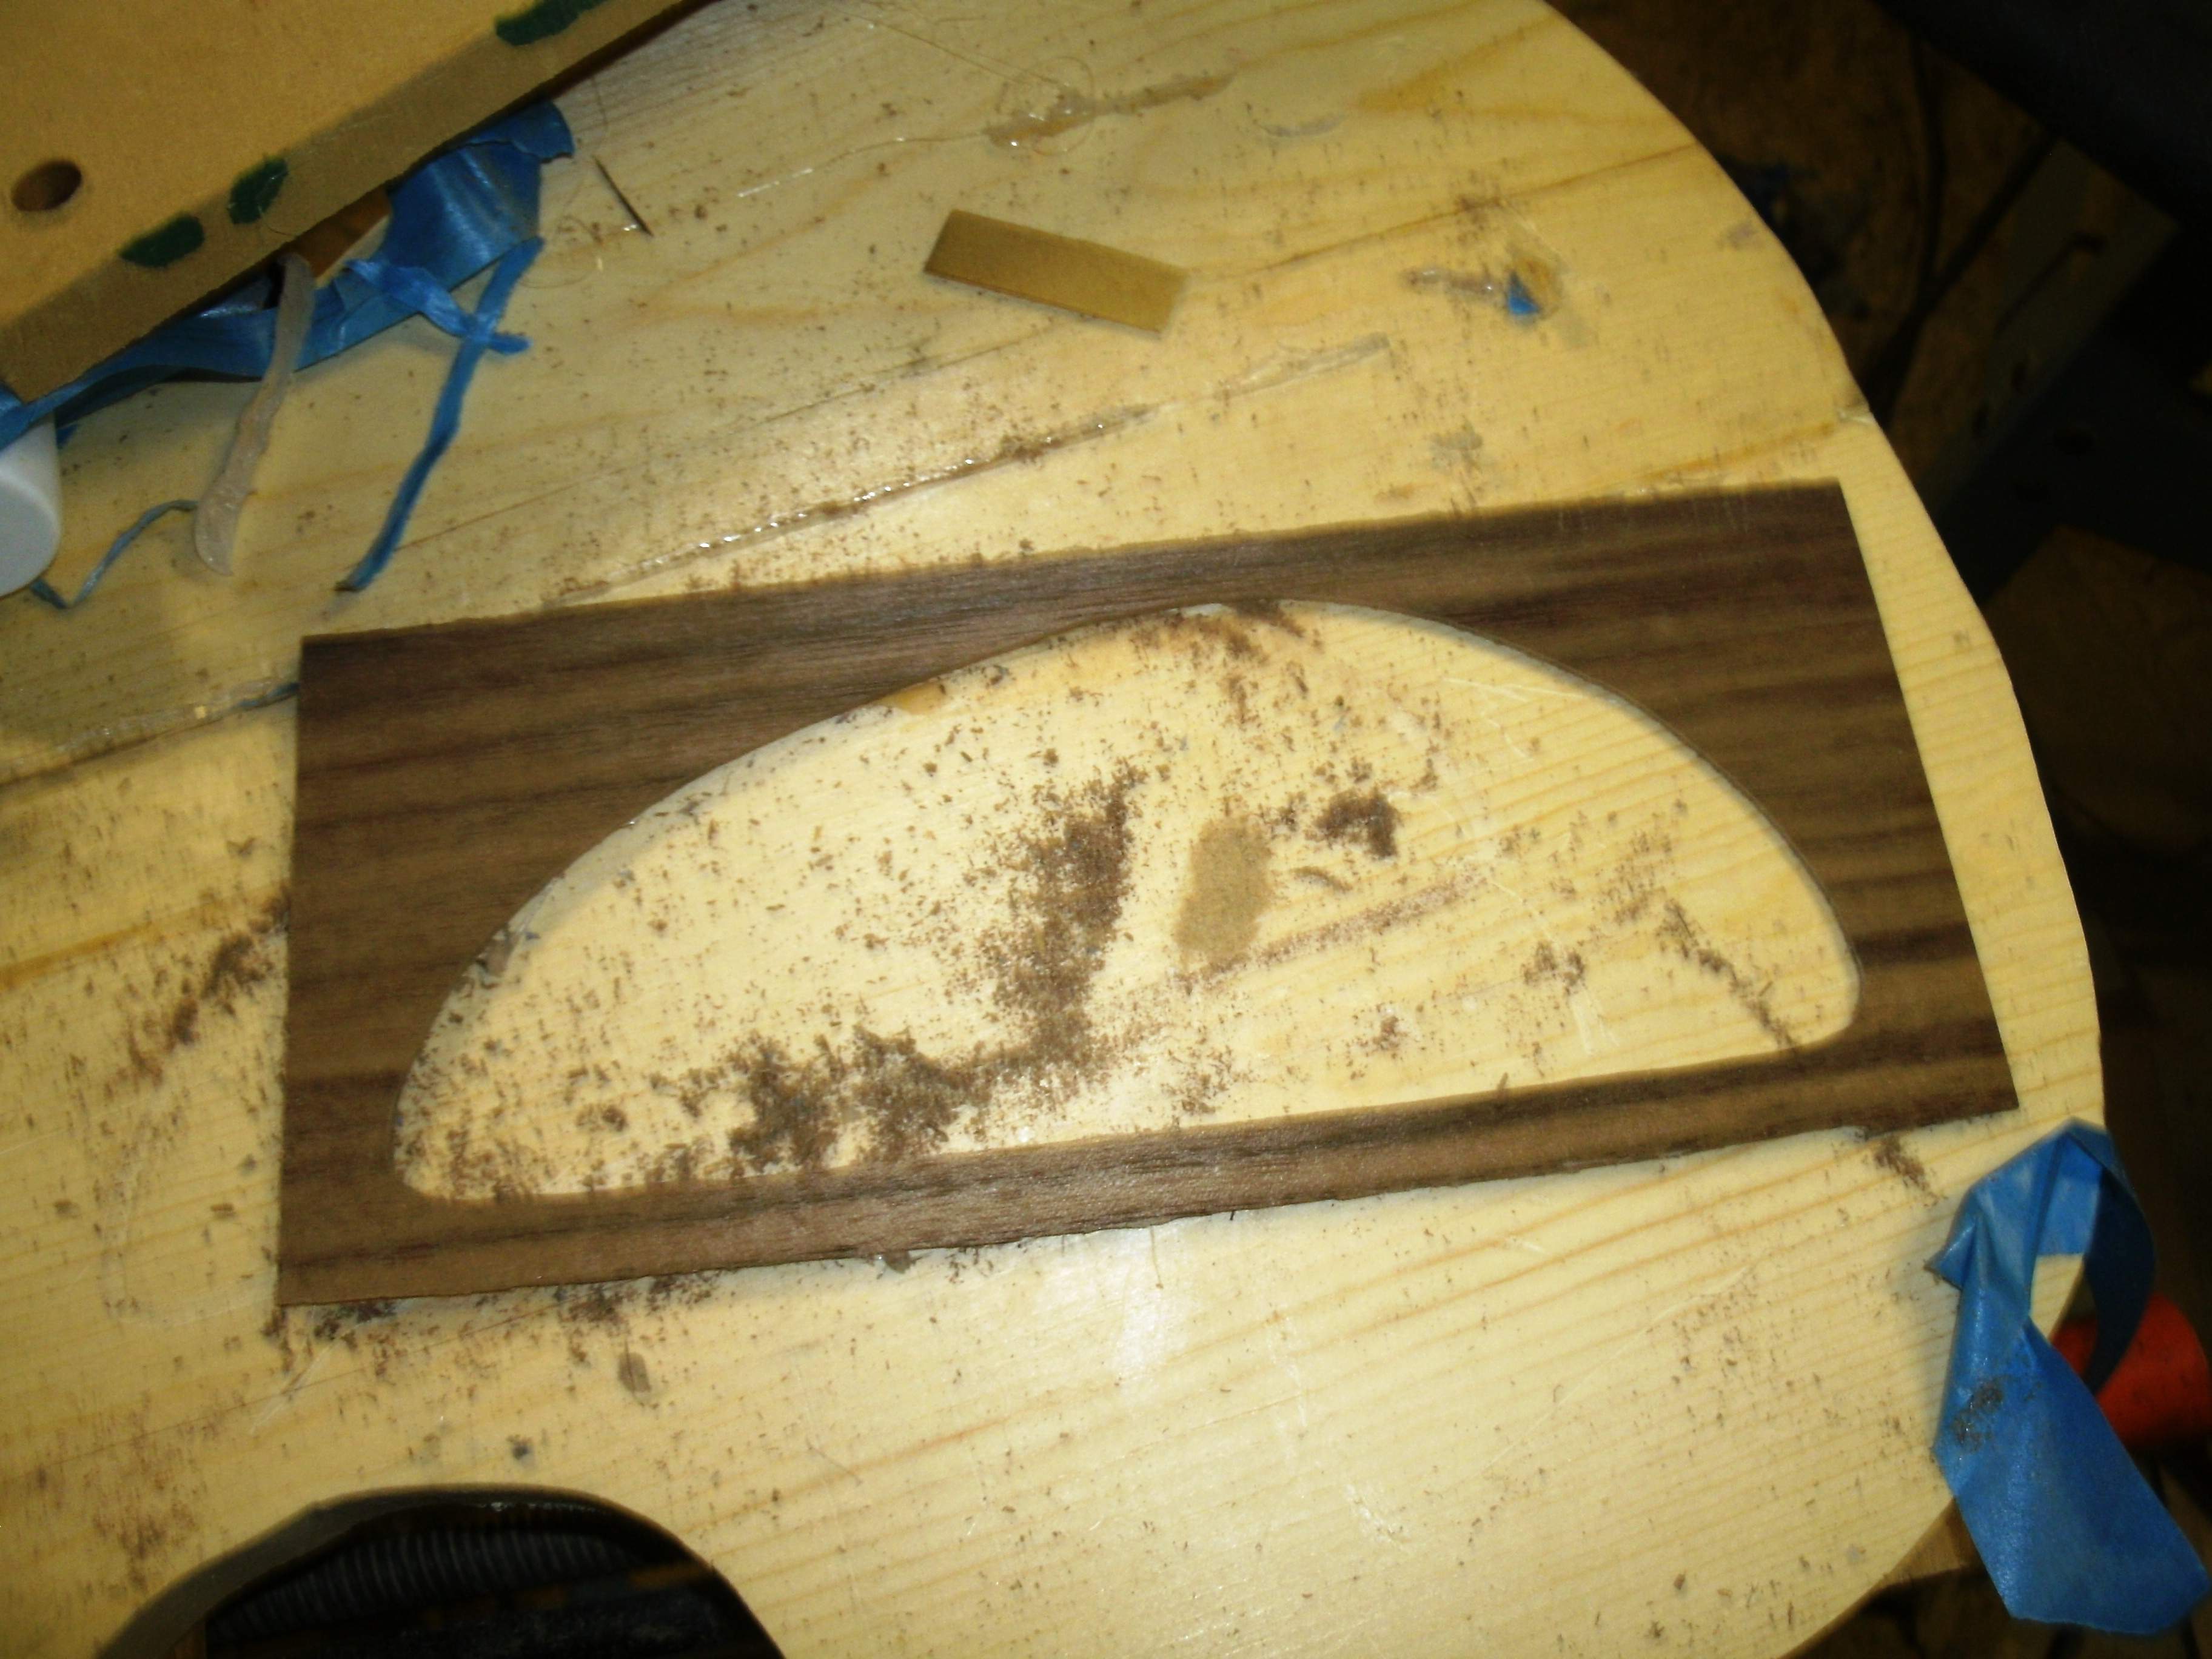
Then removed the 1/8" thick collar to cut the 1/16th maple
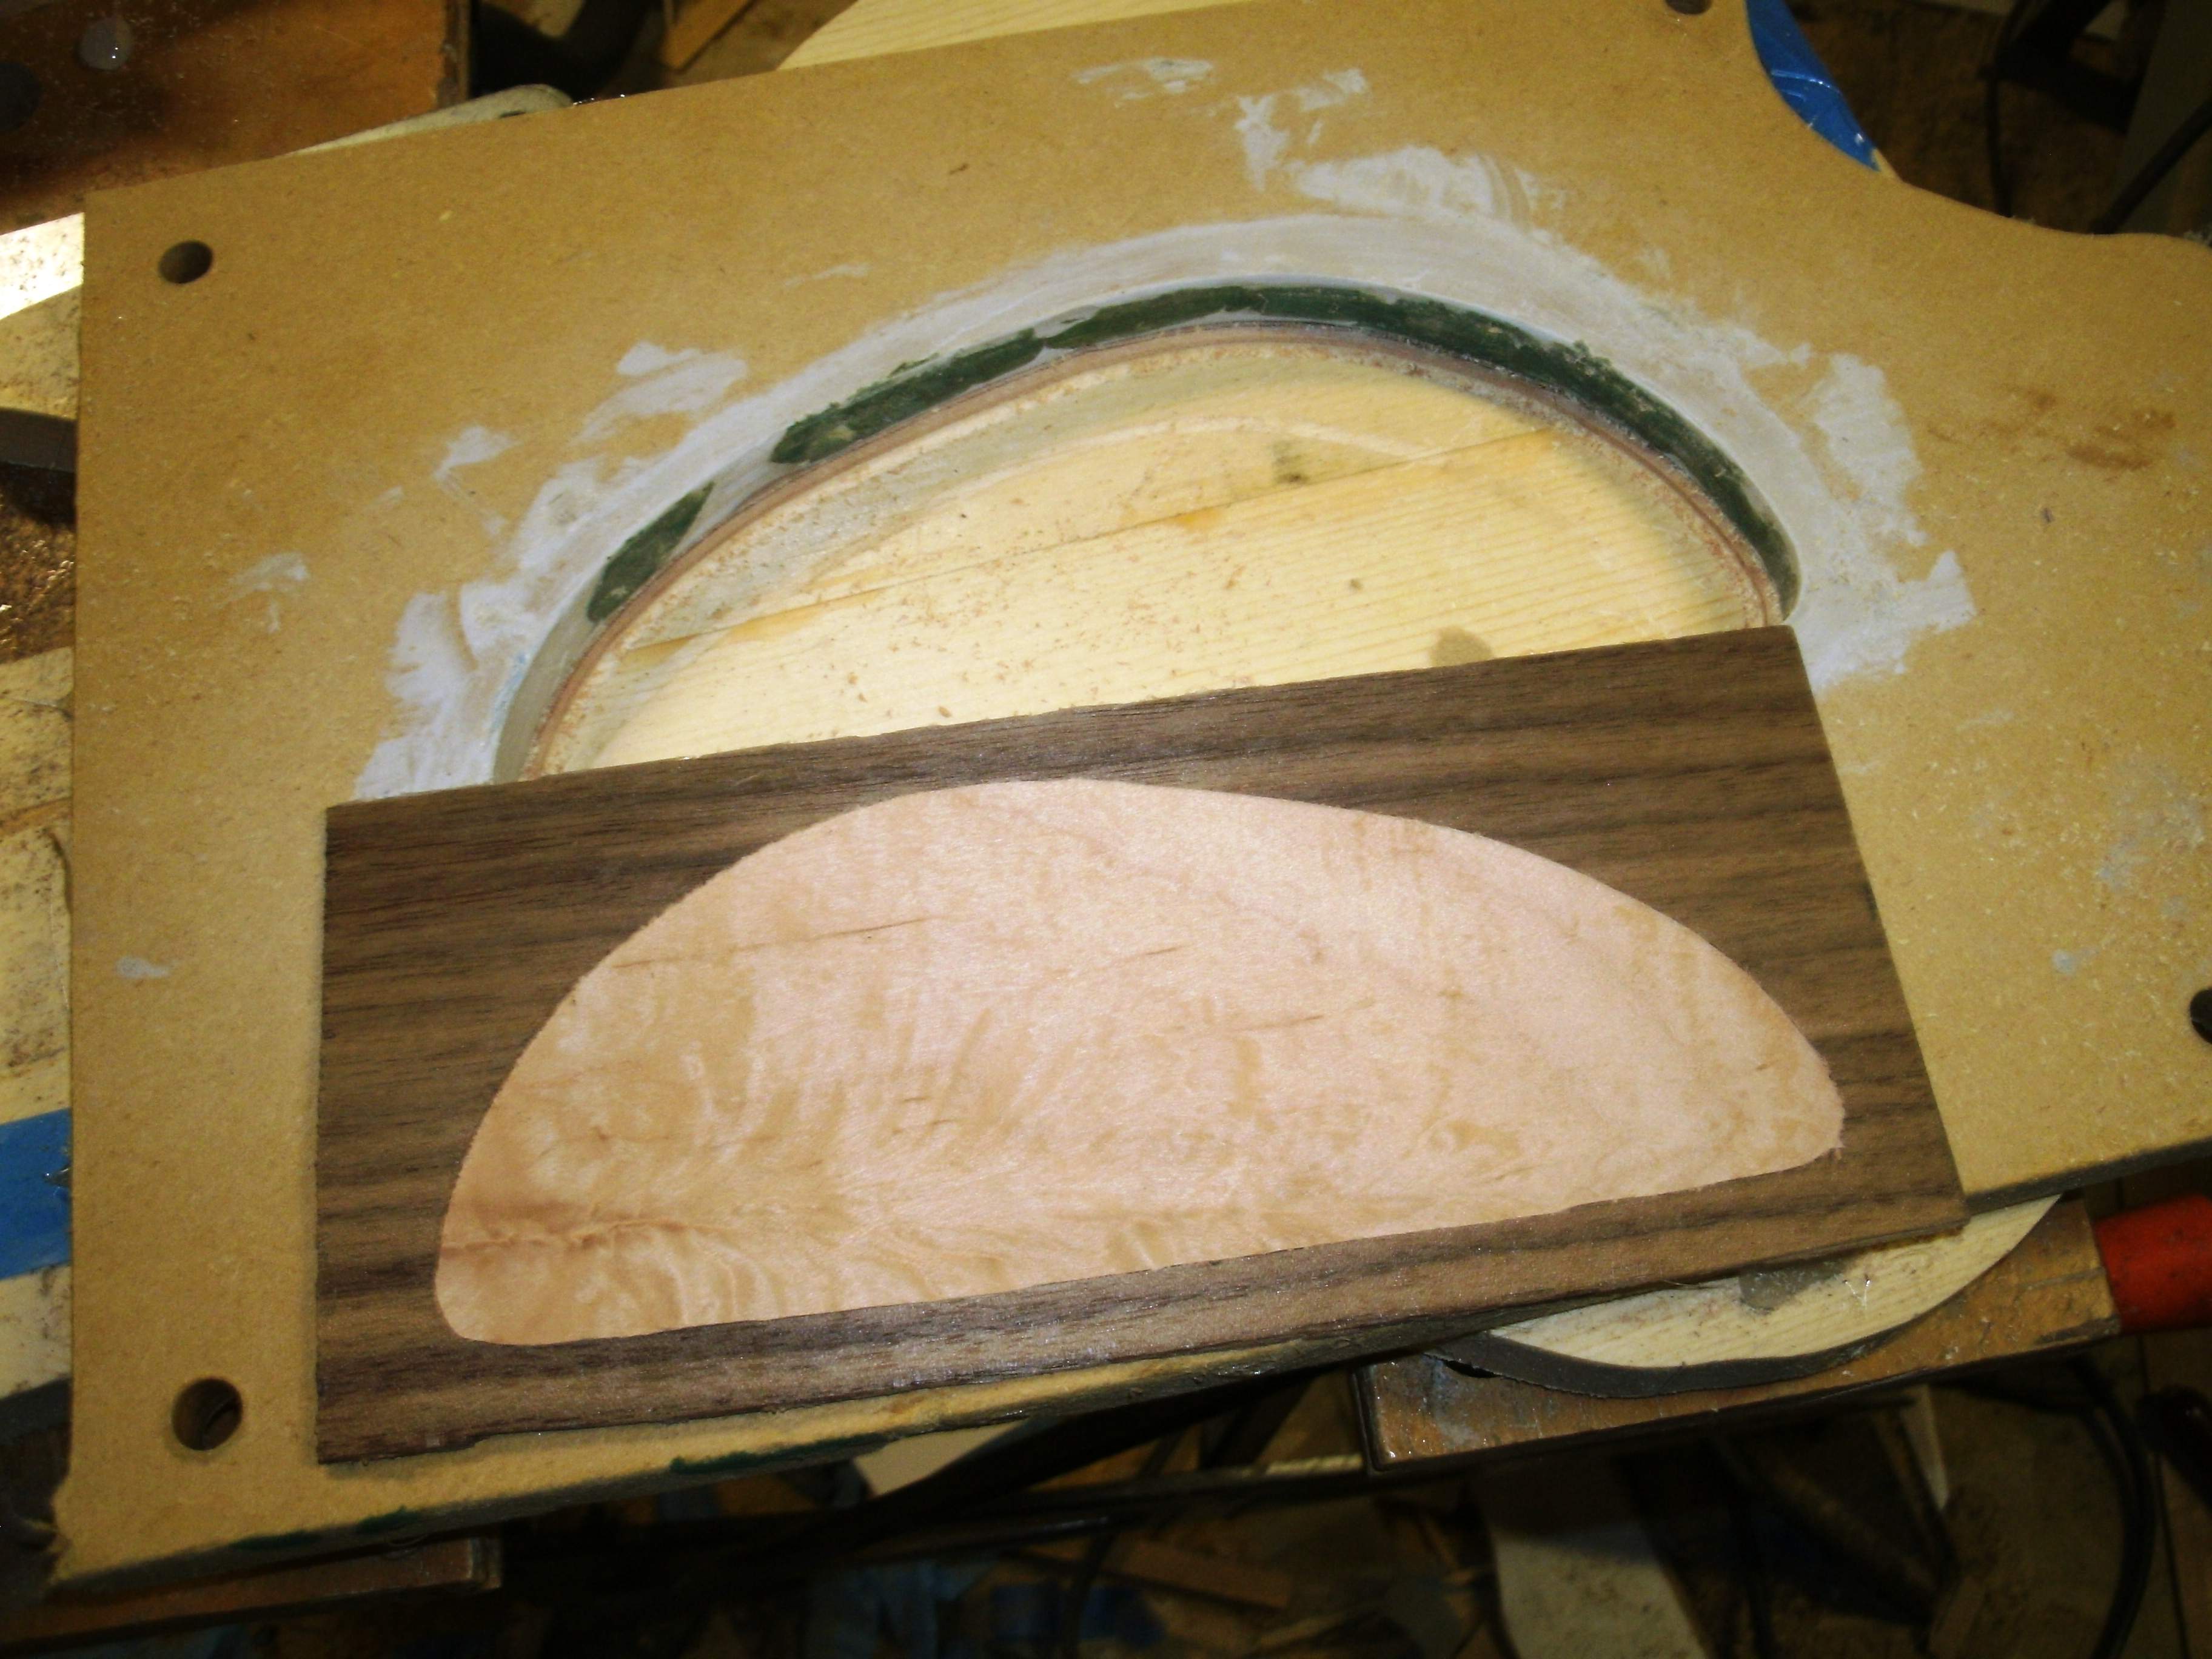
I laminated a piece of 1/16 cherry on the back to reinforce and cut the whole shebang using a regular template bit setup on my router table using the cover template. Perfect fit!
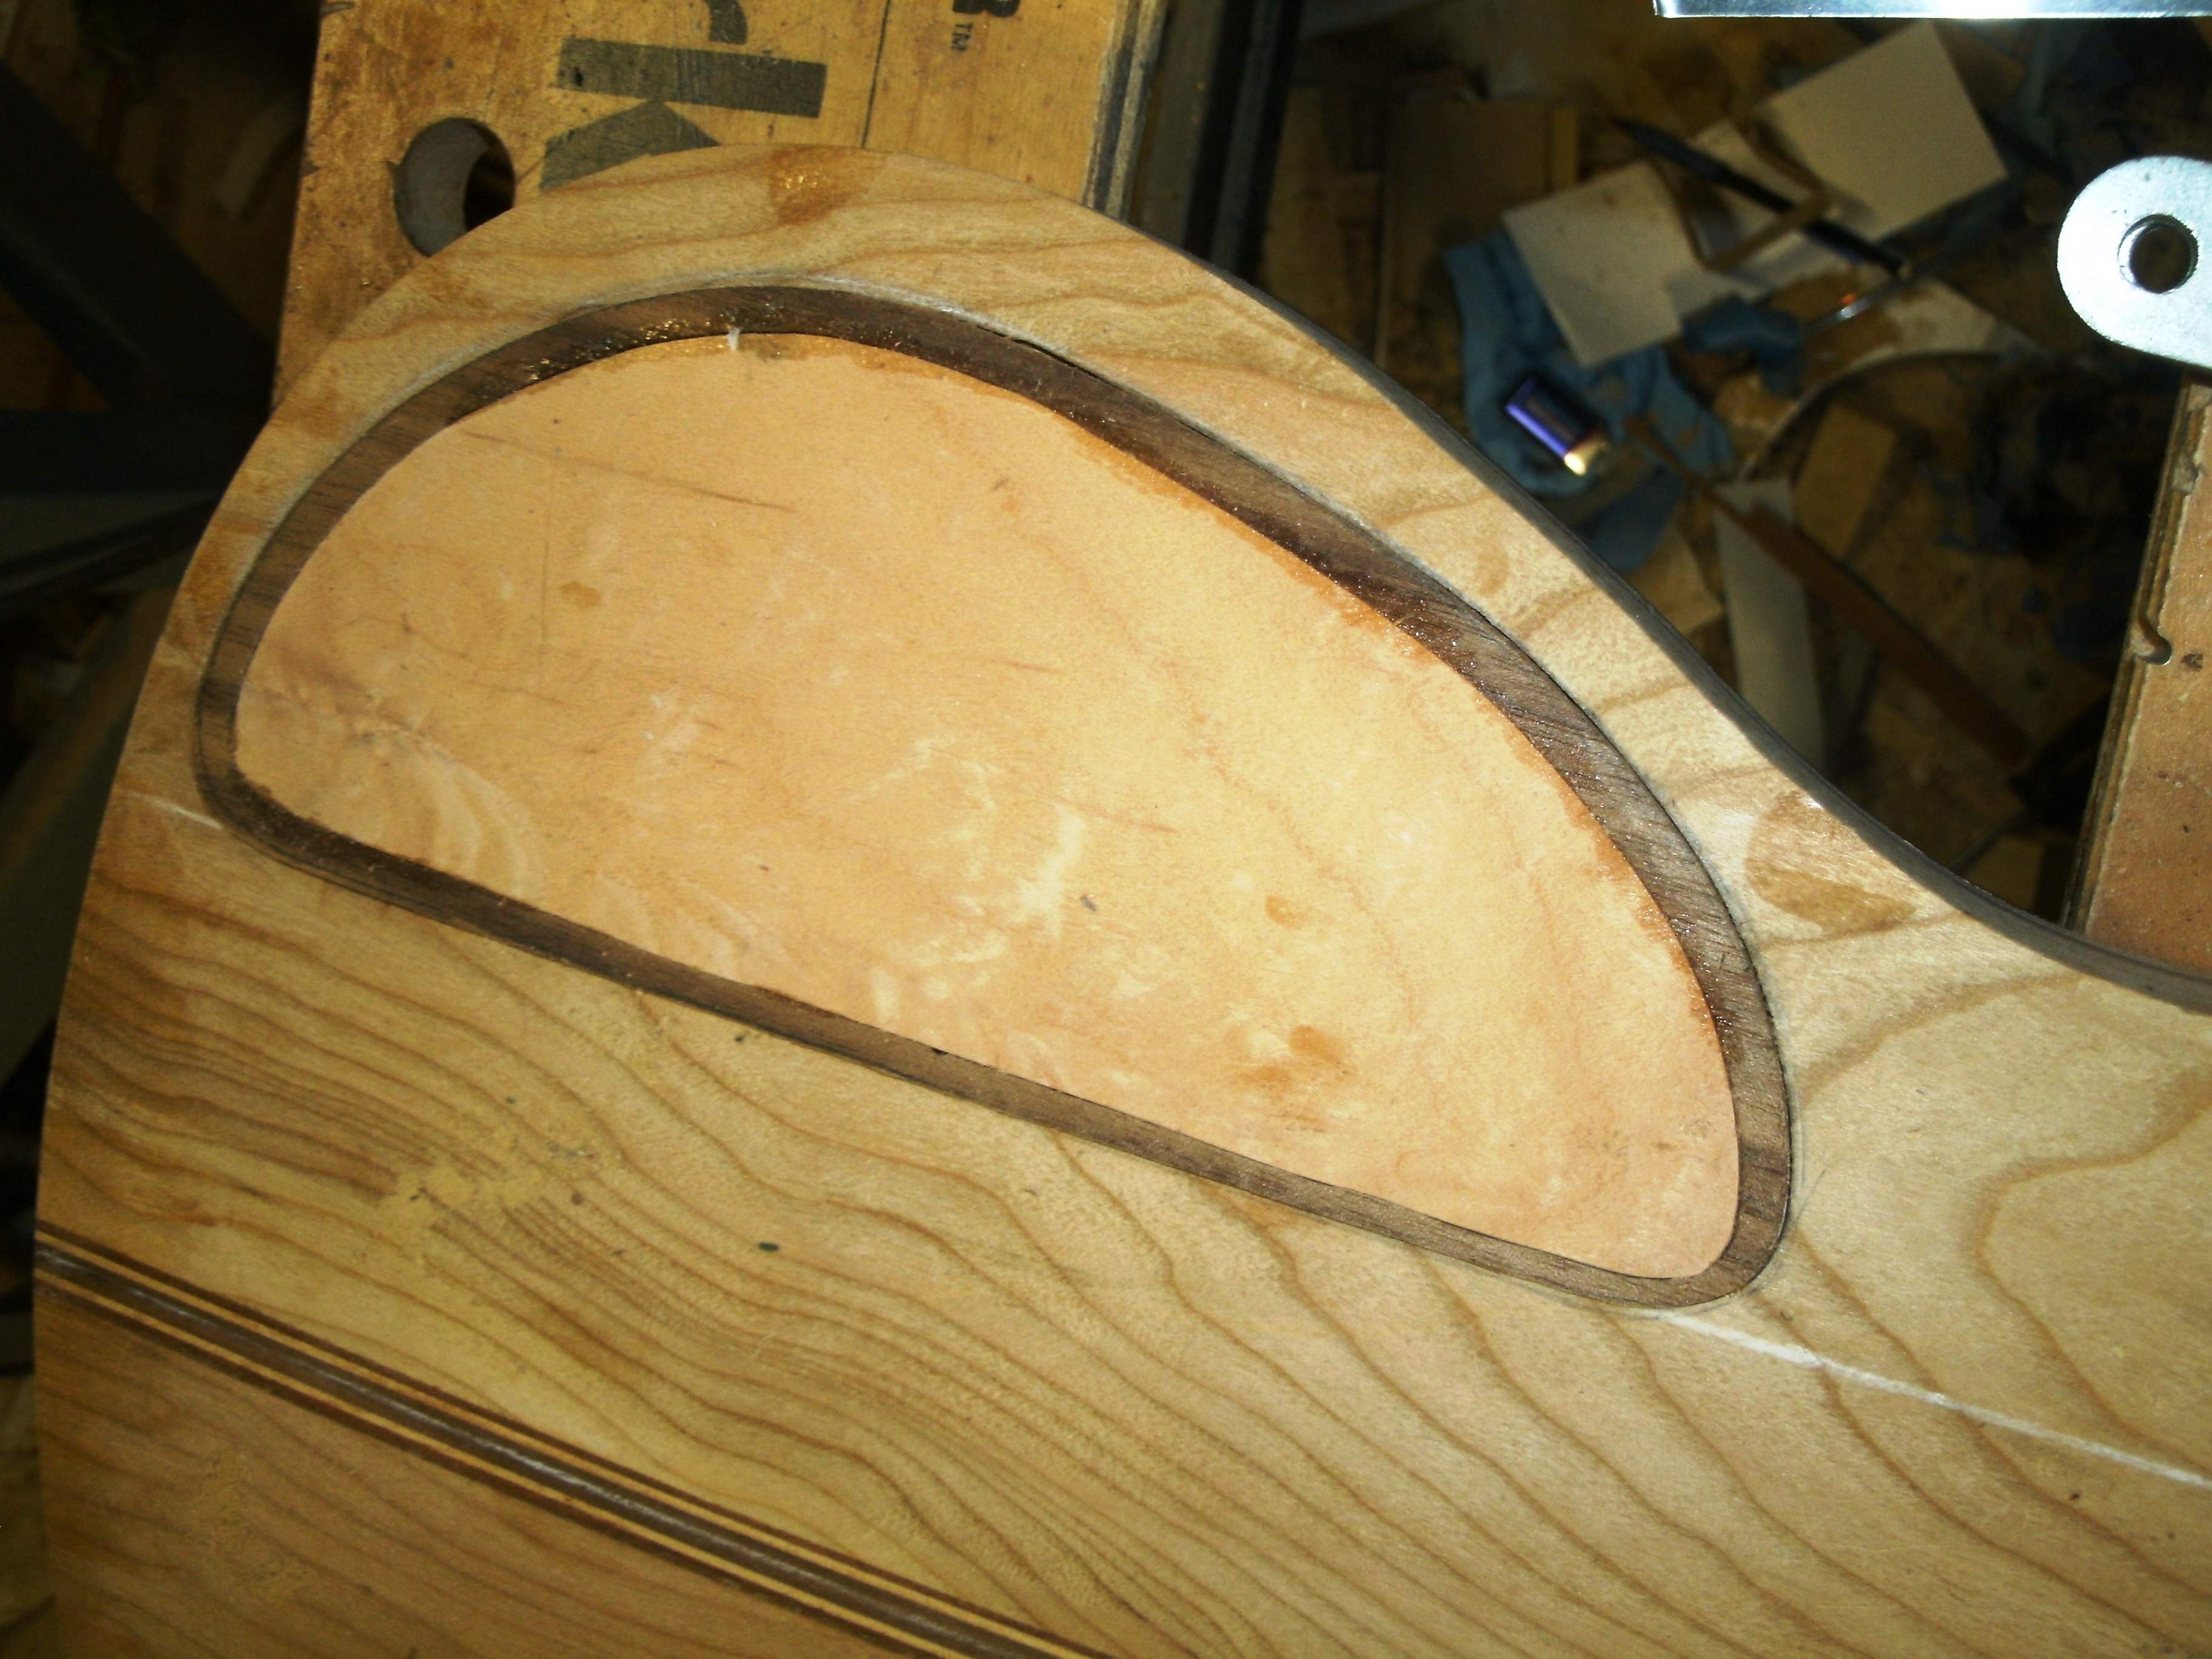
Since it's easy and fairly quick to do, I may try a cherry inset with the walnut or an all walnut cover.
I cut the 1/16th walnut first with the collar installed to form the ring, using the control cavity template as the guide:
Then removed the 1/8" thick collar to cut the 1/16th maple
I laminated a piece of 1/16 cherry on the back to reinforce and cut the whole shebang using a regular template bit setup on my router table using the cover template. Perfect fit!
Since it's easy and fairly quick to do, I may try a cherry inset with the walnut or an all walnut cover.
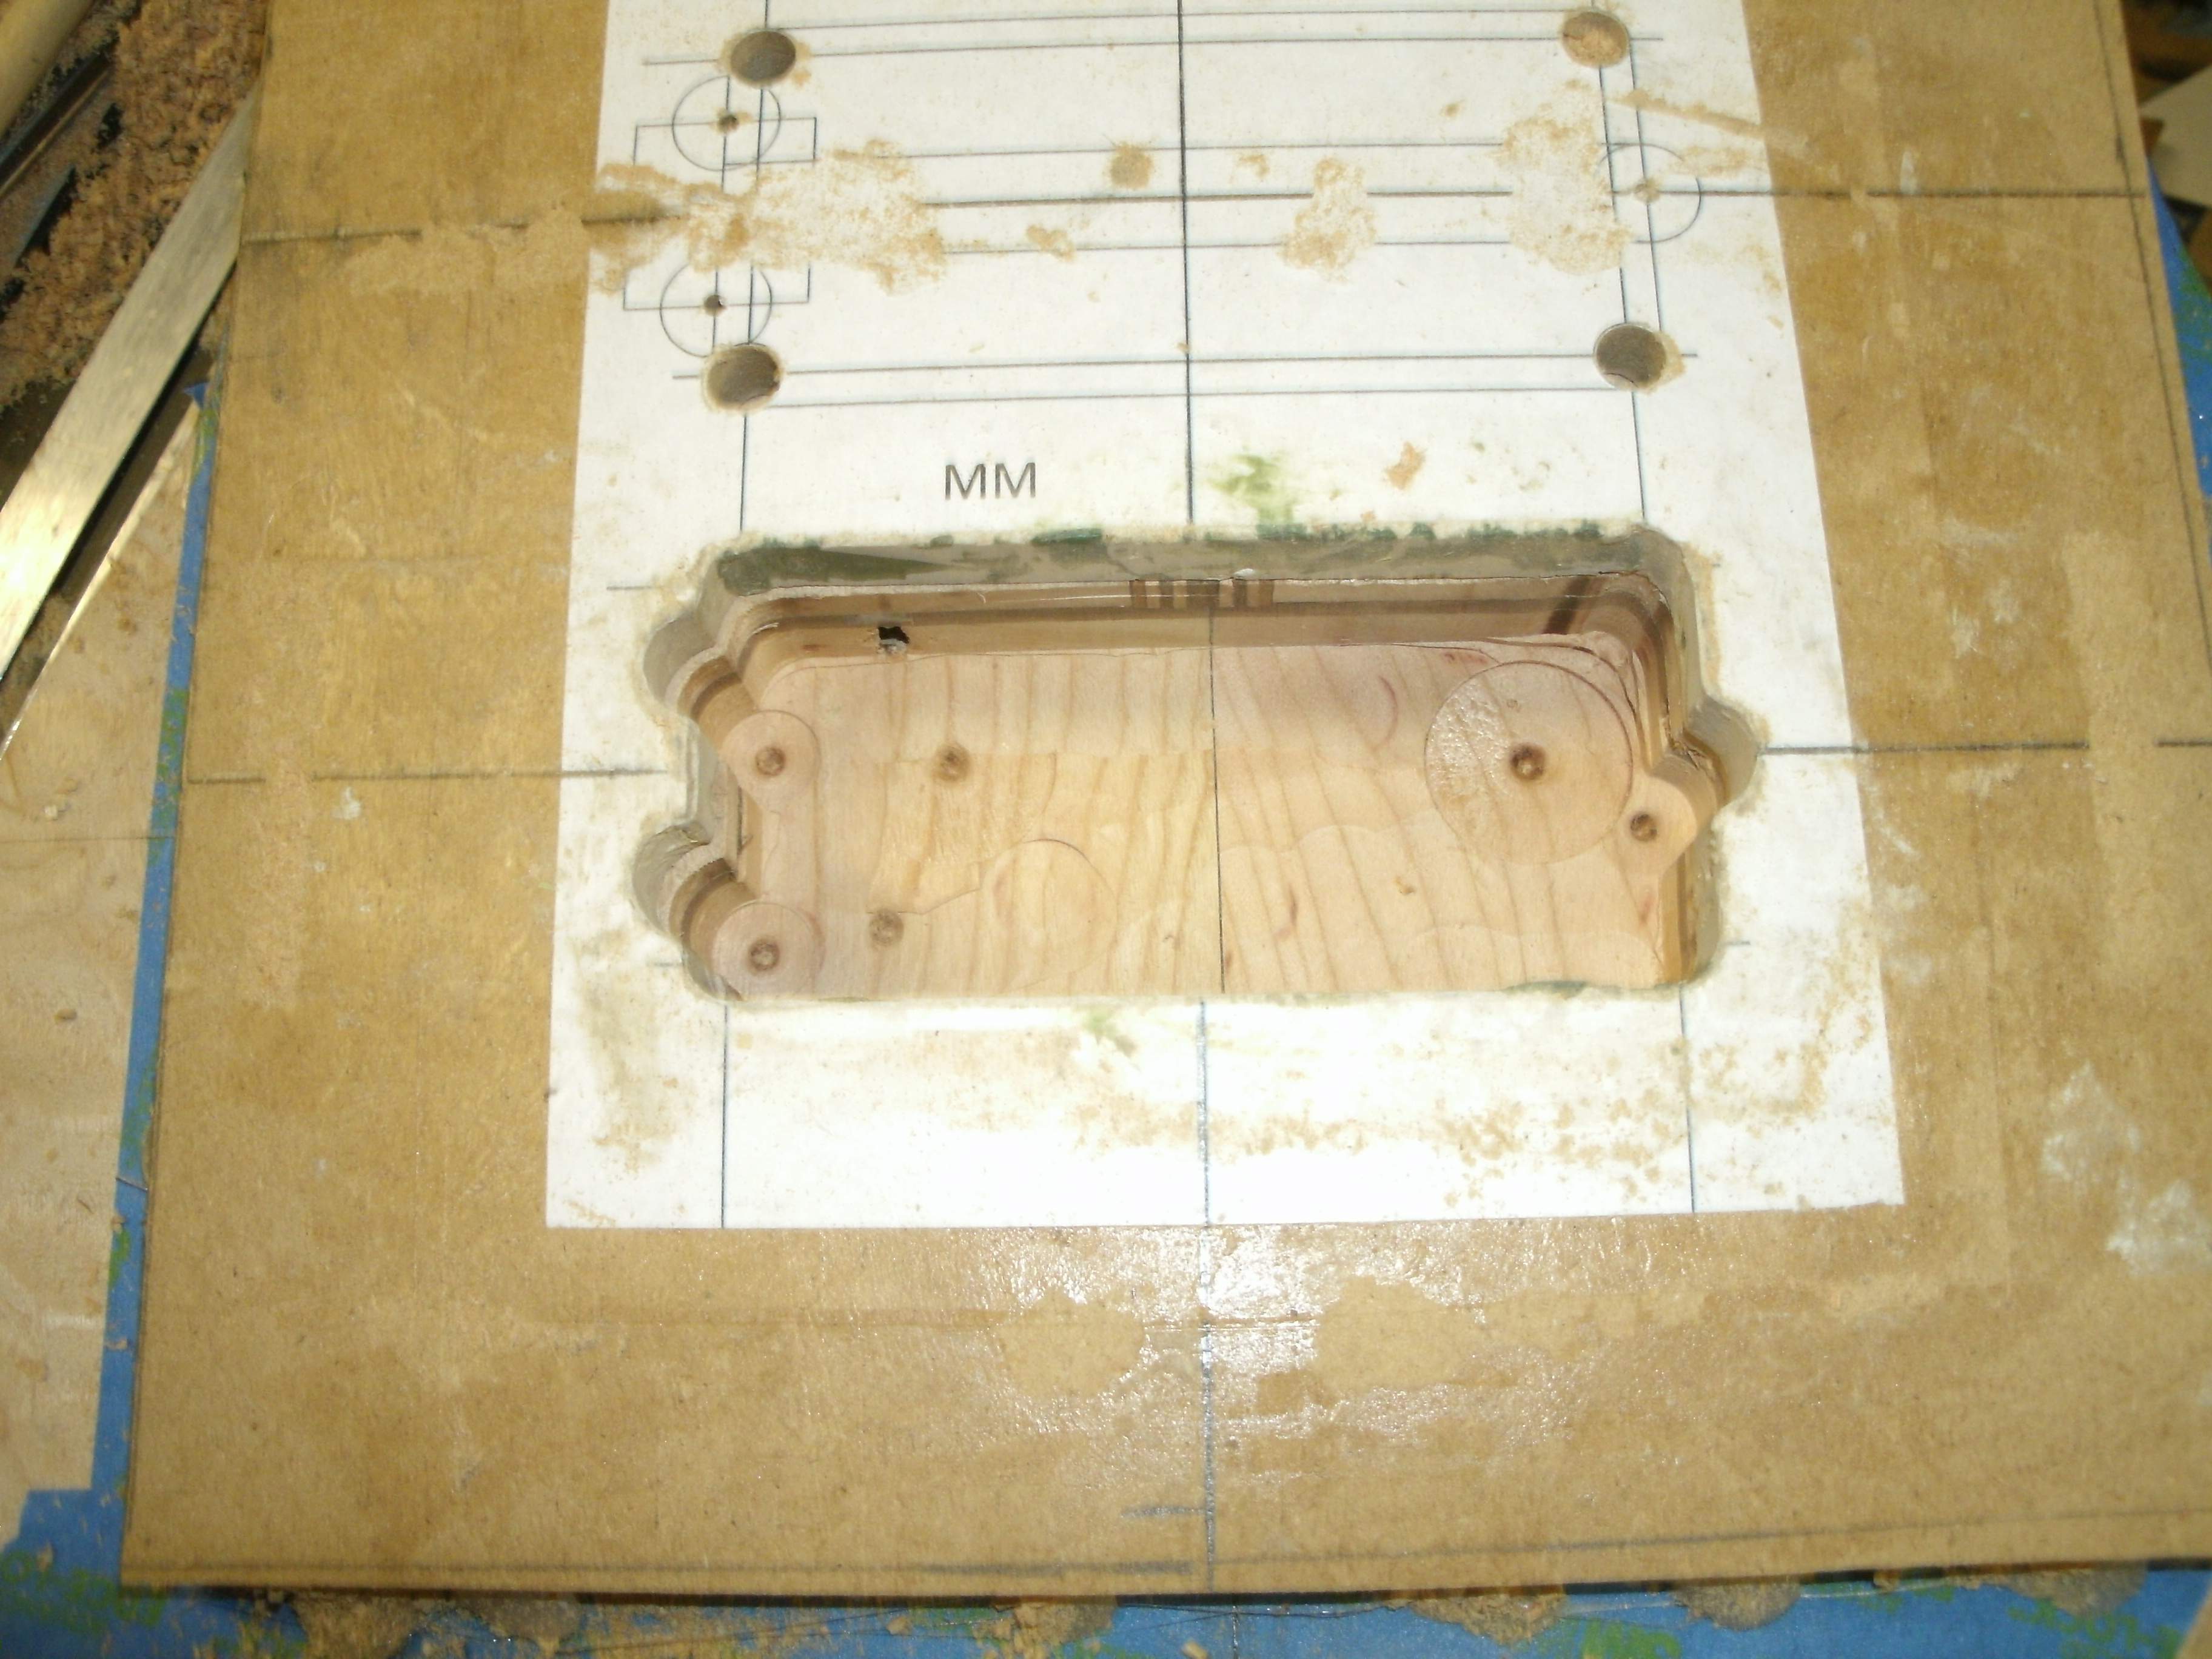
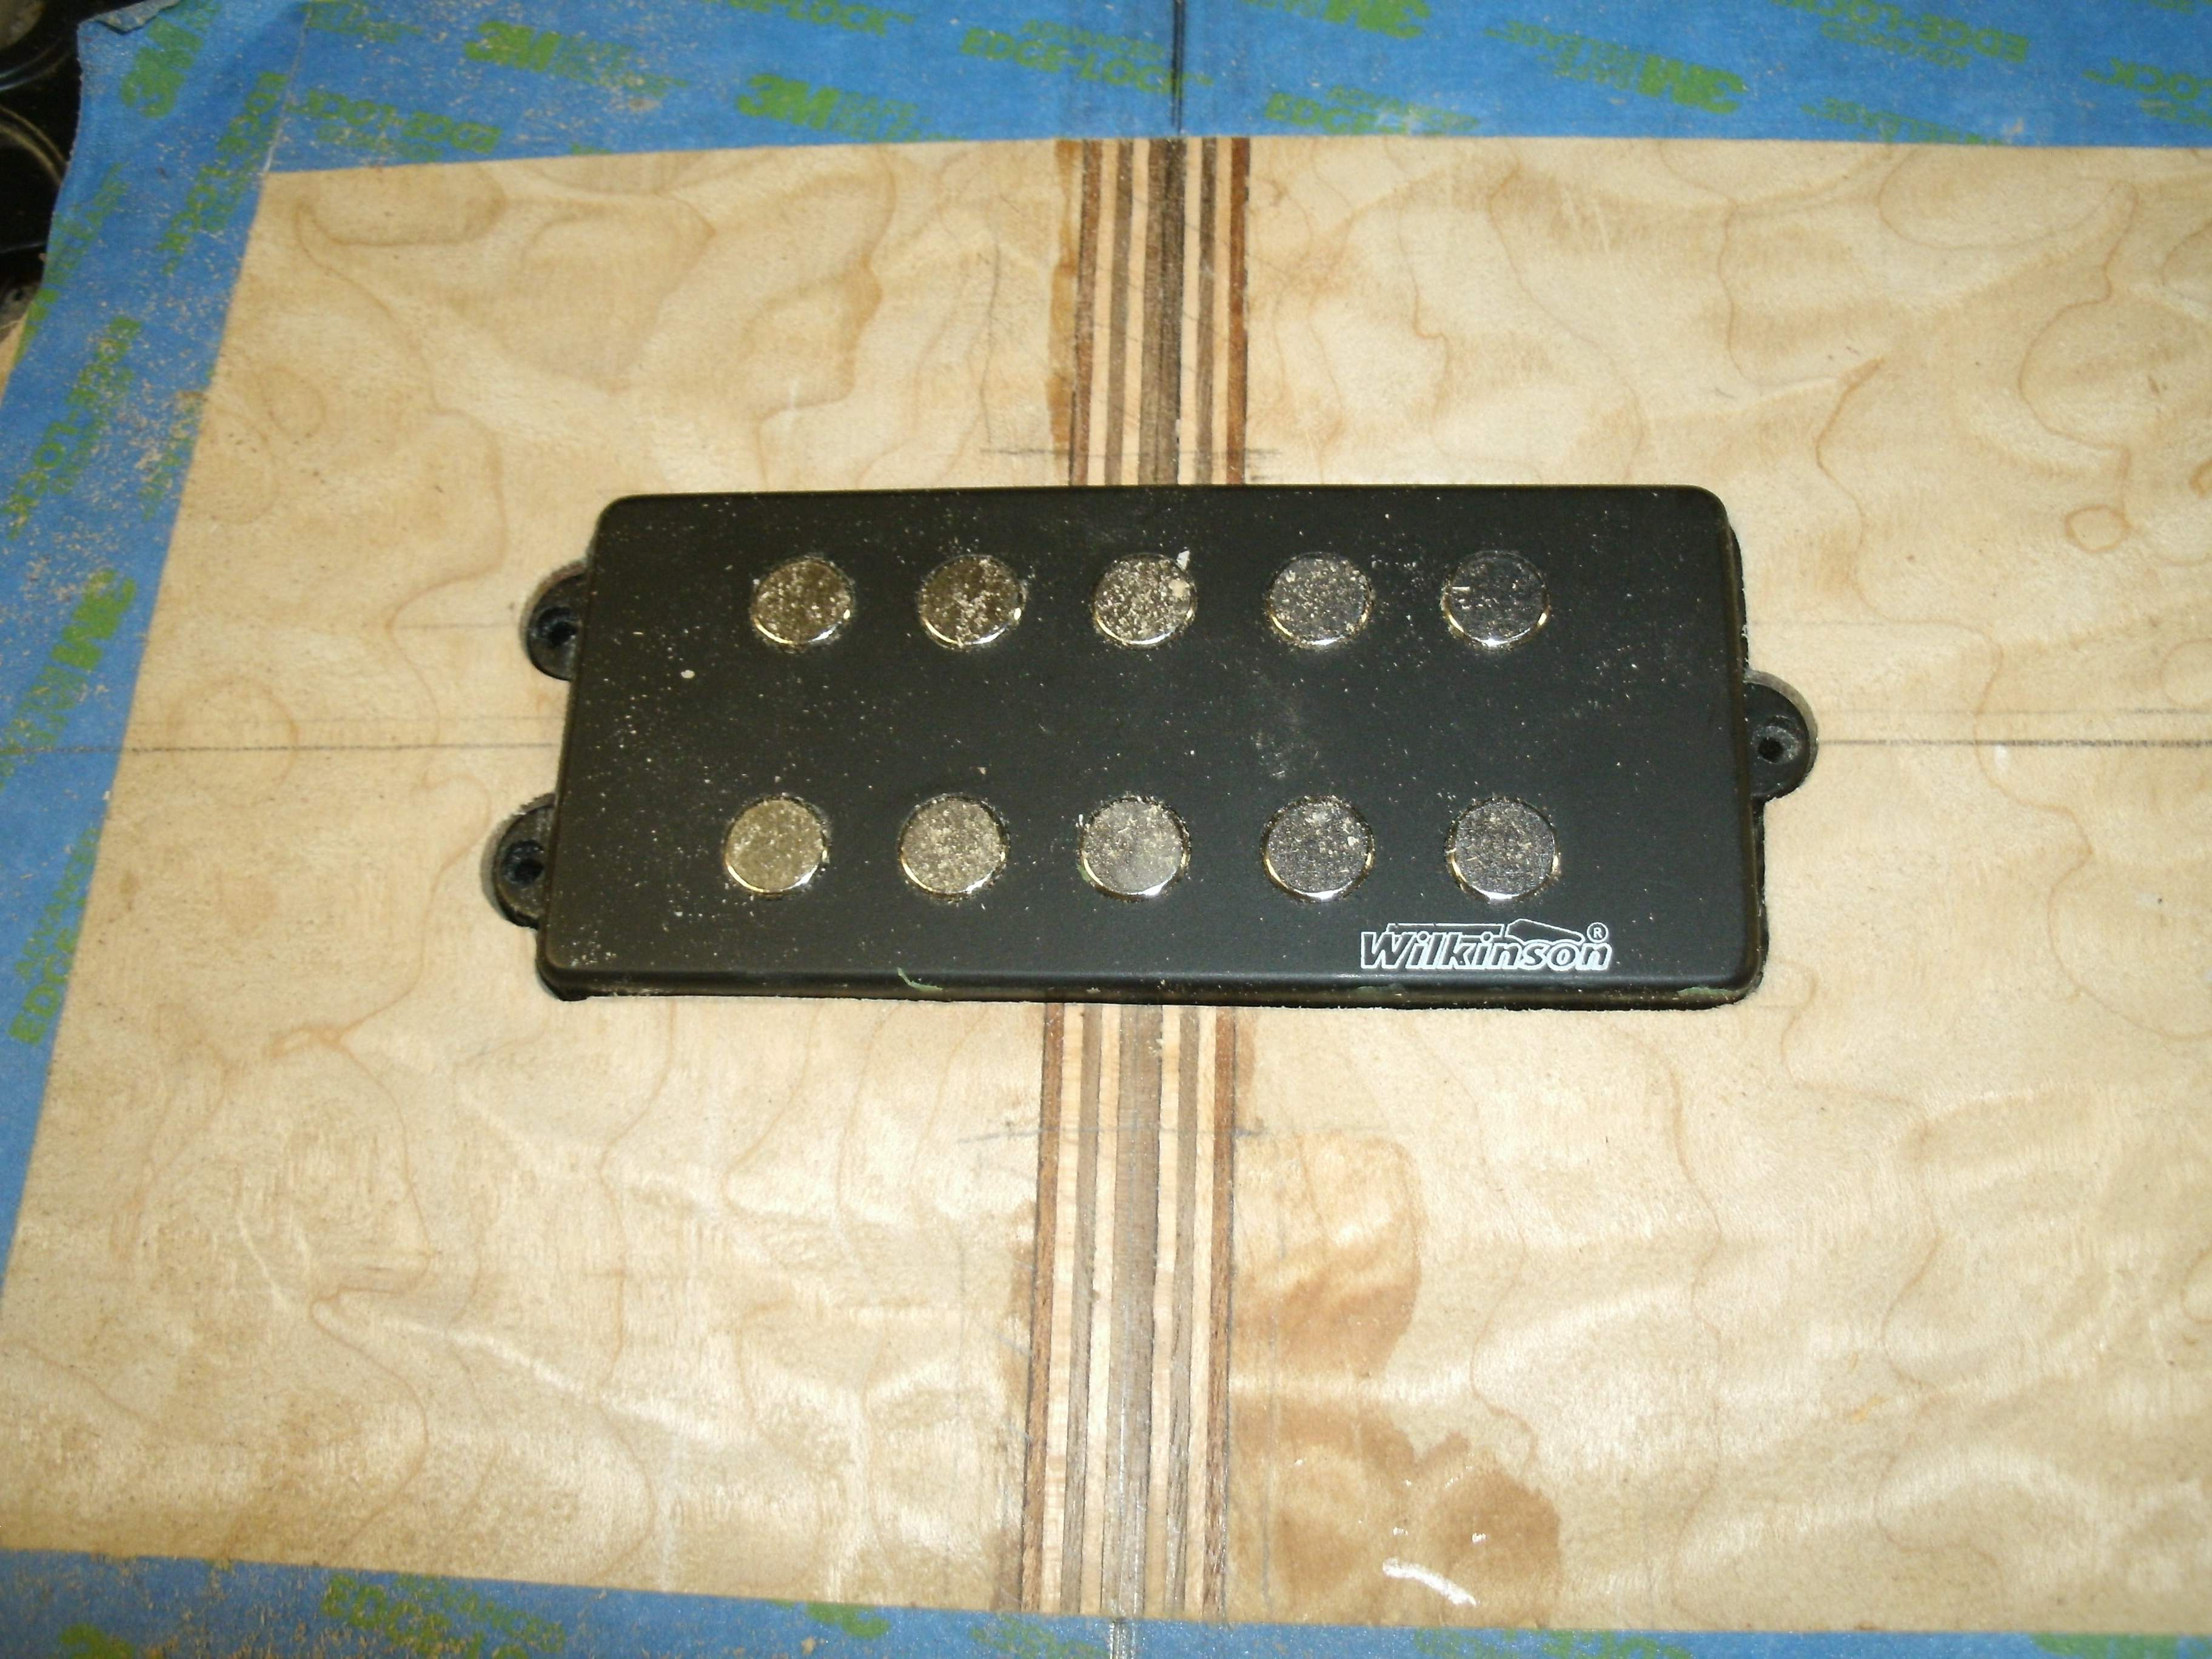
Pickup template; the upper portion is just the holes for the radiused corners.
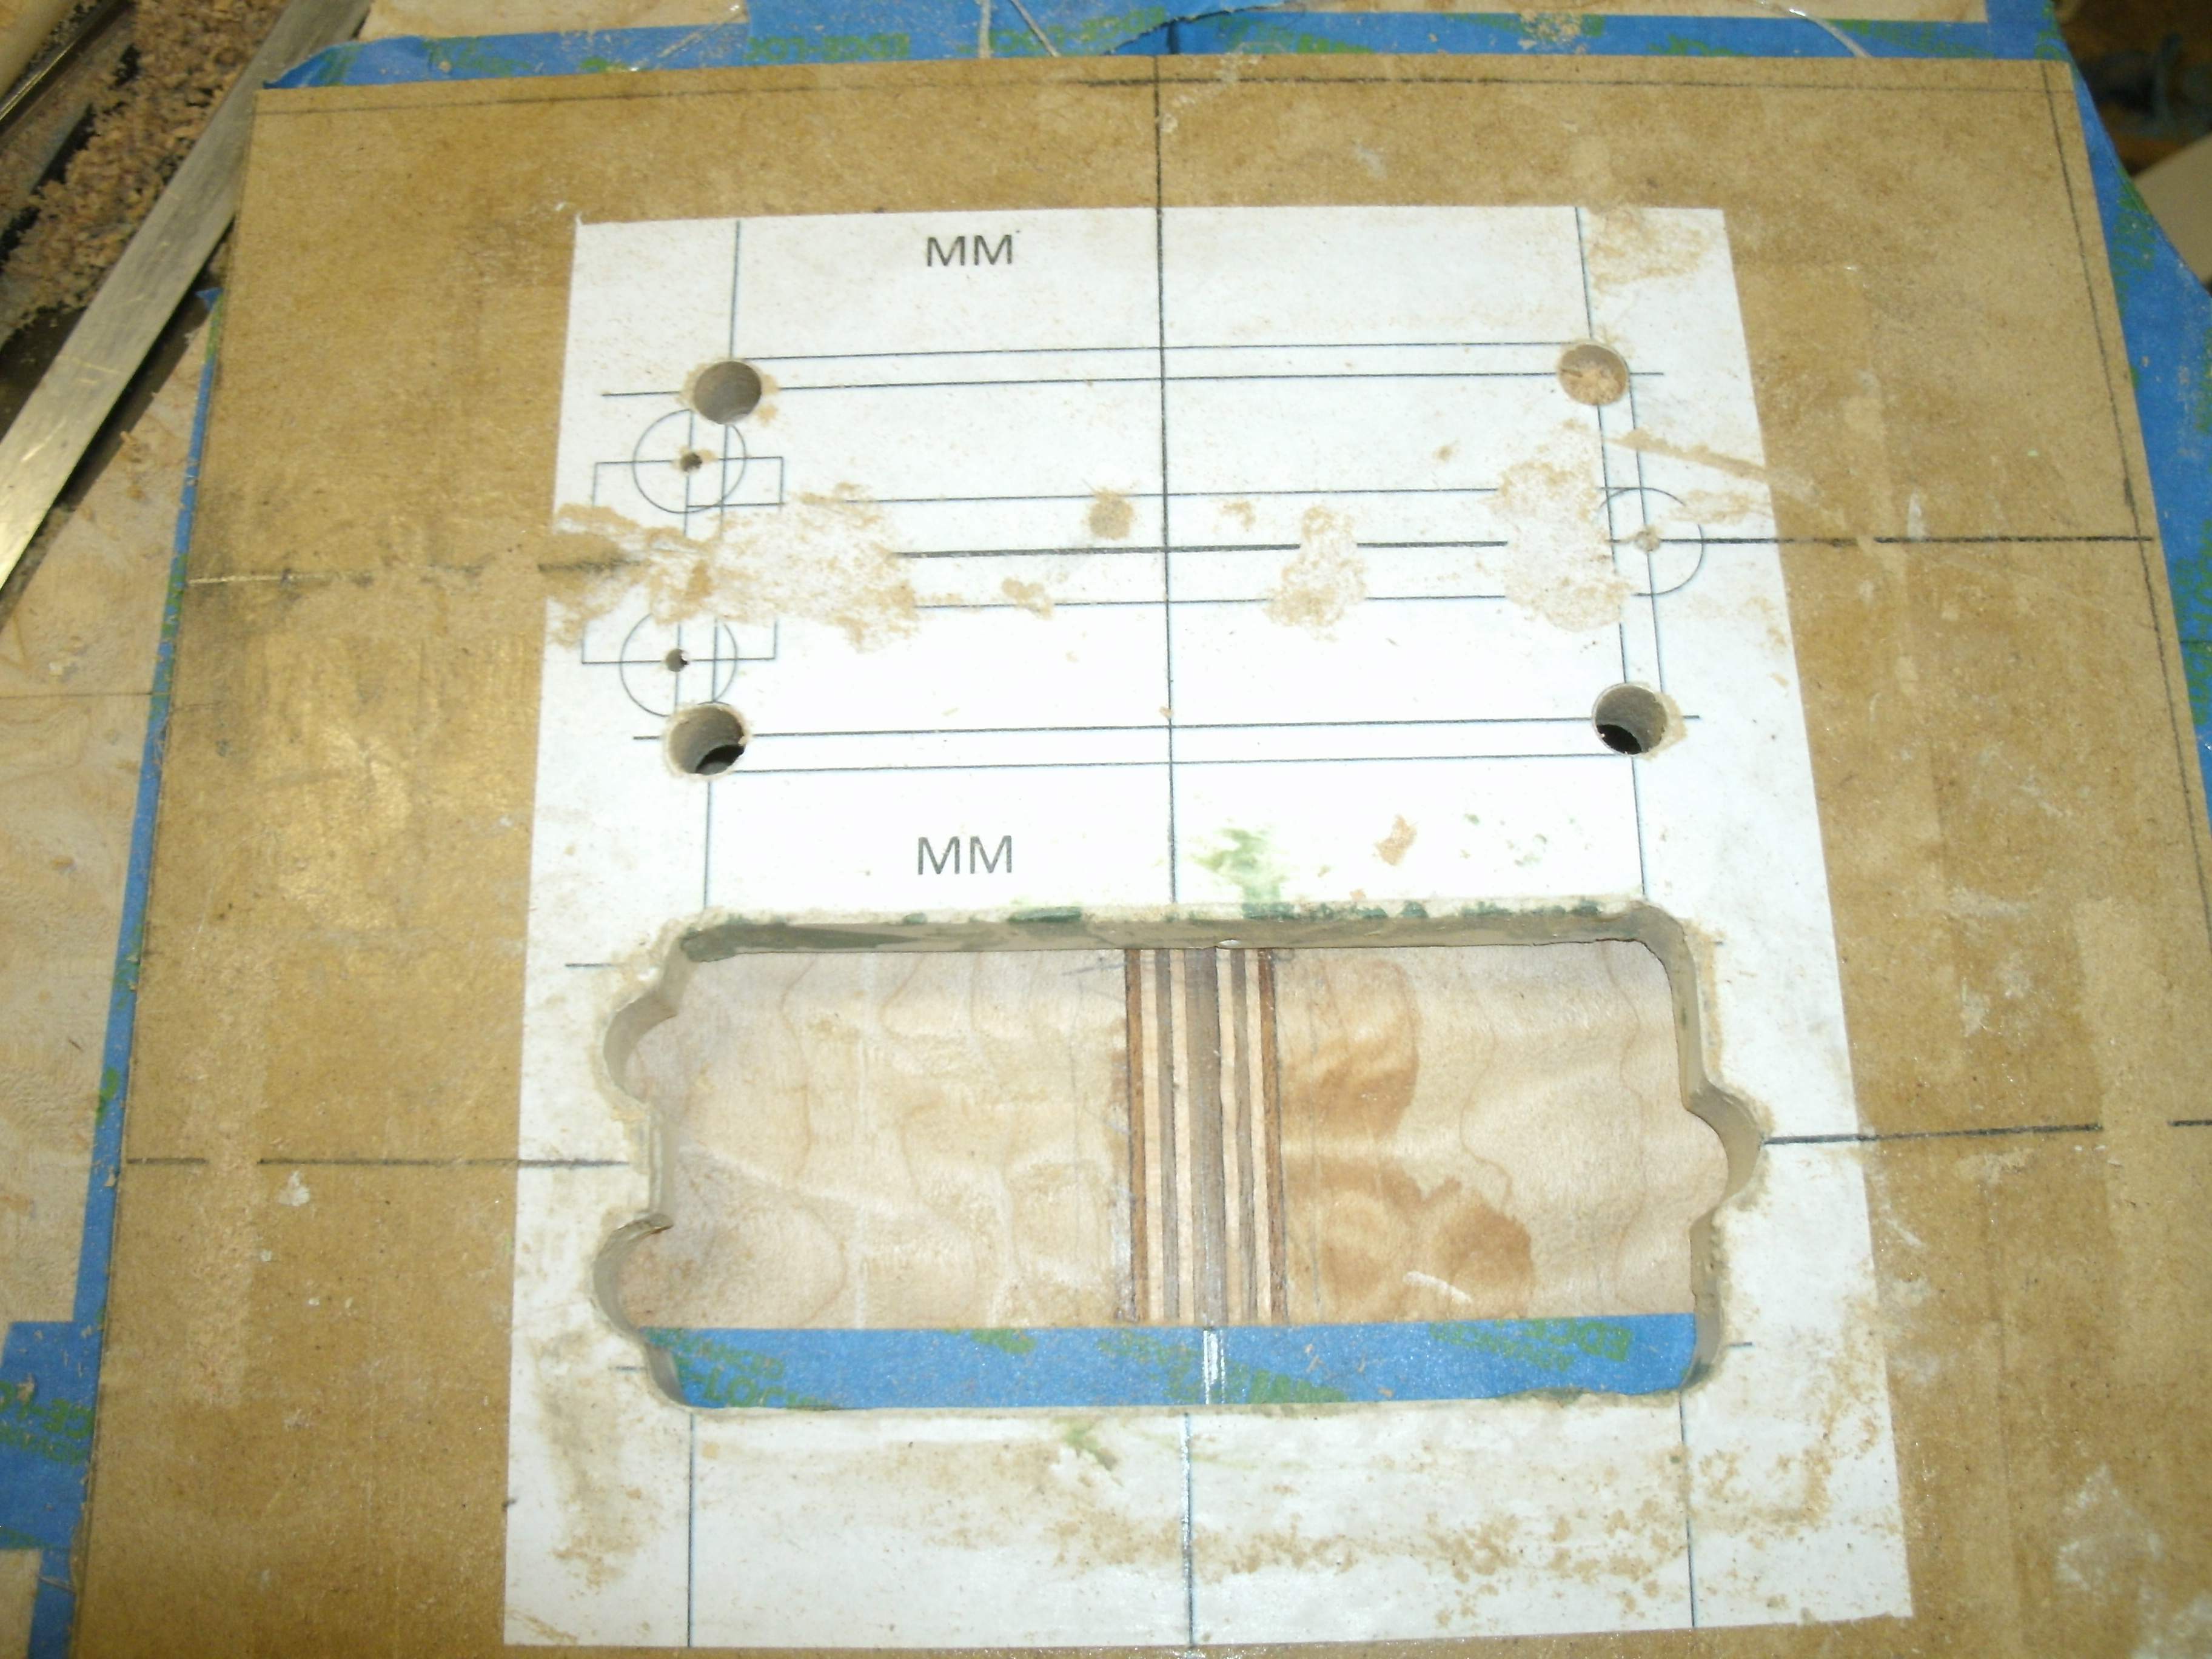
A bit of routing later:
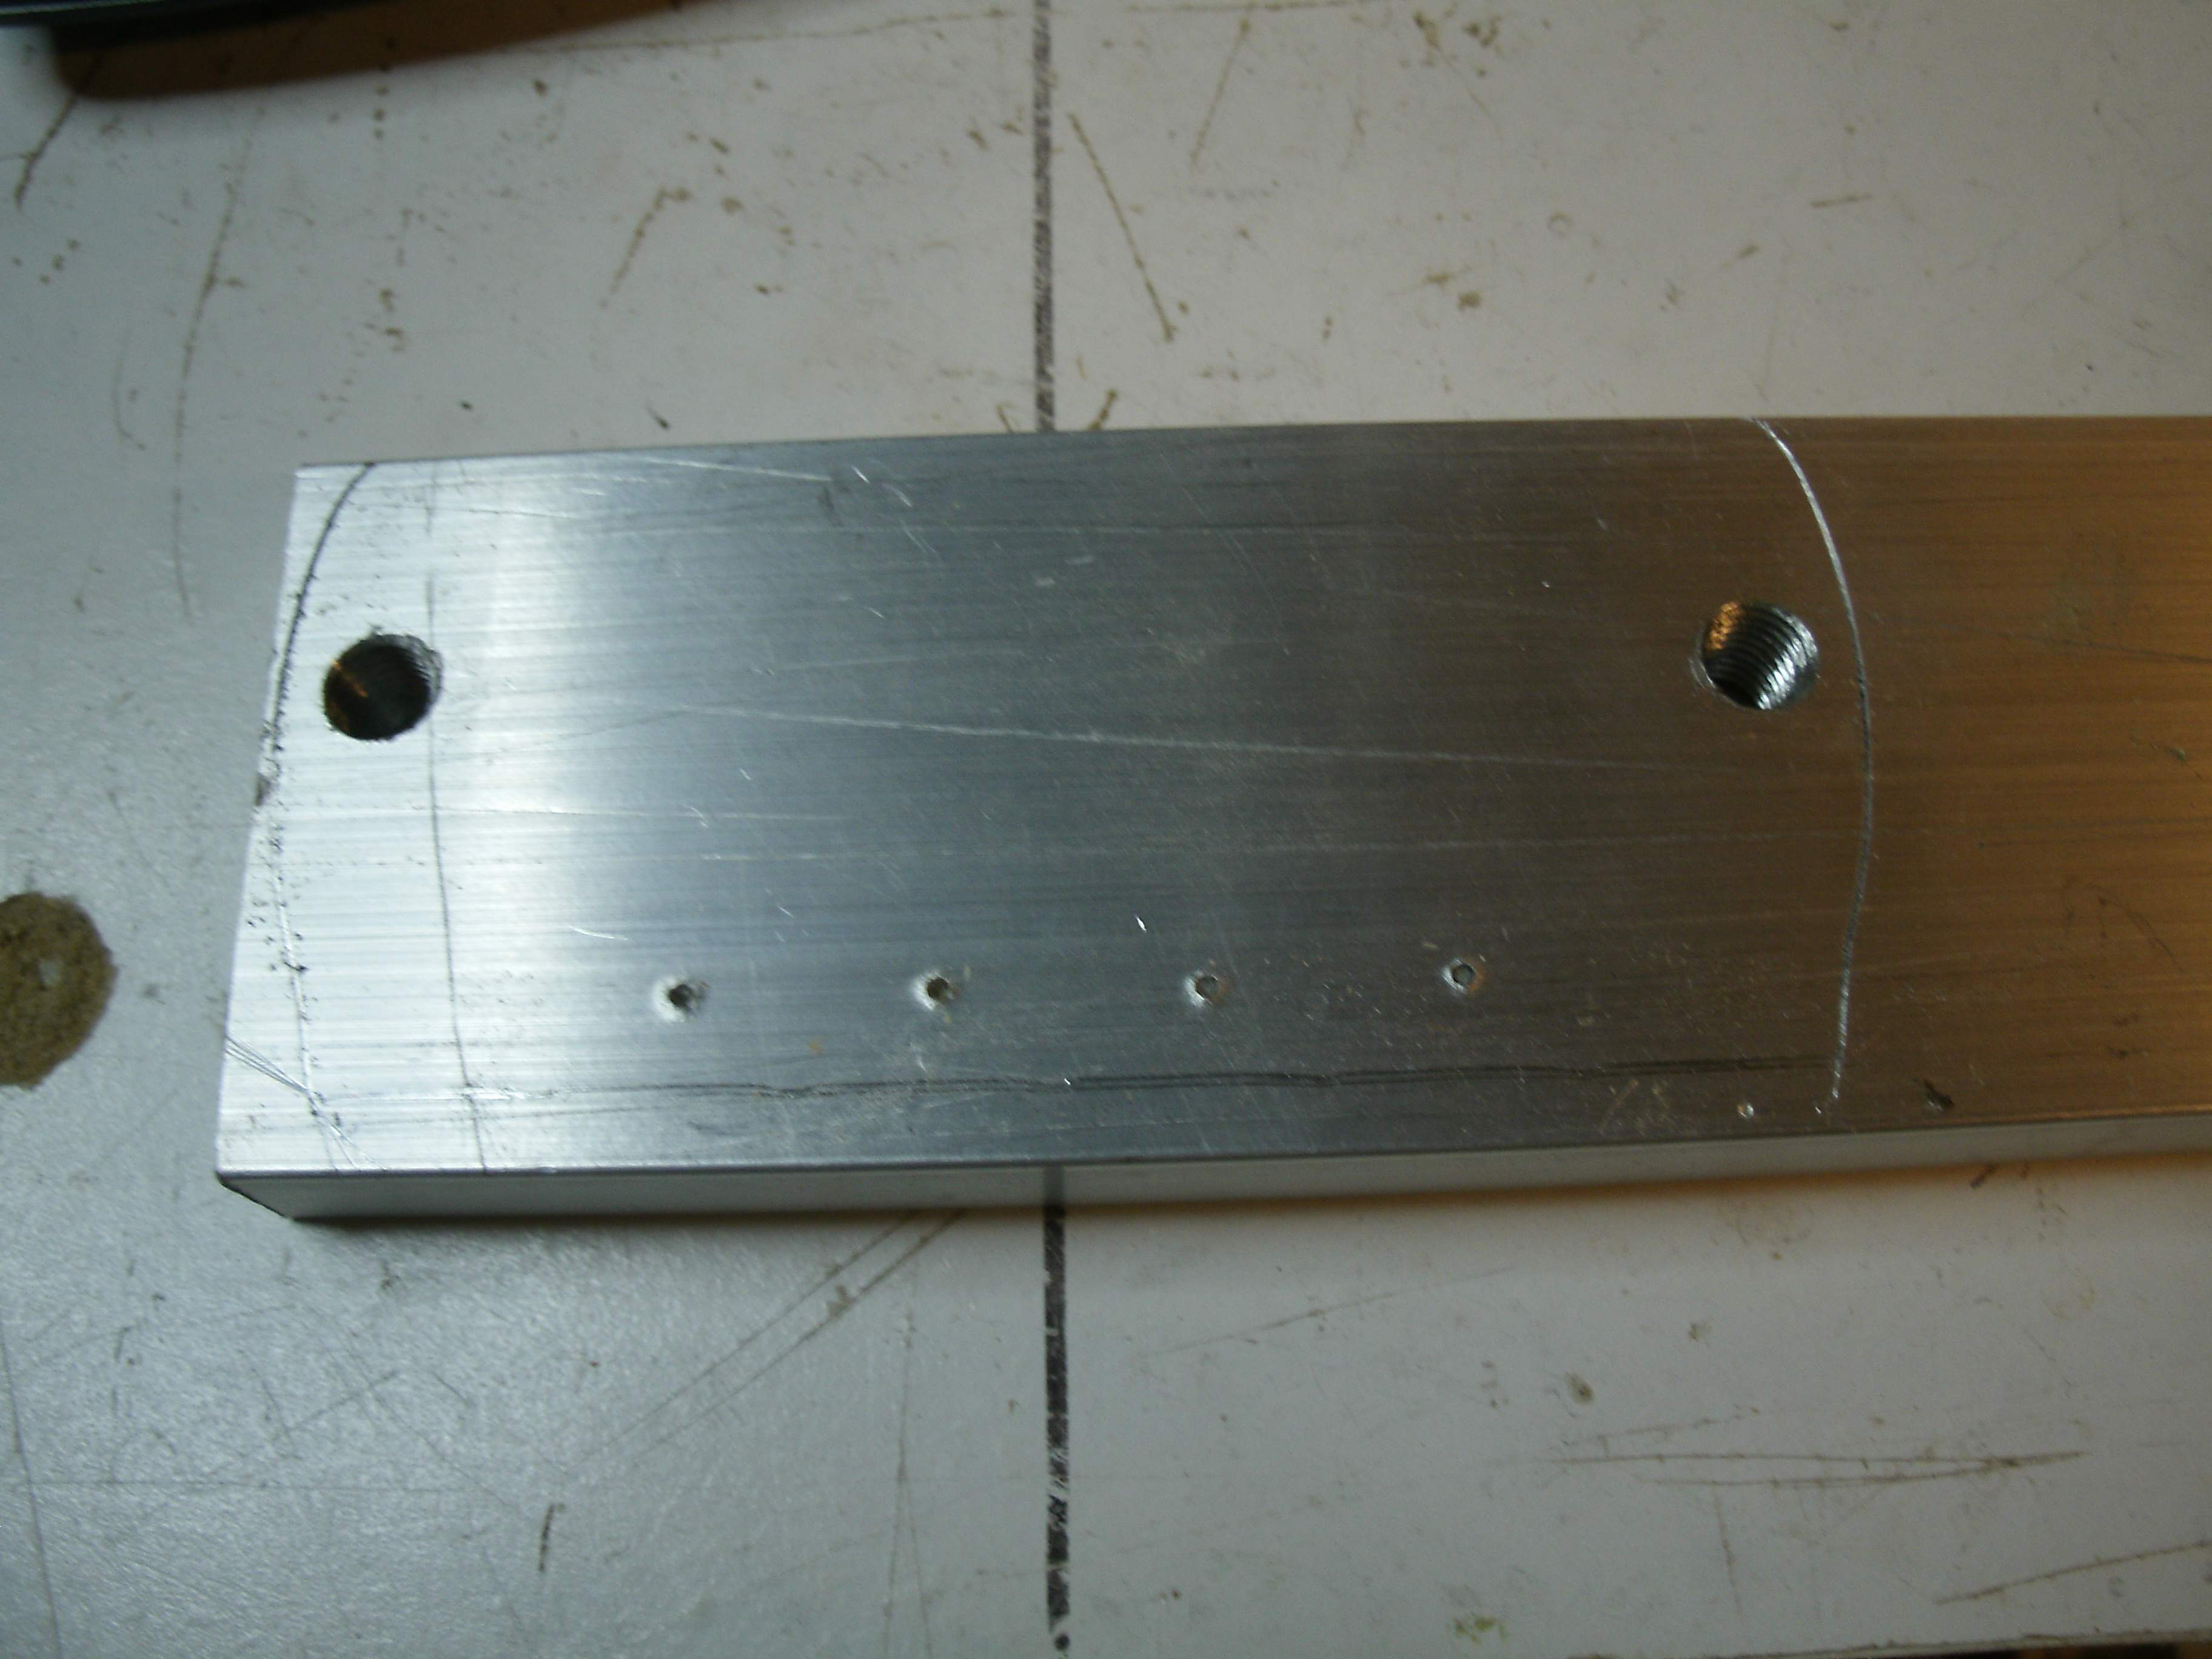
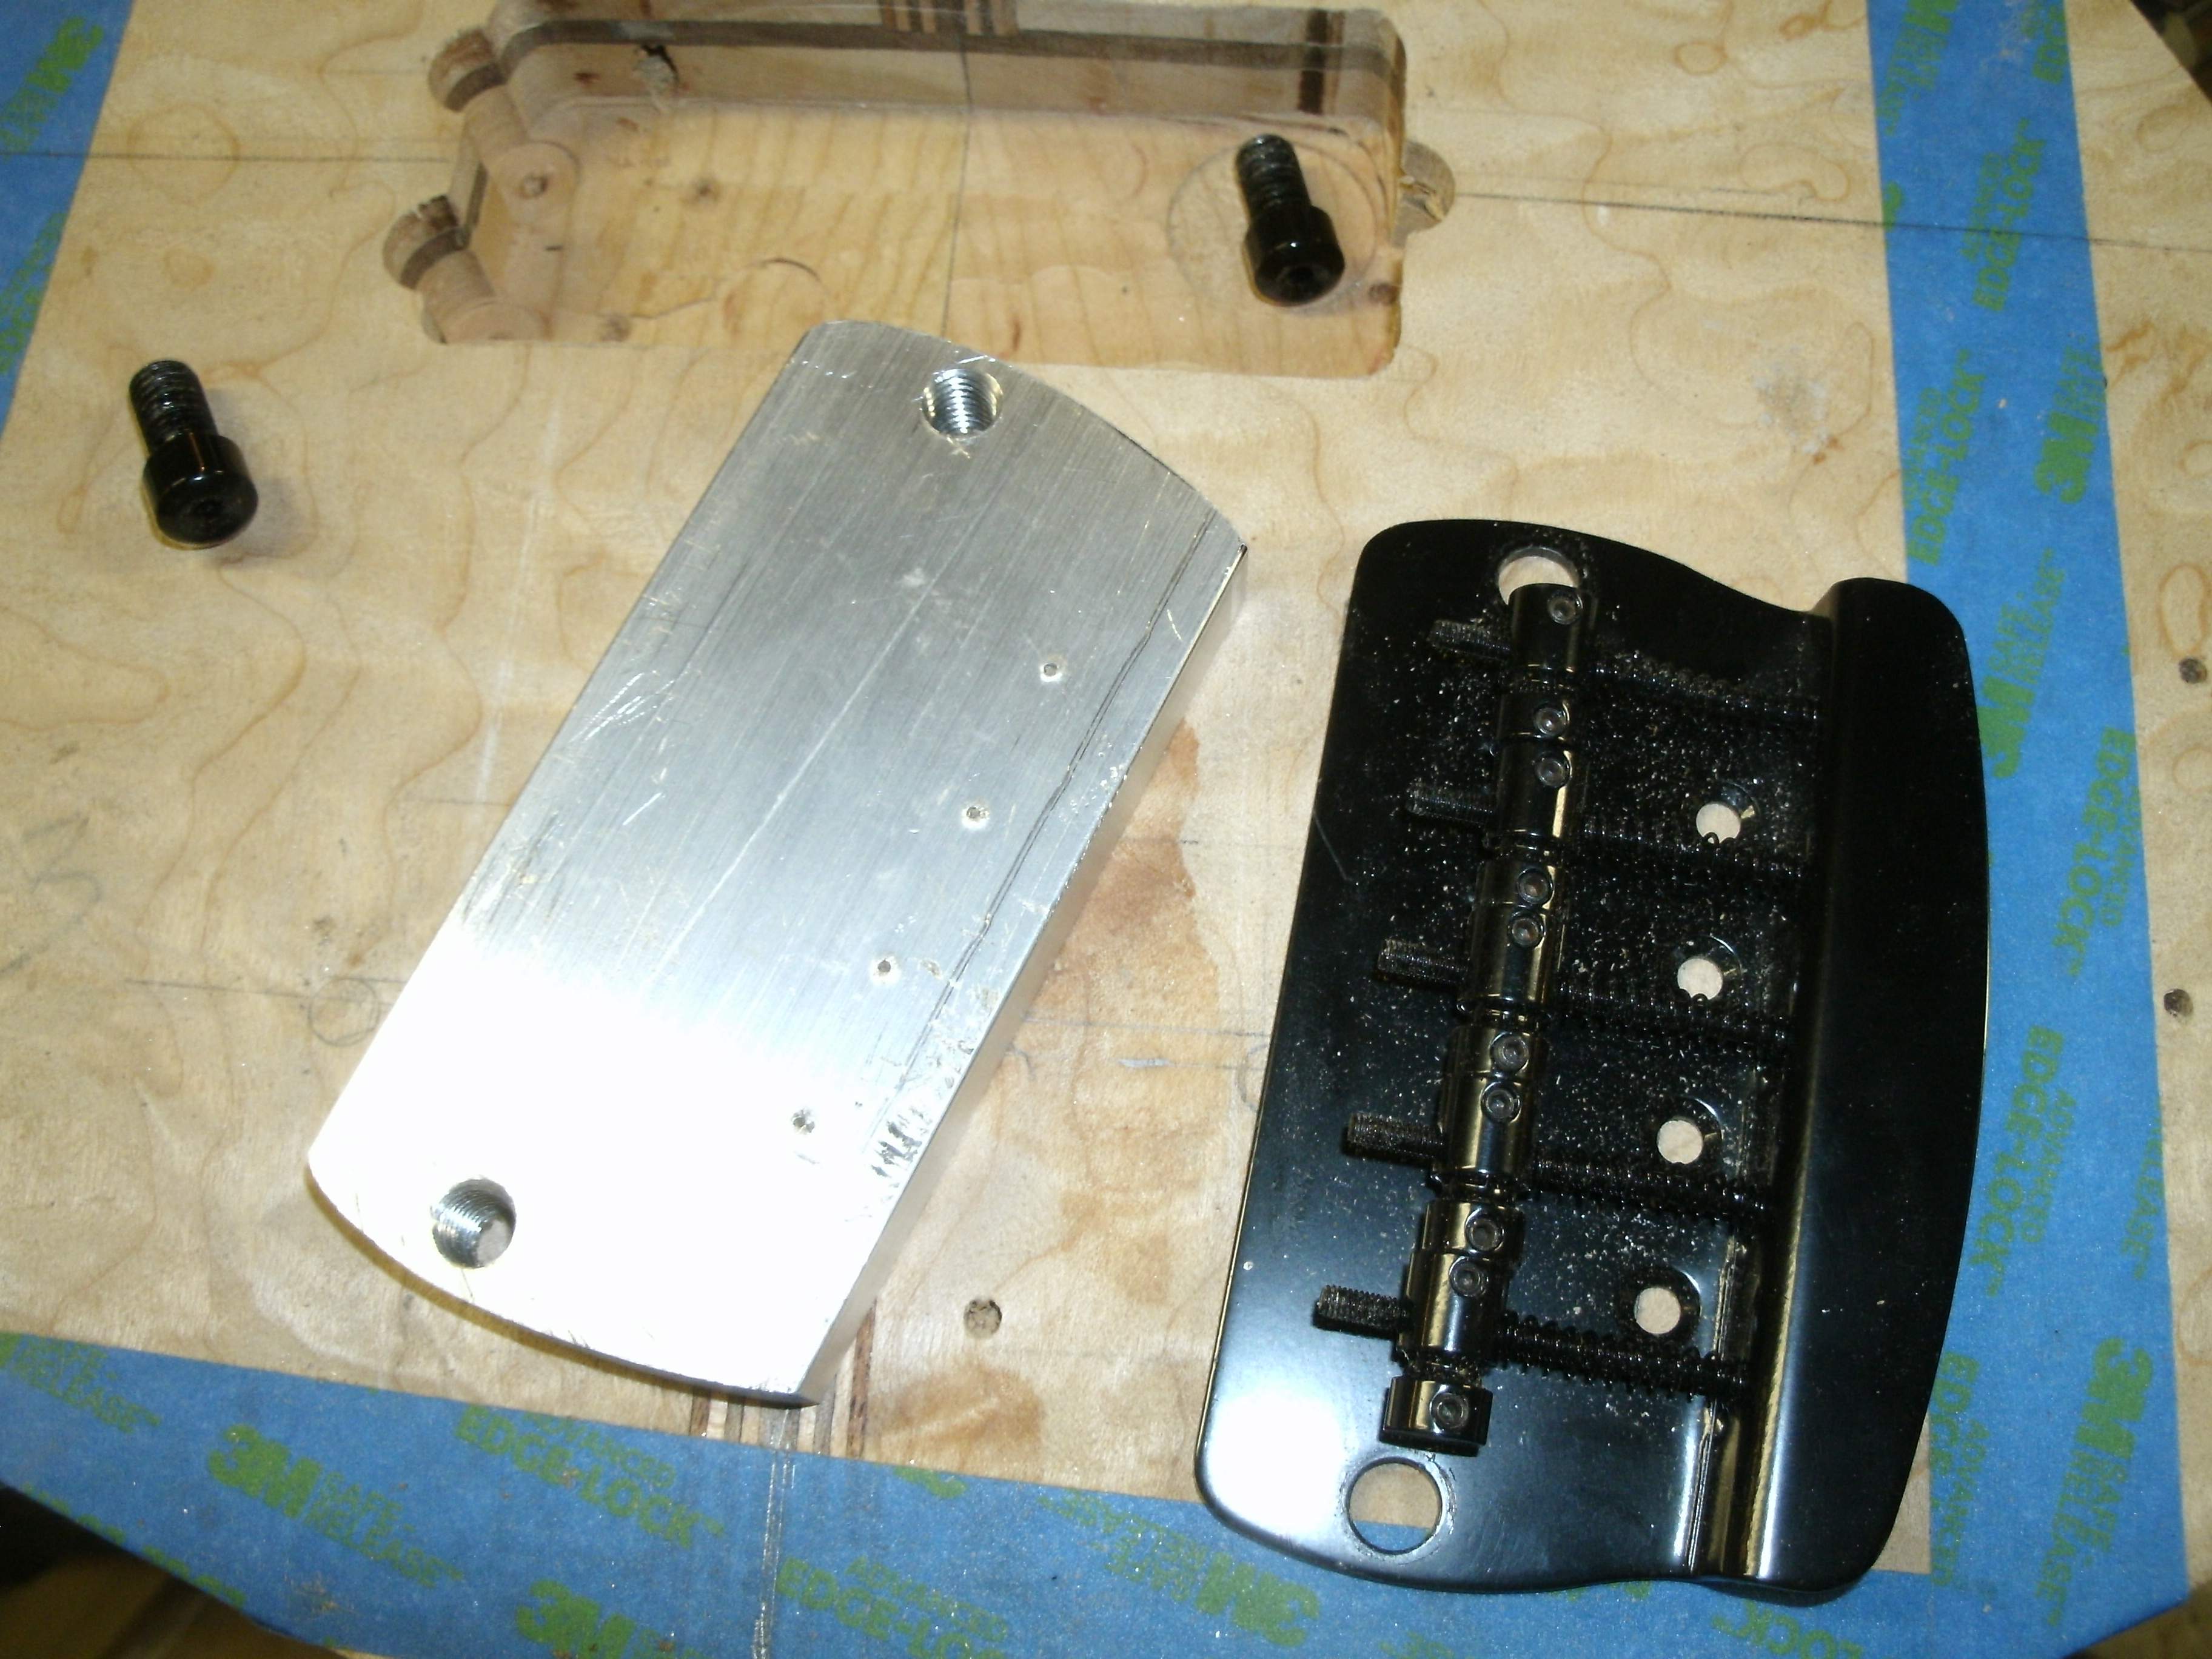
 On to the bridge; I'm doing the Bruce-i-fied bridge mount; in this case I'm mounting to a 1/2" block of 6061 aluminum drilled and tapped to accept the studs that would normally screw into inserts. I shaped the block using a band saw set up with a metals blade and a bit of filing
Bondo routing template:
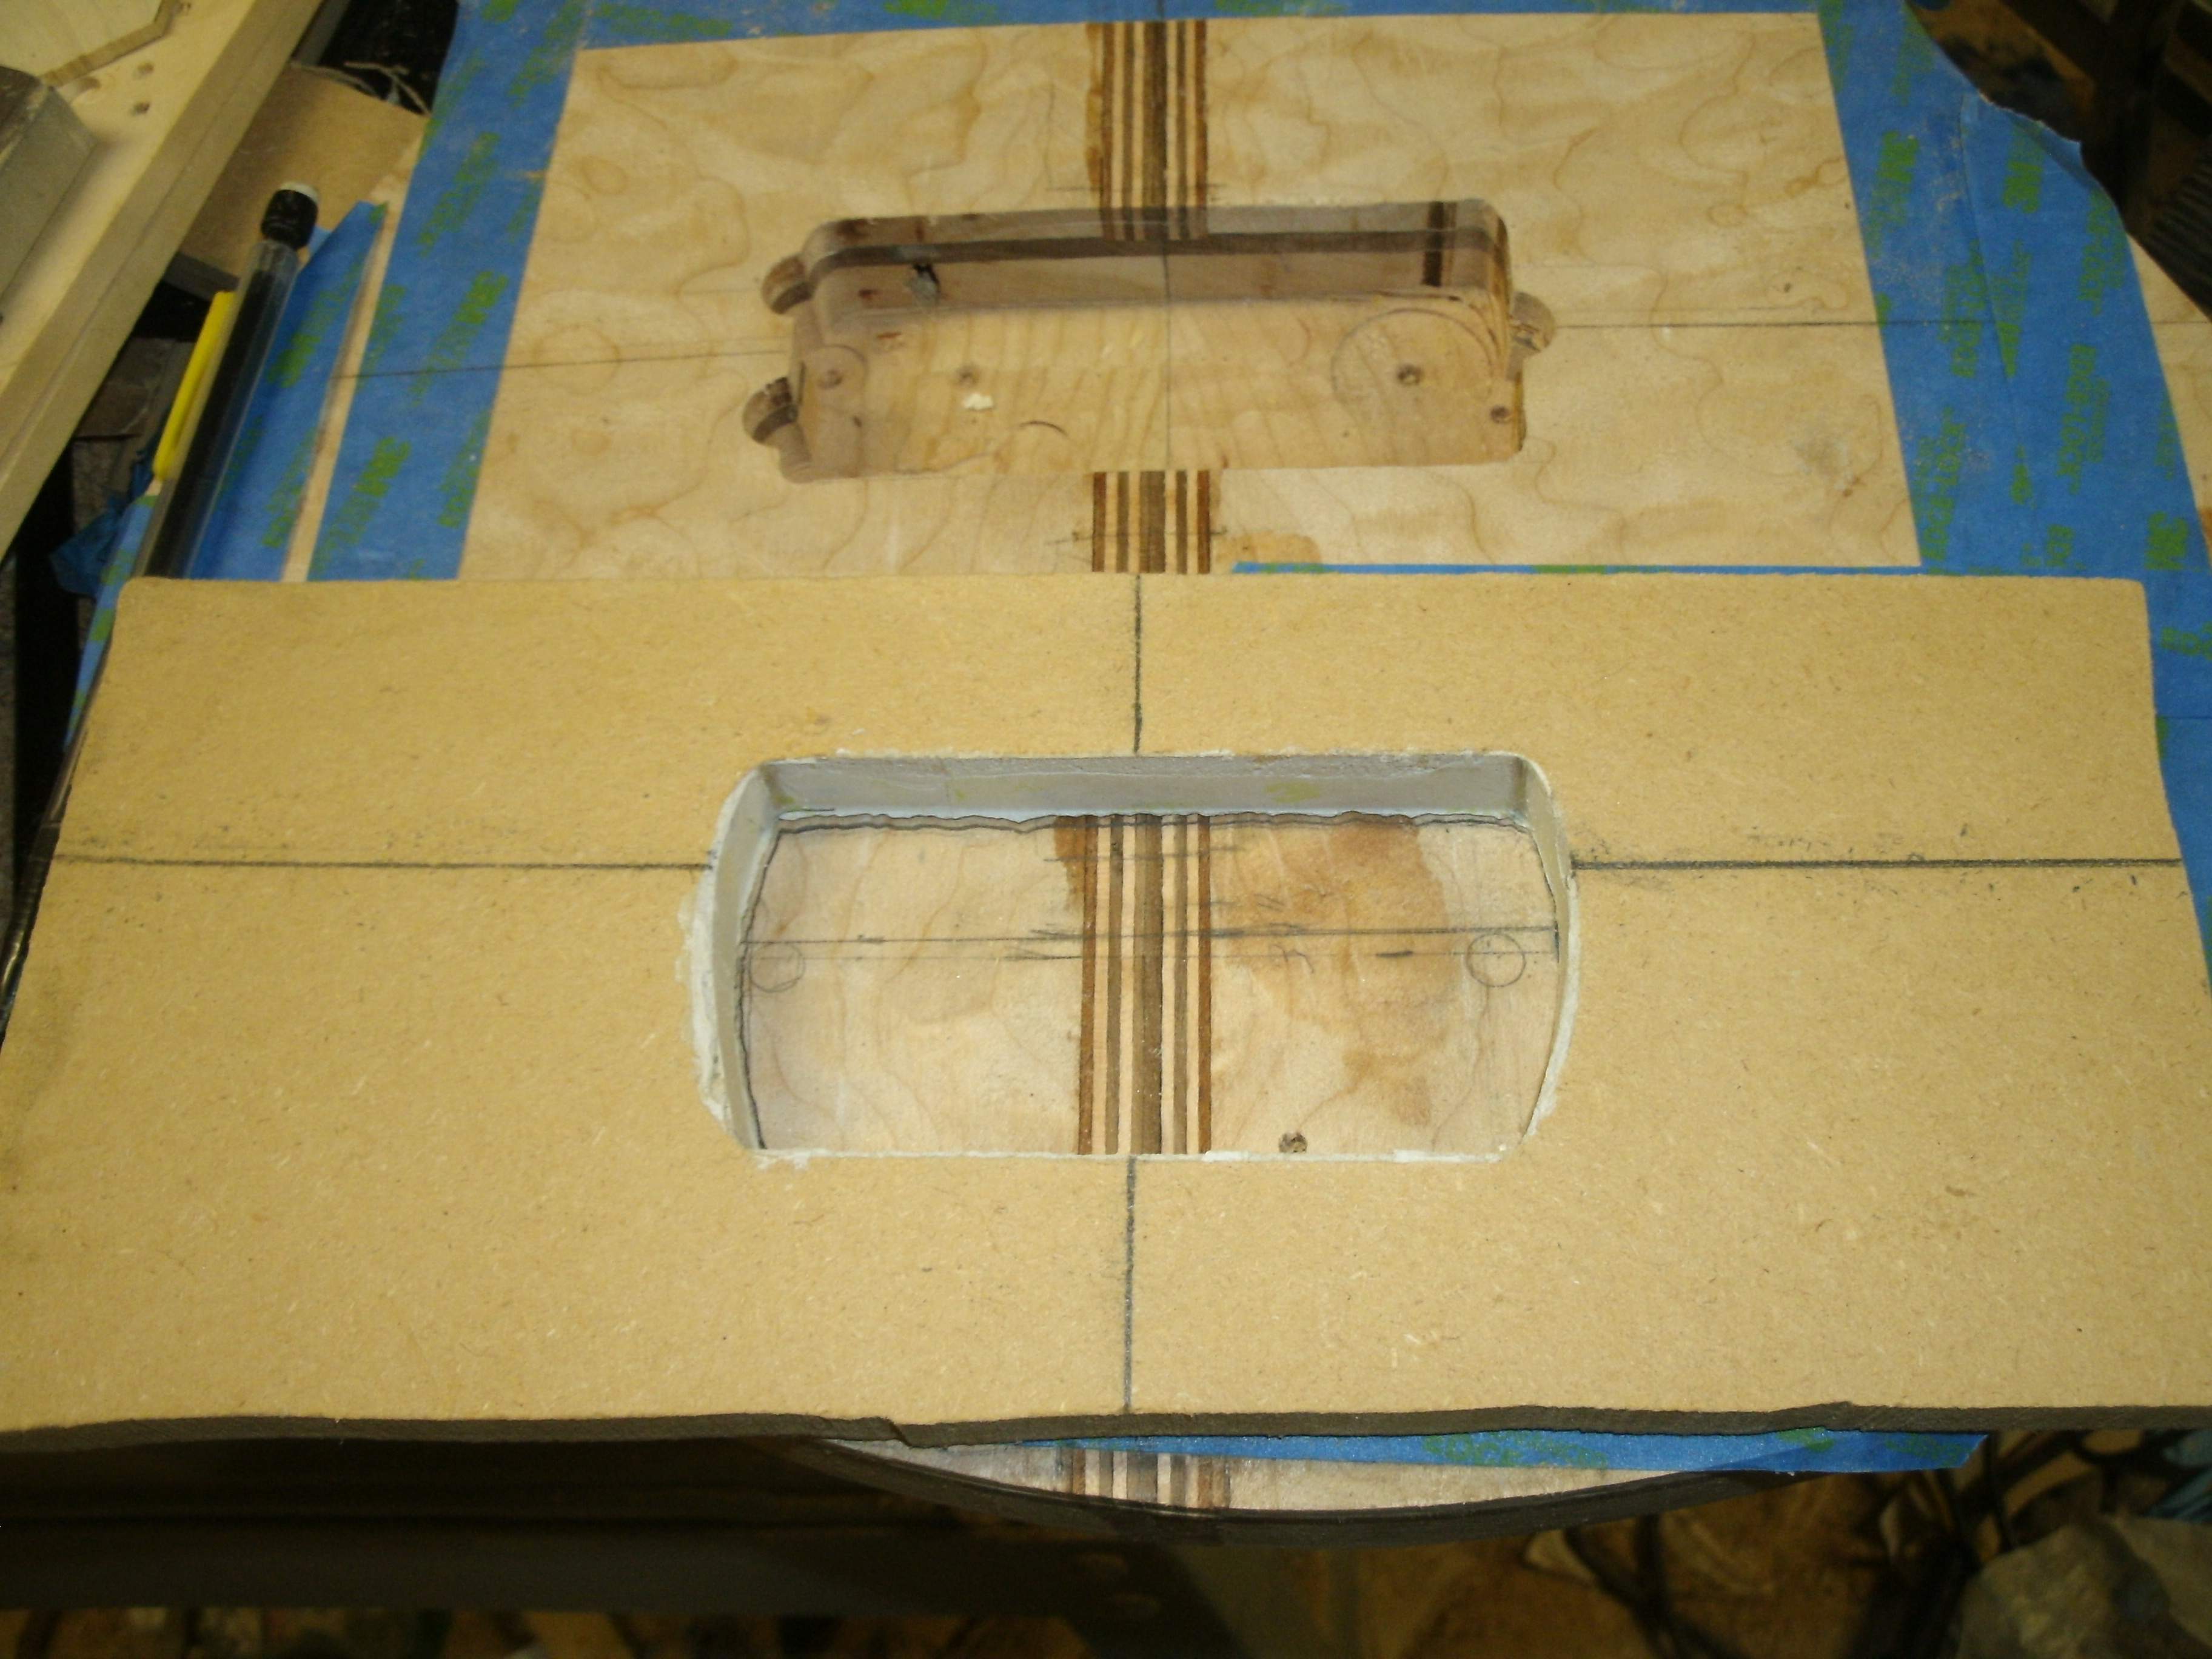
Routed so that the block is about 1/32" proud
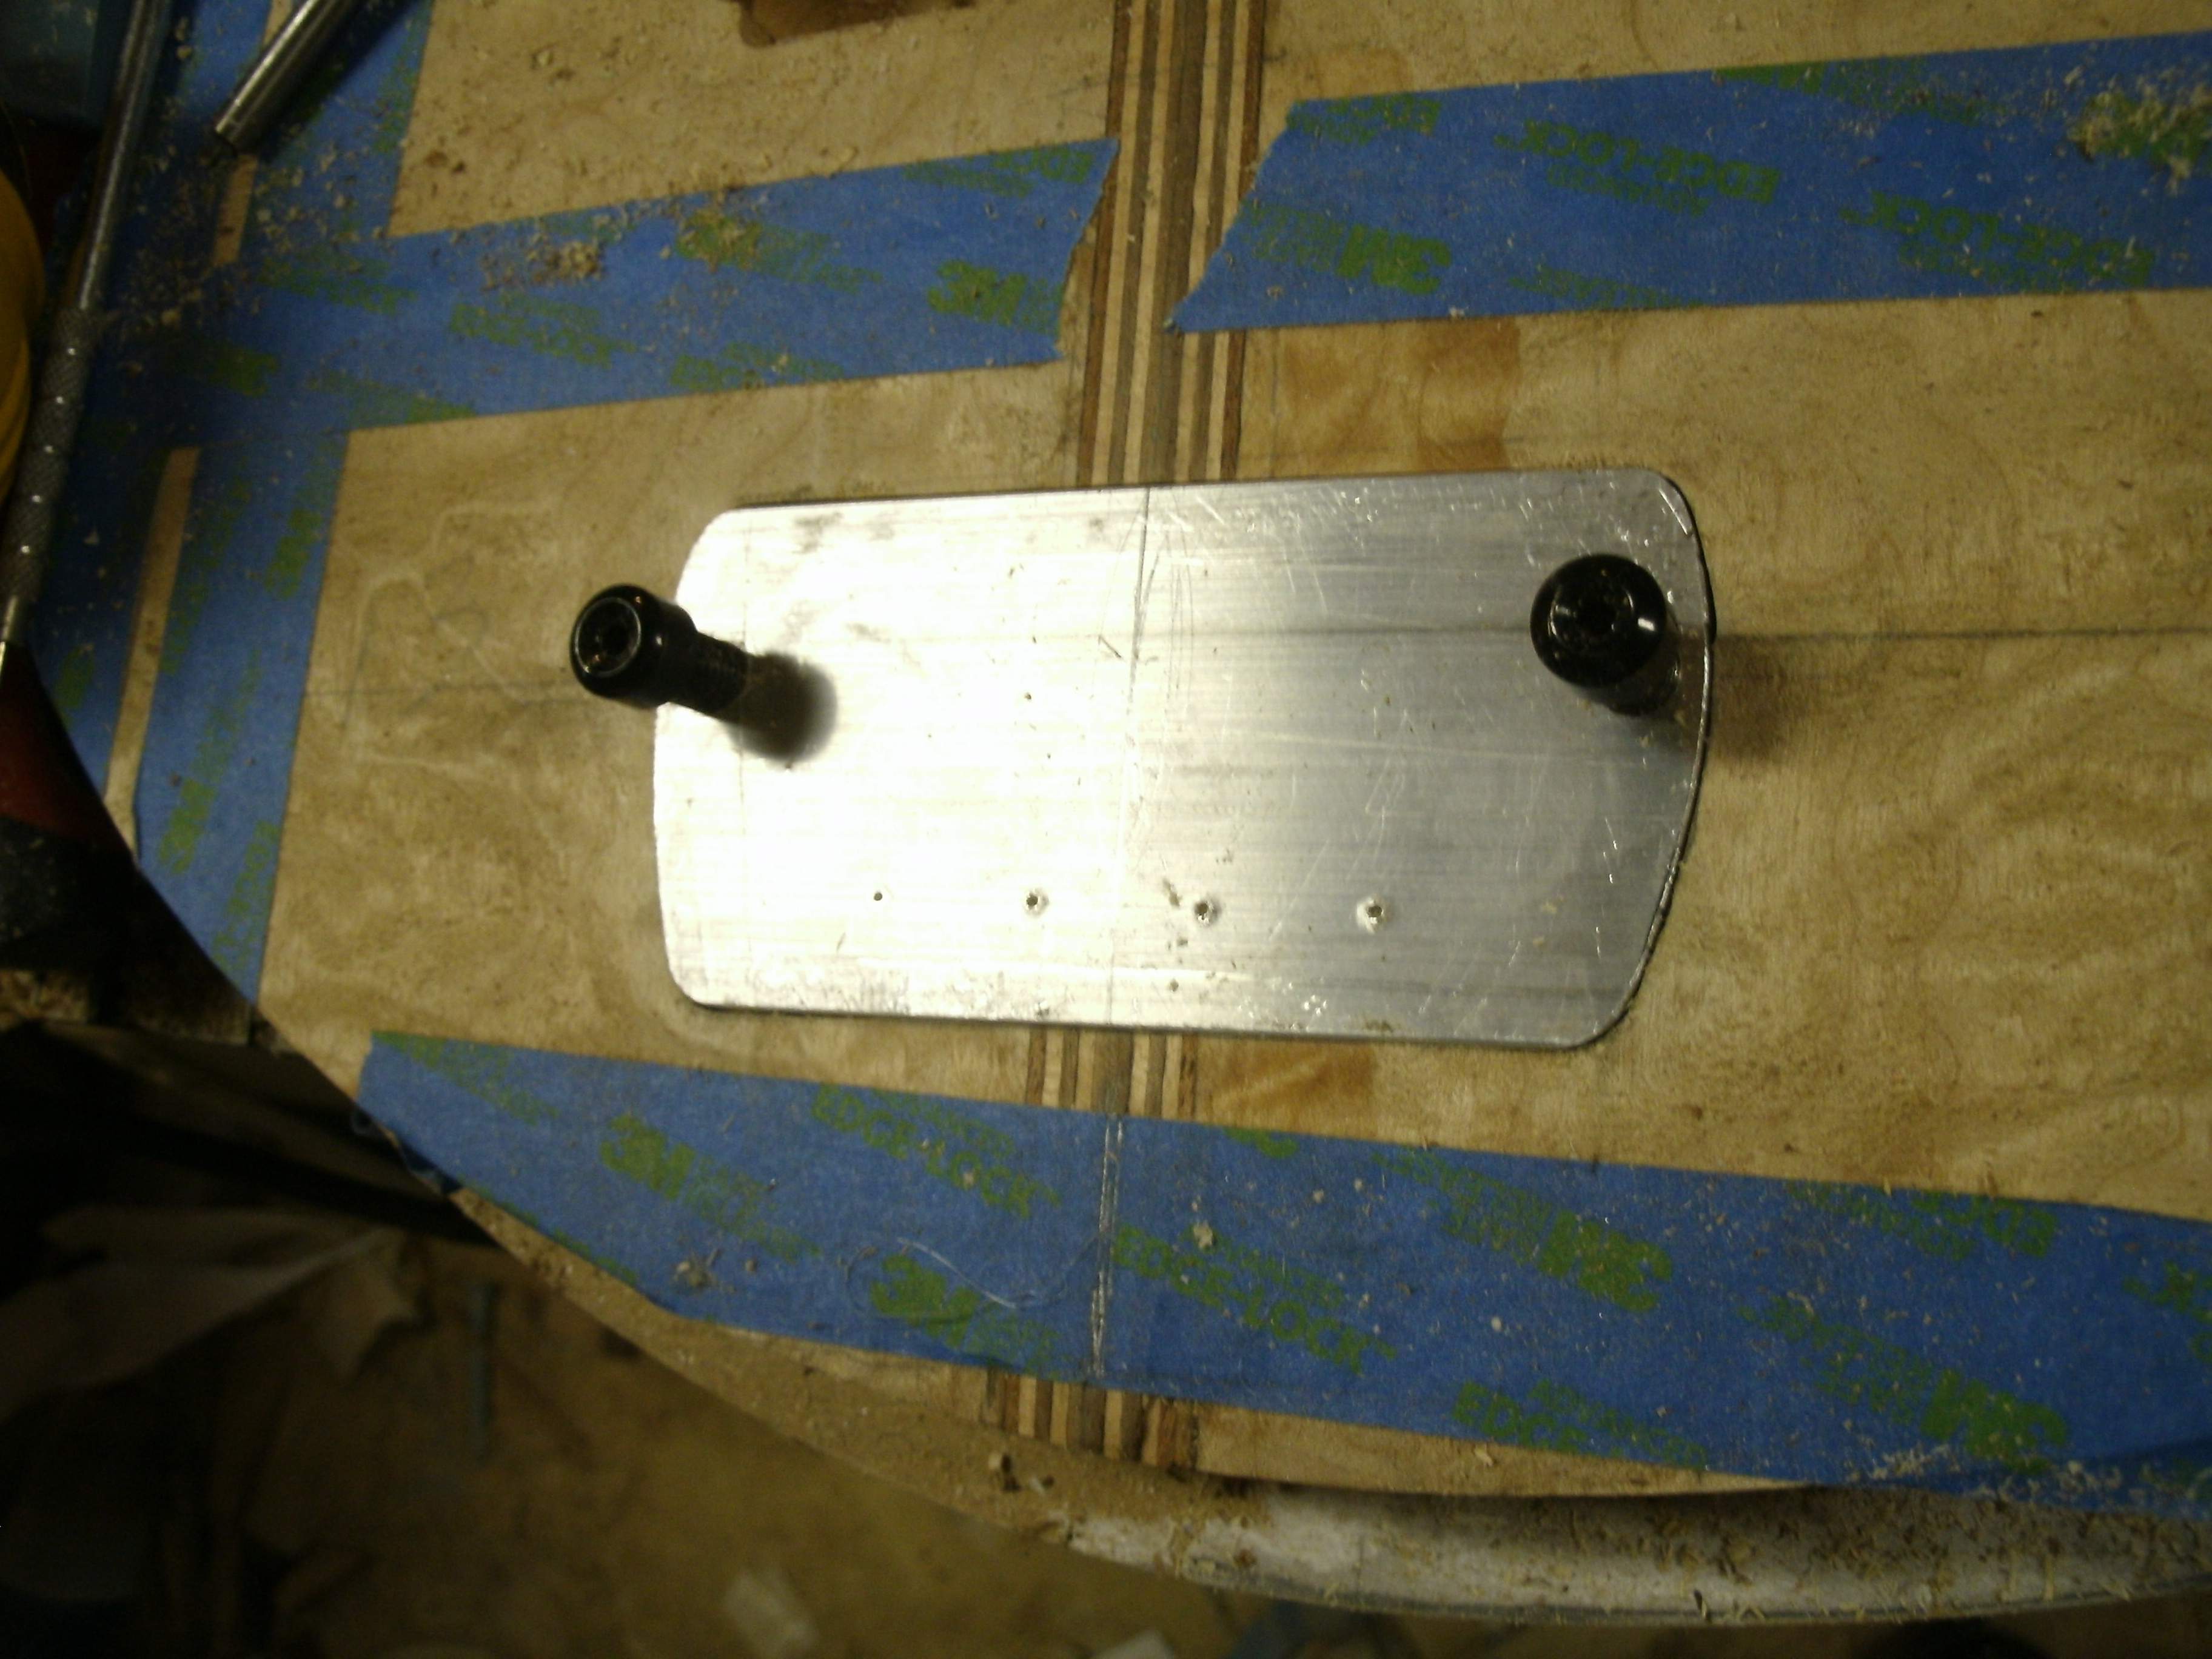
Getting there!
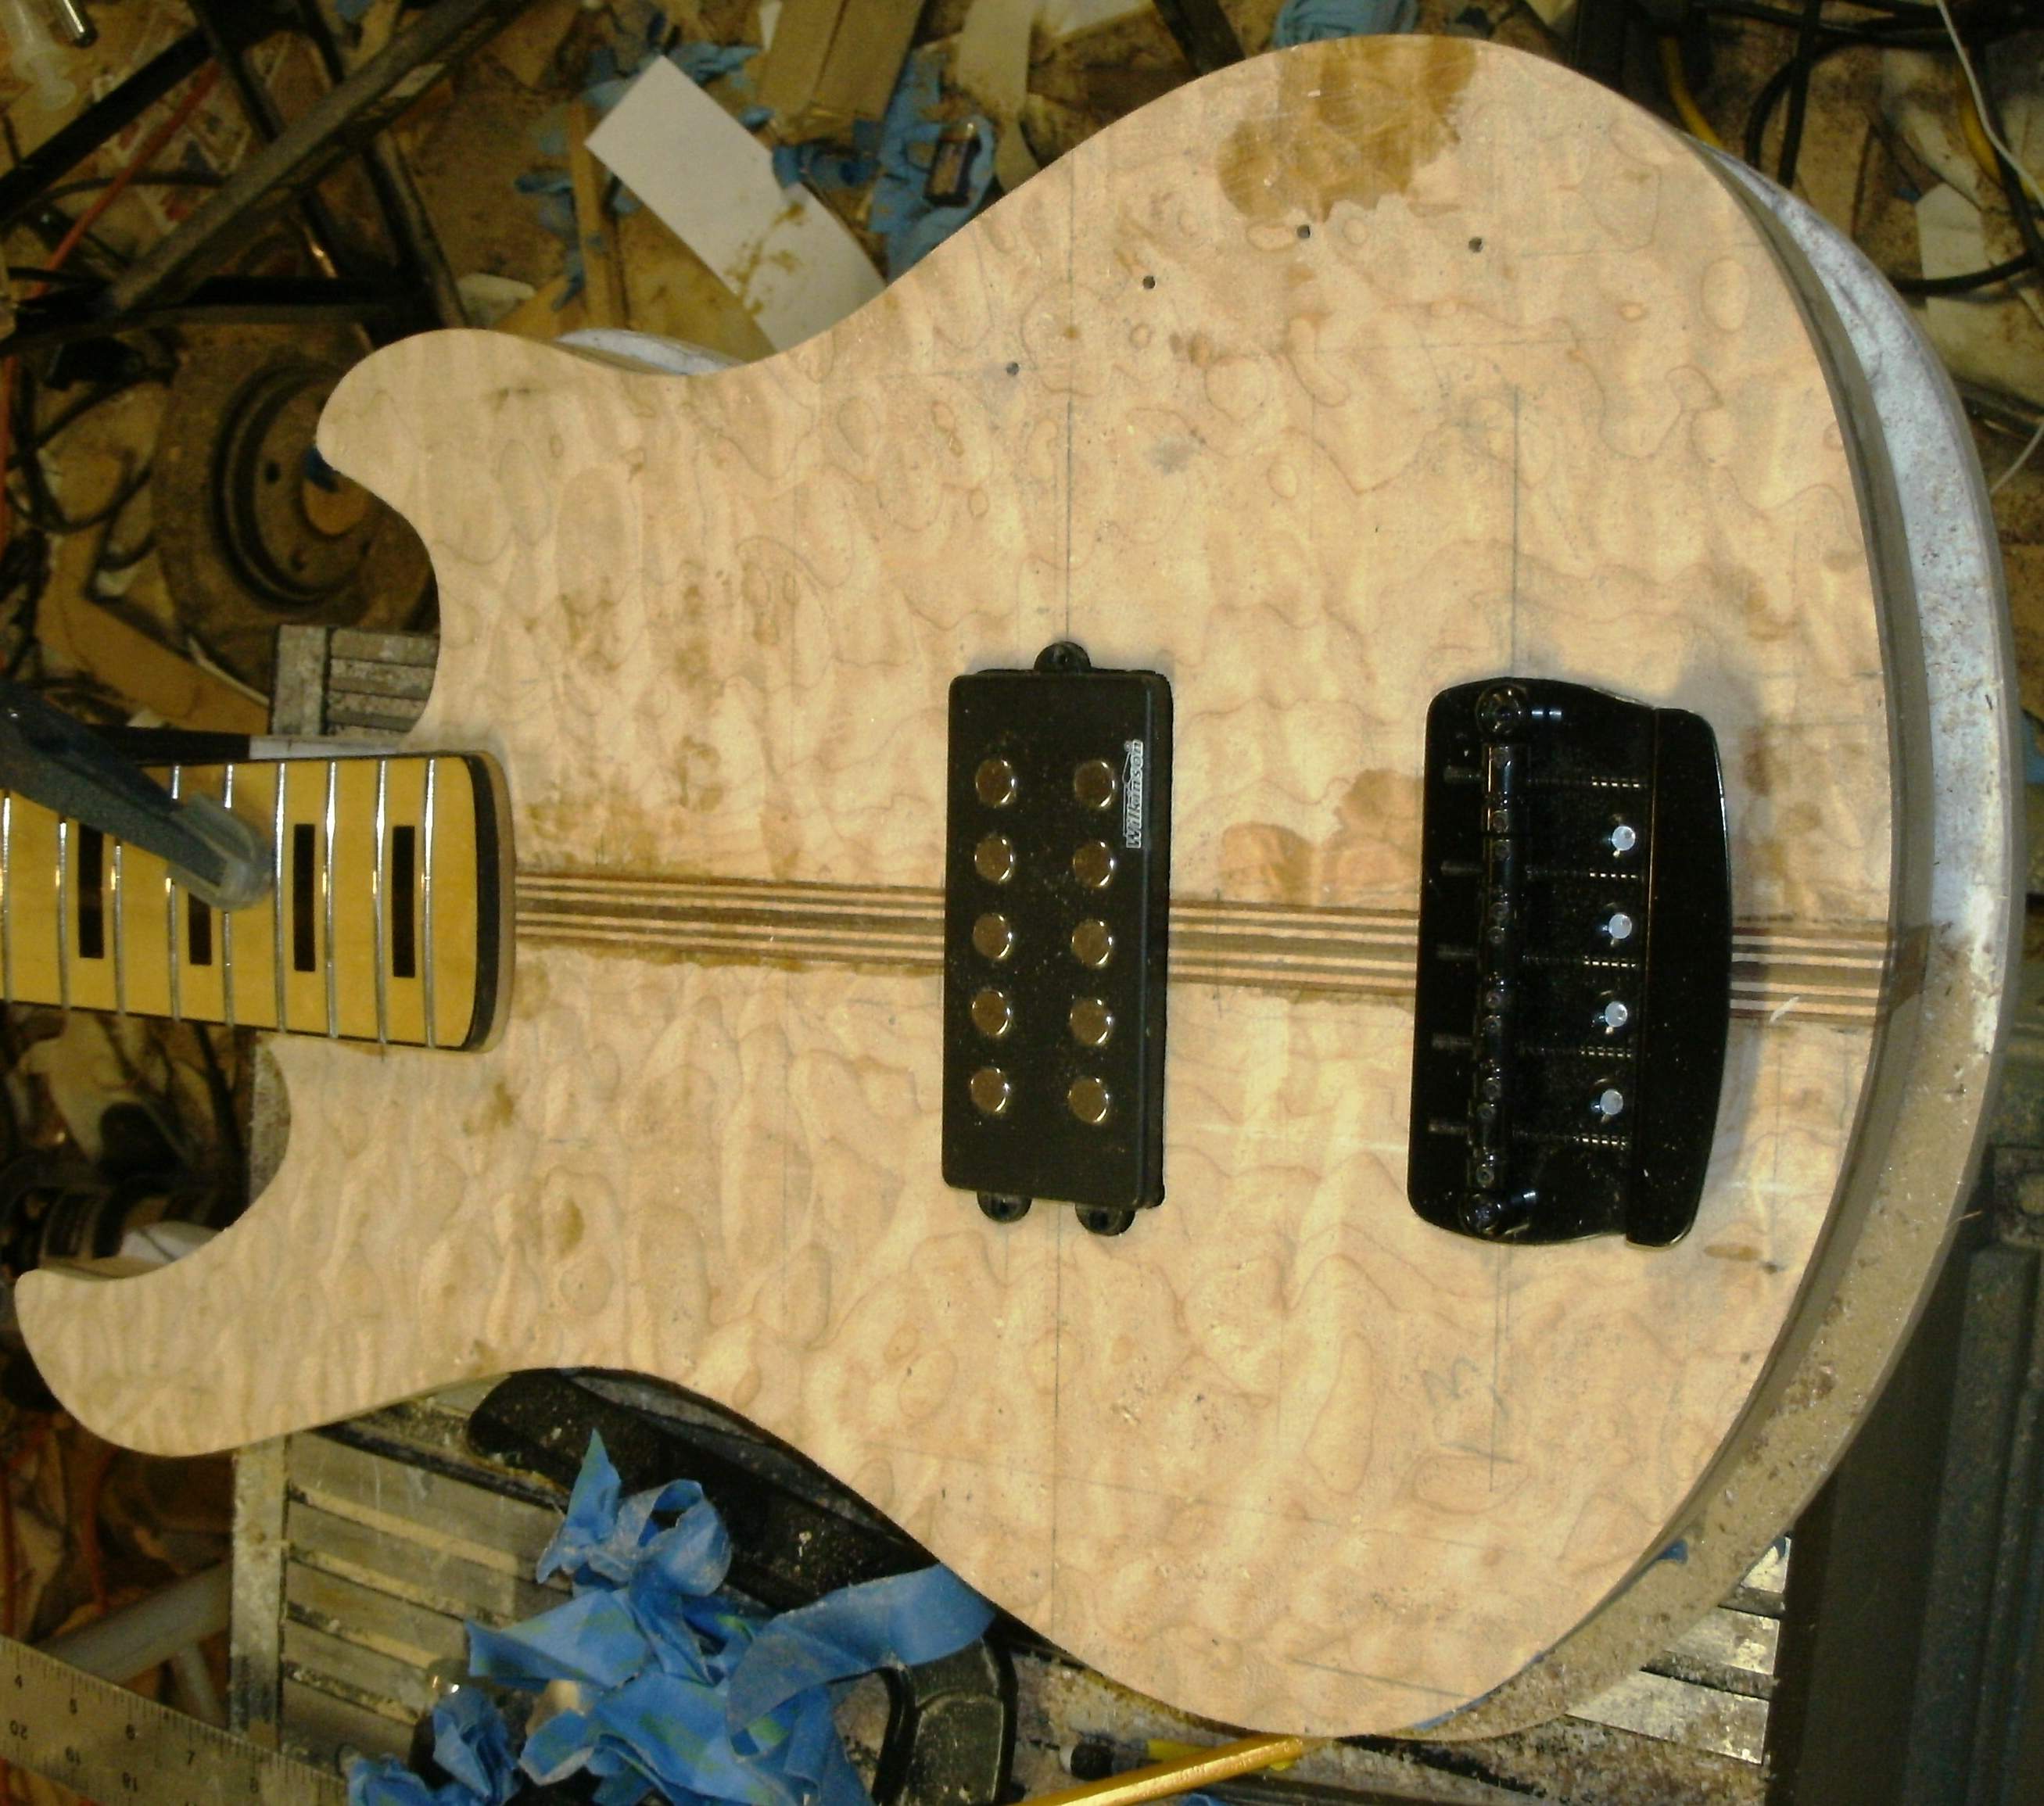
A bit of routing later:
Bondo routing template:
Routed so that the block is about 1/32" proud
Getting there!
I thinned the top to about 3/16" over the cavity, and reinforced with a sheet of aluminum, saving the plug from the routing template made it easy.
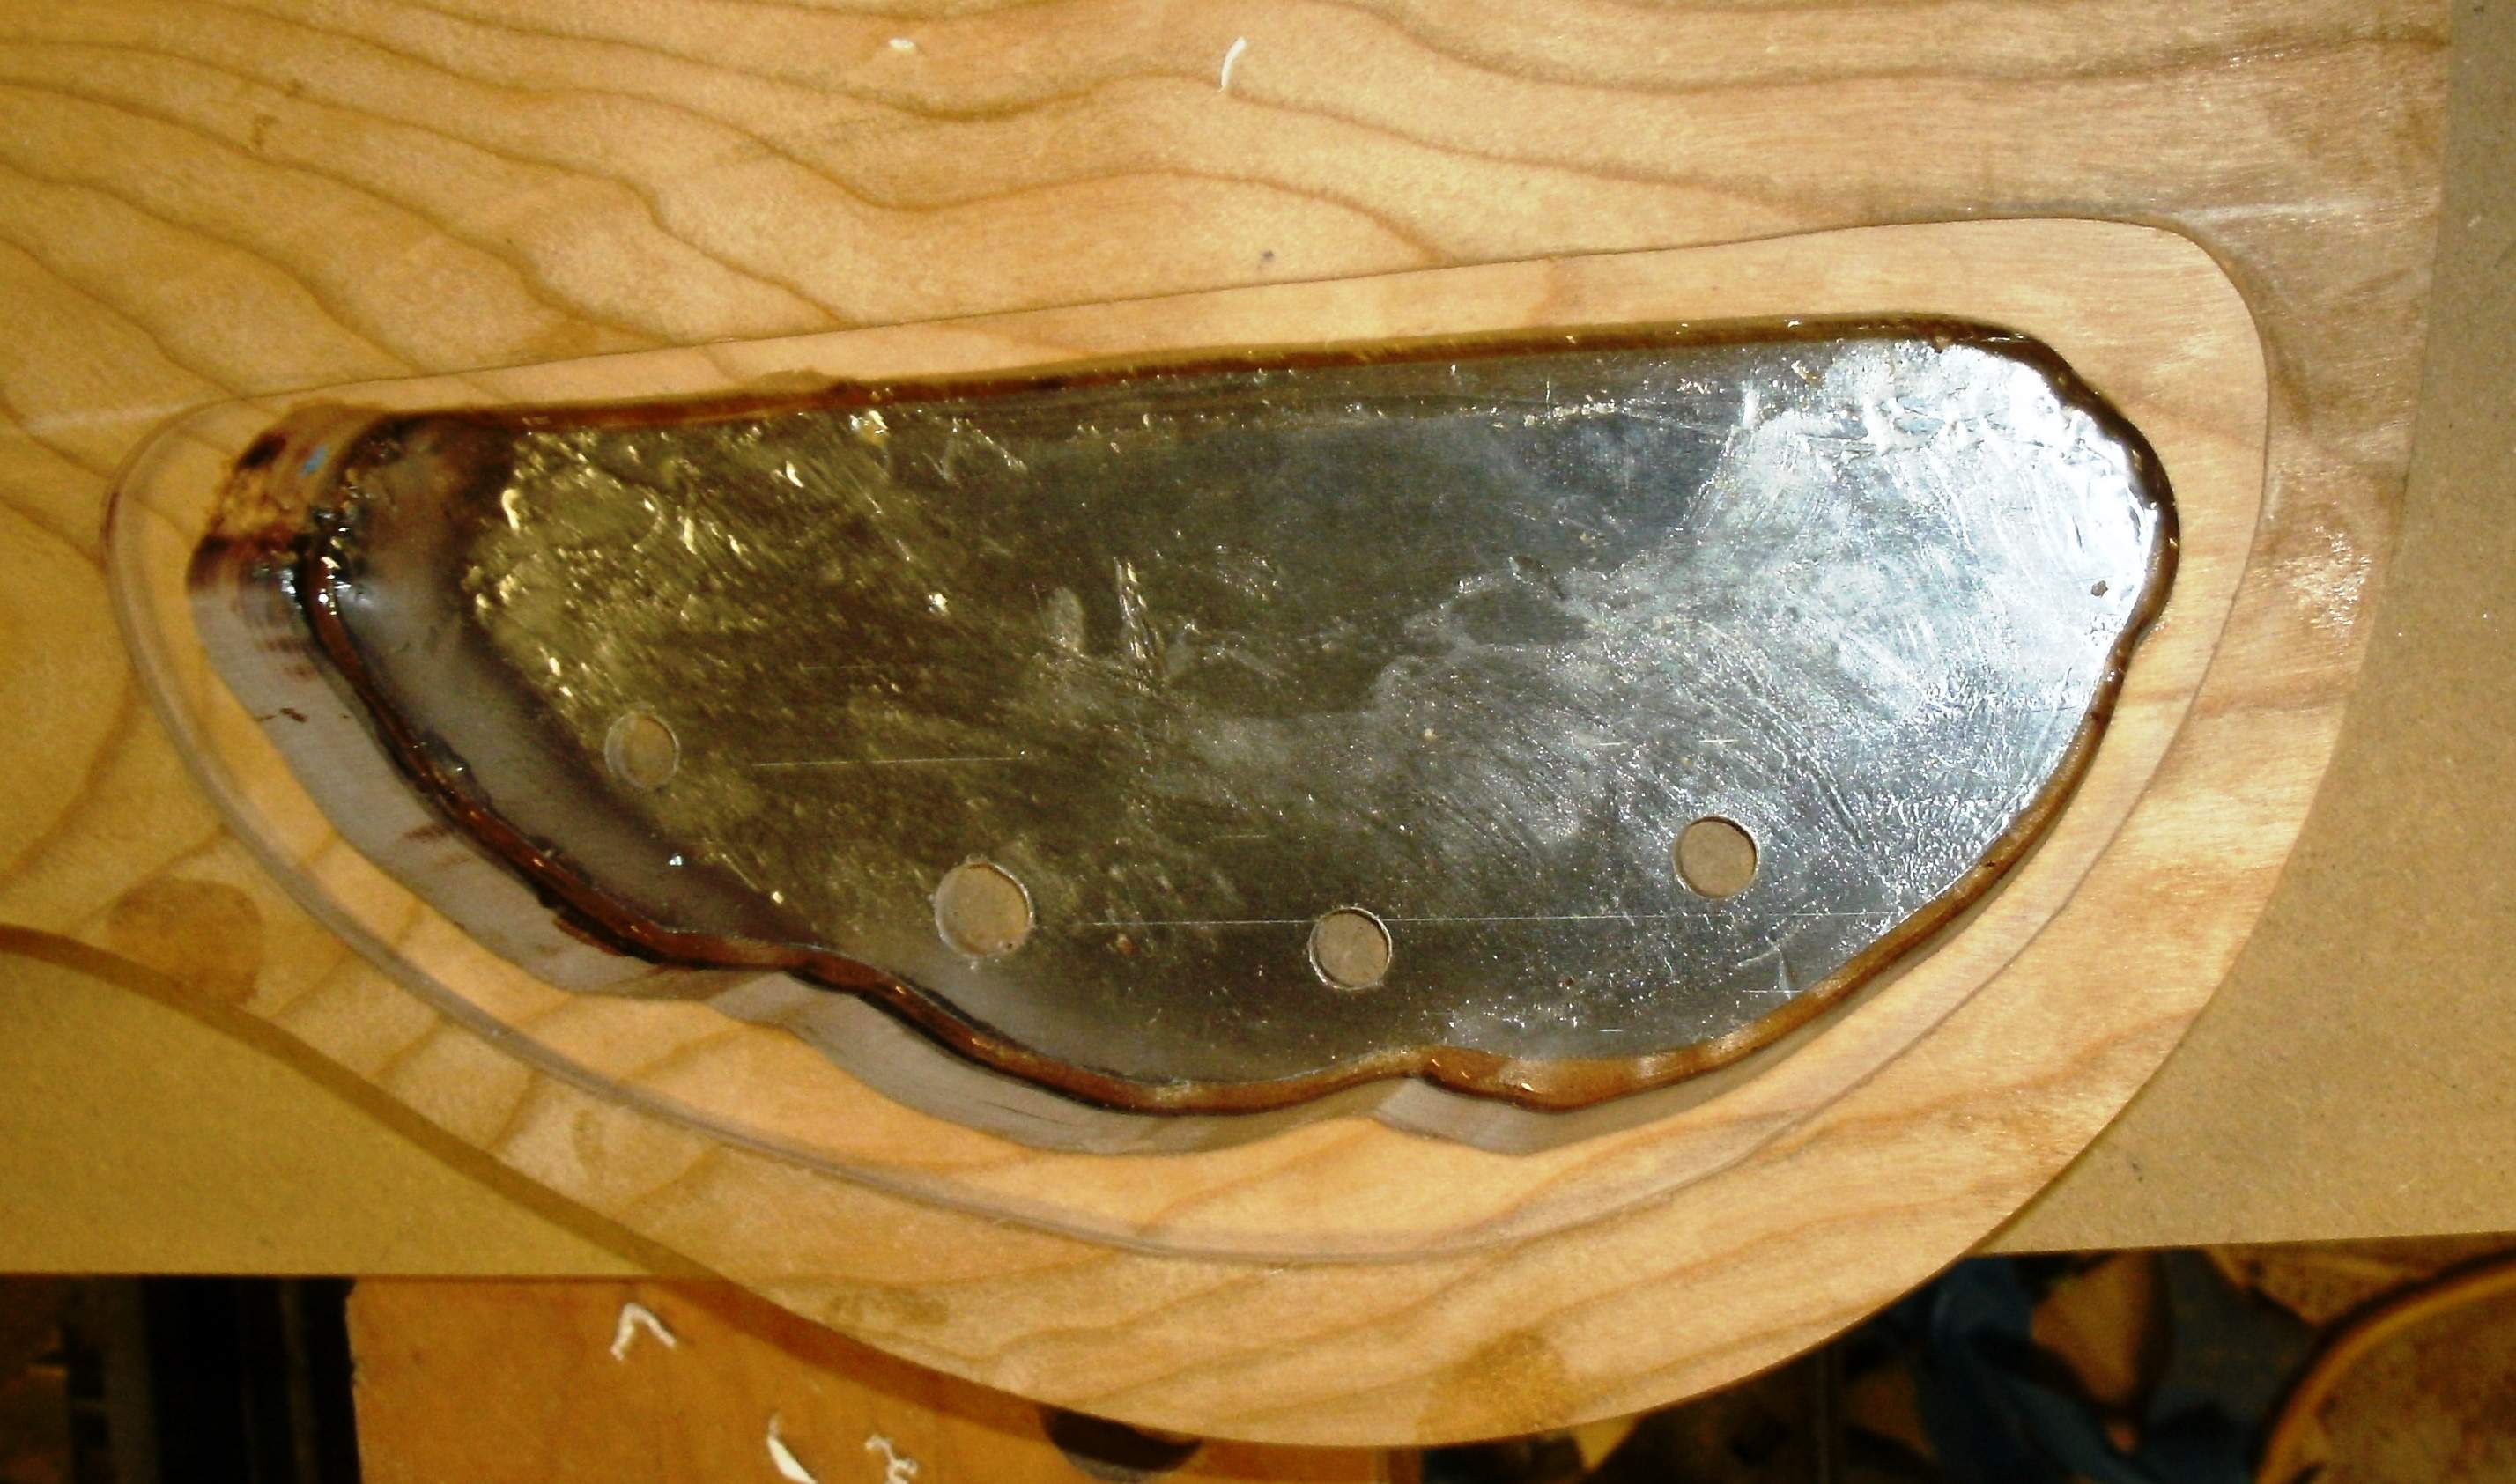
On to the round-overs; the back is rounded-over to 1/4" overall, with a 3/8" round-over along the top still a bit of blending to do:
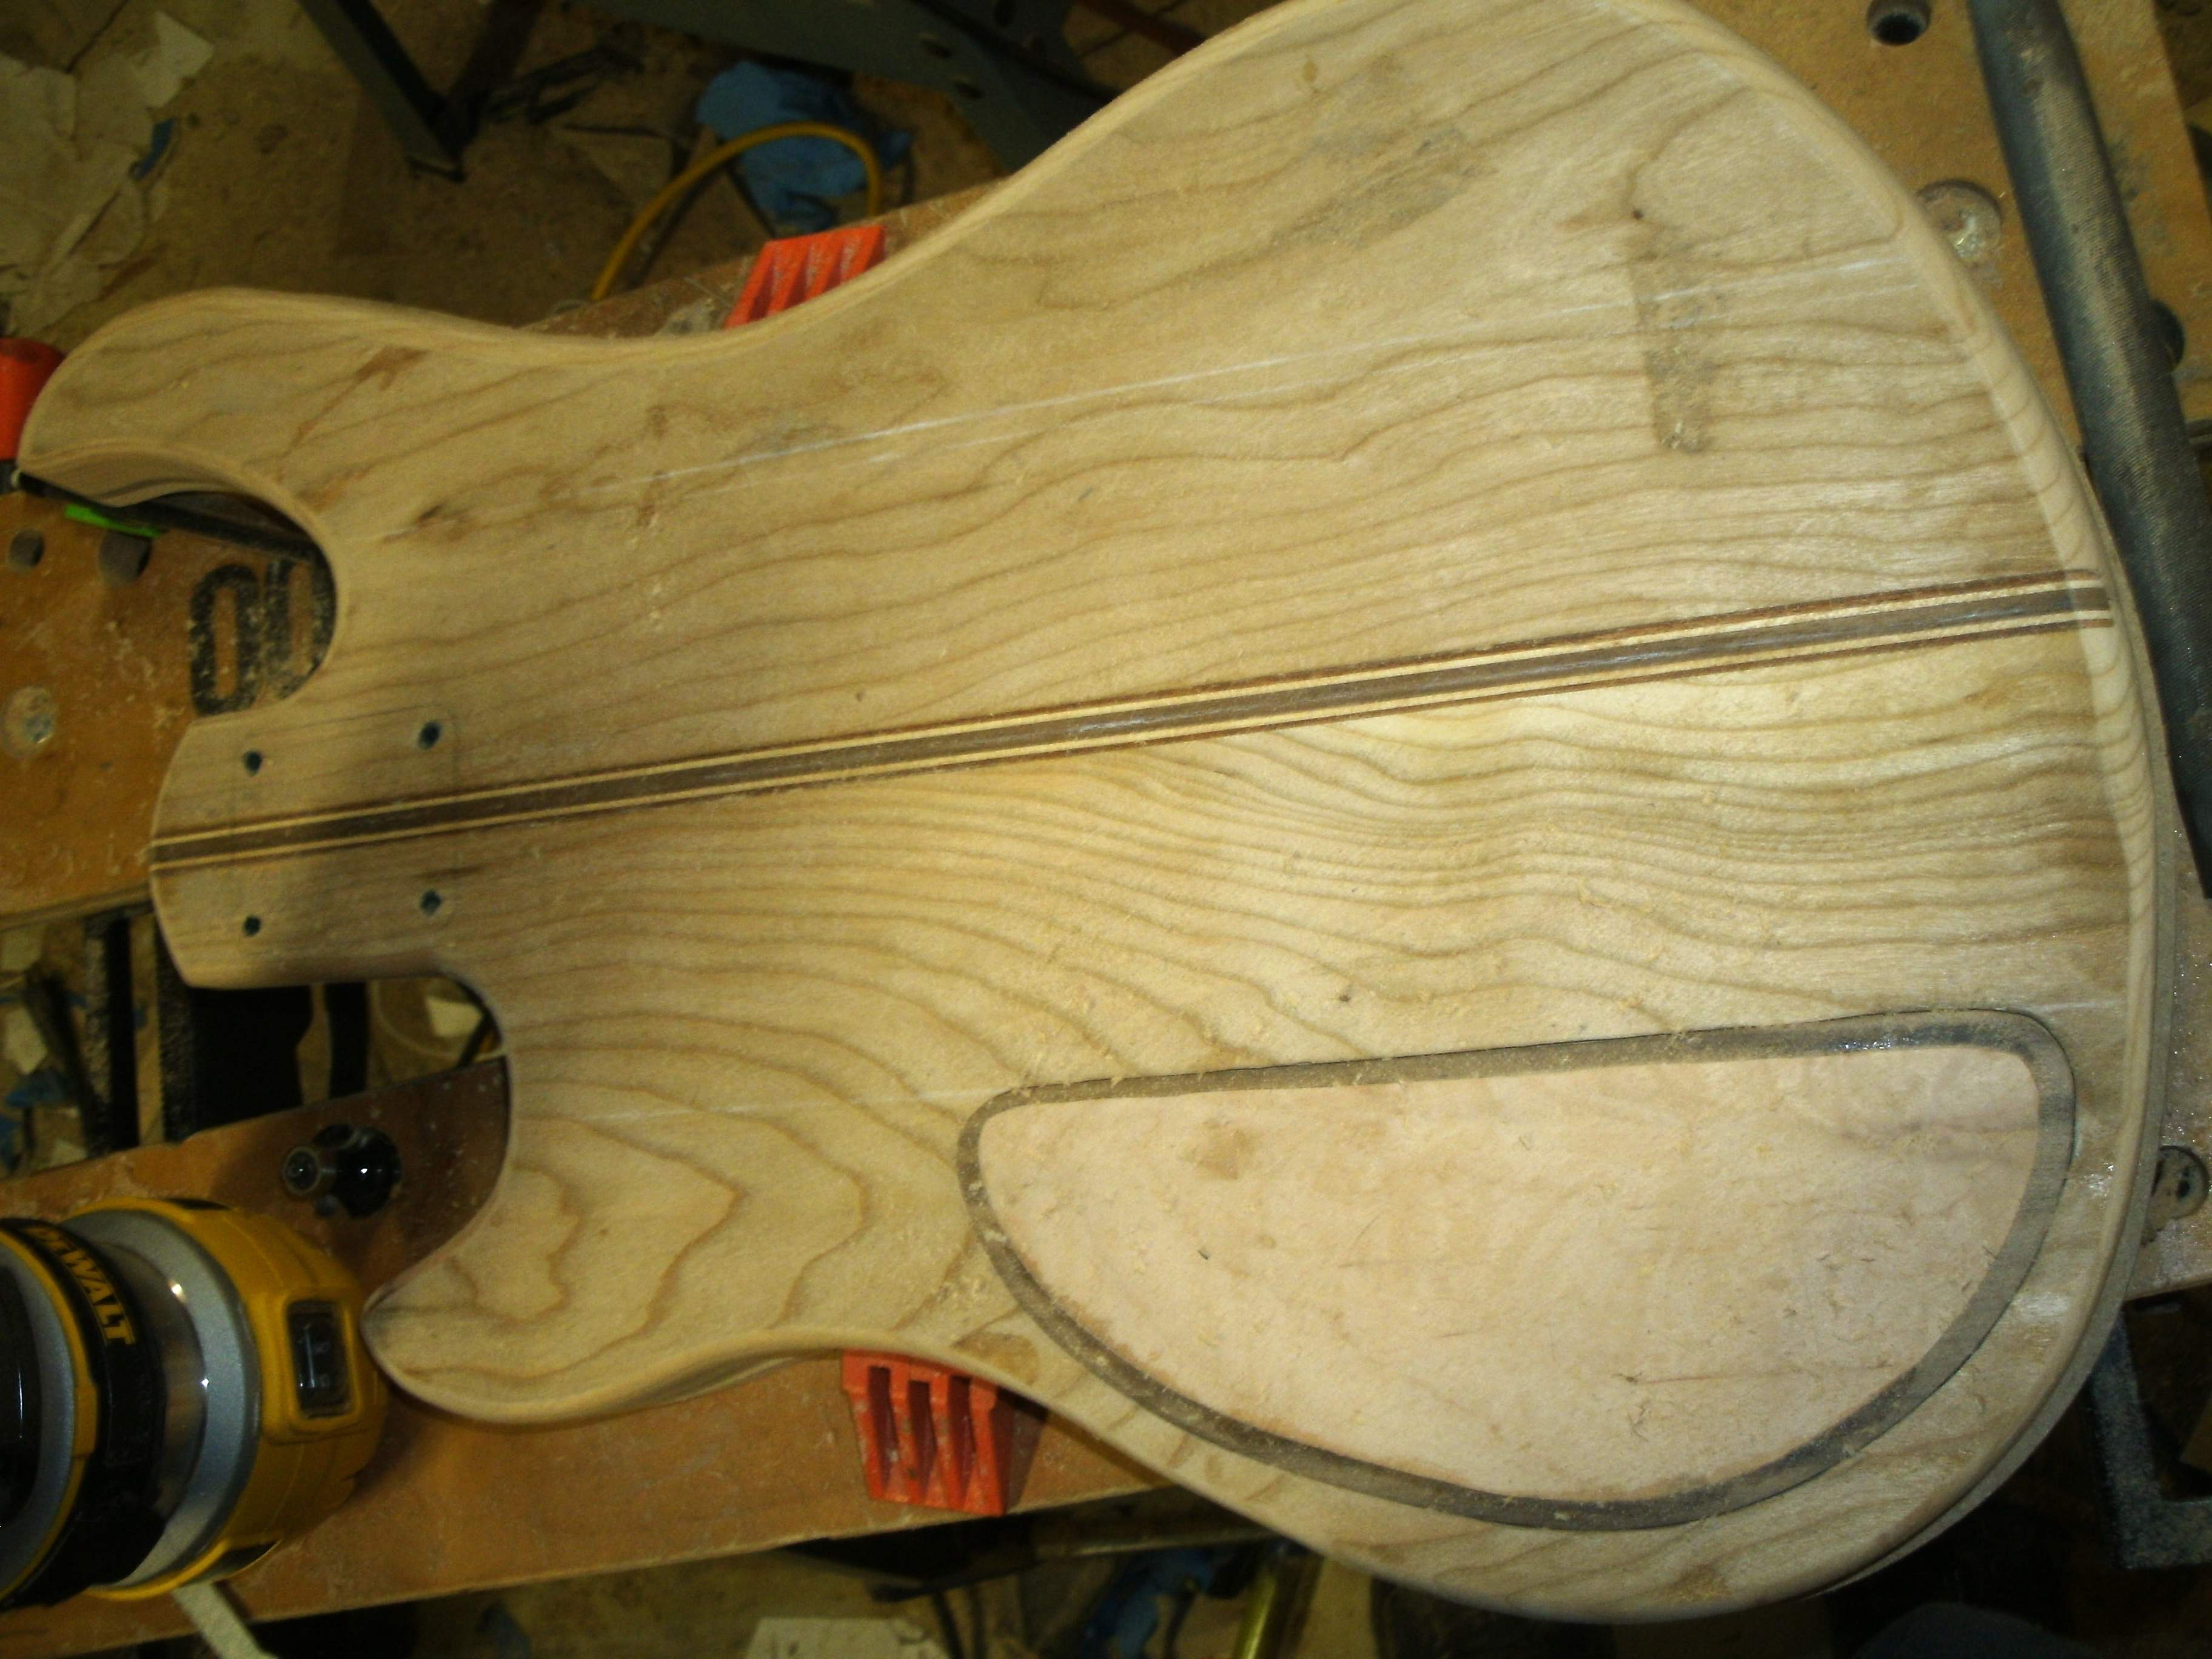
The top is rounded over to 1/4" overall, I'd originally thought I'd do a reveal to the walnut, now I'm not so sure, thoughts?
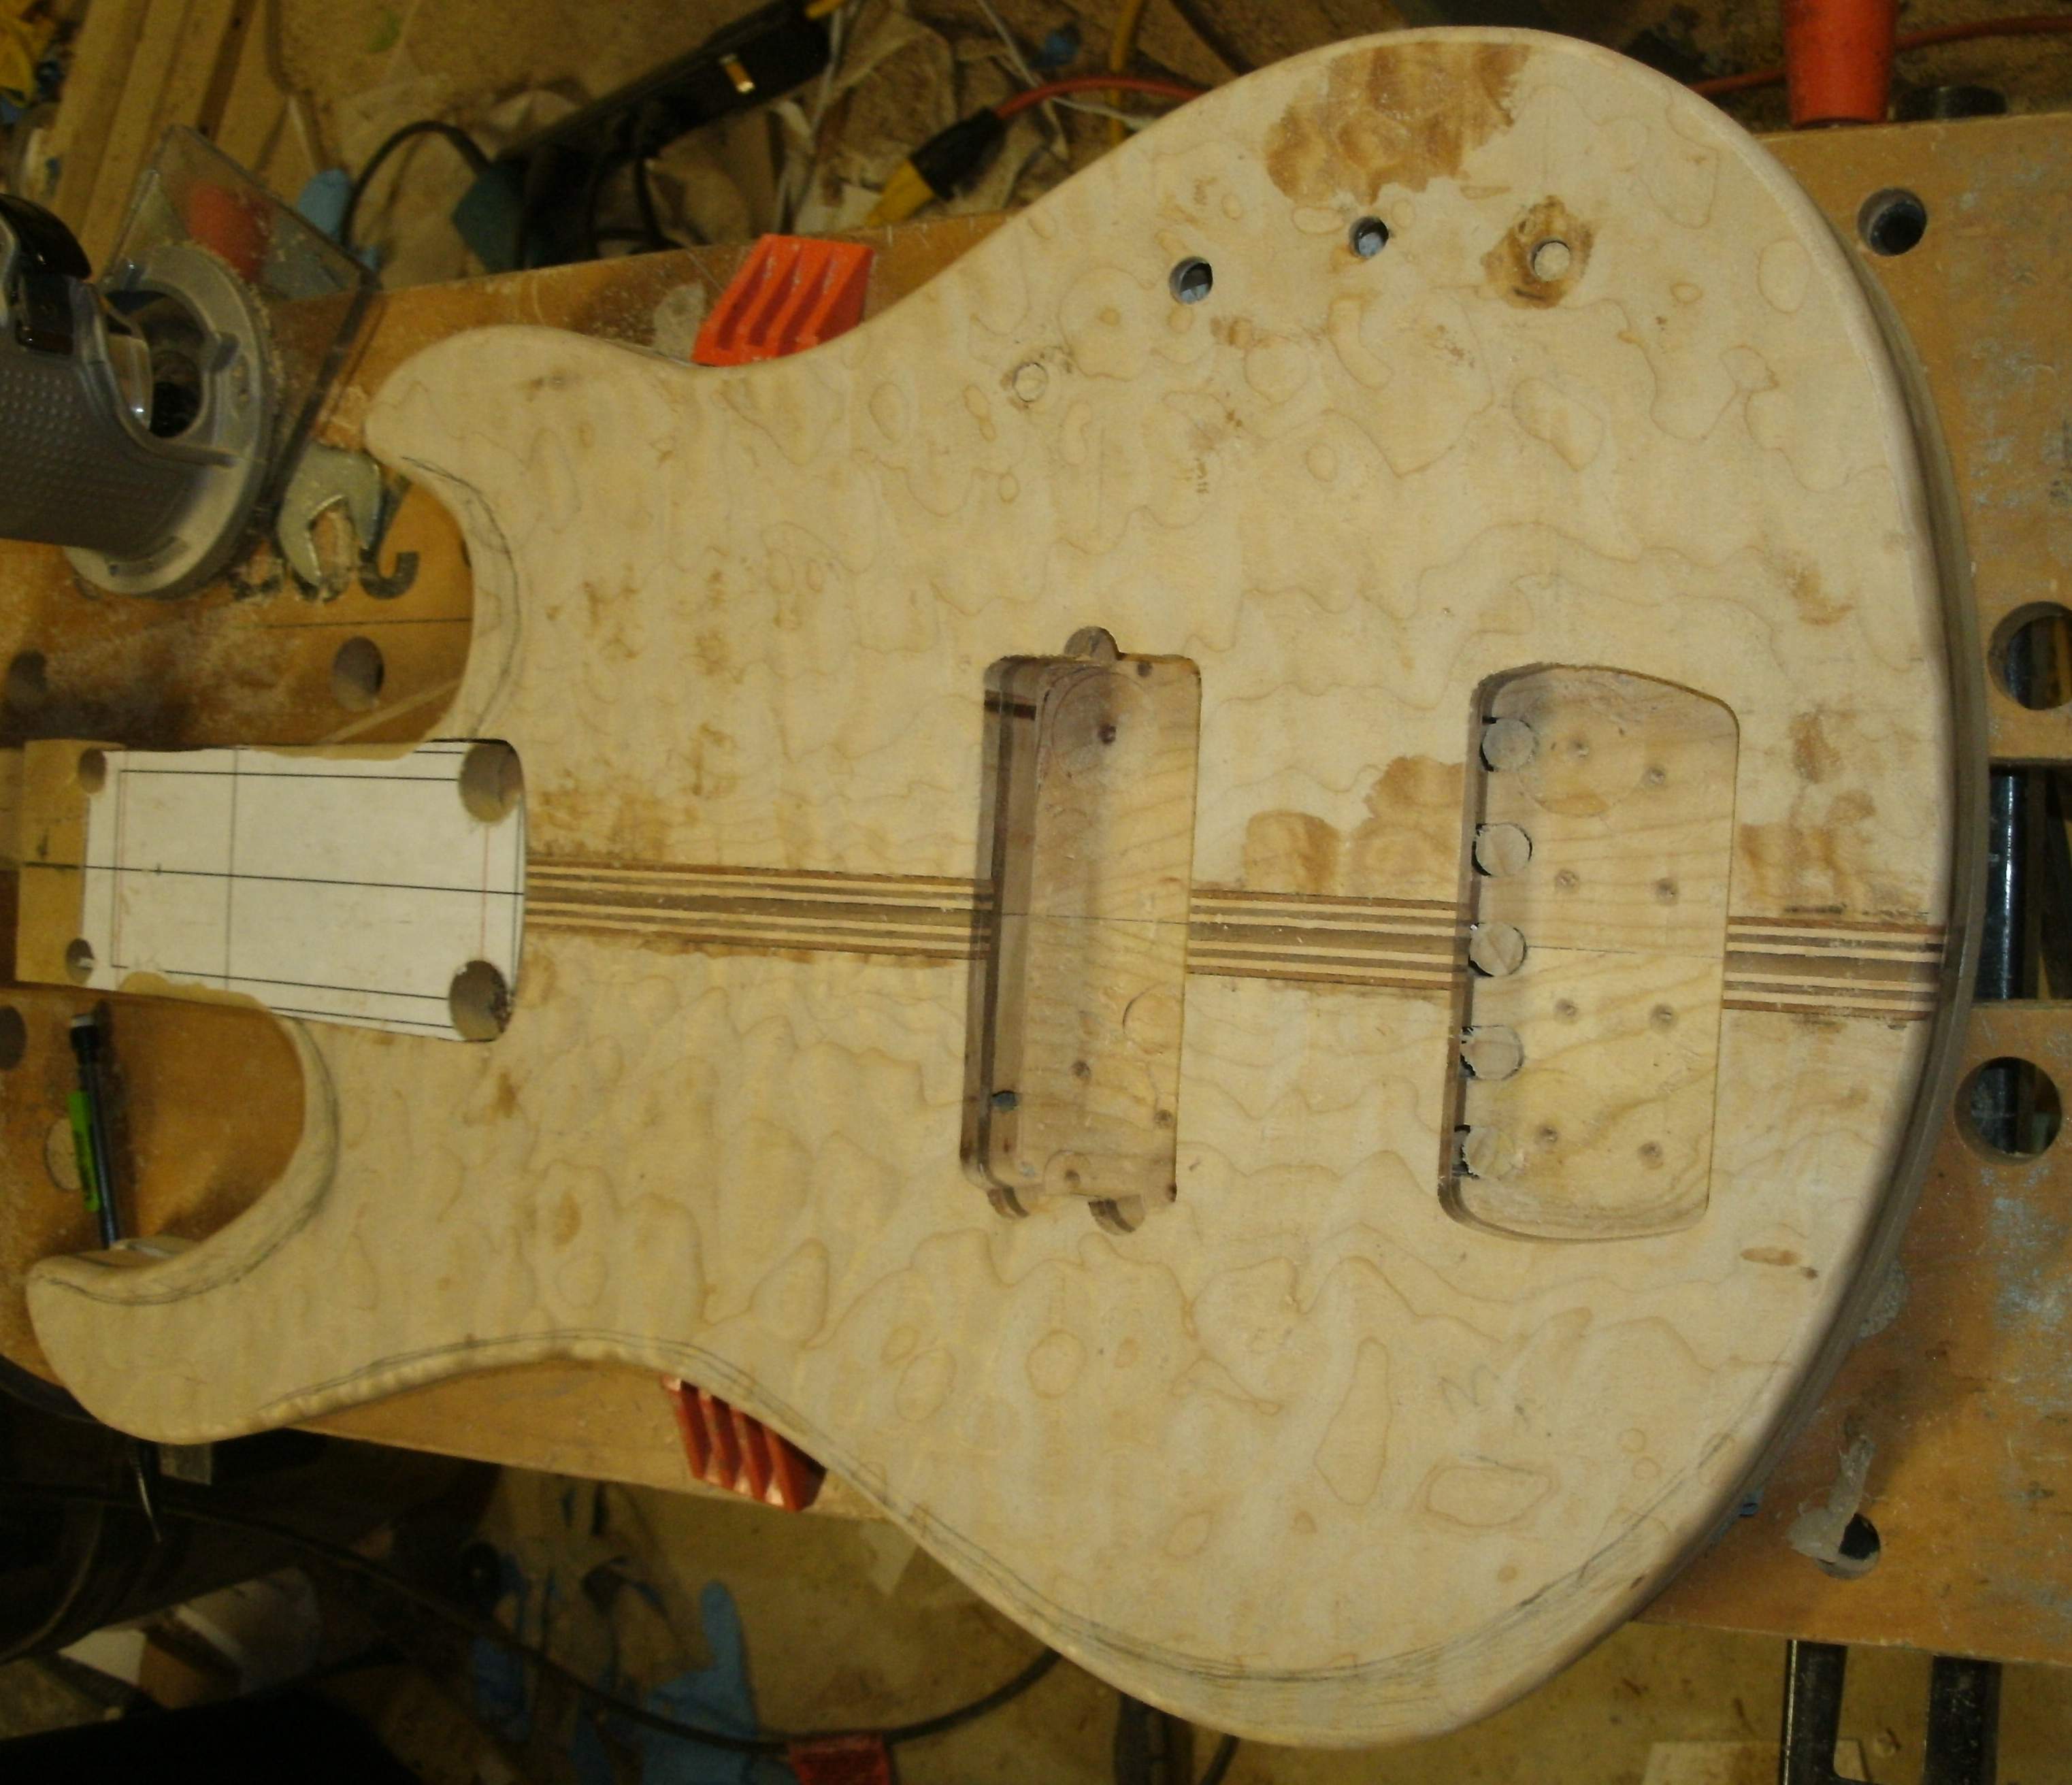
On to the round-overs; the back is rounded-over to 1/4" overall, with a 3/8" round-over along the top still a bit of blending to do:
The top is rounded over to 1/4" overall, I'd originally thought I'd do a reveal to the walnut, now I'm not so sure, thoughts?
Even a little relief at the elbow makes a big difference, maybe relieve it but don’t expose the walnut? That top is really nice as a continuous piece.
Yeah there's definitely going to be an elbow relief with or without the reveal.Even a little relief at the elbow makes a big difference, maybe relieve it but don’t expose the walnut? That top is really nice as a continuous piece.
Contouring complete:
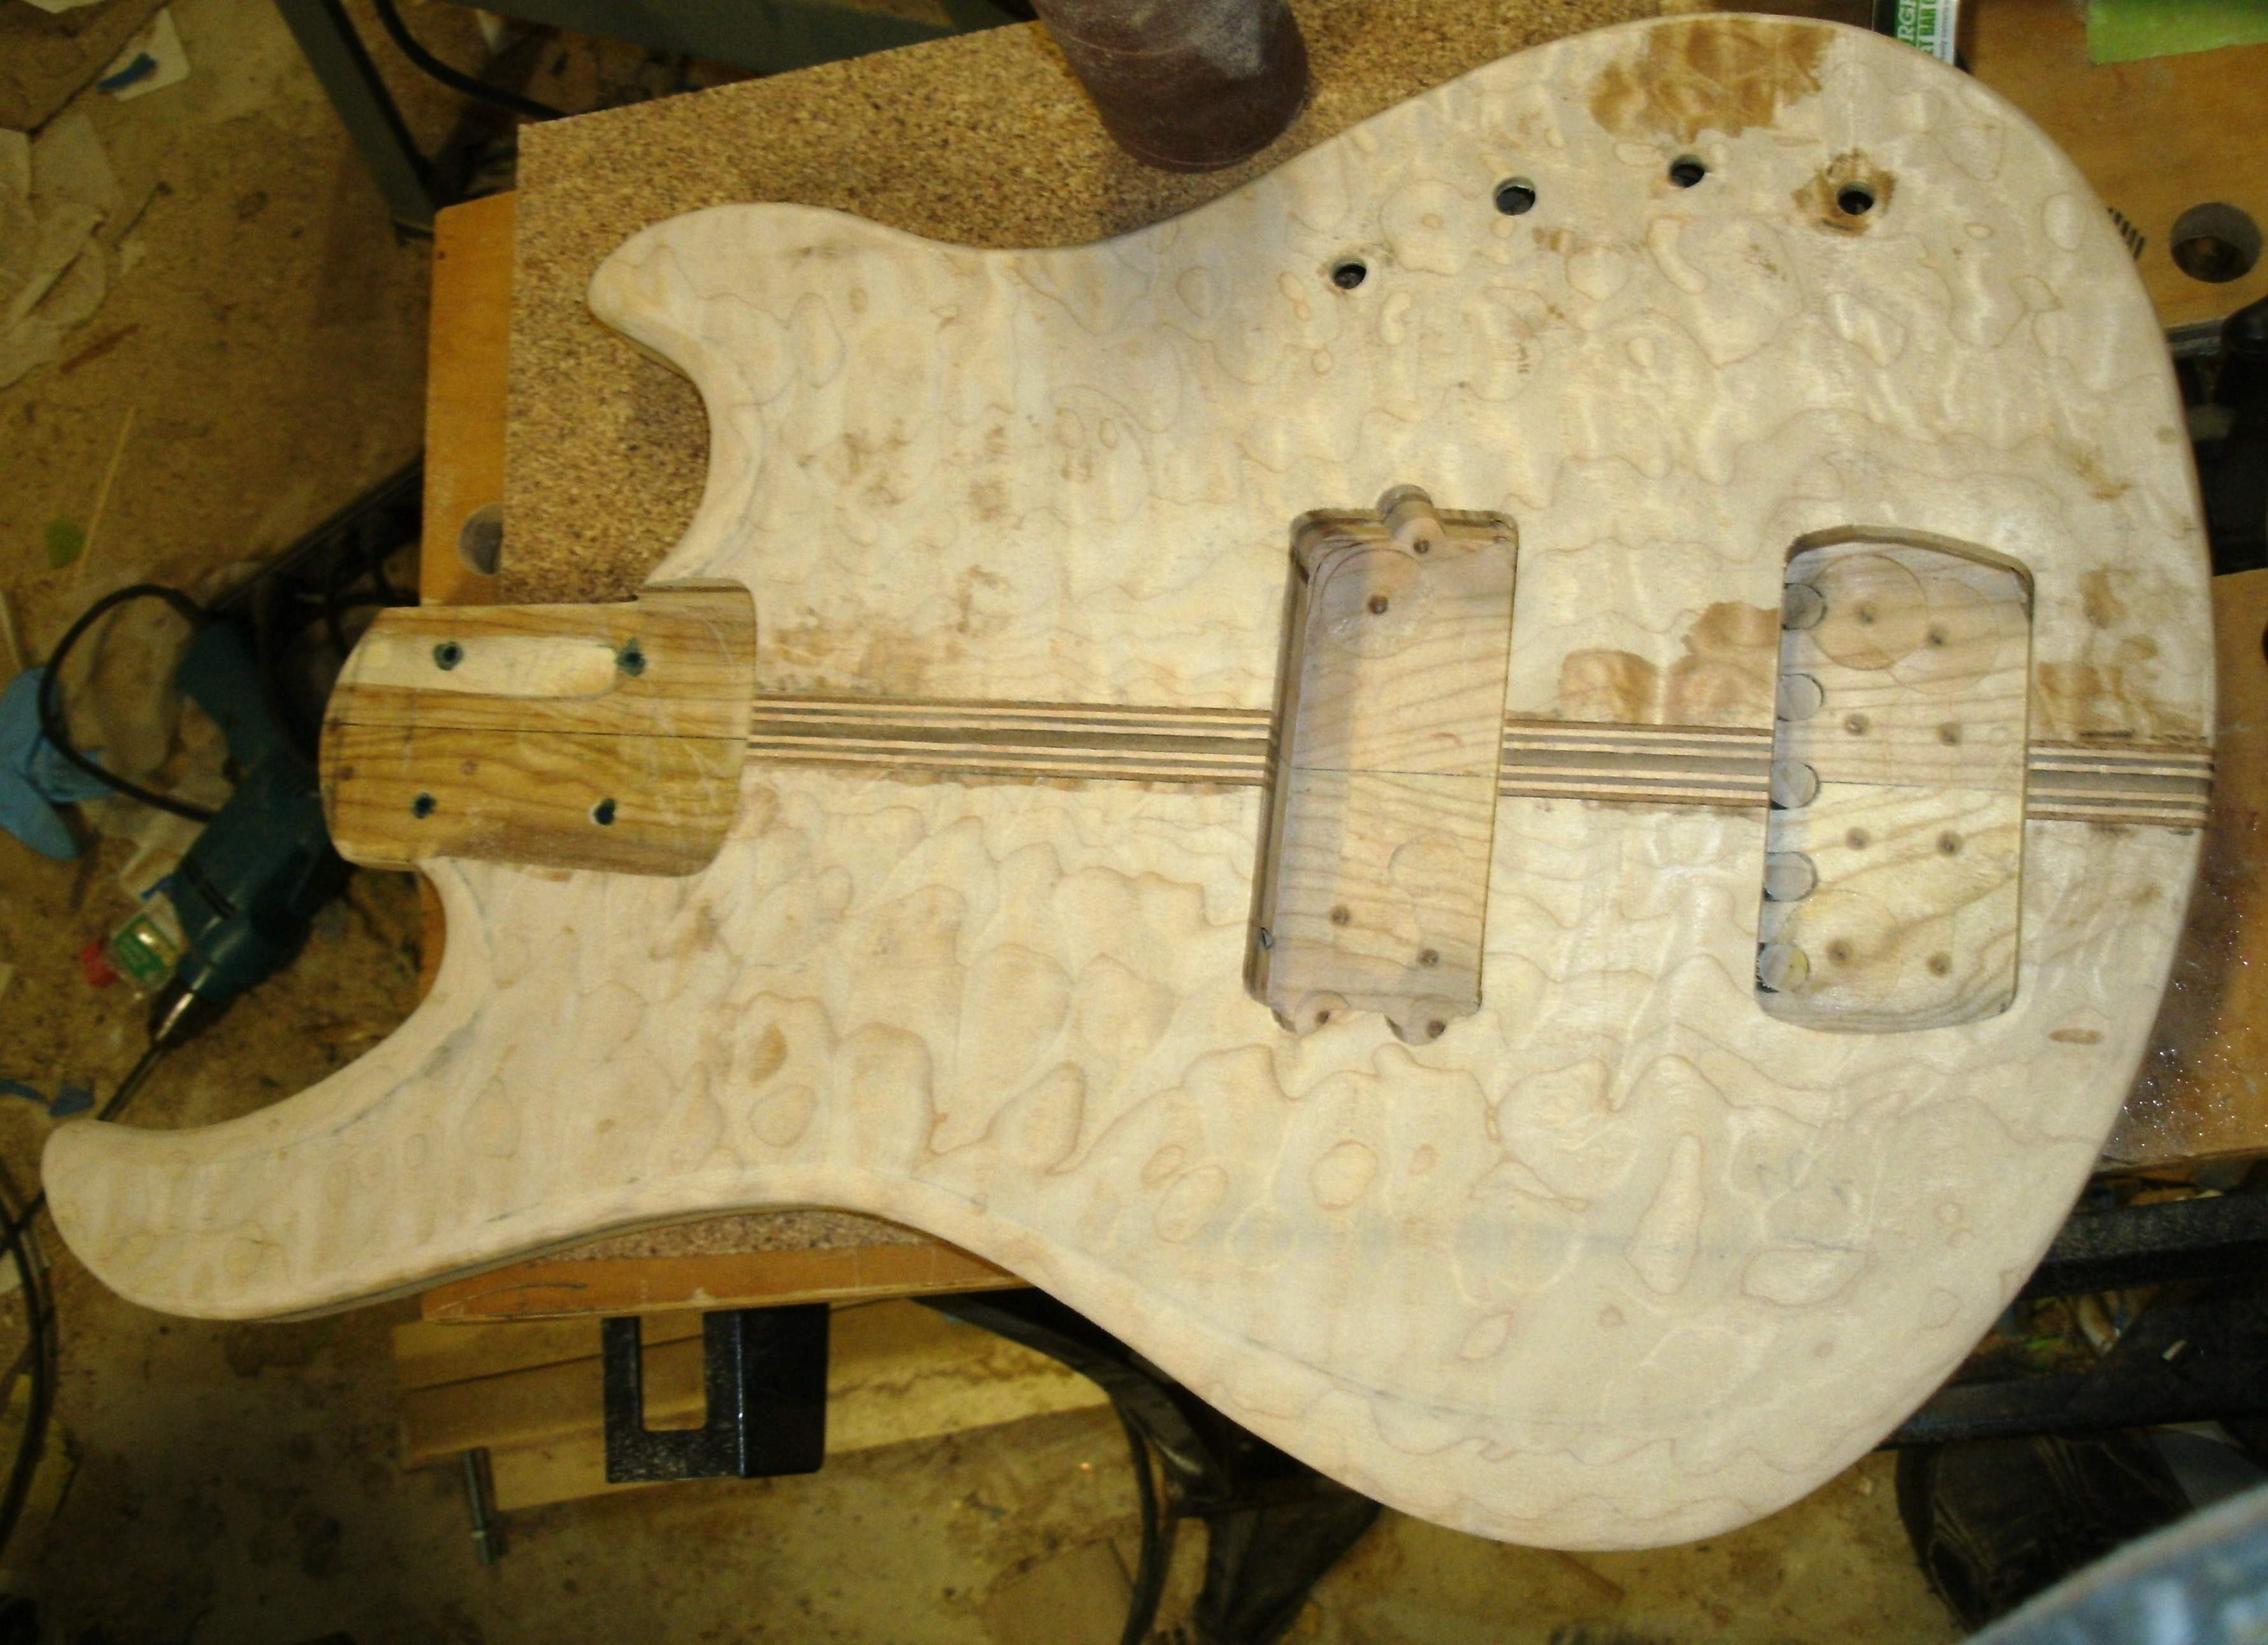
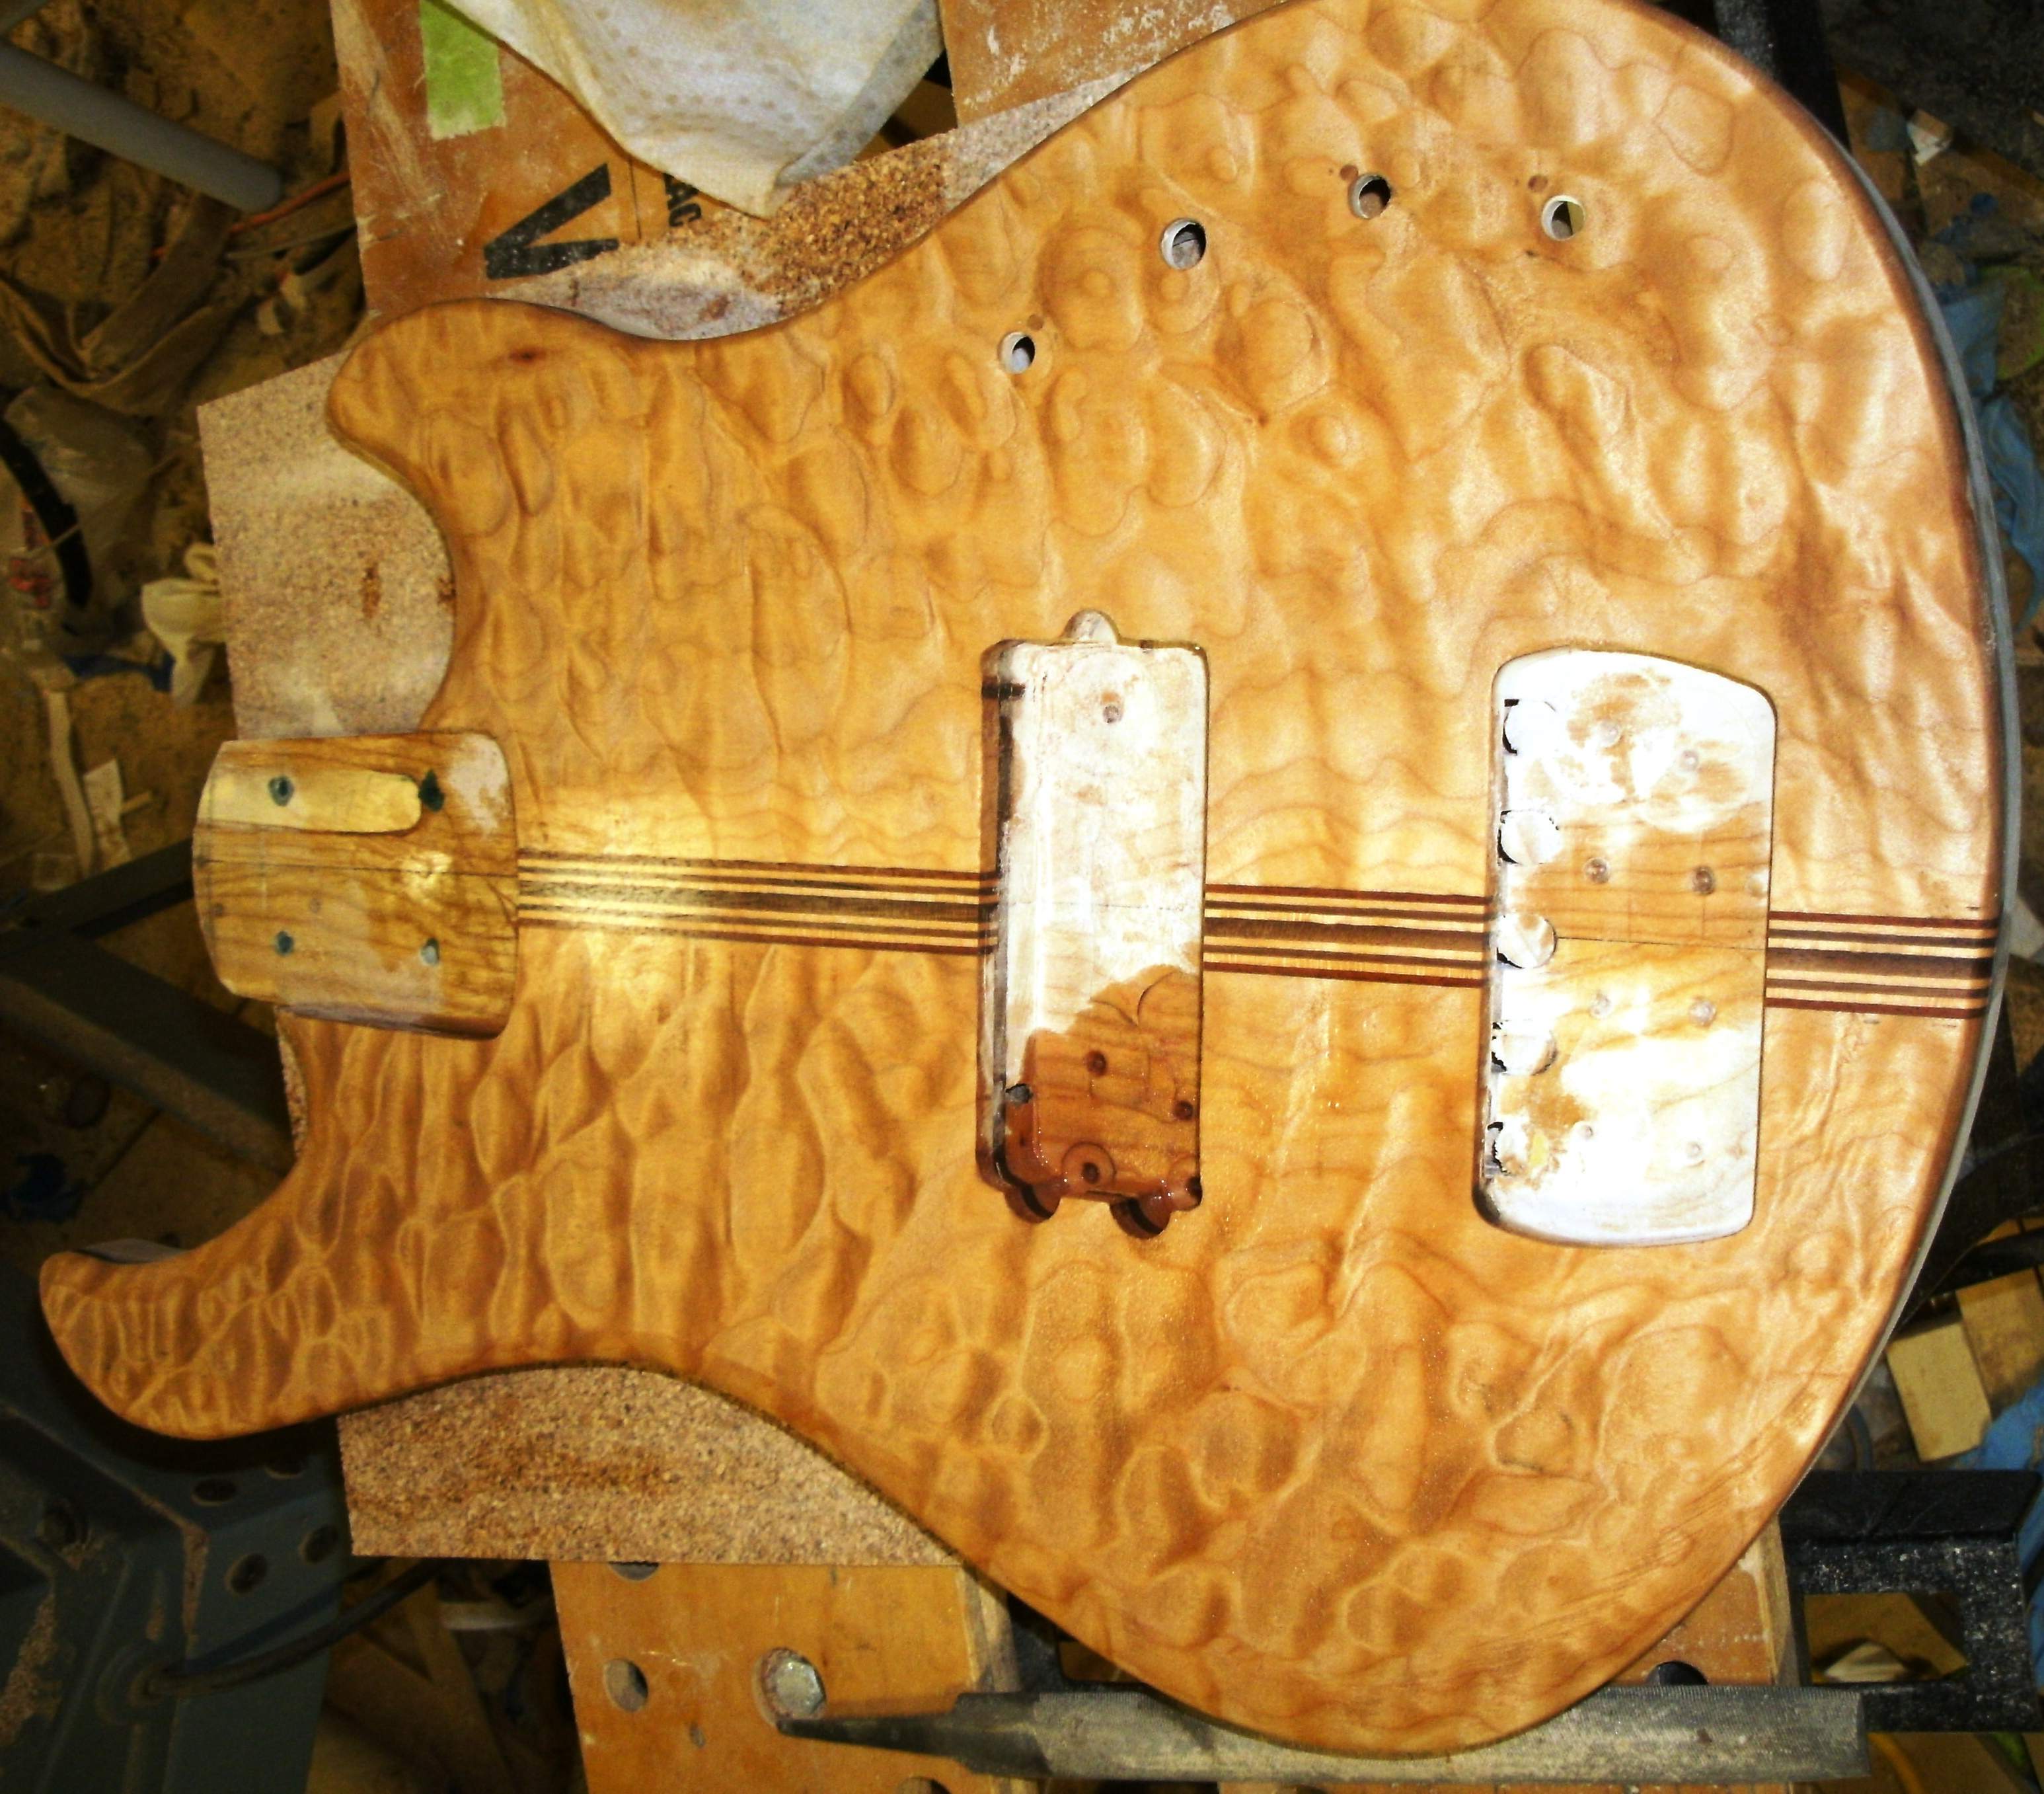
Sanded to 150 and a bit of naptha:
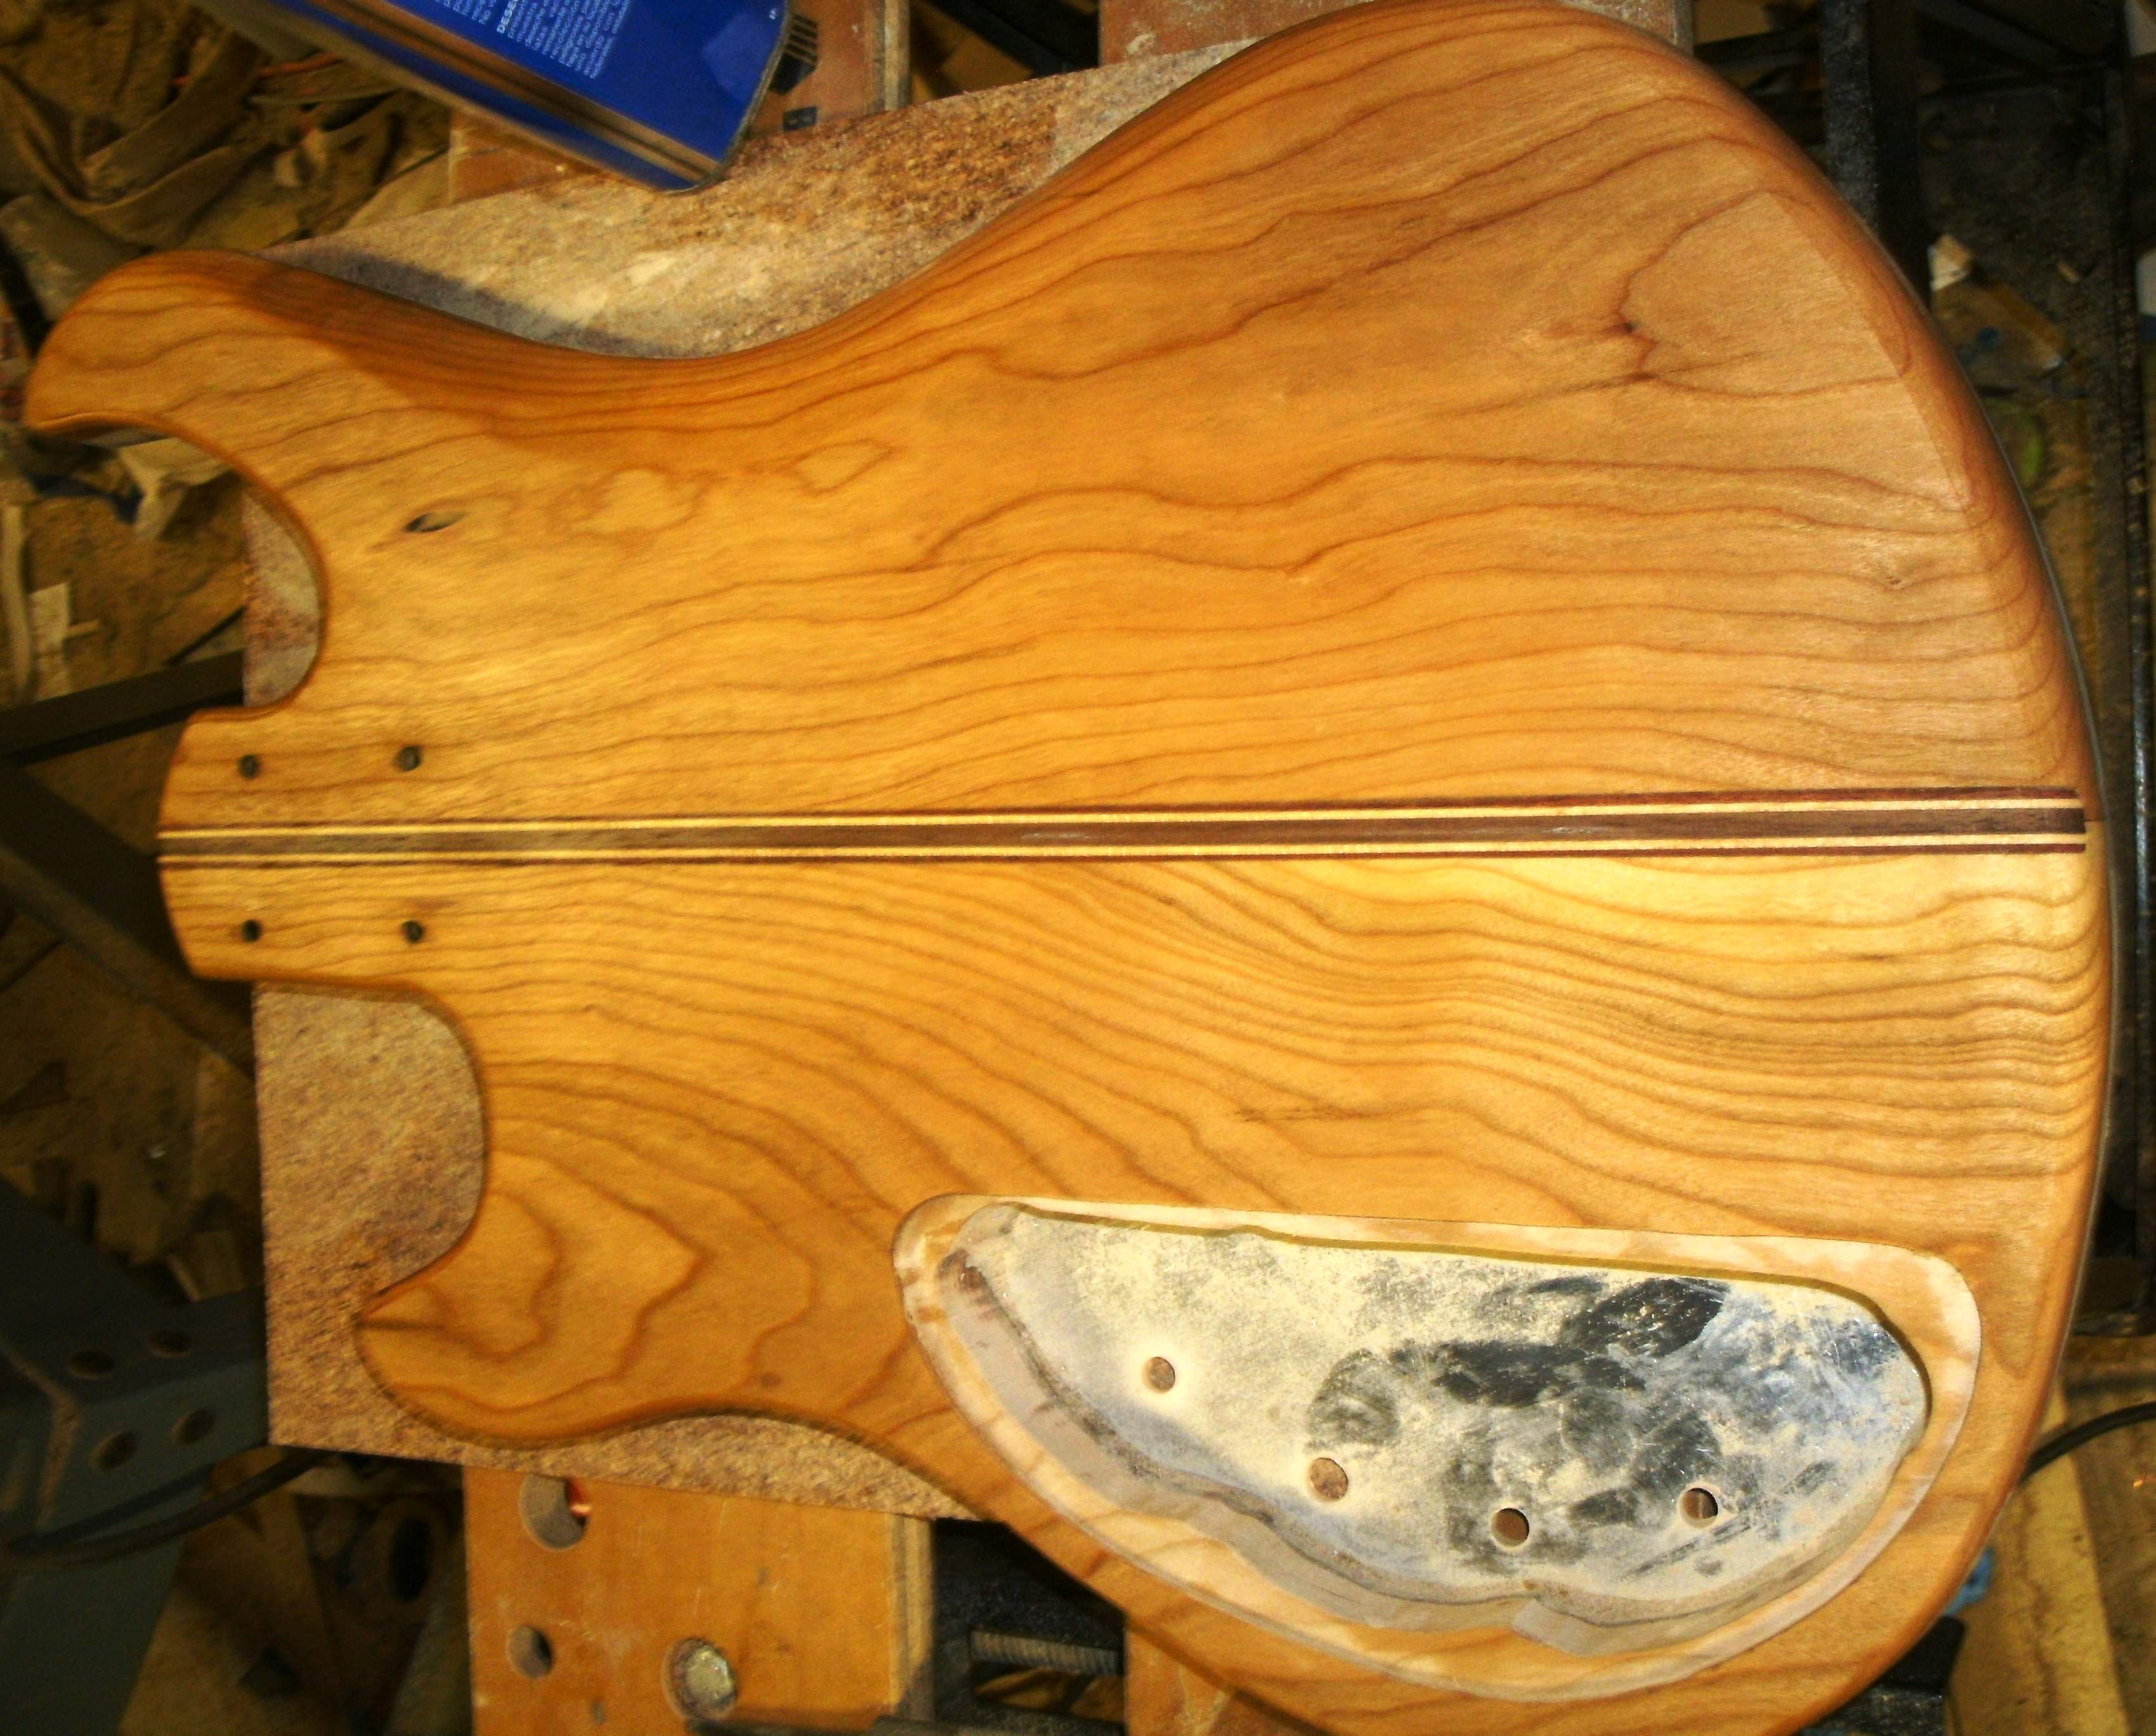
And the back; Looks so good, bring a tear to your eye
With the skinny 1 1/4" body, and the carves, it tucks in quite comfortably.
Sanded to 150 and a bit of naptha:
And the back; Looks so good, bring a tear to your eye
With the skinny 1 1/4" body, and the carves, it tucks in quite comfortably.


