
Enjoy the benefits of a premium membership!
Upgrade Account
-
TalkBass has been independent since 1998. Add your voice.
Create a free account to reply to discussions, view embedded media, and browse with fewer display ads.
Join free Log in
Want zero display ads or expanded classifieds tools? Compare plans.
You are using an out of date browser. It may not display this or other websites correctly.
You should upgrade or use an alternative browser.
You should upgrade or use an alternative browser.
Winter Build-Off 2023: Twin Tigers!!!
- Thread starter Lonnybass
- Start date
More options
Who Replied?


What do you use for that?
The signature was done with a fine point Sharpie and the city and S/N were done with a Pentel Sign Pen. After they dried for a few minutes I hit them with a few light coats of spray shellac to seal them before the last set of clear coats go on tomorrow.
16 coats as of this morning. I'll aim for two more clear coats today and another two tomorrow, and then this stage will be done.
After 20 clear coats and two sealer coats, I'm officially calling it done on both basses! Now, the painful three-week waiting period while the urethane cures up nice and hard.
This is the first time the twins have appeared together. To say I'm quite happy would be an understatement…
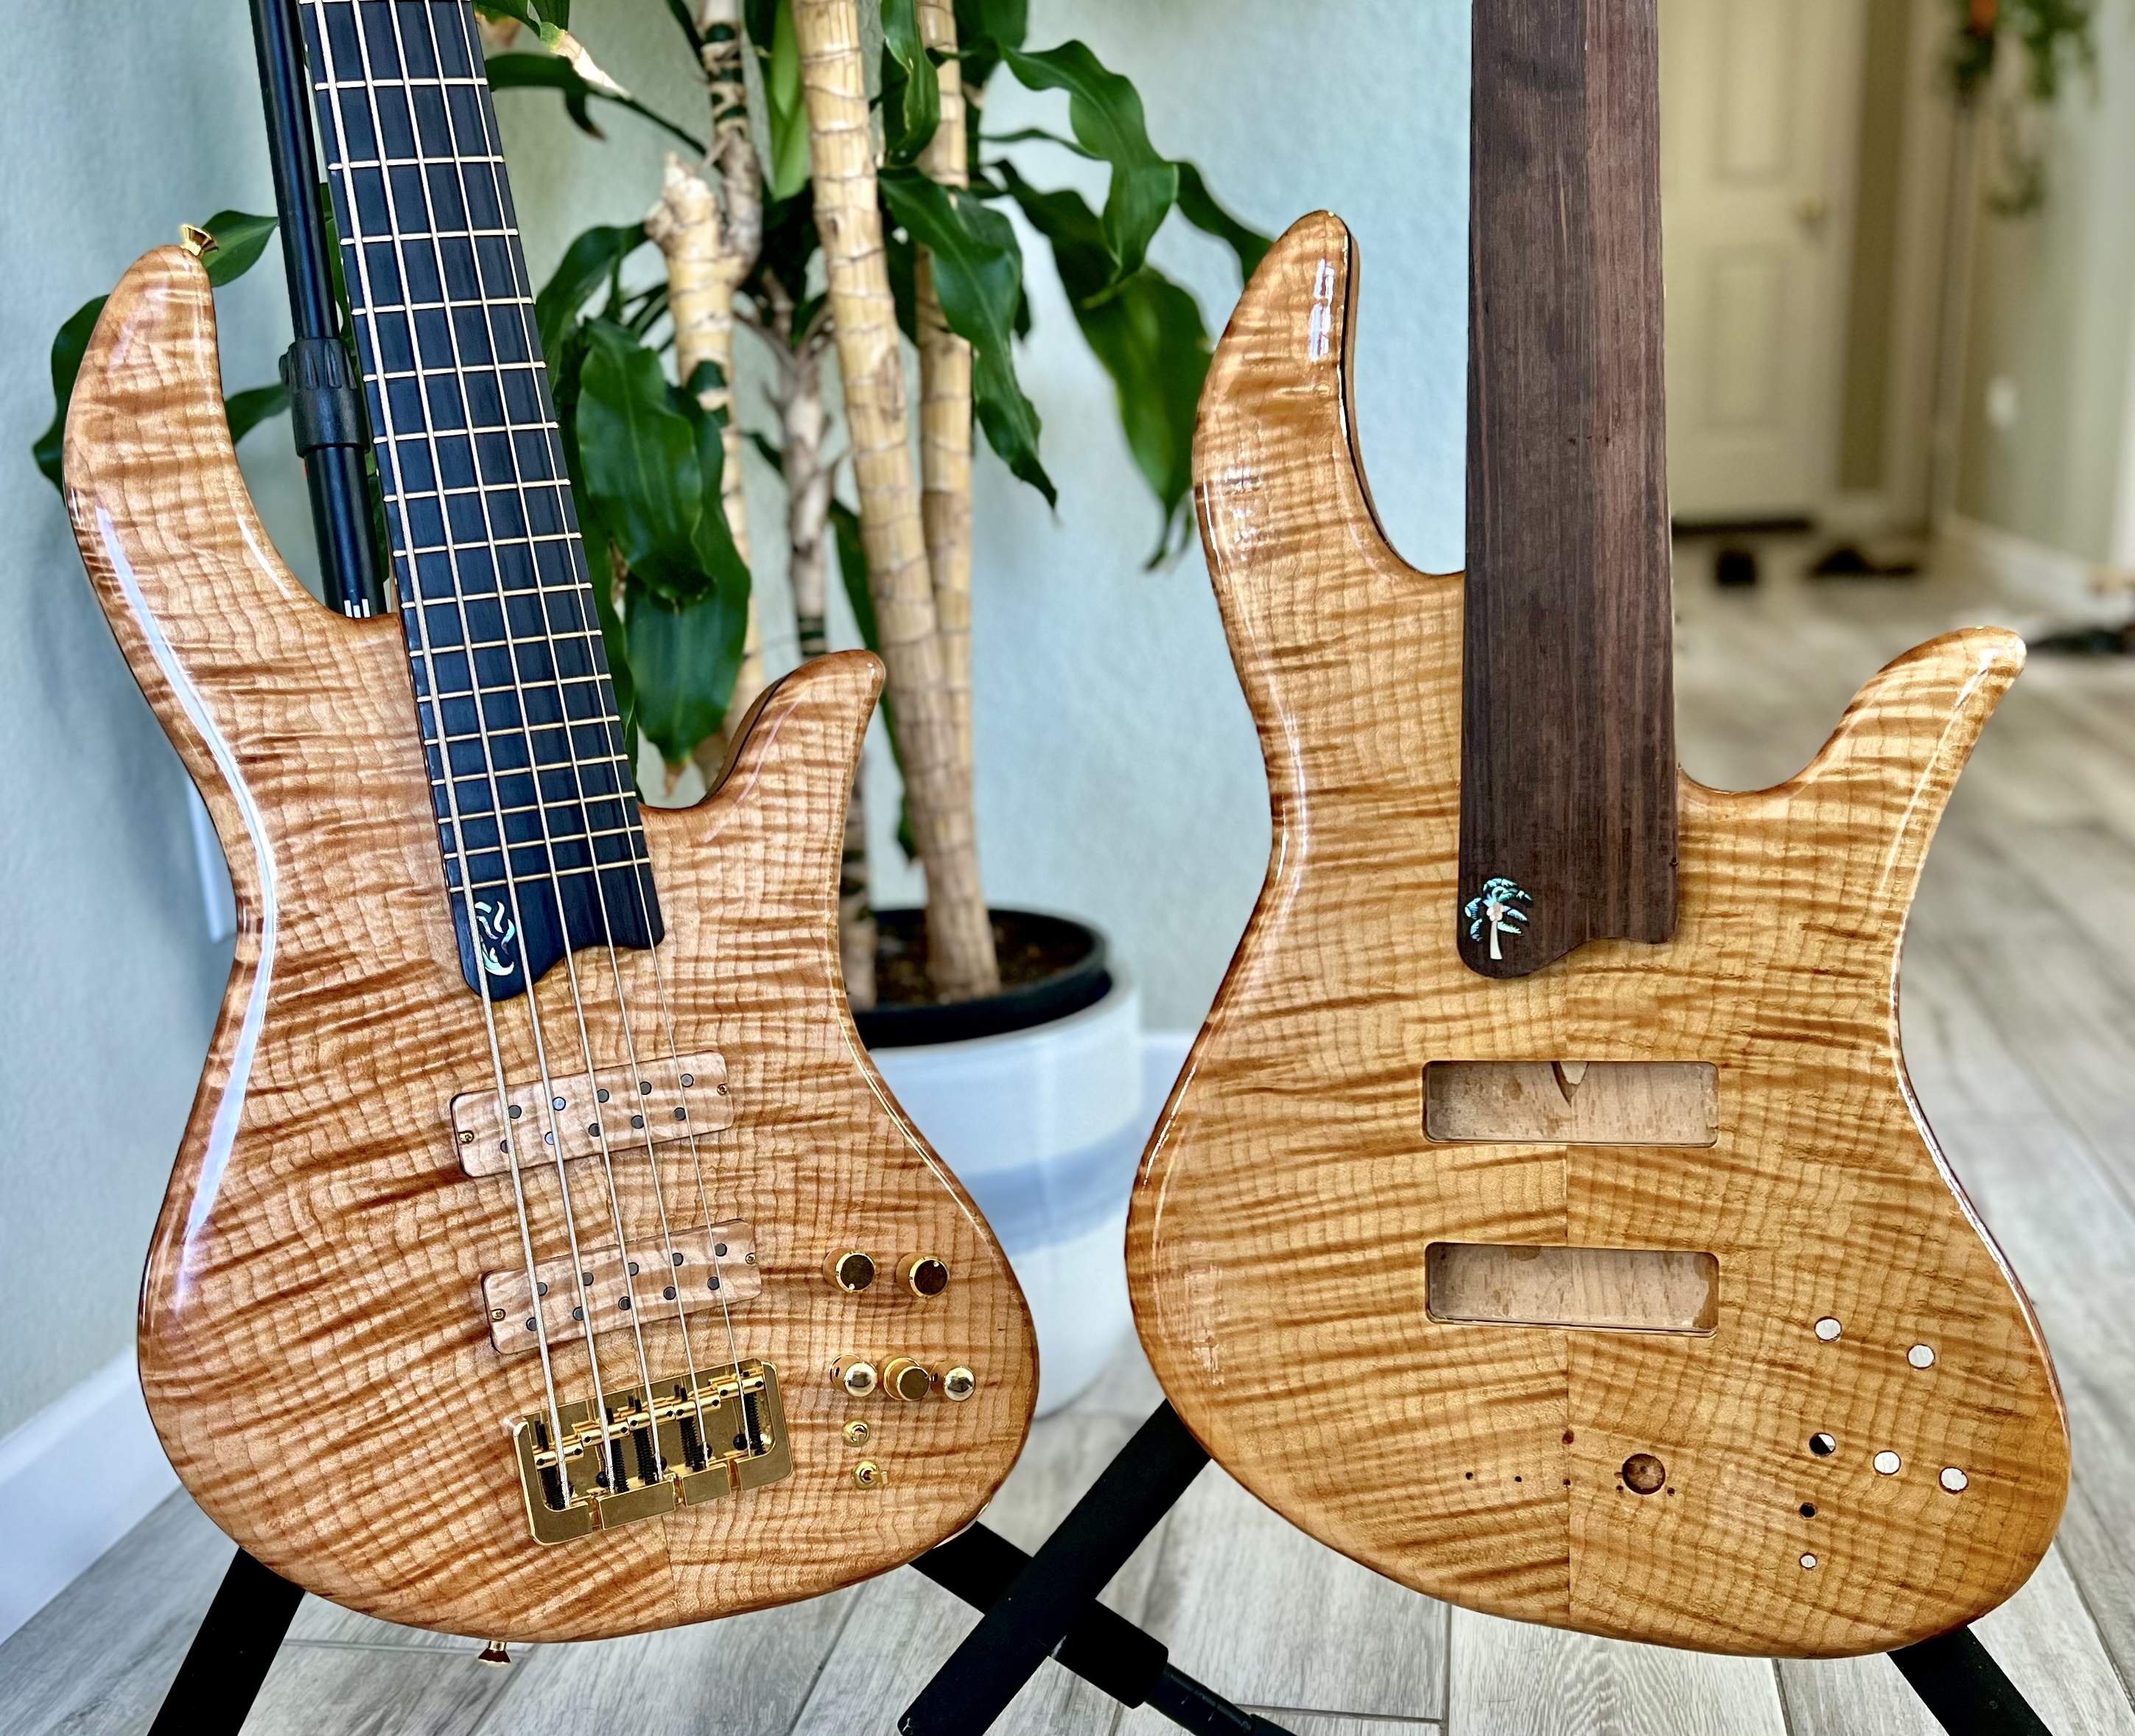
This is the first time the twins have appeared together. To say I'm quite happy would be an understatement…

Sealer coats? On the body prior to top coat?After 20 clear coats and two sealer coats, I'm officially calling it done on both basses! Now, the painful three-week waiting period while the urethane cures up nice and hard.
This is the first time the twins have appeared together. To say I'm quite happy would be an understatement…View attachment 5007661
Sealer coats? On the body prior to top coat?
General Finishes (GF) Arm-R-Seal clearcoats can be used with another GF product called Seal-A-Cell, which is applied as the very first step in the finishing sequence. You'll see some references to me using it throughout this build cycle. It's essentially a very thinned version of Arm-R-Seal, designed to penetrate deeply into the woodgrain without building a hard film like the Arm-R-Seal. Sort of like a tung oil or Danish oil.
Importantly, you don't NEED to use it. It can be helpful on certain open-grained woods, or if you want to add just a little bit of extra depth - but it's not essential.
I will add, whenever I do a dye job, I always let it dry and then hit it with a couple light passes of spray shellac. It will help lock in the dye and prevent runs when you apply clearcoat over the top. It also helps form a protective layer for scuff sanding...it's really easy to pull up dye by accident and create a light spot on the top when you are sanding. Gotta be REAL careful when scuff sanding your clear coats!
Yeah, that freaks me out a bit. Arm-R-Seal says it can be thinned w 10% mineral spirits. Is it worth a thinned coat or two before starting to develop the final build-up?General Finishes (GF) Arm-R-Seal clearcoats can be used with another GF product called Seal-A-Cell, which is applied as the very first step in the finishing sequence. You'll see some references to me using it throughout this build cycle. It's essentially a very thinned version of Arm-R-Seal, designed to penetrate deeply into the woodgrain without building a hard film like the Arm-R-Seal. Sort of like a tung oil or Danish oil.
Importantly, you don't NEED to use it. It can be helpful on certain open-grained woods, or if you want to add just a little bit of extra depth - but it's not essential.
I will add, whenever I do a dye job, I always let it dry and then hit it with a couple light passes of spray shellac. It will help lock in the dye and prevent runs when you apply clearcoat over the top. It also helps form a protective layer for scuff sanding...it's really easy to pull up dye by accident and create a light spot on the top when you are sanding. Gotta be REAL careful when scuff sanding your clear coats!
Yeah, that freaks me out a bit. Arm-R-Seal says it can be thinned w 10% mineral spirits. Is it worth a thinned coat or two before starting to develop the final build-up?
Personally, I'd say "yes" - simply because you are putting all this time into making yourself a beautiful custom instrument. A relatively simple extra step like this is going to add all of three hours to the project. I think it's worth it, especially to help get down deep into the pores and give you that extra little element of chatoyant shimmer in your finished product. Go for it

While my finish waits week to cure, I can't help but wonder if yours has hit maturity yet?
Finish is cured up and ready to go! That's the good news!!!
But...my older son's bar mitzvah is next weekend, so all of our available free time is going towards final logistical prep for the big event. And all of our available bass-related time has involved prepping my two little guys for their first-ever live performance at the reception on Saturday night, which should be awesome. We've arranged a medley of Michael Jackson, Earth Wind & Fire, and Chicago for them to show their stuff. We've been rehearsing like crazy…Gonna be amazing!
Nice! That's awesomeFinish is cured up and ready to go! That's the good news!!!
But...my older son's bar mitzvah is next weekend, so all of our available free time is going towards final logistical prep for the big event. And all of our available bass-related time has involved prepping my two little guys for their first-ever live performance at the reception on Saturday night, which should be awesome. We've arranged a medley of Michael Jackson, Earth Wind & Fire, and Chicago for them to show their stuff. We've been rehearsing like crazy…Gonna be amazing!
View attachment 5033465 View attachment 5033466

Nice! That's awesome
Should be rather memorable
How's your bass looking? When are you going to do the buff and polish?It's got 20 coats on top of the 3 seal coats. Looks like the build up is pretty thick. I just put the last couple coats on the end of last week so I'm looking at the 2nd week of May as the earliest I can level and buff.Should be rather memorable
It's got 20 coats on top of the 3 seal coats. Looks like the build up is pretty thick. I just put the last couple coats on the end of last week so I'm looking at the 2nd week of May as the earliest I can level and buff.
The wait will be worth it. You can use the next couple weeks to get everything together for your next bass!
The amber flame highlighting you did looks fantastic - I can't wait to see your new instrument come together.You can use the next couple weeks to get everything together for your next bass!
I'm on that train already

Grabbed a really cool roasted maple neck on reverb. Just threw $50 at a walnut and mahogany (african mahogany) body blank, I've got Hipshot 5 string bridge, and a pair of chisonic pickups already, nearly everything for a new project

I've got a design too, it'll be my first scratch built body.
While I'm busy hijacking @Lonnybass's thread, the body blank got delivered today. It looks pretty nice:

I really want to contour the body like a Spector. I have an understanding of making a router fixture to do that (or at least I've read threads where it's been done). I just need to think about it some more and create a task list in the proper order. I'm thinking I need to basically do all of the routing first, then cut the contour. But that's my initial thought, I need to revisit those threads and get a solid plan together.
OK, back to your regularly scheduled build thread
I really want to contour the body like a Spector. I have an understanding of making a router fixture to do that (or at least I've read threads where it's been done). I just need to think about it some more and create a task list in the proper order. I'm thinking I need to basically do all of the routing first, then cut the contour. But that's my initial thought, I need to revisit those threads and get a solid plan together.
OK, back to your regularly scheduled build thread
Well... maybe one more hijack...

Last edited:


