
Enjoy the benefits of a premium membership!
Upgrade Account
-
TalkBass has been independent since 1998. Add your voice.
Create a free account to reply to discussions, view embedded media, and browse with fewer display ads.
Join free Log in
Want zero display ads or expanded classifieds tools? Compare plans.
You are using an out of date browser. It may not display this or other websites correctly.
You should upgrade or use an alternative browser.
You should upgrade or use an alternative browser.
Winter Build-Off 2023: Twin Tigers!!!
- Thread starter Lonnybass
- Start date
More options
Who Replied?


That looks great! Do you have a pile of J bass parts ready, or will the J body go back to waiting?
That looks great! Do you have a pile of J bass parts ready, or will the J body go back to waiting?
I'll likely wait a bit longer to get the J finished up…mostly just due to lack of free time! Both of the Tiger Twins were exercises in working against extreme time limitations- it's a kind of a miracle honestly. Five minutes here, ten minutes there. Plus, I'll have to expand my wall hanging system at some point in the very near future…we've officially run out of room for instruments. So many projects. So little time!

I don't know how you're able to be productive for 5 or 10 minute sessions. I couldn't do it. I need like a minimum of 2.5 hours to get anything done.

I usually need 2.5 hours to find that tool I was just holding.I don't know how you're able to be productive for 5 or 10 minute sessions. I couldn't do it. I need like a minimum of 2.5 hours to get anything done.


It's not an ideal way to build, that is for sure. What I've basically had to do is to figure out hyper-efficient sequencing and workflows so that I'm able to make meaningful progress in small incremental blocks of time. Constant cleaning and organizing of the workshop area has been helpful too, as I'm not constantly on the hunt for tools. I used to be there...spending an hour and a half looking for a specific drill bit to cut out a hole that takes less than 15 seconds. It's so easy to fall behind on the bench clutter! Staying ahead of it is absolutely key for me.

It seems like a good idea at first but ya' gotta feed 'em and water 'em and if you go out, when you come back they're never where you you left them…
They are excessively expensive, I've tried it.
Man y'all are really harshin' my vibe...And they RARELY do what you want them to.
Okay cool. I've heard of doing this and looked at tutorials online, but I haven't tried it yet. Does it work on less figured grains? I get that the effect is going to be much more apparent on highly figured grains pictured in this thread, but does help with making more...um..."standard" wood grains pop as well?Exactly. I will use either black or very dark brown, and apply one or two heavy coats. Let it dry about a half hour or so.
Here's how dark it looks:
View attachment 4995323 View attachment 4995324
Then sand back with 400 grit, to get something like this:
View attachment 4995328
Then use some mineral spirits to clean out any residual dust, and apply your color combo:
View attachment 4995330
Which should give you something like this:
View attachment 4995331
Then apply your clear coats, buff it out, and put the thing together:
View attachment 4995332
Okay cool. I've heard of doing this and looked at tutorials online, but I haven't tried it yet. Does it work on less figured grains? I get that the effect is going to be much more apparent on highly figured grains pictured in this thread, but does help with making more...um..."standard" wood grains pop as well?
It will work to some degree on less figured woods. Wood that doesn't have any figuring won't have the same effect, unfortunately. The reason it works so well on highly figured grains is that the endgrain cells of figured maple (for example) absorb dye like a straw, allowing for color to penetrate deeply. Unfigured slabs don't have this same internal structure, so there is much less possibility of an underlying contrast color having the same effect.
I would suggest checking out Big D Guitars on YouTube. Derrek does a LOT of hand staining guitar bodies and he goes over it in pretty good detail, plus he has a TON of videos on the topic.Okay cool. I've heard of doing this and looked at tutorials online, but I haven't tried it yet. Does it work on less figured grains? I get that the effect is going to be much more apparent on highly figured grains pictured in this thread, but does help with making more...um..."standard" wood grains pop as well?
That's kinda what I figured. So gotta be kinda choosy with the body I pick.It will work to some degree on less figured woods. Wood that doesn't have any figuring won't have the same effect, unfortunately. The reason it works so well on highly figured grains is that the endgrain cells of figured maple (for example) absorb dye like a straw, allowing for color to penetrate deeply. Unfigured slabs don't have this same internal structure, so there is much less possibility of an underlying contrast color having the same effect.
I'll do that. Thanks for the rec!I would suggest checking out Big D Guitars on YouTube. Derrek does a LOT of hand staining guitar bodies and he goes over it in pretty good detail, plus he has a TON of videos on the topic.

Do you do 2 coats a day? Something like 2-3 hours in between? Then scuff the next day before adding the next 2?
If my schedule allows for it, and I can get started early enough in the morning, I'll aim for three coats a day, but two is usually where I'll end up depending upon how the daily fun unfolds over here

I'll usually wait about 4-6 hours between applications. You could conceivably push it to less time, but it becomes much harder to address any drips or runs that are still tacky from the previous coat. This stuff is MUCH easier to sand and level if it's set up nicely and is dry to the touch.
The whole bass generally gets a light scuffing wet-sand with 400 or 600 and mineral spirits every two coats. However, I inspect it in between every coat for any areas that need spot-sanding...a dried drip here, a little run there. It's pretty common for me to find a small area that requires some wet-sand blending with each coat.
I've found the best way to deal with dried drips is actually to not sand them. Instead, just use your fingernail to just scrape the spot. Much of it will likely be soft and will come out with little resistance, leaving you a slightly elevated ring of hardened poly around the outside edge of what you just removed. This remaining ring can be easily leveled back to flat with some wet-sanding.
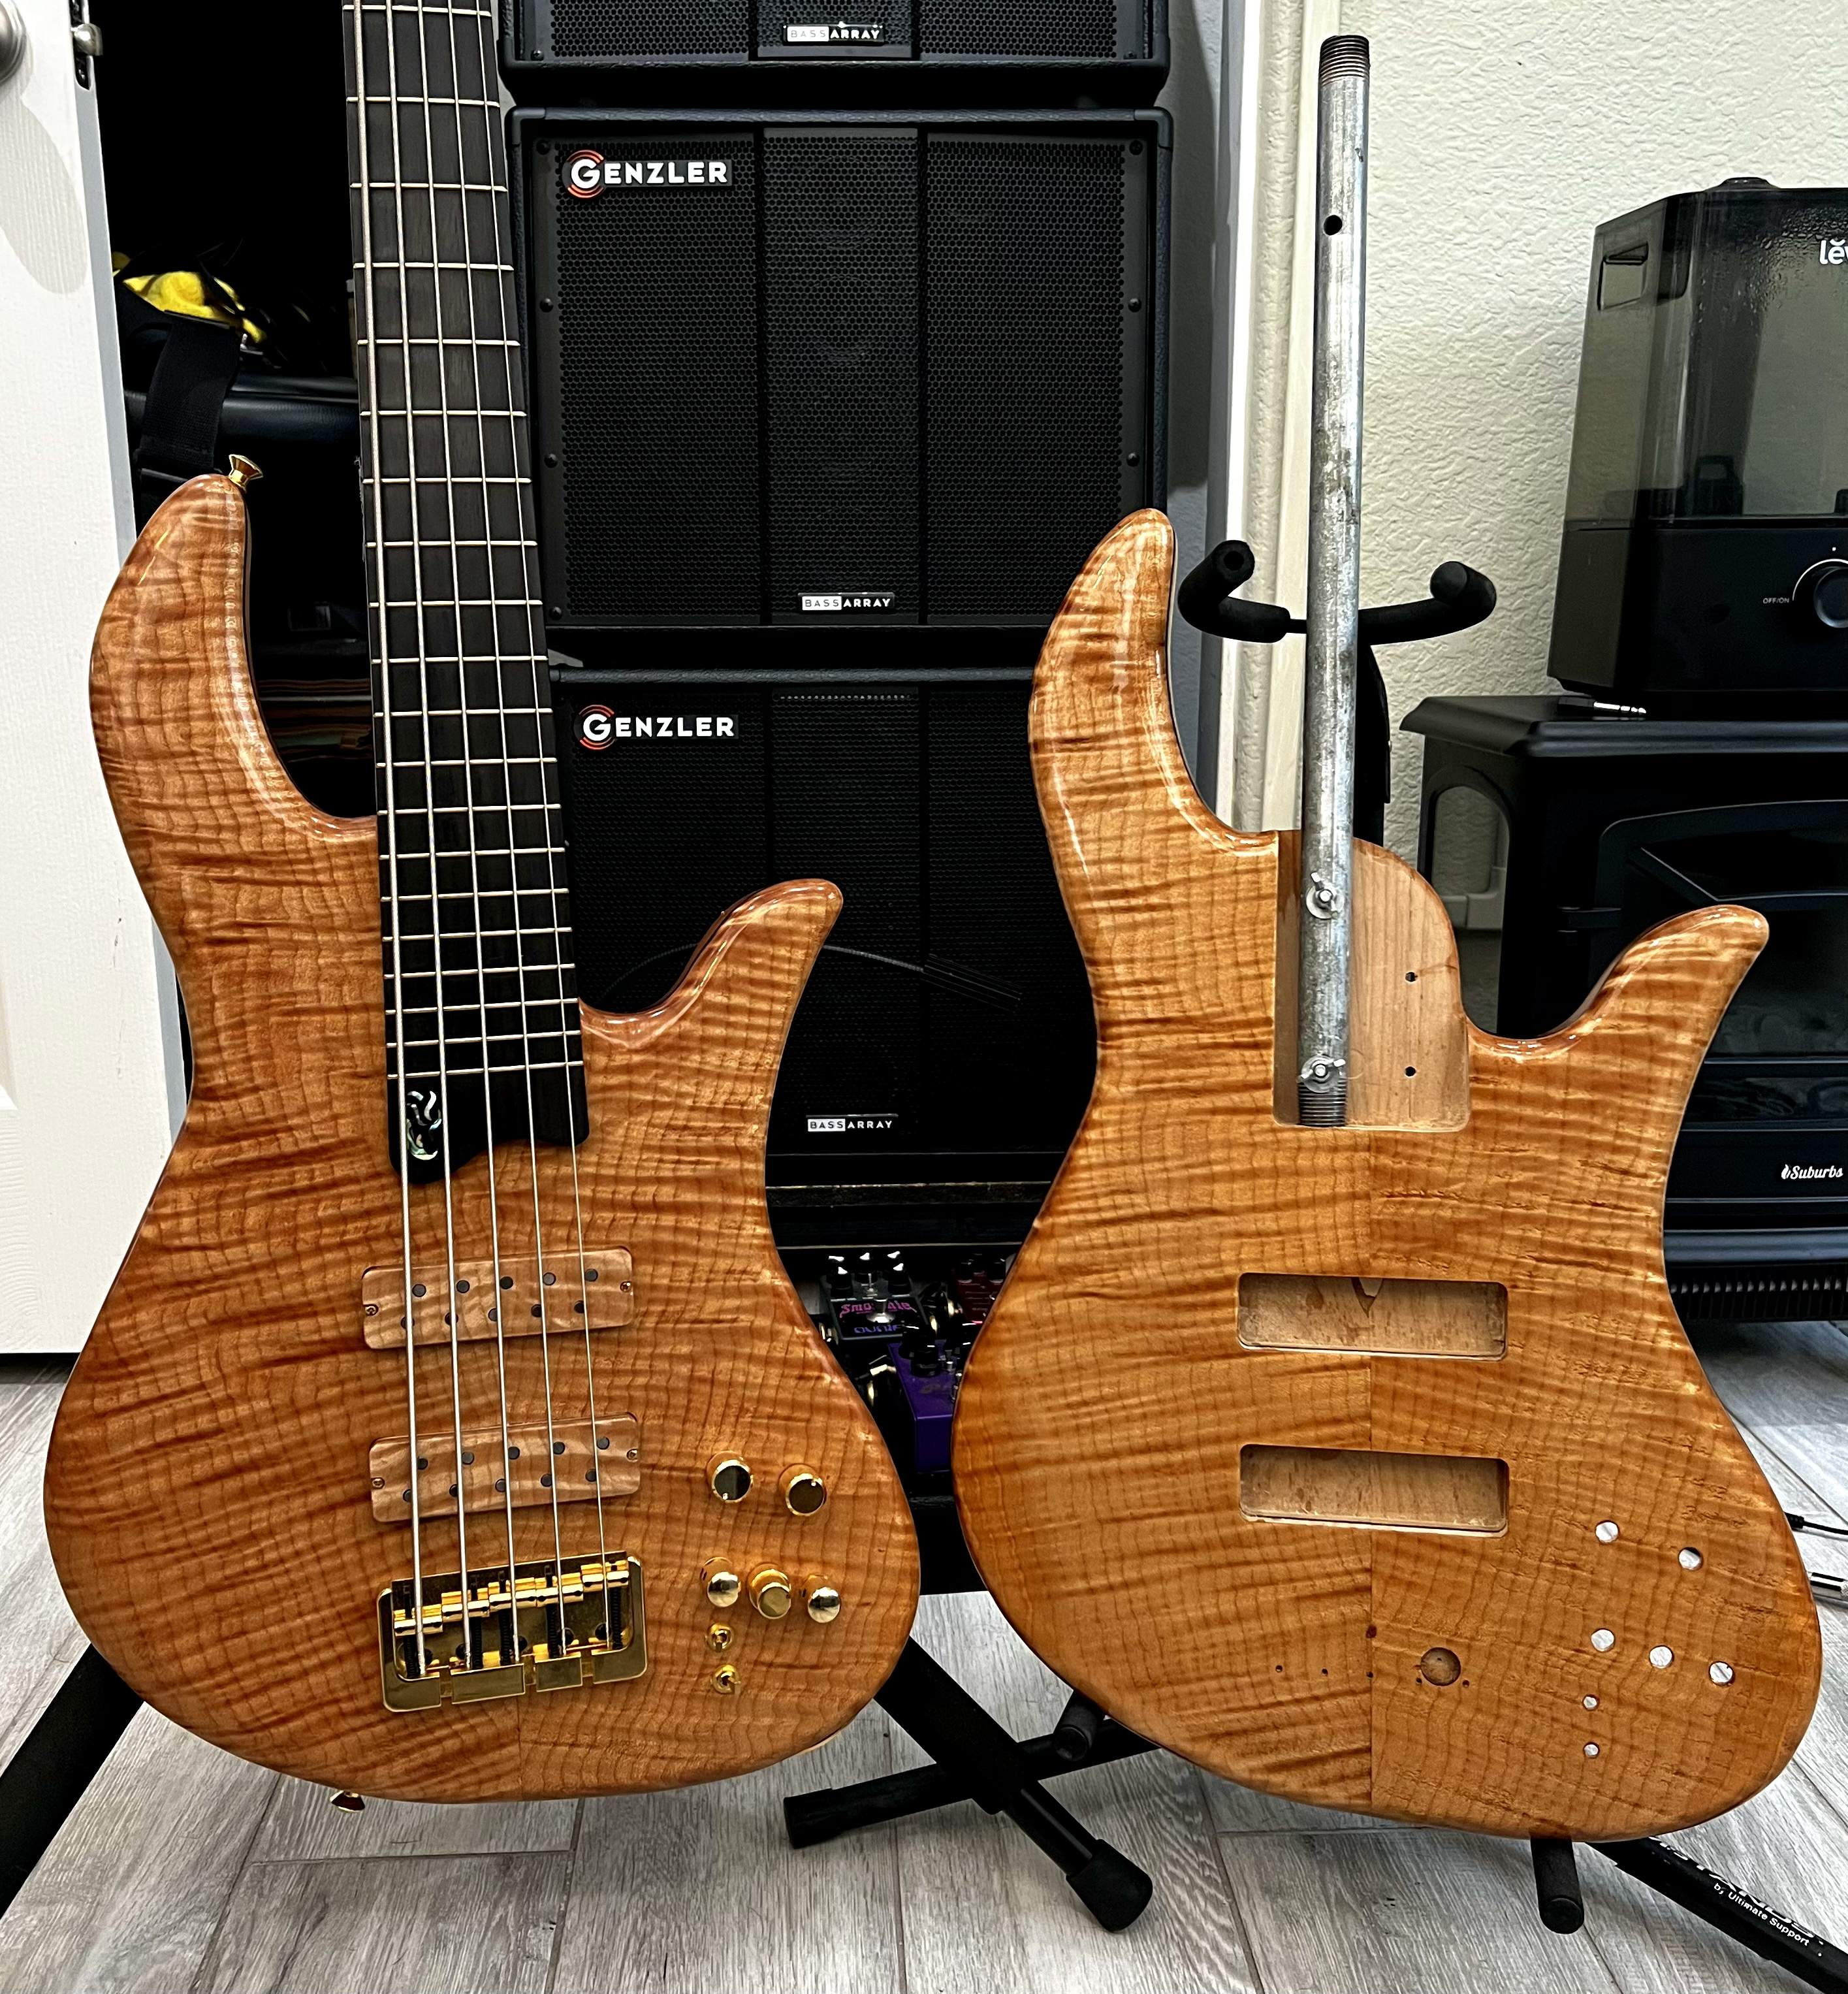
Getting a look at the pair before resuming the second set of coats. These things are literally identical in every way!
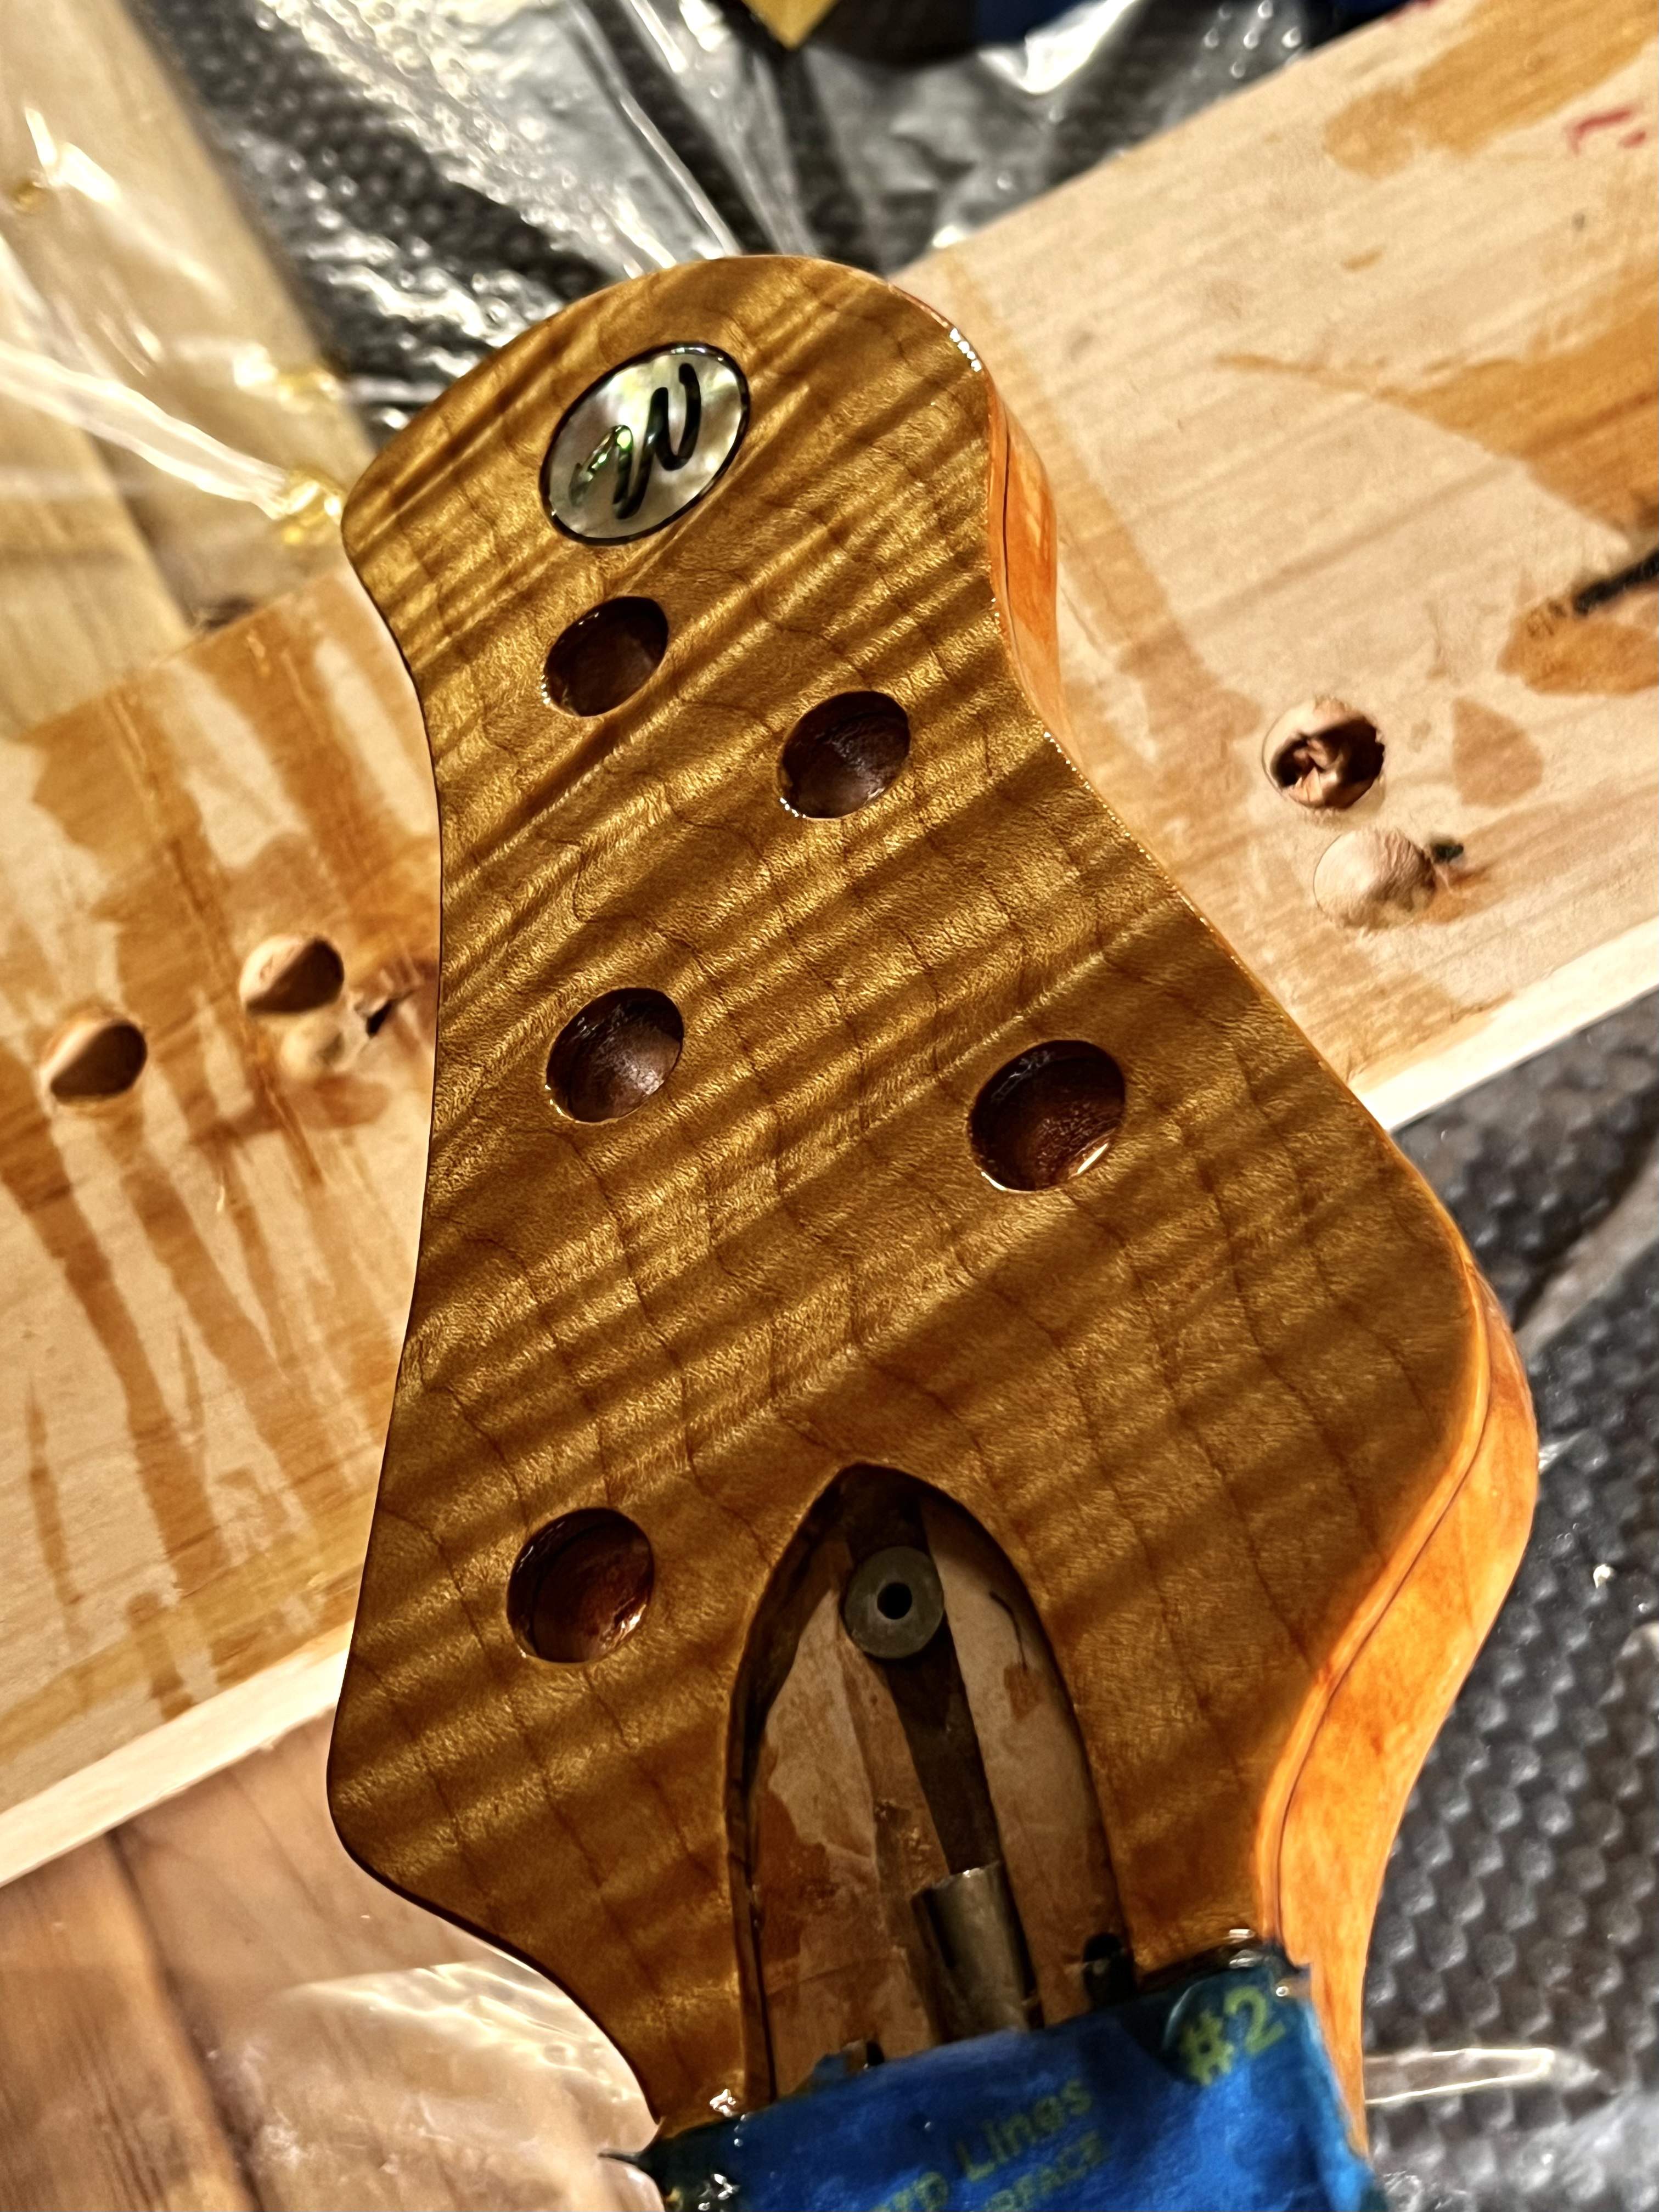
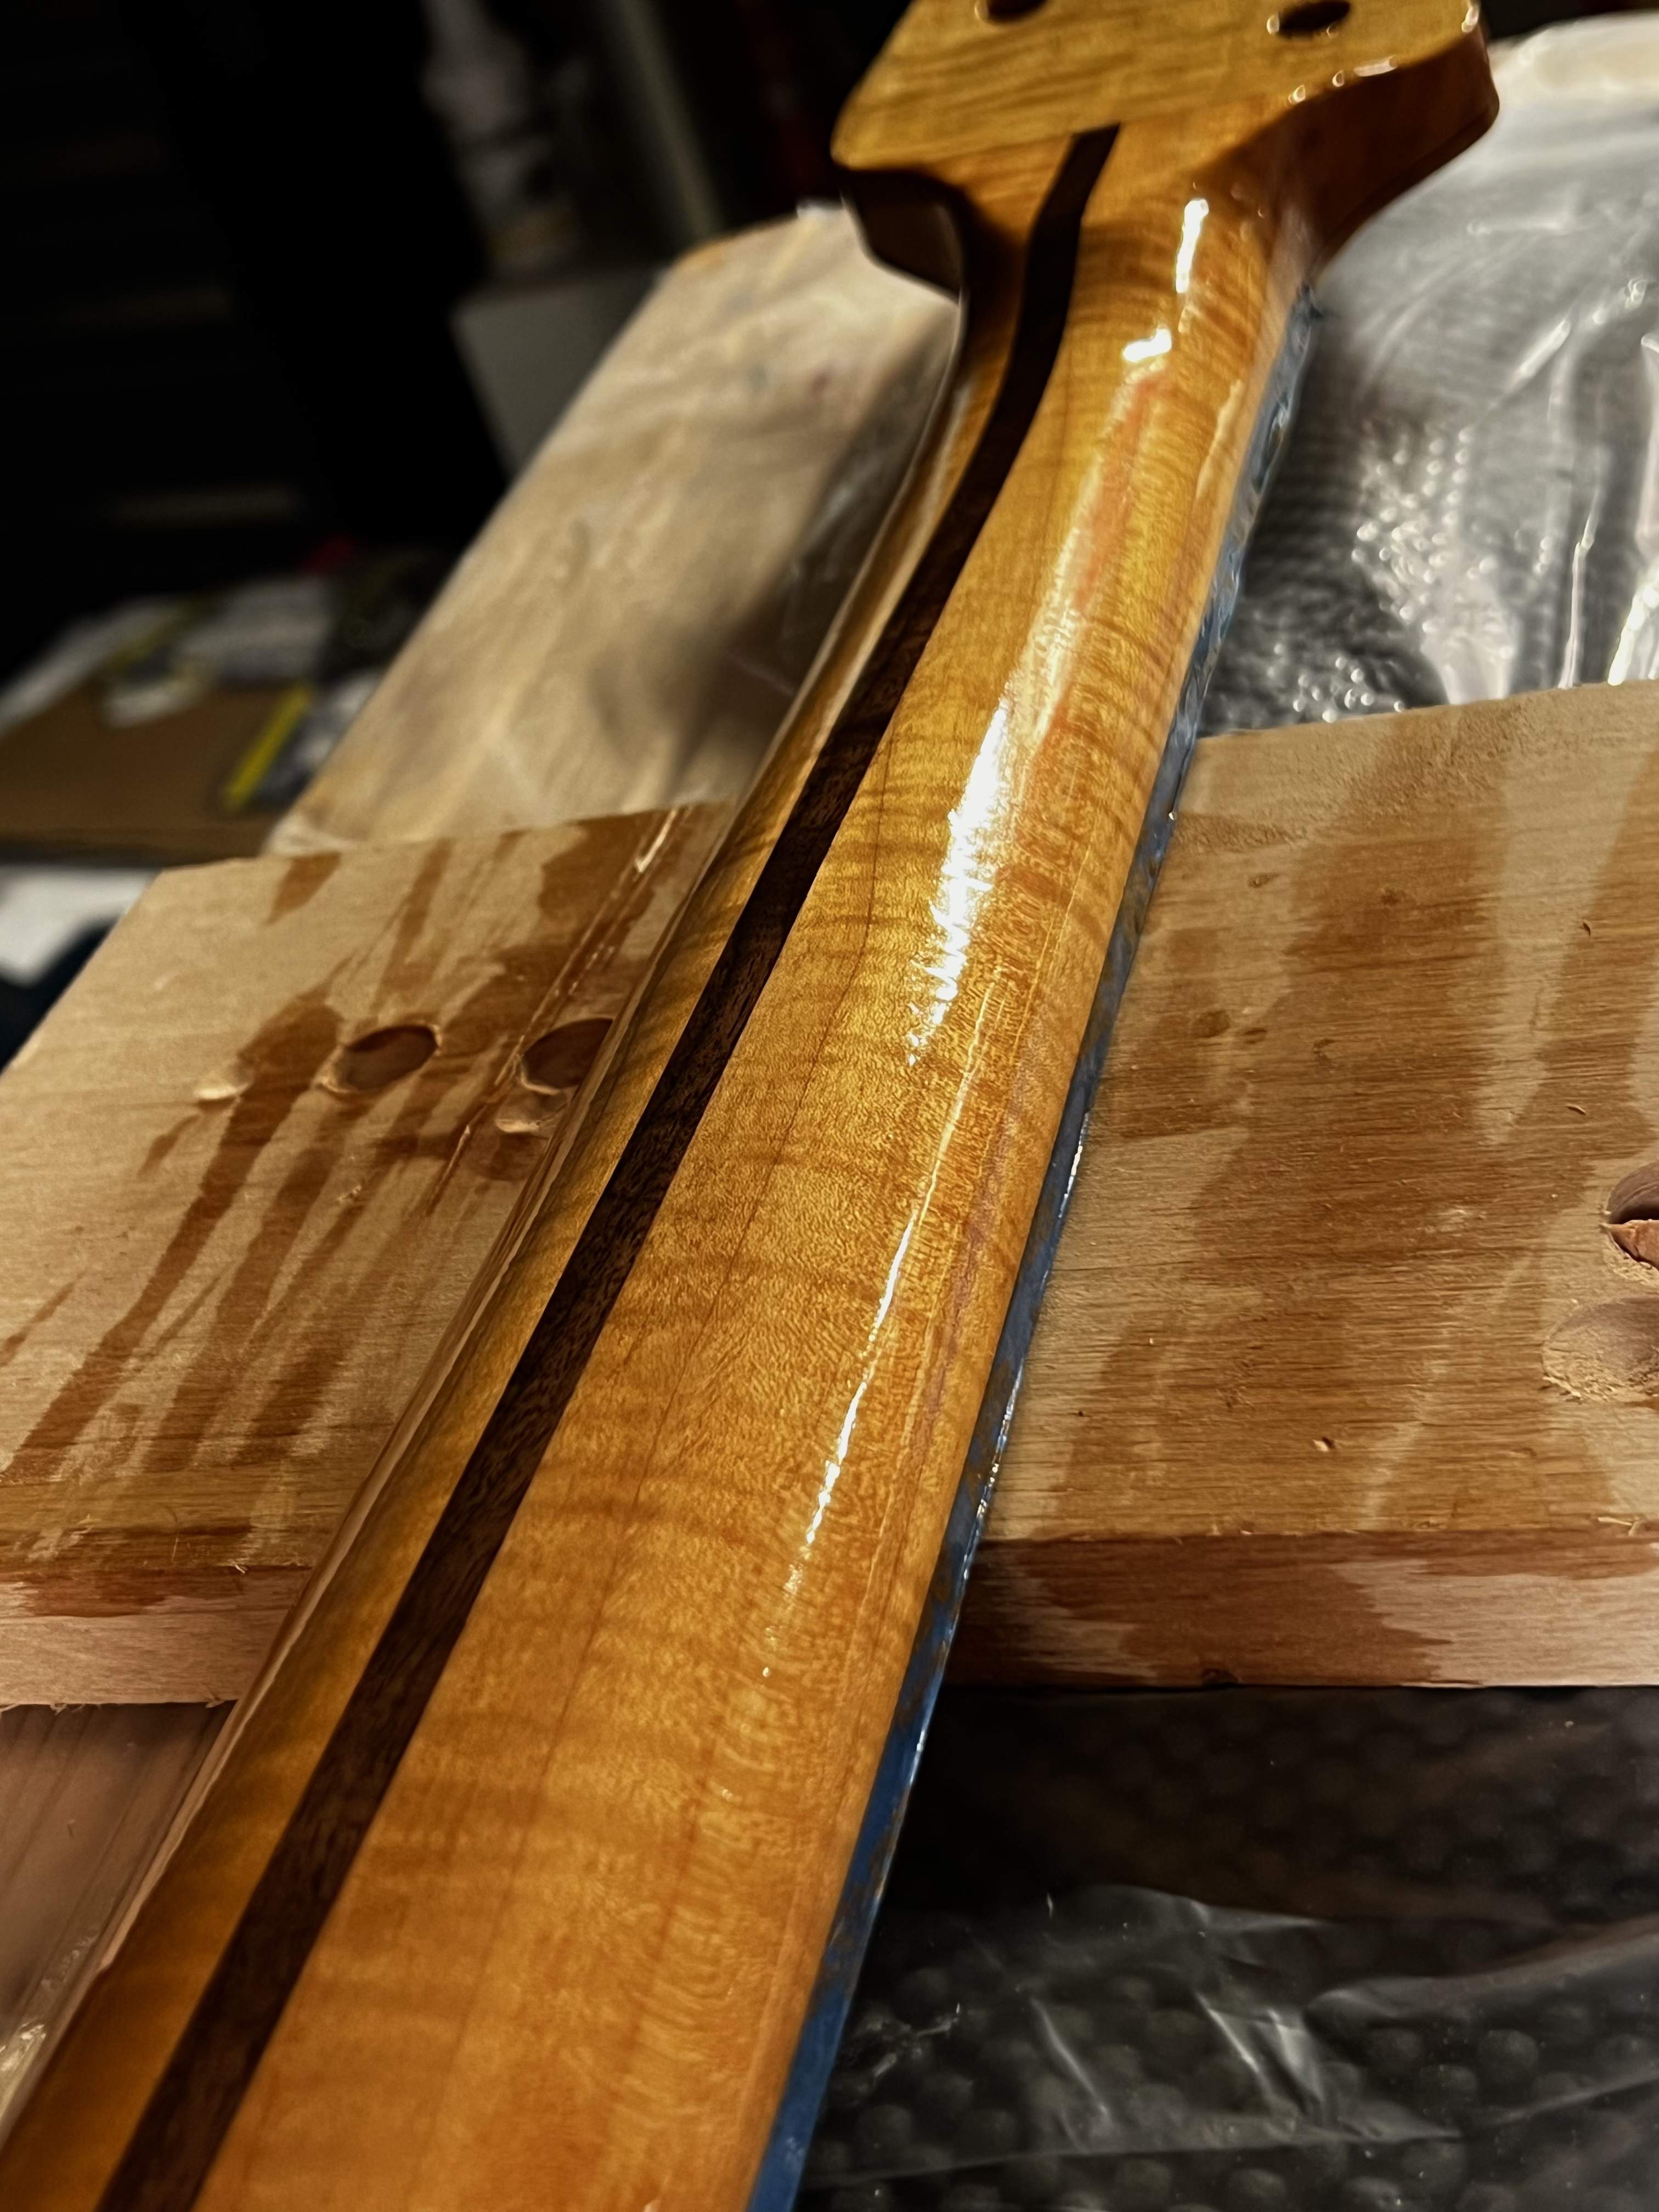
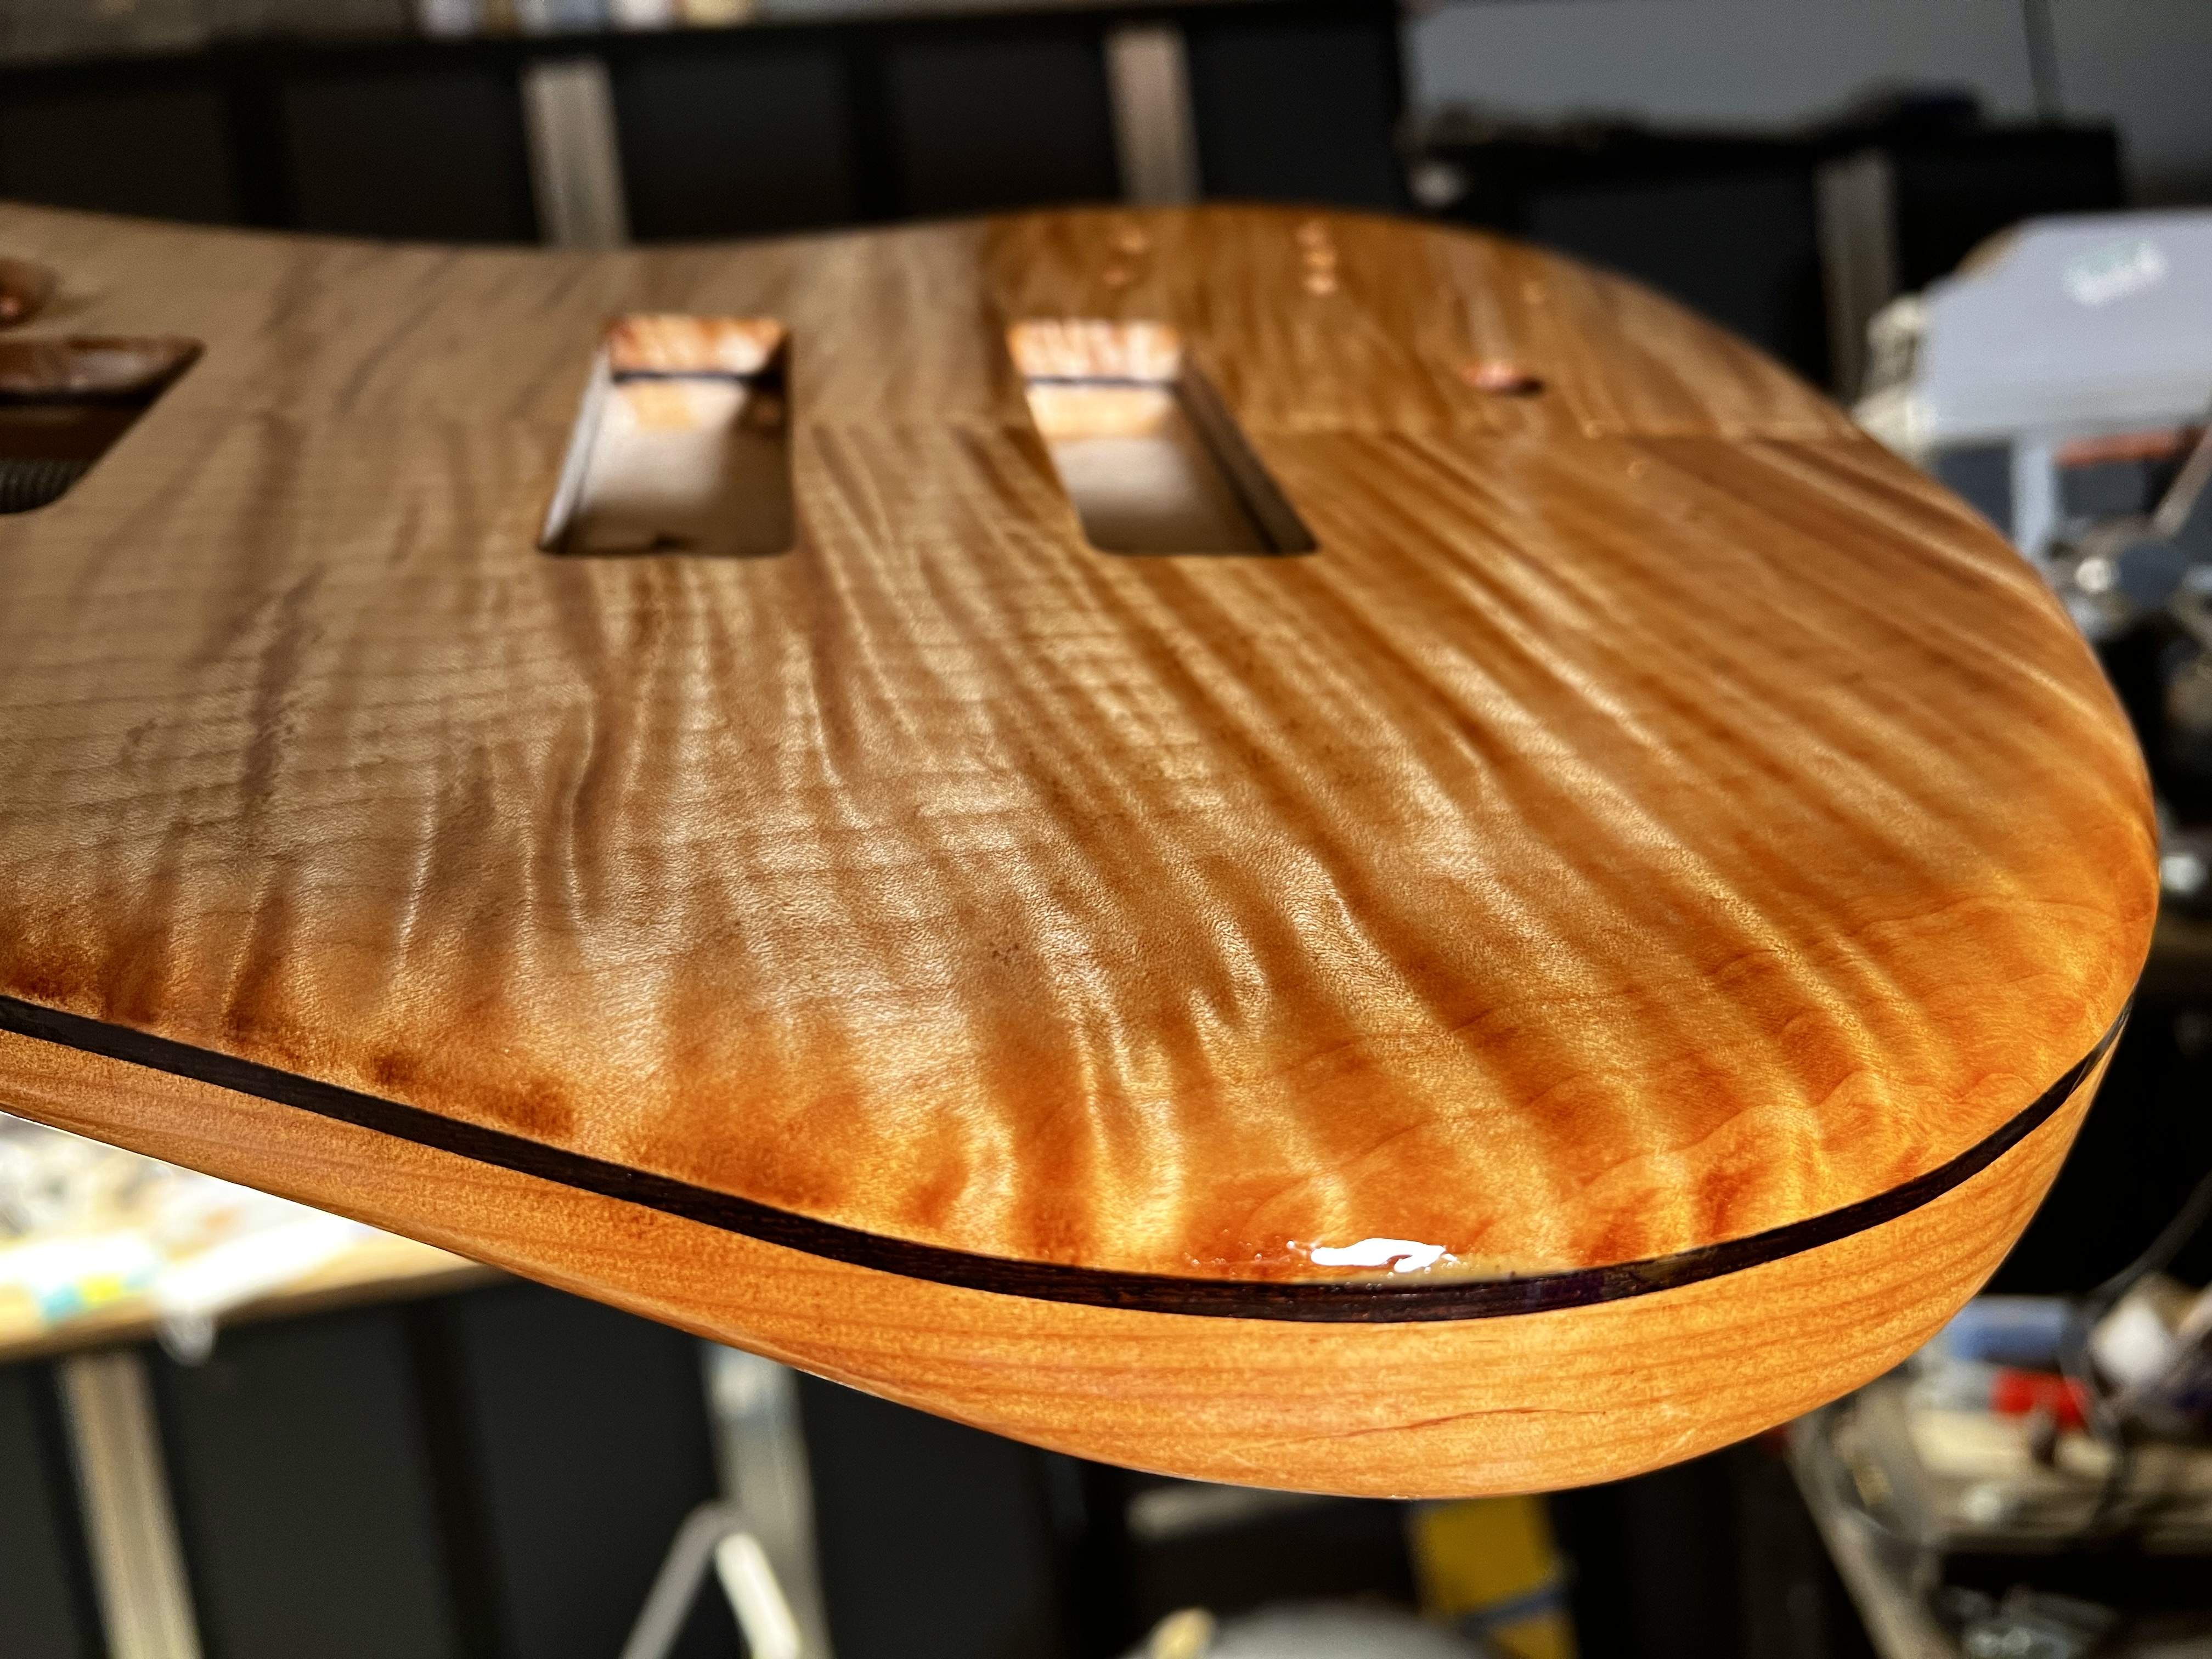
Magical things happen to this maple when I kill the 5k ultrabright shop lights and enjoy the warm glow of the bench cabinet LEDs…12 coats now on everything.



So... do you just carry a bucket and mop with you to take care of the drool puddles?
That's gorgeous!

So... do you just carry a bucket and mop with you to take care of the drool puddles?
That's gorgeous!
So, you're saying you DON'T want to see the red one?


