• TalkBass has been independent since 1998. Add your voice.
    Create a free account to reply to discussions, view embedded media, and browse with fewer display ads.
    Join freeLog in
    Want zero display ads or expanded classifieds tools? Compare plans.

What's On Your Workbench?

Wow! I thought Madagascar rosewood was unobtainium.

Not really sure, it may be at this point. :) I bought a fairly large board a few years ago and cut up about half of it for fretboards. Brazilian is certainly scarce and expensive, but I do have a small amount of that stashed away too. :thumbsup:
 
Yeah, so my workbench is still converted for woodturning. I've gotten this far....
20201010_202119.jpg

Okay, so a couple things here. I've literally NEVER done this before. The only things I've ever turned were more of the spindle turning stuff, not this. I'm fully aware that the woodgrain is most likely running the wrong direction. I'm literally just trying to learn how all this works, so consider this a "test sample" of my basic abilities to simply "turn a bowl". There's a good chance that this thing will warp like crazy once I actually get it bowl shaped and it fully dries. I'm okay with that. It was a chunk of a free log, so I just chucked it up and started going at it. I rough shaped the outside, turned a tenon and then chucked the tenon in the jaws. I'm using the tail stock just to help balance it all, this little lathe isn't the most "stable" thing and tends to vibrate like crazy for whatever reason.

Now all I need to do is figure out how to start hollowing the inside out. I really have no clue how to do that, so I'm off to the YouTubes! :D
 
Yeah, so my workbench is still converted for woodturning. I've gotten this far....
View attachment 4013809
Okay, so a couple things here. I've literally NEVER done this before. The only things I've ever turned were more of the spindle turning stuff, not this. I'm fully aware that the woodgrain is most likely running the wrong direction. I'm literally just trying to learn how all this works, so consider this a "test sample" of my basic abilities to simply "turn a bowl". There's a good chance that this thing will warp like crazy once I actually get it bowl shaped and it fully dries. I'm okay with that. It was a chunk of a free log, so I just chucked it up and started going at it. I rough shaped the outside, turned a tenon and then chucked the tenon in the jaws. I'm using the tail stock just to help balance it all, this little lathe isn't the most "stable" thing and tends to vibrate like crazy for whatever reason.

Now all I need to do is figure out how to start hollowing the inside out. I really have no clue how to do that, so I'm off to the YouTubes! :D
Yeah, the sears monotube (yours appears to be a "mono-rail" variant I've not tripped across) is a moderately terrible lathe, so you're doing well.

If you chucked on end-grain, good luck, you'll need it, and it may not be enough. Would need more pictures to be sure what you've done there, and what your odds are, but any practice turning is good, the fireplace won't care if it ends up there. Normal approach is half a log lengthways, chucked on the bark side, (so faceplate or centers to get a tenon turned to chuck onto) rim will be towards the cut face, and you have to deal with the annoyance of getting the corners trimmed off before the smooth turning starts. Bandsaw is handy for that if you have one.

Hollowing, you want to work around the tailstock as long as you can, (leaving a center post up to it) and when you can't you want to work fairly delicately, as it's quite possible to pop the bowl off the chuck if you go for too much or "catch."

Good start, have fun, and burn your mistakes. :woot:

Saw a great demo by a guy who makes lampshades by chucking poplar (actual populus, not tuliptree) on the endgrain as a whole log and hollows it all the way through (so it's a "ring" more or less aligned with the growth rings) - used a light shining on it to gauge thickness (really thin, translucent) and by removing the entire center of the log, does not normally crack while drying. Keep thinking I should try that, but still have not gotten to it.
 
Last edited:
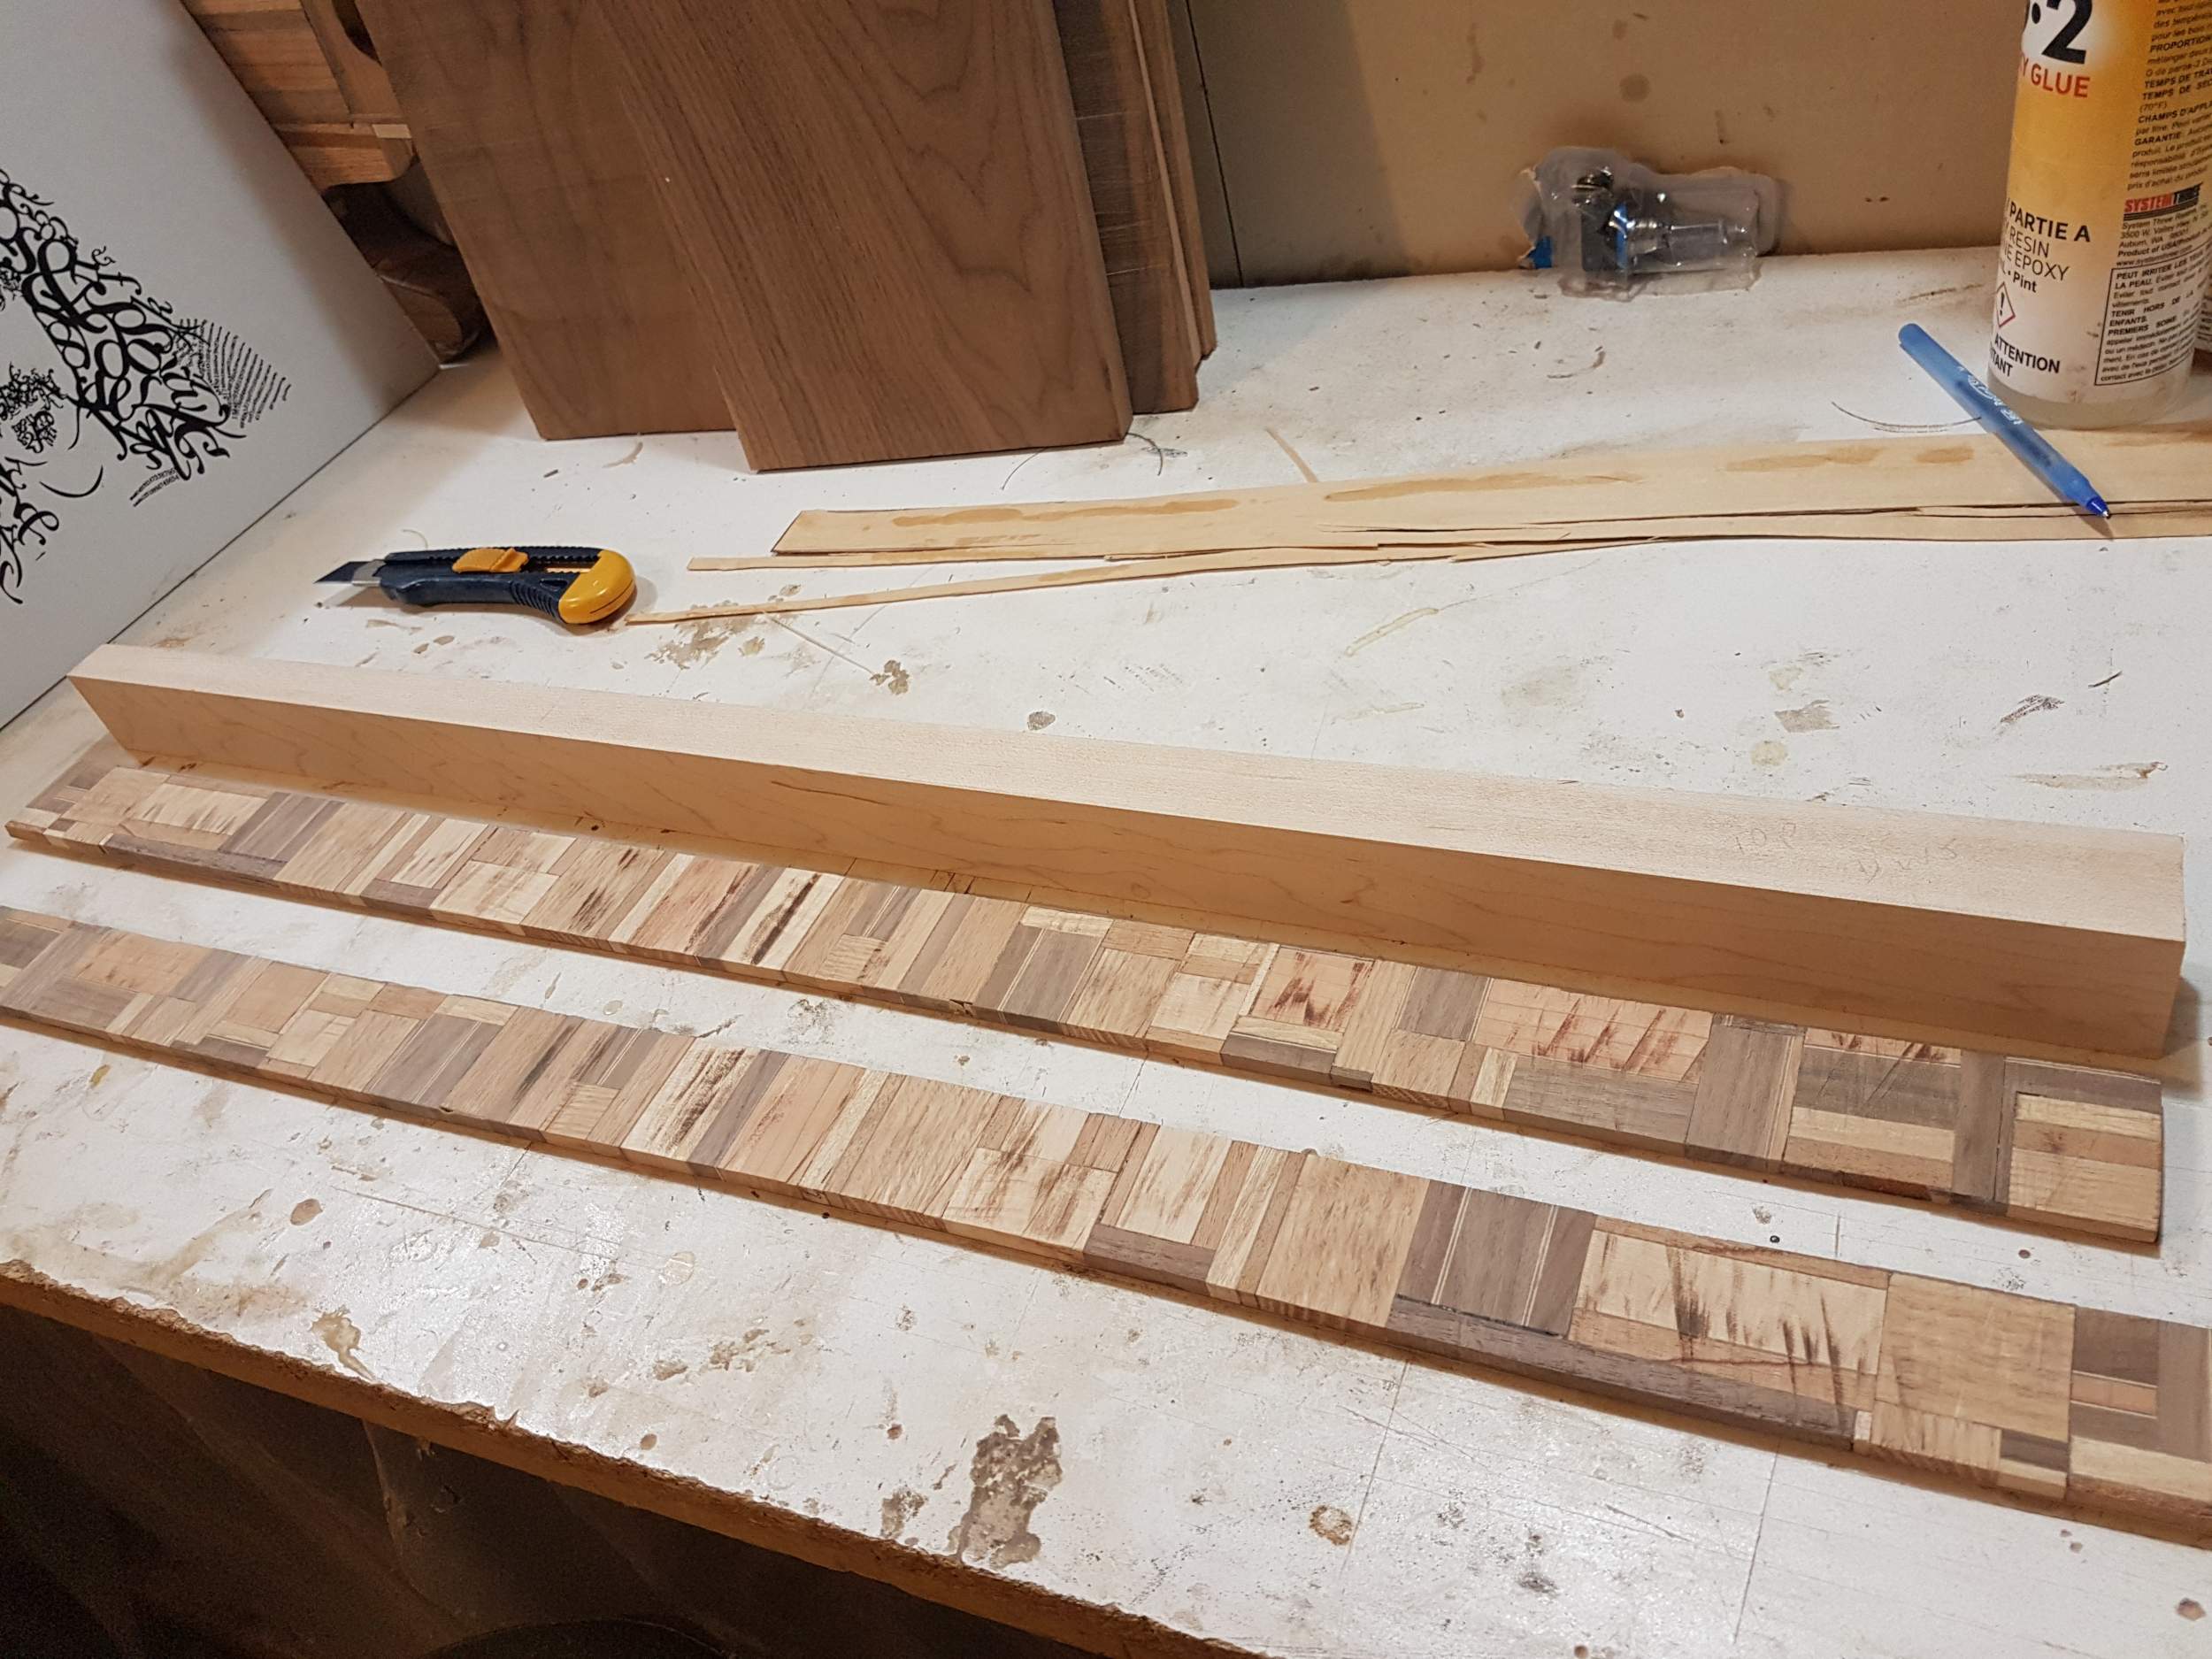
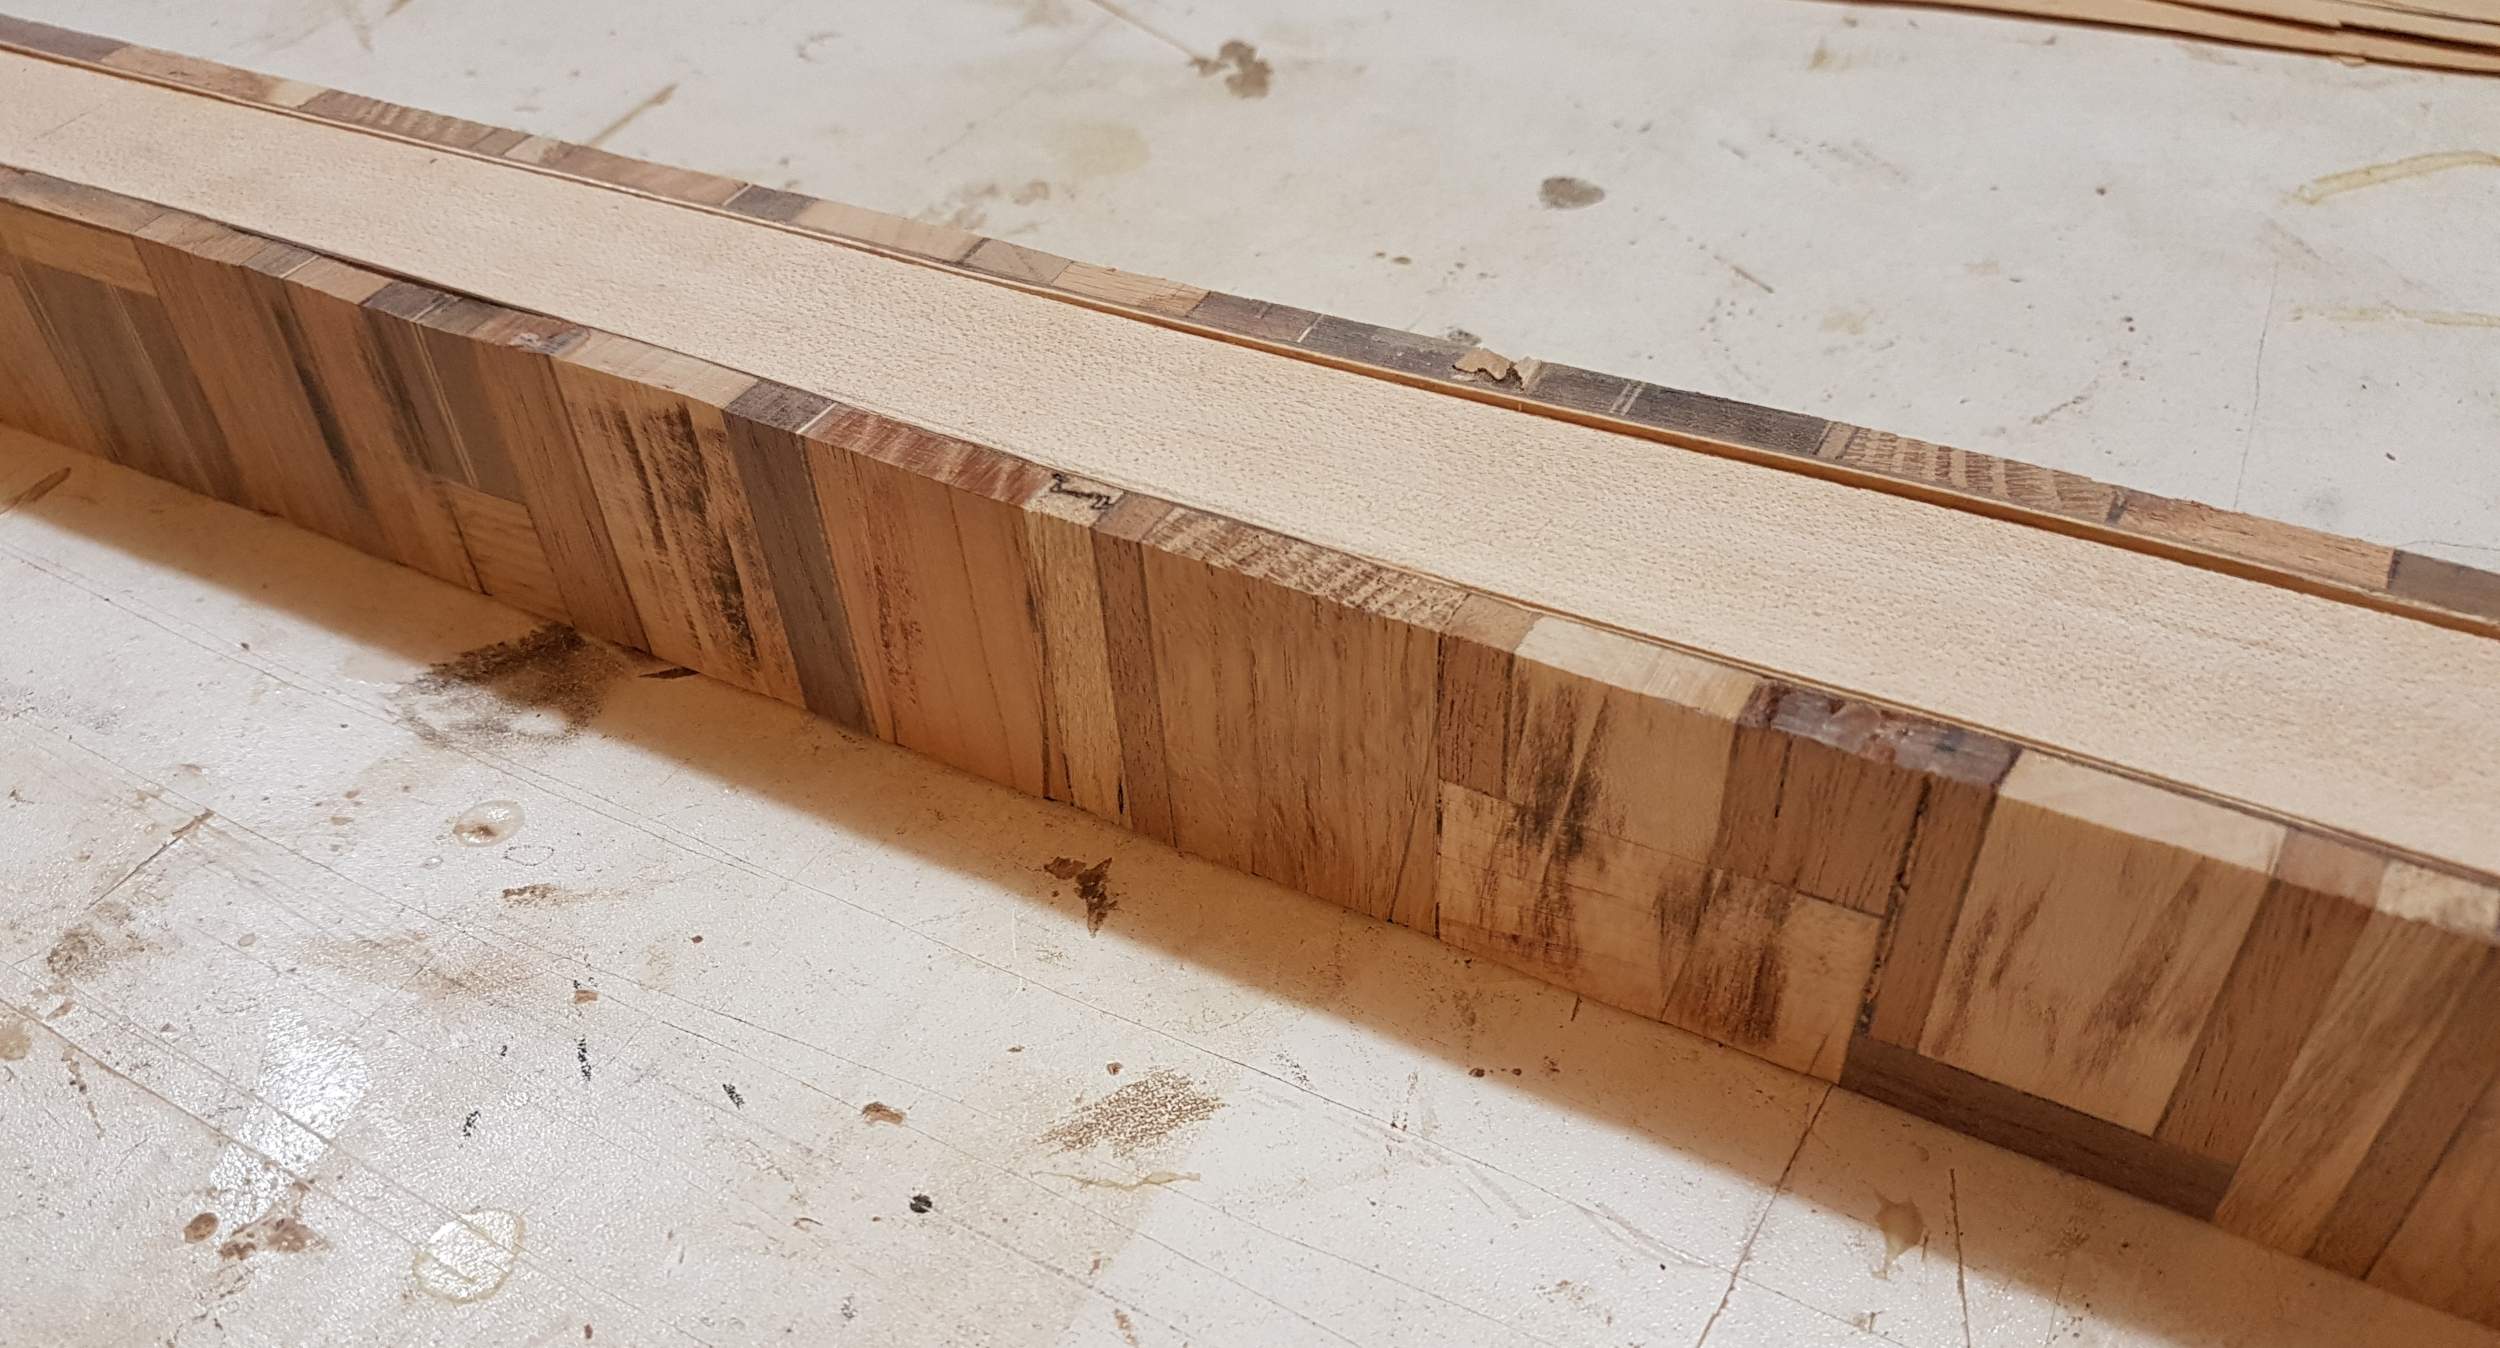
I can still only have lightweight things on my workbench, but at least I can do things again. :thumbsup: Time to mill up those timbers from my plaid tree and make them into neck stringers for a plaid guitar. Even though there will be 6.5mm wide Indian rosewood stringers between the maple and plaid, this should not work...and probably won't. :cigar:
 
Thanks for the input @T_Bone_TL, appreciated. I know end-grain isn't "correct", but from what I've read and watched it's also not "wrong", just risky and difficult. I've got some rounds that are only about 5" "tall" so cutting them in half along the pith would leave me with chunks too small to really get much of a bowl out of them, so I figured "let's just see what happens here".

Regarding how I chucked it up, so I don't own a faceplate to start with, so I stuck it between my two live centers, made it "round", sort of shaped the bottom half and then turned a tenon. I then chucked up the tenon in the jaws of my chuck. I did bring the tail stock up and used it as long as I could. But at some point it just has to get out of the way.

So I know this isn't bass building, but here's where I am -
20201011_153744.jpg

IMG_20201011_163509_563.jpg

I'm struggling to get the inside as smooth as the outside. I did some Google-Fu and the best I can tell my tools just aren't sharp. All of these tools, lathe included, sat in storage for a solid 20 years. Currently I don't have a way to sharpen them, so I'm just poking dull tools at wood and hoping for the best, and I think that has come to a head with hollowing this thing out. I just can't seem to get the tool marks out. I also know these tools were never "properly" sharpened, they were only ever done by hand, so I think there's some funky bevels fighting me too.

Anyways, @Beej I'm happy to see you back at your bench. Looking good! :thumbsup:
 
Last edited:
Currently I don't have a way to sharpen them
The "hot new thing" 15-20 years ago was AlZn belts on a belt sander (most folks mounted a cheap 4" with the belt running upwards as it faced you) and dedicating that belt sander to tool sharpening (only, no wood.) The 1x42 strip sanders had some love as well. Your average turner sharpens frequently and quickly...

If the center of the log is in the bowl, you'll be very lucky to get through drying without cracking, but you might. If it's just end grain, but the original chunk was not the whole tree, your odds improve a lot.

As for fighting stubborn tool marks without a way to get the tools sharper, there's this thing we call the 60 grit gouge (or 80...) and it will be familiar from any painting thread on here. Sand the snot (and tool marks) out of it, and then sand the sanding marks out of it, repeat until done.
 
Last edited:
A neck-through, 1 string, fretless accoustic:
bridge_test_2.jpg


Actually, this is a mock up of the headless tuner I am working on. Test was largely successful so I will move on with construction of the real thing.

Another view:
bridge_test_1.jpg


The string is thread through a hole in the dome nut, and a threaded insert is installed to hold the ball. Then the thumb screw is threaded into the insert. The other end of the string is held with a screw clamp at the "headless" end. Then the thumb screw is tightened up to pitch, with the tension holding it against a thrust bearing.

Everything but the thumb screws will eventually be covered with a wood cover so the working bits won't normally be visible.

Right now the moving bits are all stainless steel, but the threads aren't silky smooth when under string tension. I might try a brass thumb screw instead to see if a softer metal threading into harder would cause less friction.

Anyone else done something like this?
 
Last edited:
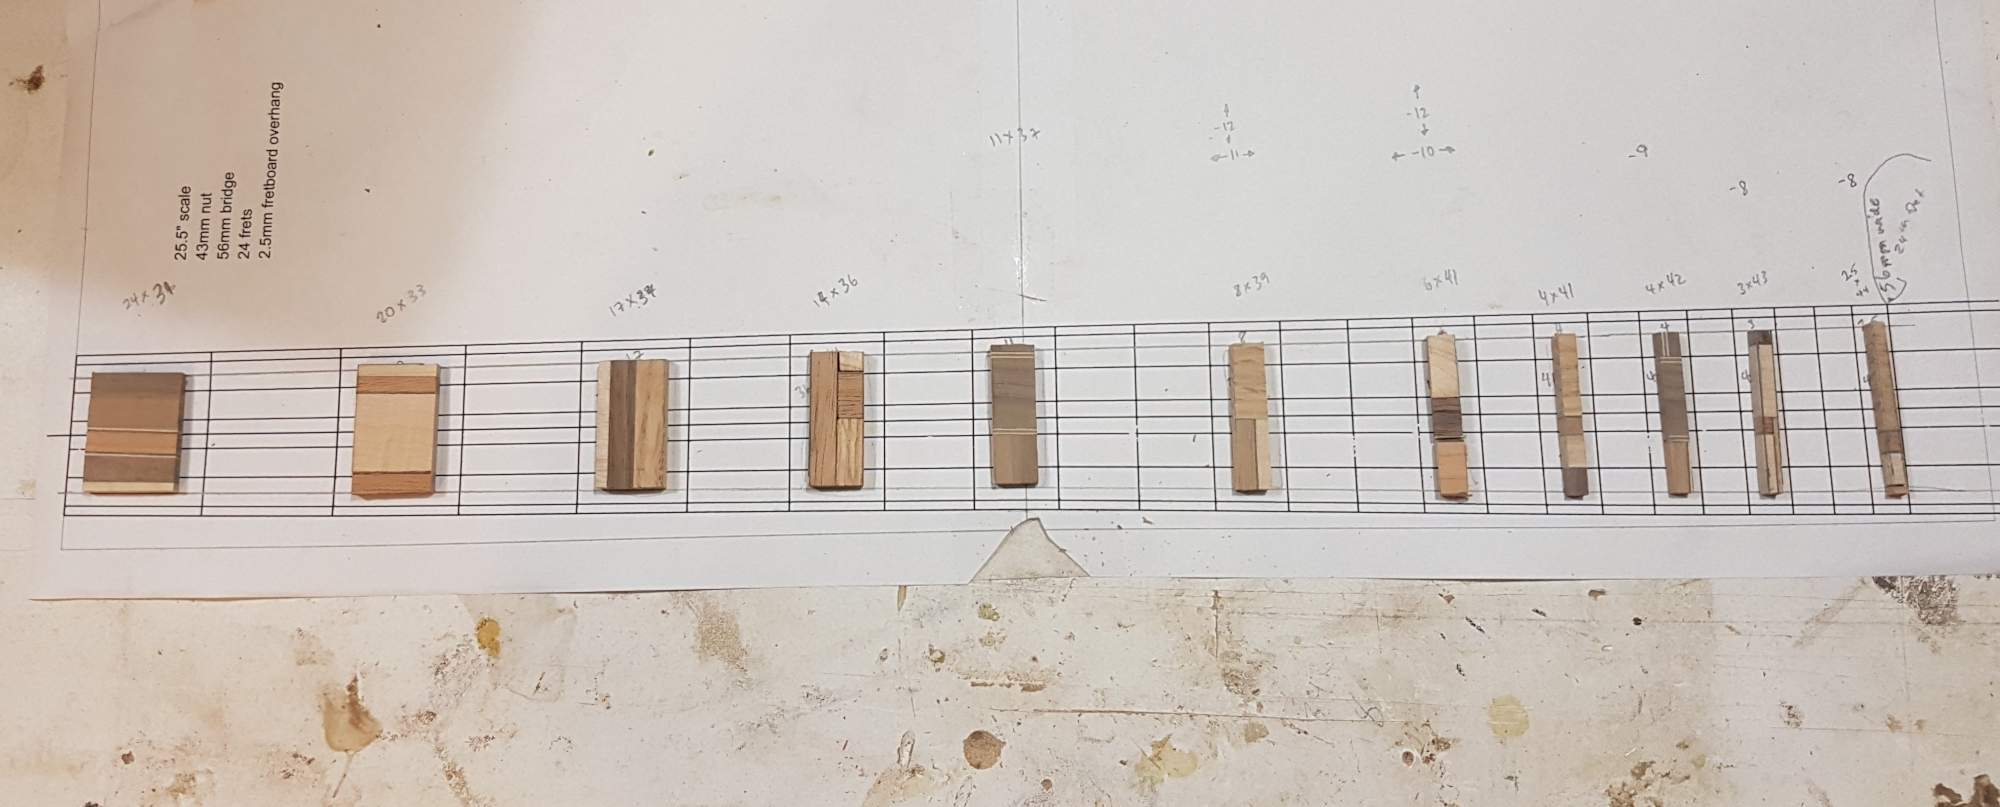
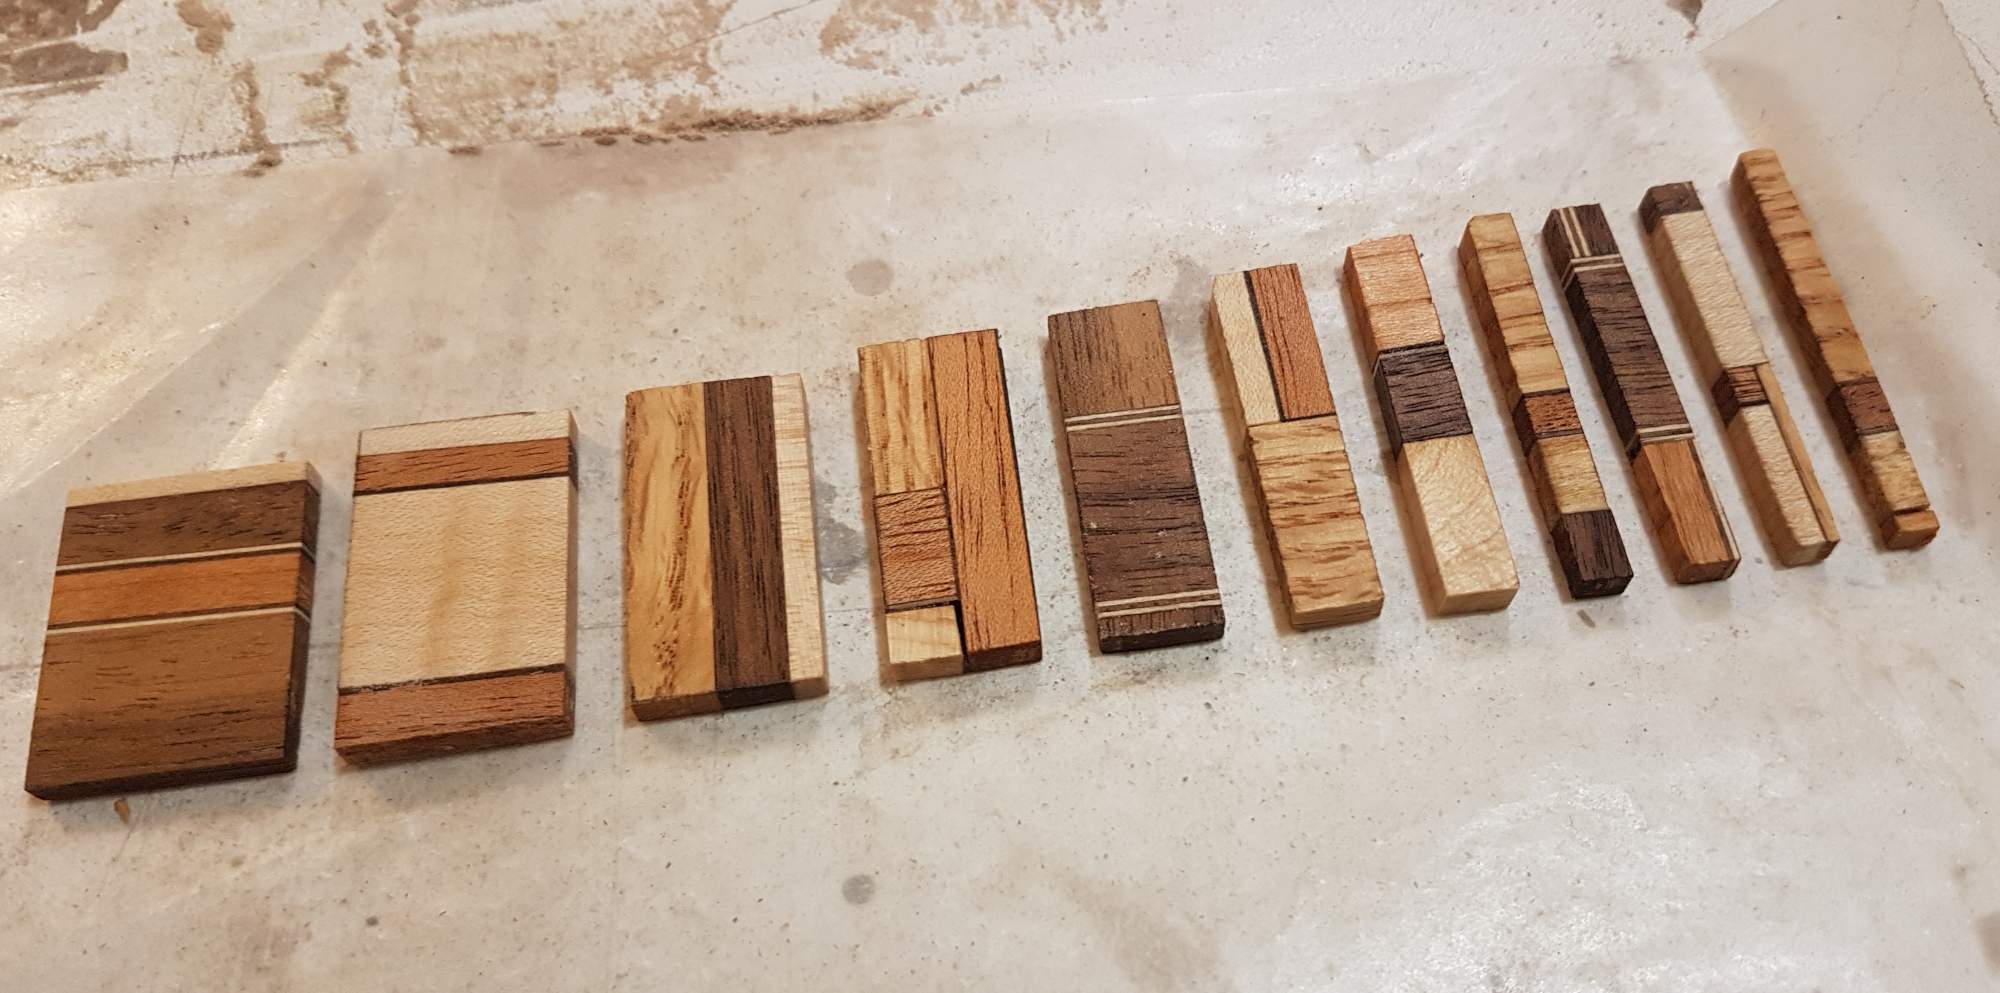
Plaid inlays. With so many different tonewoods, there's going to be so much tone... :cigar:

Rough cut:

Filed to final shape and coated with System Three General Purpose Epoxy.

Beej, I really like how this is looking! My one critique is that the 3rd inlay (7th fret) looks out of place as the only one with only perpendicular lines. Seems a little out of place compared to the design rhythm of the others.
 
  • Like
Reactions: Beej
Beej, I really like how this is looking! My one critique is that the 3rd inlay (7th fret) looks out of place as the only one with only perpendicular lines. Seems a little out of place compared to the design rhythm of the others.
Thanks, and good eye. :) I'll check it out with the owner, and I can easily either whip up a new one, or add a small perpendicular piece to the same block if he prefers. One thing you can't really tell due to the parallax in the pic, is the fact that none of the inlays have any pieces that are truly perpendicular, or parallel to the centerline. Nearly every piece is a little bit canted to the side so that none of the lines actually run perfectly straight. The body is like this too, and so are the neck stringers. I'm sure it will drive someone with OCD up the wall. :smug:
 
  • Like
Reactions: the baint
A neck-through, 1 string, fretless accoustic:
View attachment 4019698

Actually, this is a mock up of the headless tuner I am working on. Test was largely successful so I will move on with construction of the real thing.

Another view:
View attachment 4019699

The string is thread through a hole in the dome nut, and a threaded insert is installed to hold the ball. Then the thumb screw is threaded into the insert. The other end of the string is held with a screw clamp at the "headless" end. Then the thumb screw is tightened up to pitch, with the tension holding it against a thrust bearing.

Everything but the thumb screws will eventually be covered with a wood cover so the working bits won't normally be visible.

Right now the moving bits are all stainless steel, but the threads aren't silky smooth when under string tension. I might try a brass thumb screw instead to see if a softer metal threading into harder would cause less friction.

Anyone else done something like this?
I've been working here and there on headless hardware that can be fabbed up with mostly off-the-shelf parts for a few years. One thing that I find really attractive about your design here is that it's compact longitudinally. Everything I've worked out has ended up being overly long, 4-5" from saddle to end of "tuner". Would you be willing to show pics of the individual components?
 
Last edited:
  • Like
Reactions: Jeff Siddall
I've been working here and there on headless hardware that can be fabbed up with mostly off-the-shelf parts for a few years. One thing that I find really attractive about your design here is that it's compact longitudinally. Everything I've worked out has ended up being overly long, 4-5" from saddle to end of "tuner". Would you be willing to show pics of the individual components?

Sure! To avoid cluttering this thread I will post details on the build thread.
 
  • Like
Reactions: Beej
I am such a fan of Yamaha gear from this era! Can't wait to see this one complete!
It works:woot::hyper::bassist:! I didn't know what to expect as the power cord was cut off and while replacing it, I temp soldered a correct volume and replaced the distortion pot. Plugged it into my recently rebuild Vox speaker cab and away she went. So now I don't feel bad about the $30 I paid for it. Just need a 15" speaker though I am thinking maybe just make a head cabinet and use it with other speakers I have. Hmmmm?