• TalkBass has been independent since 1998. Add your voice.
    Create a free account to reply to discussions, view embedded media, and browse with fewer display ads.
    Join freeLog in
    Want zero display ads or expanded classifieds tools? Compare plans.

What's On Your Workbench?

Did you put spacers in between the layers?
I'd love to know more about the technique.

No spacers. Those are 1/2" wide blades. Snapped to 12" lengths, and stacked with the hooks reversed alternately on adjacent blades. Then, tape. Took two 108" blades.
 
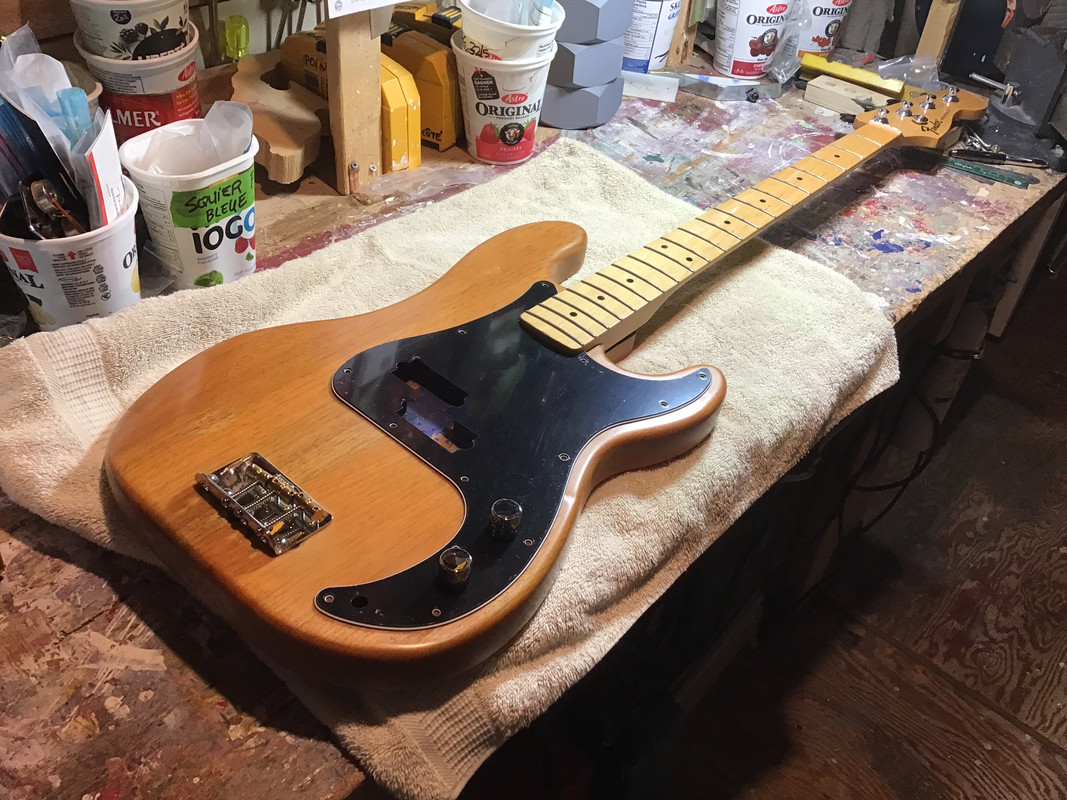
Neck template test: Complete
Result: Passed

Good enough for a bolt-on ... :bassist:

01_neckJointTest.jpg
 
I don’t play my MIJ ‘51 reissue all that often. It’s very heavy and it’s a pretty specific sound that I don’t use for everything. Still, I decided to move it up in the rotation to give it some exercise and noticed that the neck relief was a lot more than I remembered it to be. That’s when I threw it on the bench to find this:
IMG_6393.jpeg
IMG_6392.jpeg
IMG_6391.jpeg

A little hard to photograph but I’ve got two nice cracks where the (now pretty ineffective) truss rod has split the fingerboard above it. Uugh….

Now I have to decide how I want to address this. If I can work some water-thin marine epoxy through the cracks or through a hole underneath the nut I should be able to stabilize everything and it should also provide something solid for the truss rod anchor to push against. That seems like a reasonable first-choice option. If that doesn’t work I might be looking at replacing the rod. Happy New Year!!
 
Sorry to hear/see that. :(

But - why would the truss rod anchor be pushing up against the fingerboard? Typically it’s pushing down, away from the fingerboard.
 
Sorry to hear/see that. :(

But - why would the truss rod anchor be pushing up against the fingerboard? Typically it’s pushing down, away from the fingerboard.
That’s a pretty good question. One I never put a lot of thought into before. My thought is that the anchor is being pulled towards the heel of the neck by the tension on the rod and that the anchor has compressed the wood in front of it, causing it to expand outward. The fingerboard is the thinnest place for it to expand towards so it cracks. That’s only a guess, though.

I have a couple of early ’80s G&L L2000s that are exhibiting the same symptoms but to a lesser degree. How I repair this will end up informing how I address those in the future.

Of course, I could always get a Fender replacement neck but that’s just kicking the ball down the field. This MIJ neck feels really nice (or it did, anyway) so it’s worth saving if I can.
 
  • Like
Reactions: Matt Liebenau
That’s a pretty good question. One I never put a lot of thought into before. My thought is that the anchor is being pulled towards the heel of the neck by the tension on the rod and that the anchor has compressed the wood in front of it, causing it to expand outward. The fingerboard is the thinnest place for it to expand towards so it cracks. That’s only a guess, though.

I have a couple of early ’80s G&L L2000s that are exhibiting the same symptoms but to a lesser degree. How I repair this will end up informing how I address those in the future.

Of course, I could always get a Fender replacement neck but that’s just kicking the ball down the field. This MIJ neck feels really nice (or it did, anyway) so it’s worth saving if I can.

What’s your truss rod adjustment technique? Many people just crank down on the nut, asking the rod to do the hard work of bending the neck. The better technique is to bend the neck with some other mechanical means, and then gently snug up the truss rod nut to hold the neck in that position. I’m confident that the latter method will prevent the kinds of mechanical stressors that you seem to be having.
 
  • Like
Reactions: Gilmourisgod
My son was given a 90's era MIM P Bass with a nearly identical crack, in exactly the same place. his has the bullet truss rod at the headstock, so this must be a Fender "thing" I dont entirely understand. His has an unlaquered rosewood board, so I just scraped down the "hump" and wicked in some water-thin CA glue. So far, so good, but I dont know what caused it in the first place. The neck also has some ski-jump above 12th, but plays fine on the nut end. Maybe some Fender guru has seen this before and knows whats going on.
 
  • Like
Reactions: JIO
What’s your truss rod adjustment technique? Many people just crank down on the nut, asking the rod to do the hard work of bending the neck. The better technique is to bend the neck with some other mechanical means, and then gently snug up the truss rod nut to hold the neck in that position. I’m confident that the latter method will prevent the kinds of mechanical stressors that you seem to be having.
The correct technique is the one I use. I would never expect a Fender style rod to bend the neck on its own - but all three of the instruments in question were purchased used and there’s no telling how they were treated in the past.
My son was given a 90's era MIM P Bass with a nearly identical crack, in exactly the same place. his has the bullet truss rod at the headstock, so this must be a Fender "thing" I dont entirely understand. His has an unlaquered rosewood board, so I just scraped down the "hump" and wicked in some water-thin CA glue. So far, so good, but I dont know what caused it in the first place. The neck also has some ski-jump above 12th, but plays fine on the nut end. Maybe some Fender guru has seen this before and knows whats going on.
It’s a fairly common malady with bullet truss rods, both Fender and G&L. I was surprised to see it on this ‘51.
 
  • Like
Reactions: ctmullins
Not a lot of ShopSmith users on this forum, but figured I'd share this addition to my workbench. I did this a while back with my miter saw as well and figured I'd do the same thing with my router table. I paid $40 for this little Craftsman benchtop router table about two years ago, it had little table wings on it that were flimsy so I took them off and built this base to incorporate it into my ShopSmith so that I can just use the ShopSmith tables. Gives me a bigger working surface, and is much more secure than trying to clamp it to my bench. The other issue with clamping it to the bench was that it ended up really high. This actually gets it down a little lower. It's honestly still a little high for my liking, but it's better.

20231225_190646_HDR.jpg


Just simple pocket-hole joinery, nothing fancy. Anyways, setup is quick and easy and I don't have to clear off my bench now whenever I need to use it.
Yes, I'm aware there's better router tables out there. Yes, I'm aware I could have just built a full router table. But you're literally looking at my entire work space in that photo (my workbench is behind the ShopSmith), I don't have room for a dedicated router table, this is it. The ShopSmith now acts as my table saw, my 12" disk sander, my 6" belt sander, my drill press, my miter saw station, my router table, my scroll saw, my buffing station and an extra workbench. The ShopSmith band saw is on a dedicated power stand (far right in this photo). I do own a 4" jointer for it as well, but I have a dedicated 6" jointer (just behind where I took this photo from, I'm literally leaning against it) so I never use the ShopSmith jointer.
I think this is gonna work much better like this. :cool:
 
Work in progress……….

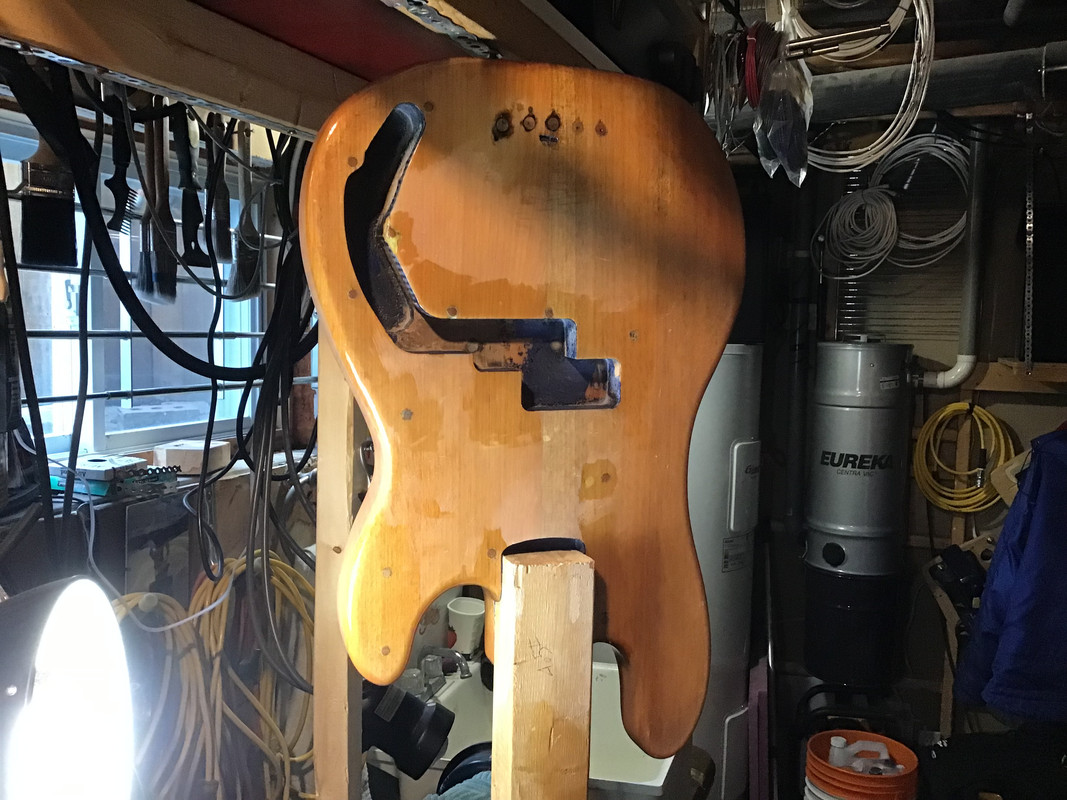
All paint removed, sanded with 80 grits and sealed all "scars" with clear urethane.


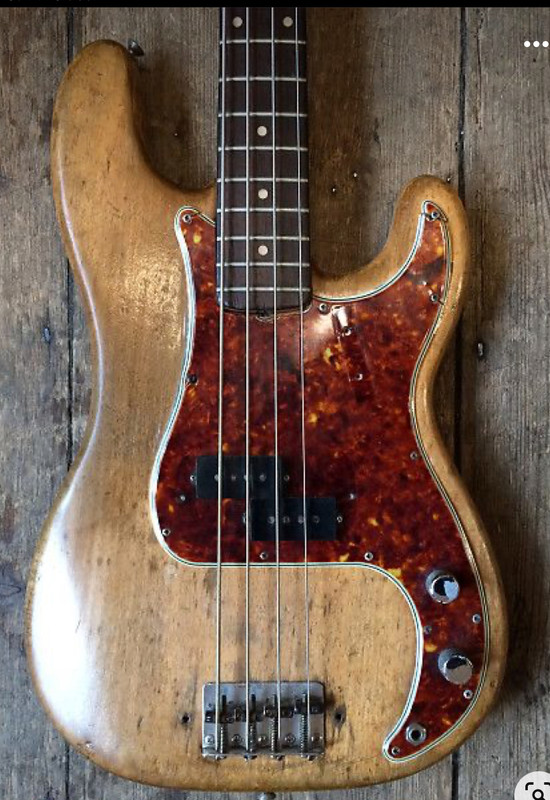
Should look close to what I would like to get as final result :


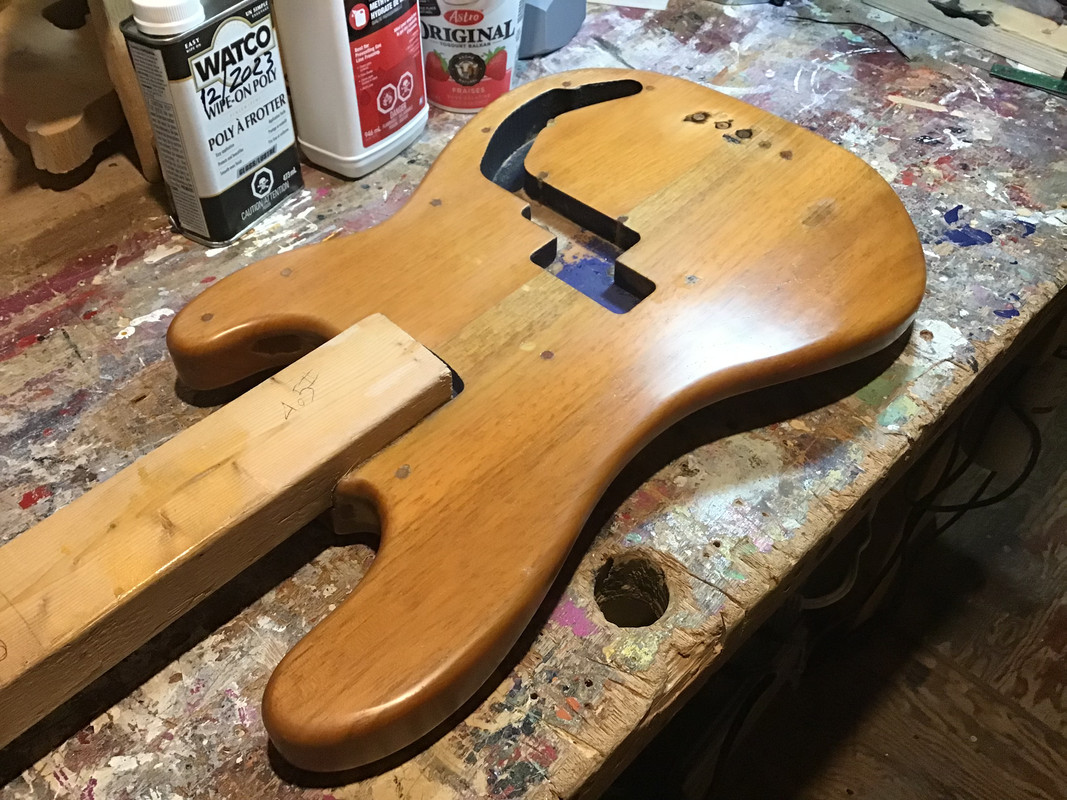
And if anyone knows if I can use the Watco wipe on poly over the existing urethane finish, please let me know.
Finally sanded the existing clear finish up to 2000 grits (without water) and so satisfied with the results that it will stay as is . This way, the original look will remain.


Final assembly should be good enough :

 
I haven't been around here much for a while, but I've been doing some 3D modeling of guitar and bass parts. After significant prototyping, I have a model of some Dingwall-style single bridges done. I'm thinking of getting some manufactured for myself, but they get significantly cheaper the more I order. Anyone possibly interested in a group buy (the phot below is a 3D printed proof of concept, but actual units would be machined aluminum that has been bead blasted and matte clear anodized)?
PXL_20240105_225157597.jpg
PXL_20240105_225205893.jpg
 
I haven't been around here much for a while, but I've been doing some 3D modeling of guitar and bass parts. After significant prototyping, I have a model of some Dingwall-style single bridges done. I'm thinking of getting some manufactured for myself, but they get significantly cheaper the more I order. Anyone possibly interested in a group buy (the phot below is a 3D printed proof of concept, but actual units would be machined aluminum that has been bead blasted and matte clear anodized)? View attachment 5307555 View attachment 5307556
They look really nice. :thumbsup: Can I ask what would be the minimum string spacing they will permit?

 
  • Like
Reactions: Gary_M