
You could run it to vibrate out the air bubbles from the epoxy.

TalkBass has been independent since 1998. Add your voice.
Create a free account to reply to discussions, view embedded media, and browse with fewer display ads.
Join free Log in
Want zero display ads or expanded classifieds tools? Compare plans.

You glue it on? Does that mean you have to build a new drum whenever the sandpaper wears out?I actually have not yet finished the sanding drum. I have to glue the sandpaper on yet.

You glue it on? Does that mean you have to build a new drum whenever the sandpaper wears out?

I also worked a little more on the neck shaping. This will take a while - several days if not a week or more. It's hard work and I can only do a few minutes at a time before getting winded.
Do you have an angle grinder? I've been using mine to get the bulk of the material off of the neck and then just finalize it with the shinto rasp, etc.
I'm just using a $15 one from Harbor Freight with a $2-5 flap disc on it. It works great and saves a lot of physical labor (and it's pretty fun).
Hey, thanks for showing that! I have a tool just like it, except it's made to stand on a table instead of being handheld. I don't know how I got it, and honestly I've never known what it was. Thanks to you, I now know it's an angle grinder.I have a Makita angle grinder
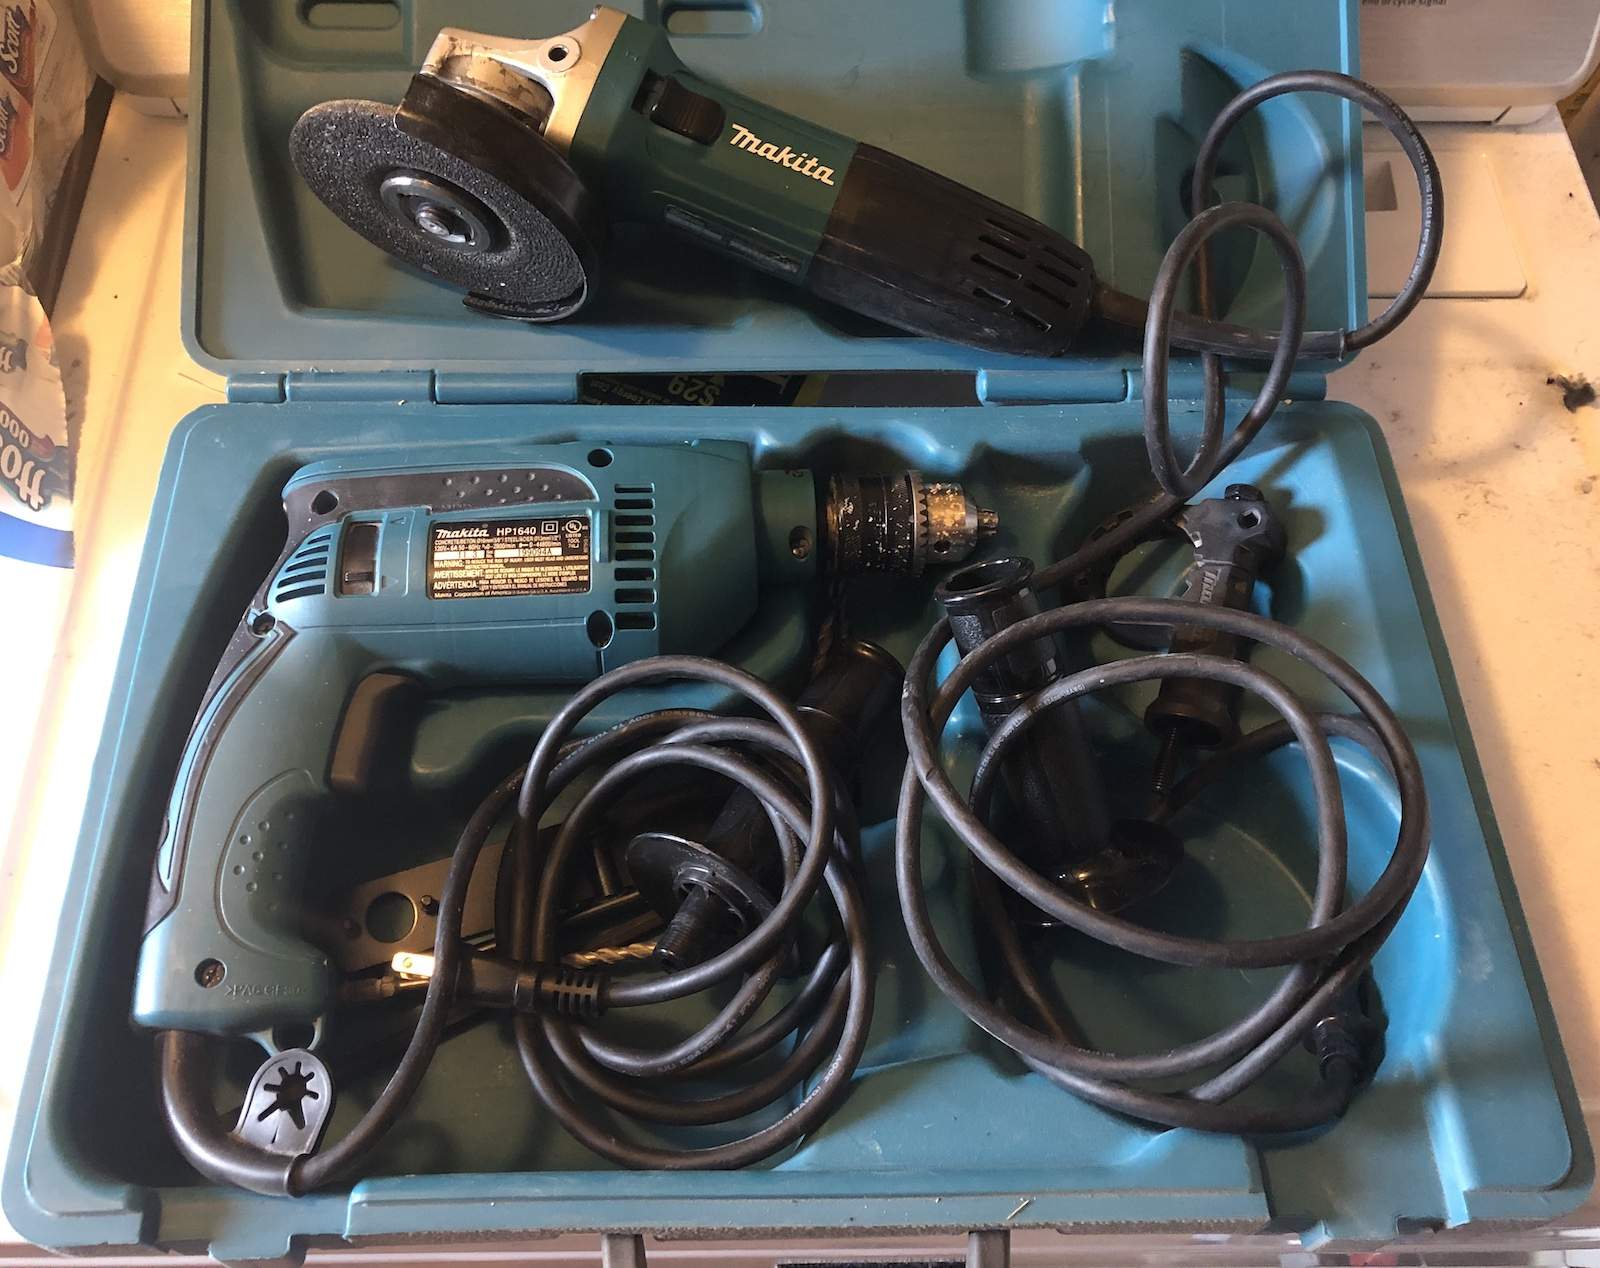
Hey, thanks for showing that! I have a tool just like it, except it's made to stand on a table instead of being handheld. I don't know how I got it, and honestly I've never known what it was. Thanks to you, I now know it's an angle grinder.

You'll have to give a complete review of those, I've looked at them and am just a little intimidated
OK, just ordered these grinding wheels - they'll be here tomorrow.
View attachment 4938180
Thanks Lisa!

Mine looks like the great-grandfather of yours.
That'll get screwed in to the body with three screws, one through the strap button and two higher up. I'm still not sure how I'll attach the two pieces - maybe I'll thread a couple of holes and screw them together, and I'm not sure how the bridge will look just yet.

That tailpiece idea looks cool. Yes, I would attach the bar to the angle bracket with four 4-40 x 3/8" flat head screws, from the bottom. Located between the string holes, blind holes. You can tap the holes, or you can press the screws into the aluminum like rivets. That's how Jeremy is assembling the aluminum bridges on his Pistolera basses, with pressed in screws. I've done it many times in the past on guitar bridges for clients.
To press in the screws, drill the hole to about 0.005" smaller than the OD of the screw threads. You can also drill the full OD down a little way, to help get the screw started. Press the screws in with an arbor press or a vise. The best screws to use for pressing in are hardened flat head socket head screws.
Interesting... Why press in the screws instead of tapping threads?
Tapping 4-40 blind holes 3/8" deep takes some time and patience. Pressing them in is fast and permanent, and about as strong as threading them in. And, are you ever going to need to disassemble it?
That's a cool tip! Does it matter if it's 6000 or 7000 series aluminum? What about brass? 360?
Sorry for the hijack, Mapleglo...




