
Enjoy the benefits of a premium membership!
Upgrade Account
-
TalkBass has been independent since 1998. Add your voice.
Create a free account to reply to discussions, view embedded media, and browse with fewer display ads.
Join free Log in
Want zero display ads or expanded classifieds tools? Compare plans.
You are using an out of date browser. It may not display this or other websites correctly.
You should upgrade or use an alternative browser.
You should upgrade or use an alternative browser.
Rattle Can Refinish Club
- Thread starter redlikejazz
- Start date
-
- Tags
- club
More options
Who Replied?


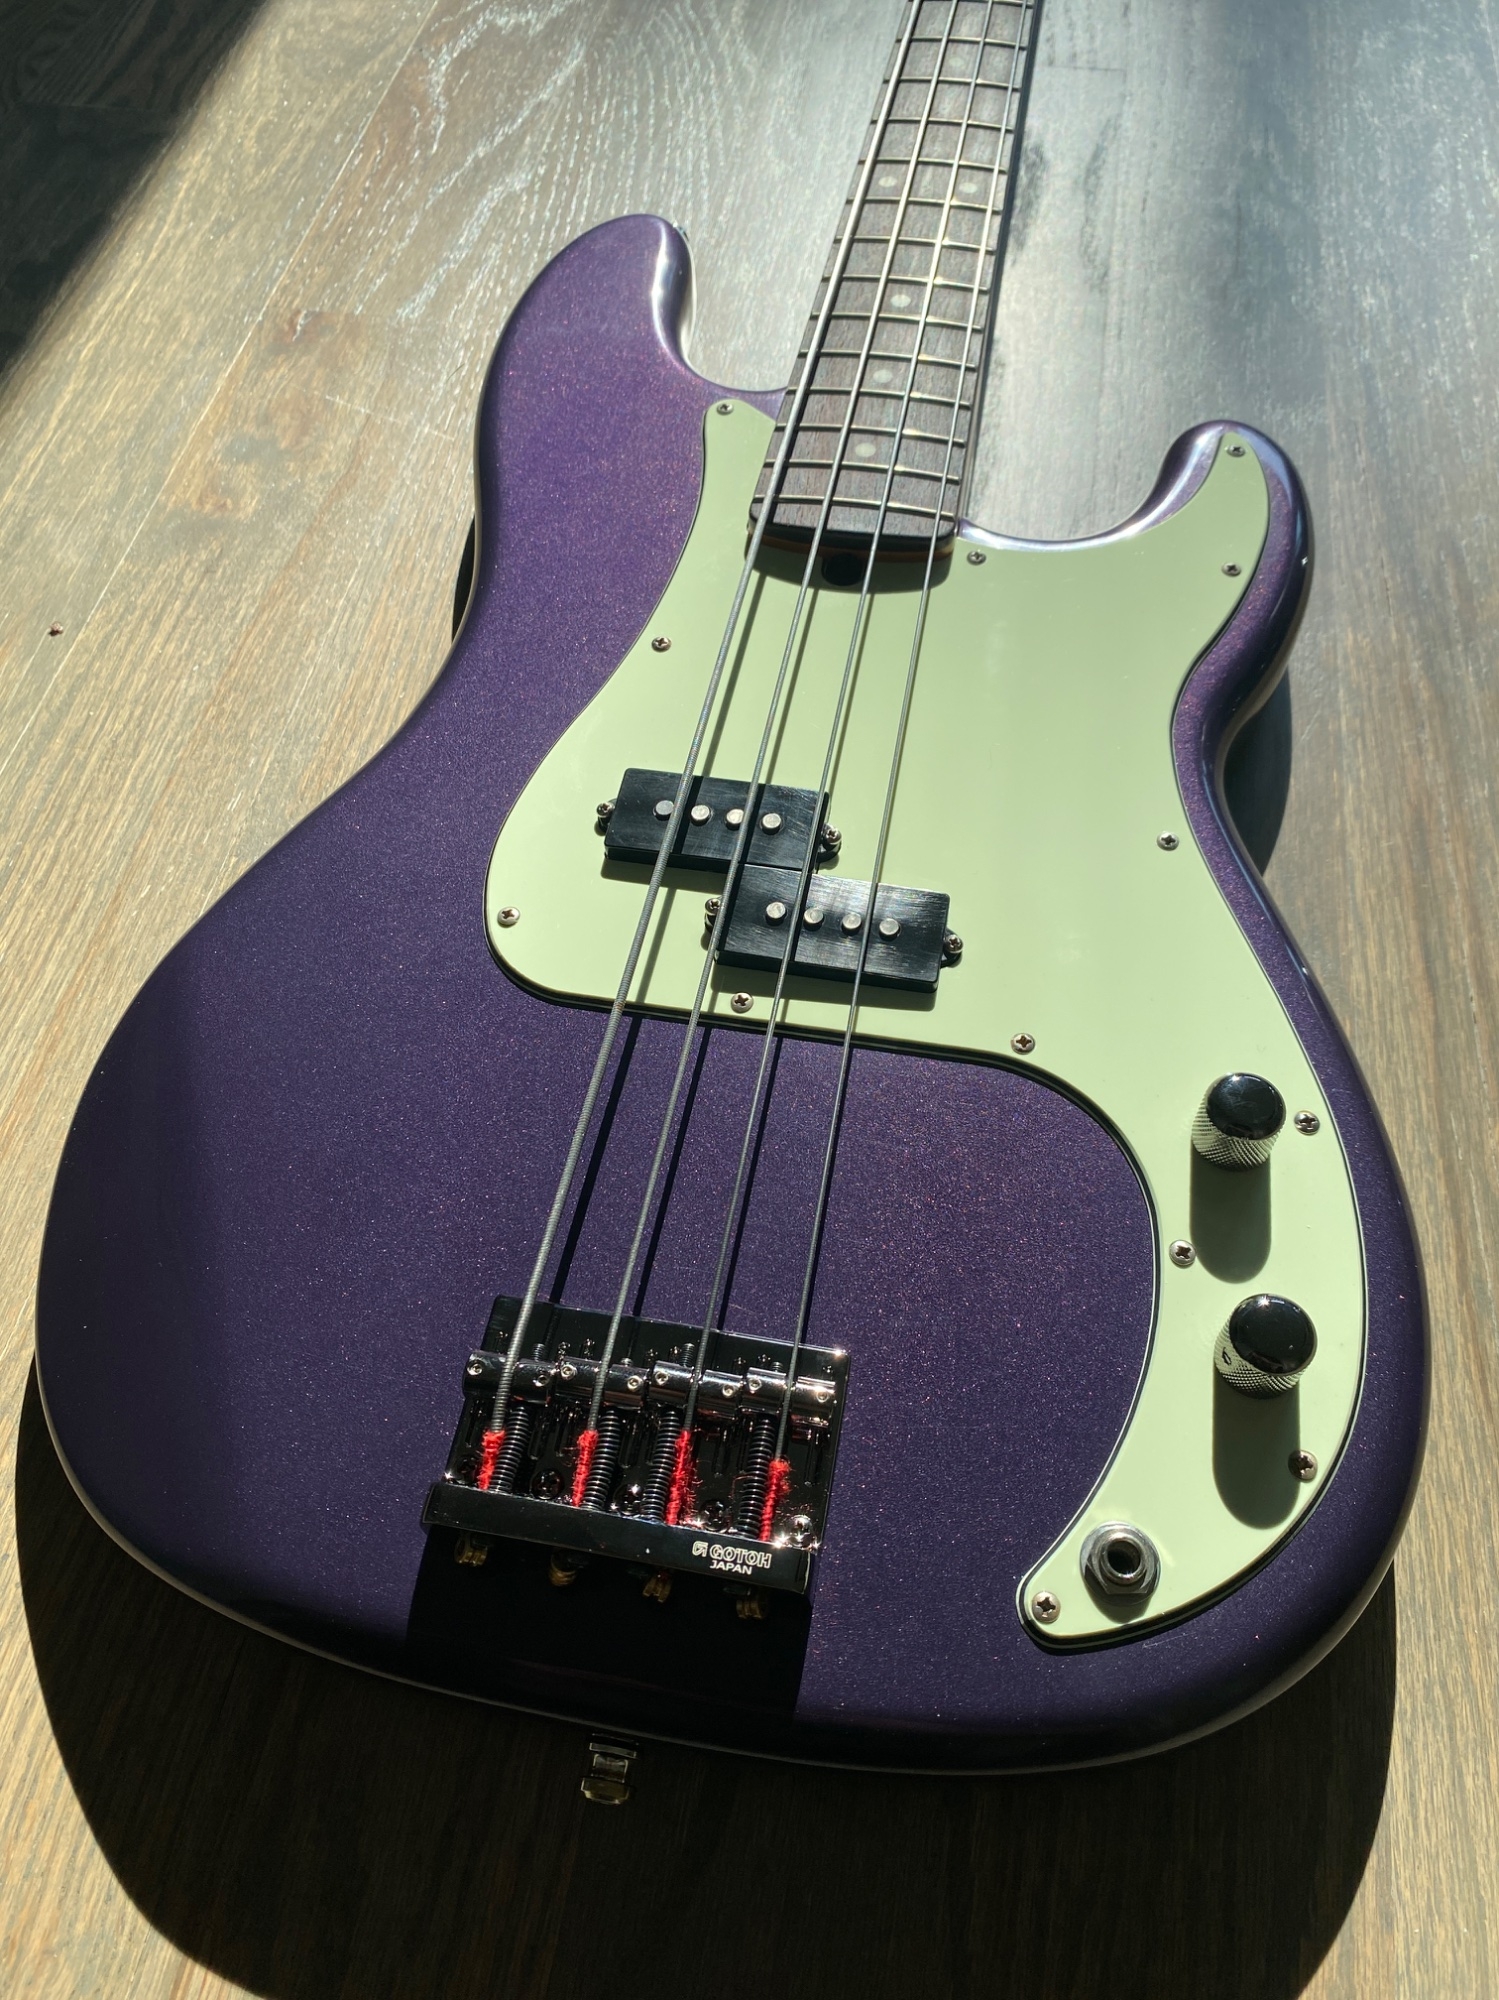
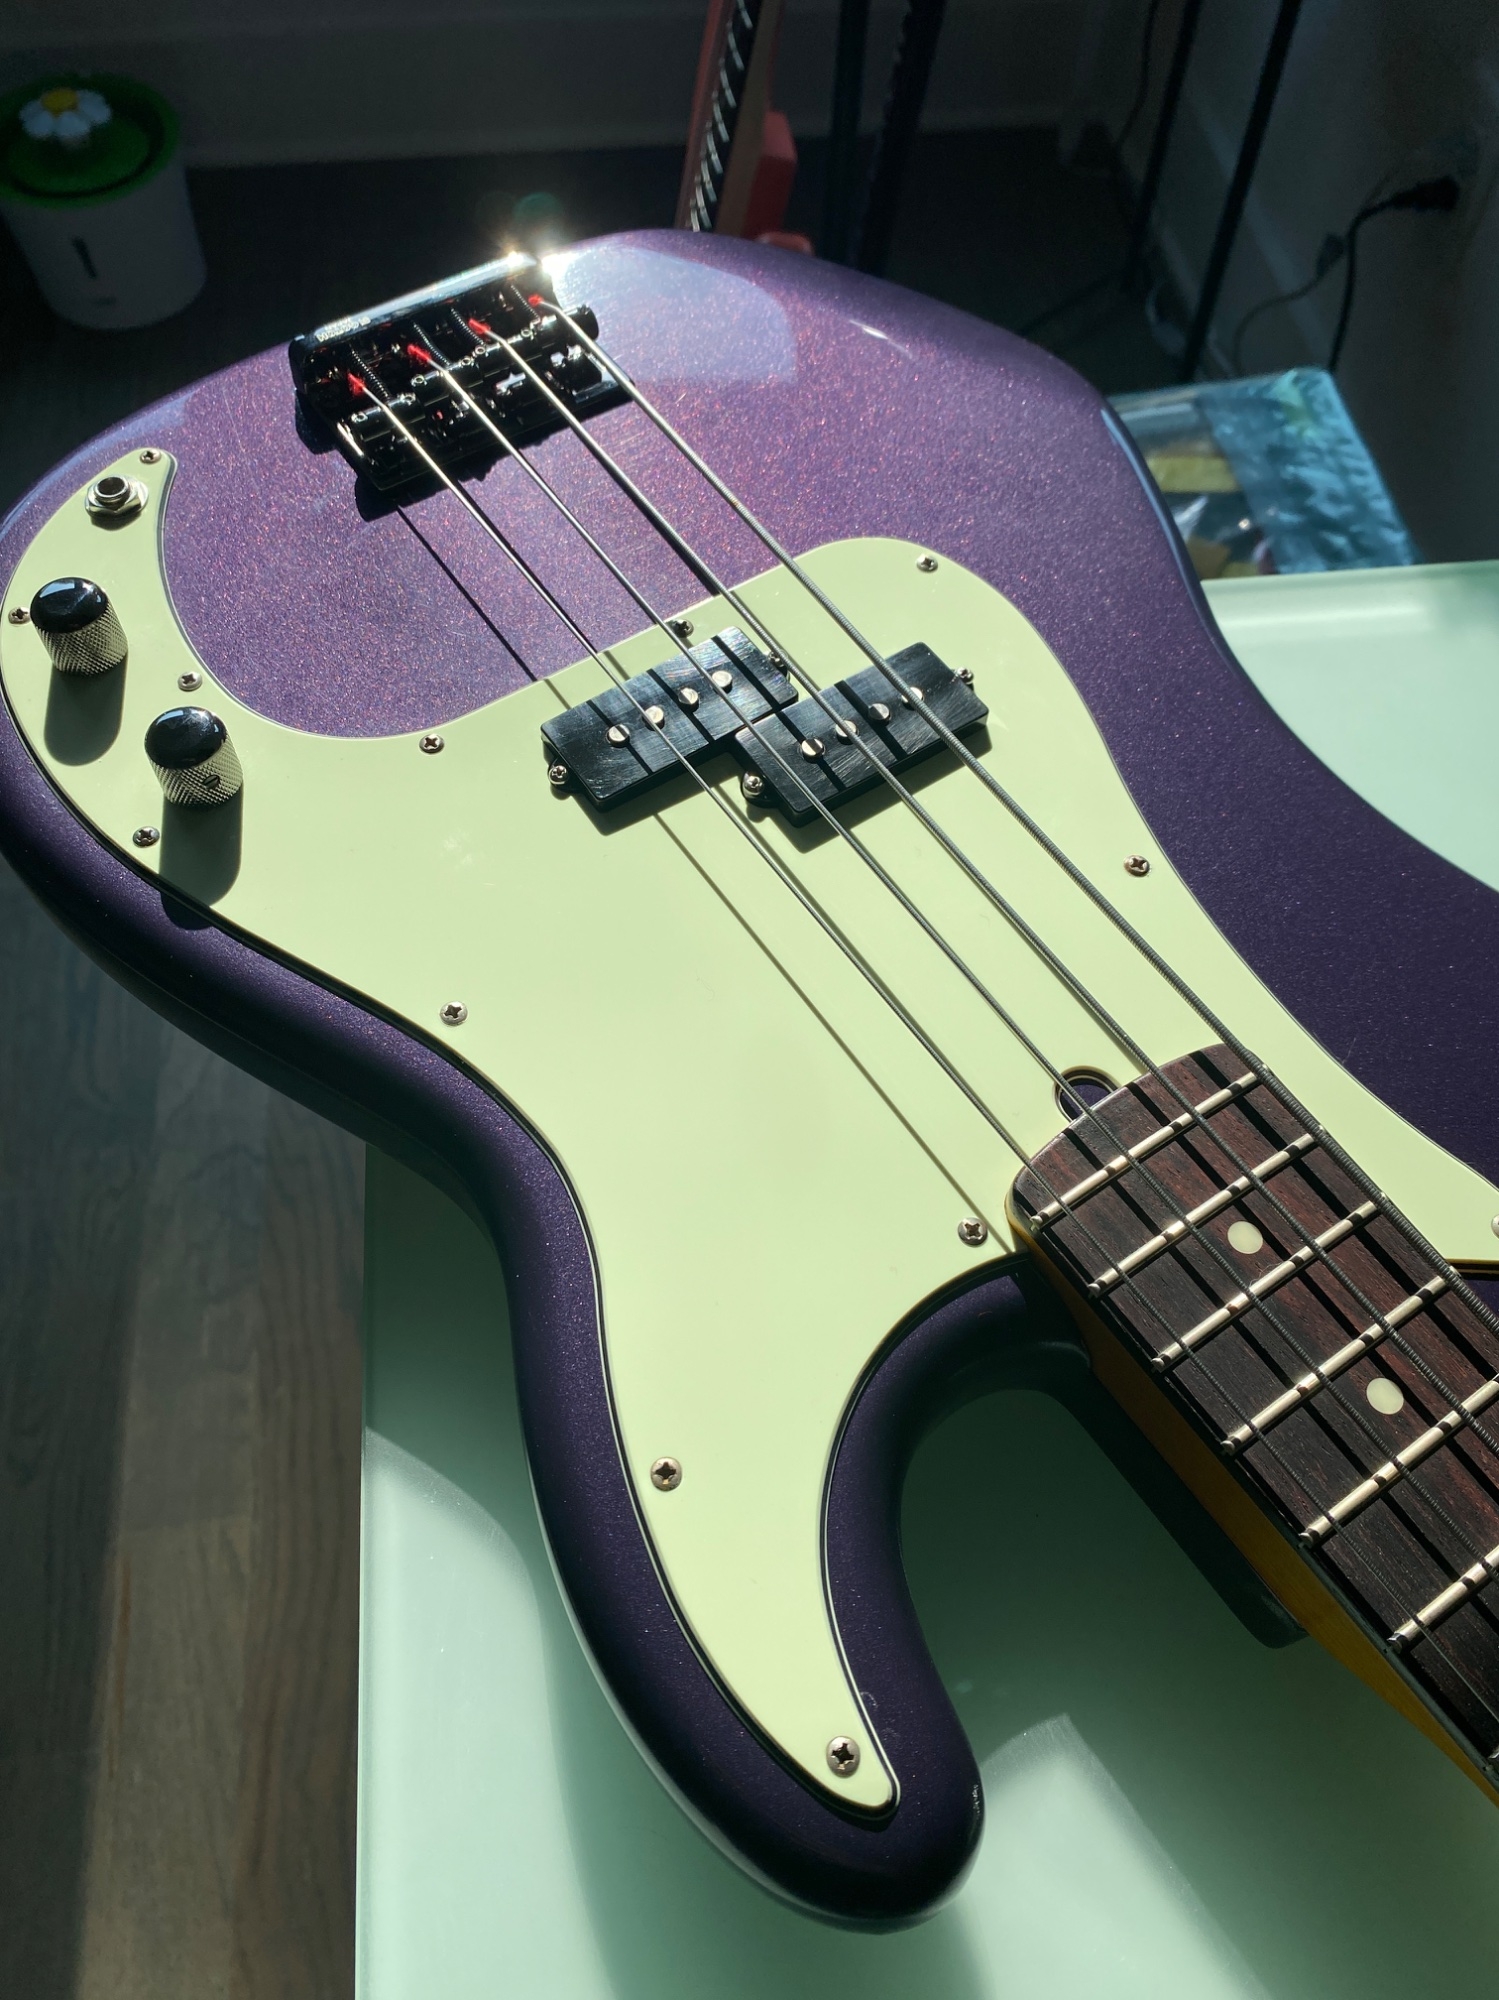
Decided to keep this one, especially since it matches my wife's car. I put an AllParts neck on it that I already had.


Another shot of this one. The sunlight really makes the metallic pop.

Salvaged Matsumoku Atak Quest 1B Bass that was heading to the garbage. I practiced on it. I mixed two brands that caused a sort of crackle. I decided to keep it like that. Add black beauties and EMG Geezer pickups
Paint job isn't good, but still fun bass
Paint job isn't good, but still fun bass
Attachments


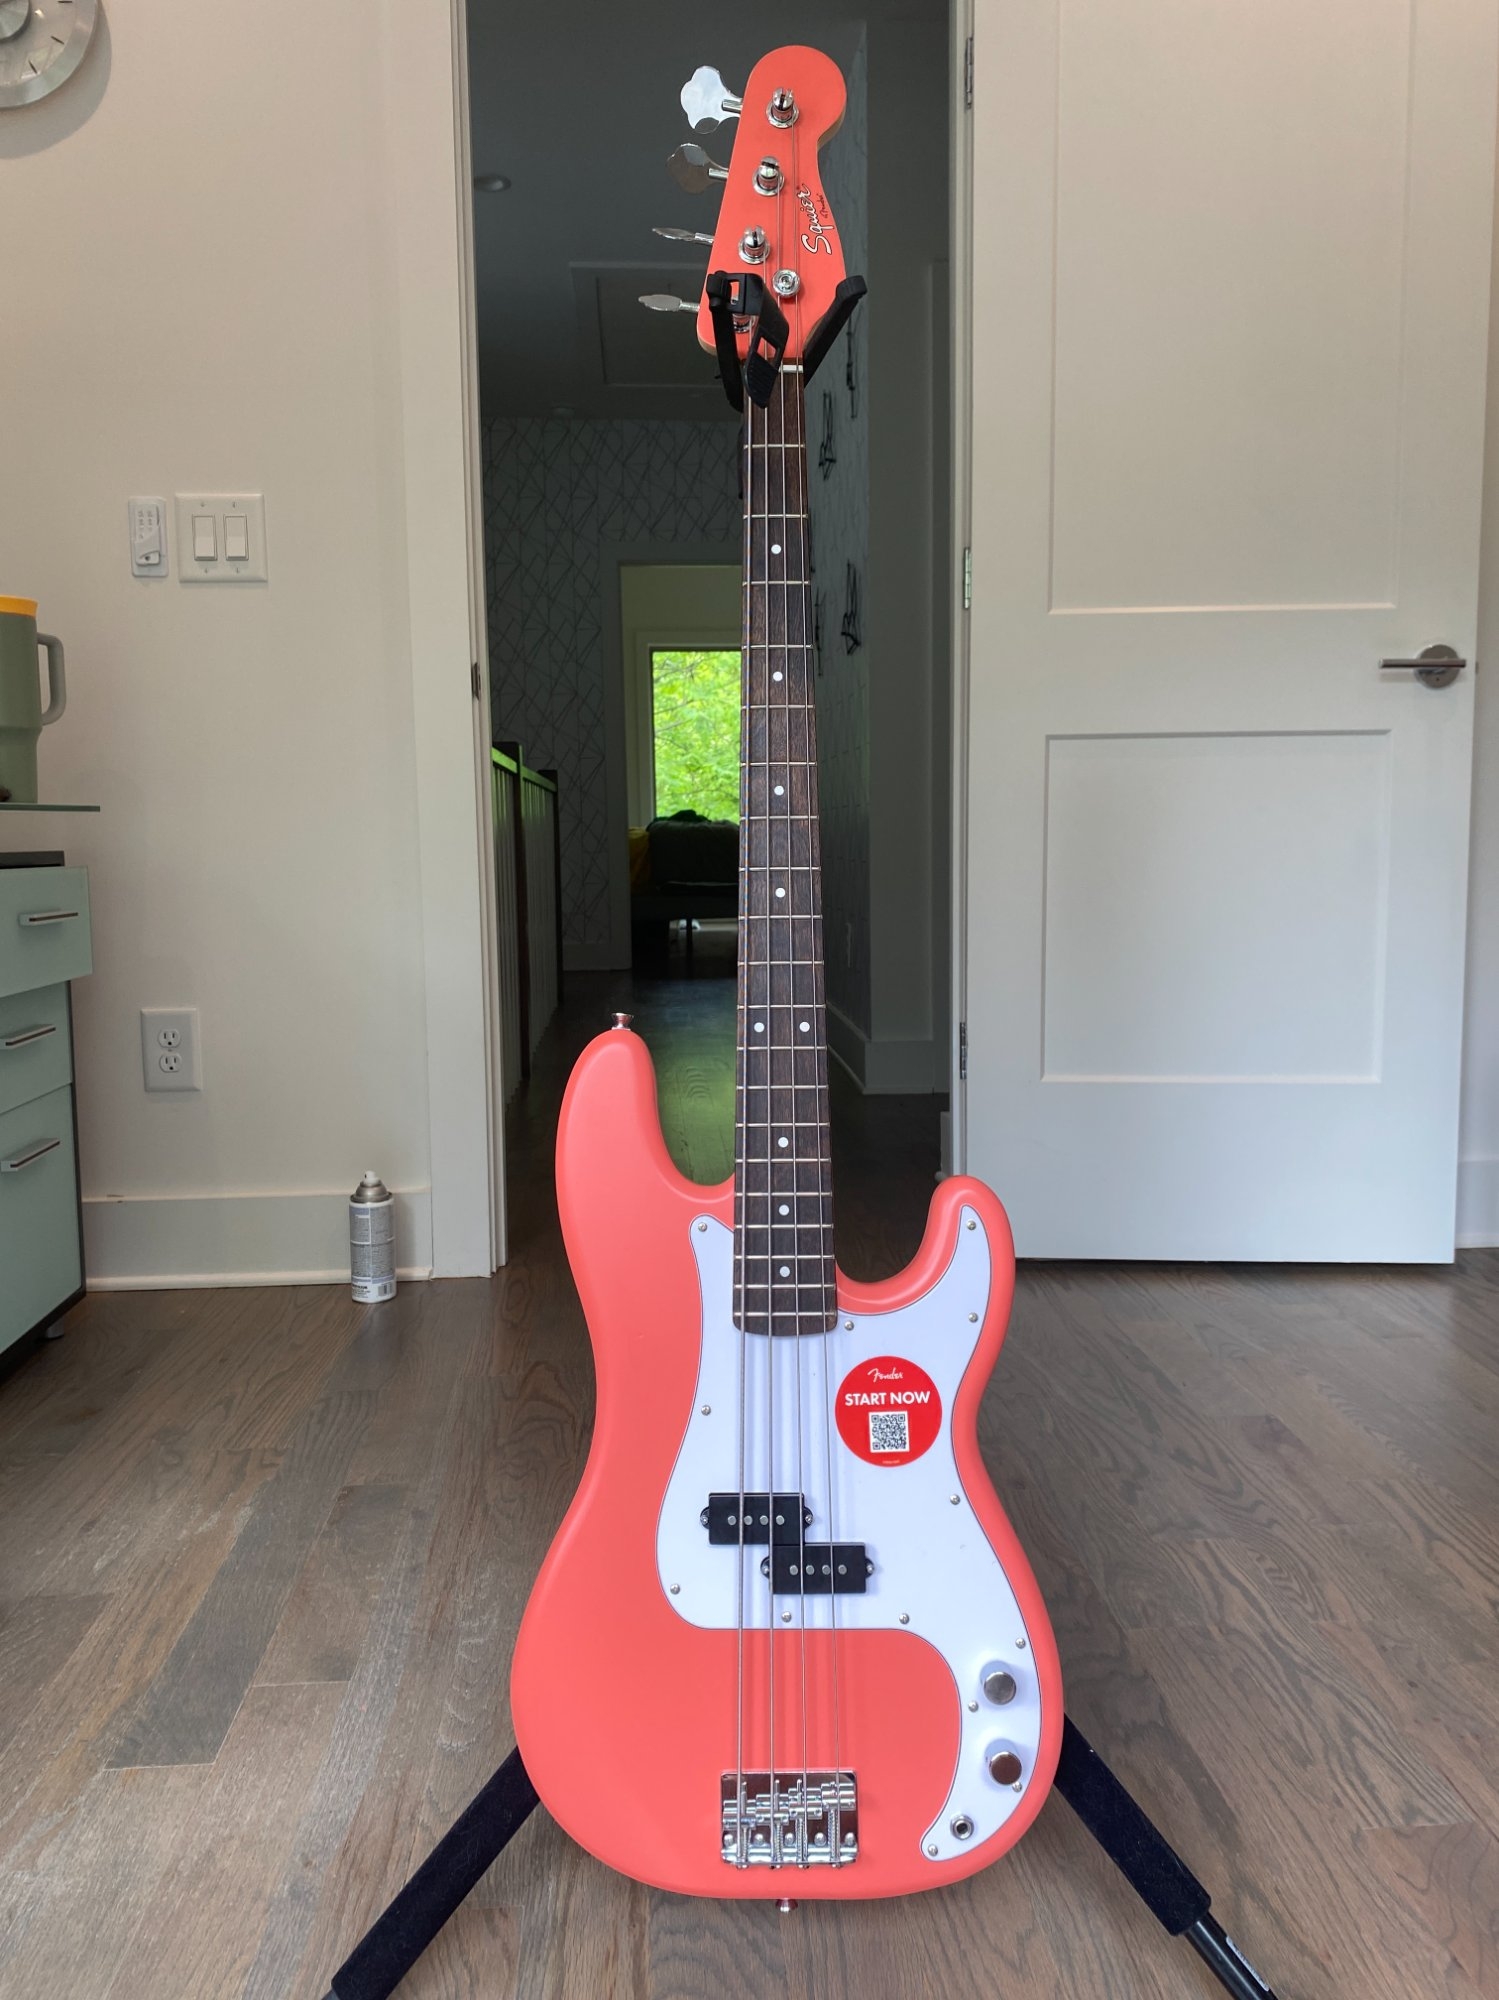
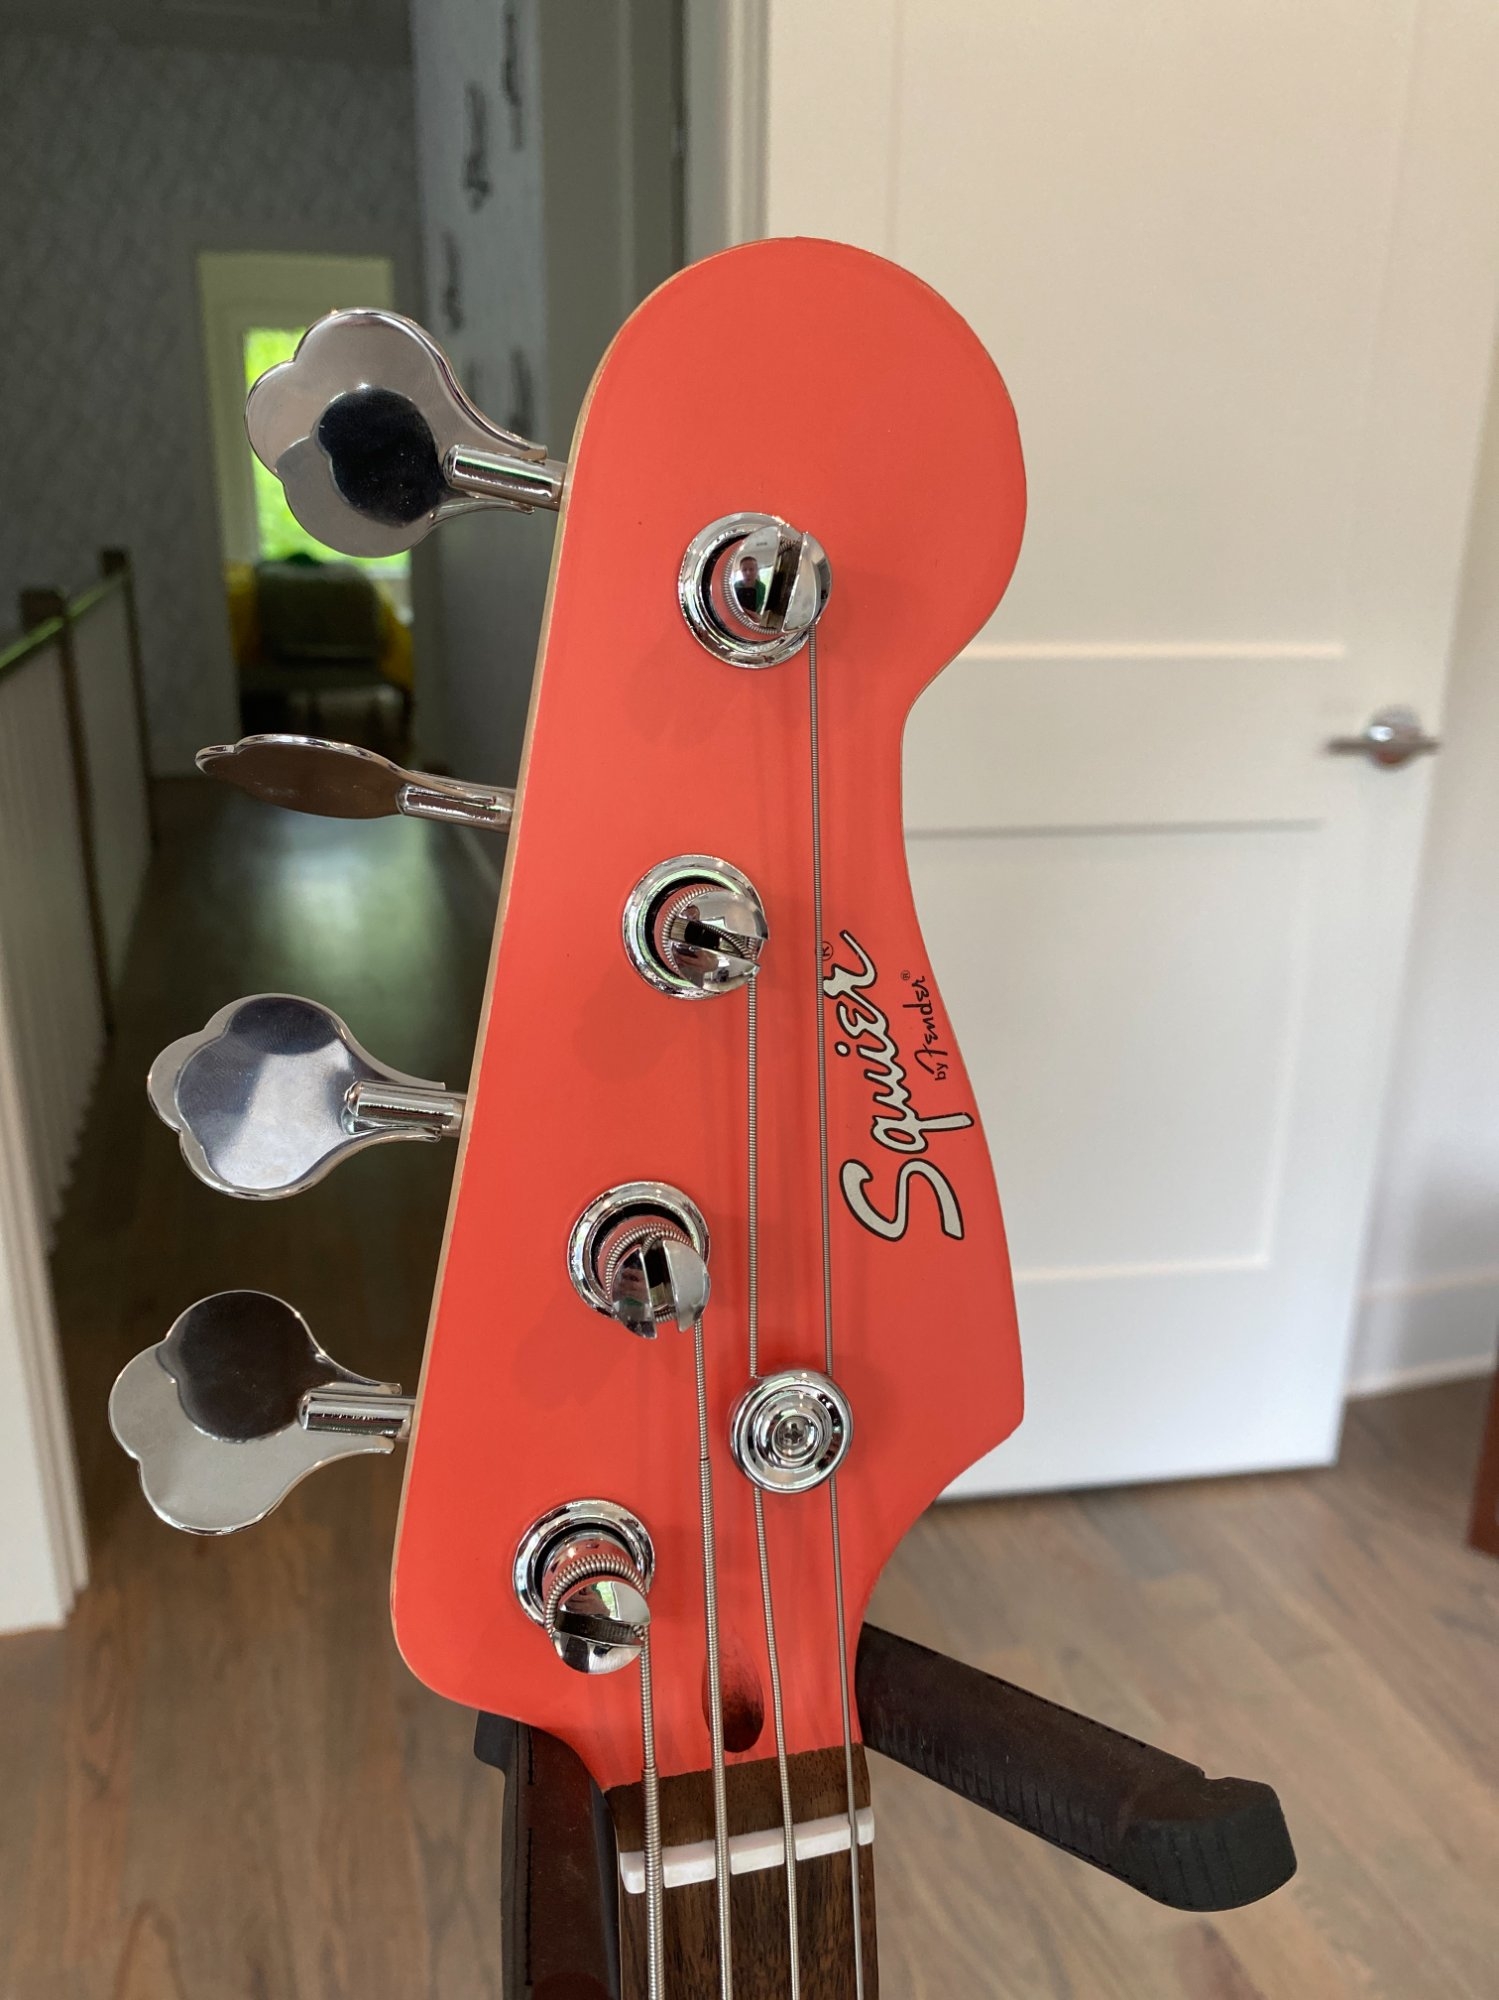
Forgot to post this one. Squier Debut P originally in matte red, now matte Coral Pink. I didn't even scuff sand the original finish, just sprayed Rust-Oleum 2X color/primer combo right over it. Followed that with a can of 2X matte clear, which didn't even need buffing. If you're looking for the easiest, cheapest way to do a good looking refin, this is the way.


No sanding metallics before the clear. You should be good to proceed.Hi, I have a question. I'm painting a bass with Rustoleum Metallic Gold. I applied 4 coats and stored the bass in a clean, safe place. It's been 6 days since then. Do I need to sand it it before applying the clear coat, or can I apply it without sanding?
Thank you for your answer, one more questionNo sanding metallics before the clear. You should be good to proceed.
Wouldn't I have adhesion problems because the base color has completely cured?
Nope, none at all.Thank you for your answer, one more question
Wouldn't I have adhesion problems because the base color has completely cured?

- Jun 30, 2010
- 49,612
- 222,129
- Disclosures
- musician/artist/owner - Gildaxe
In progress - Montana Lakers Mauve/Hologram sparkle & (Stew Mac) gloss tobacco/clear-coat. Neck will get the same treatment.
GEO's 1st bass restoration
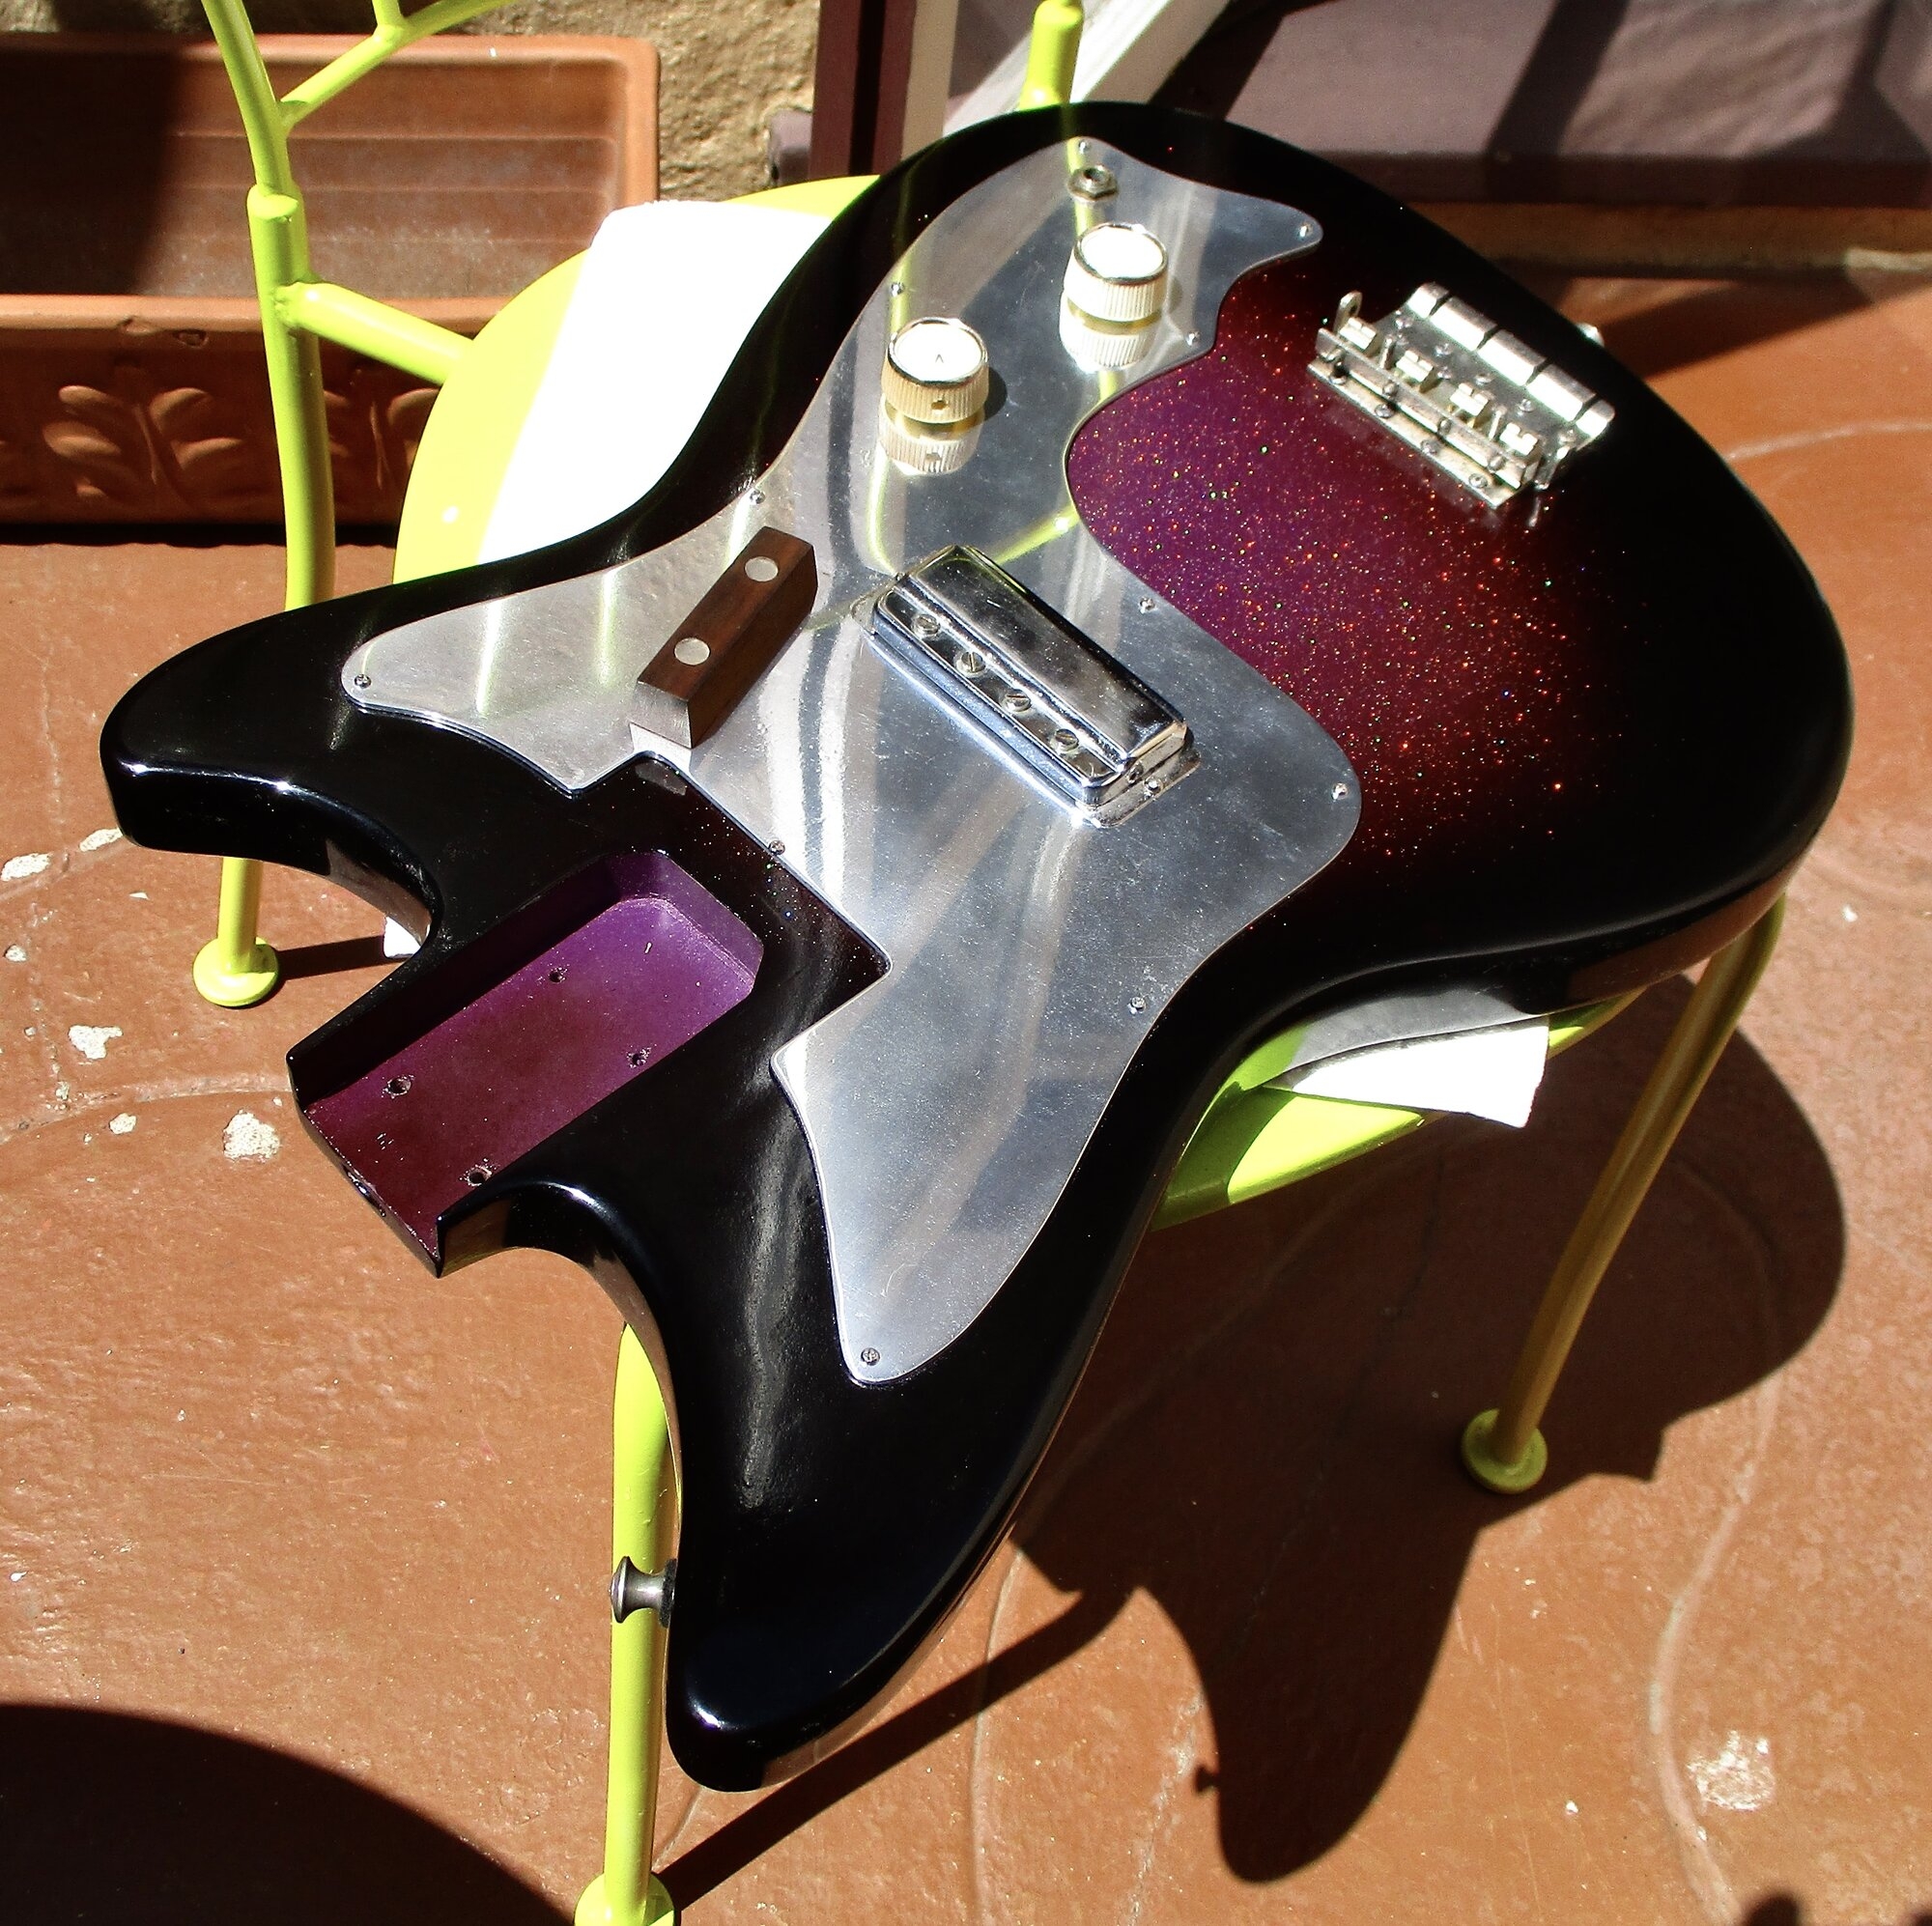
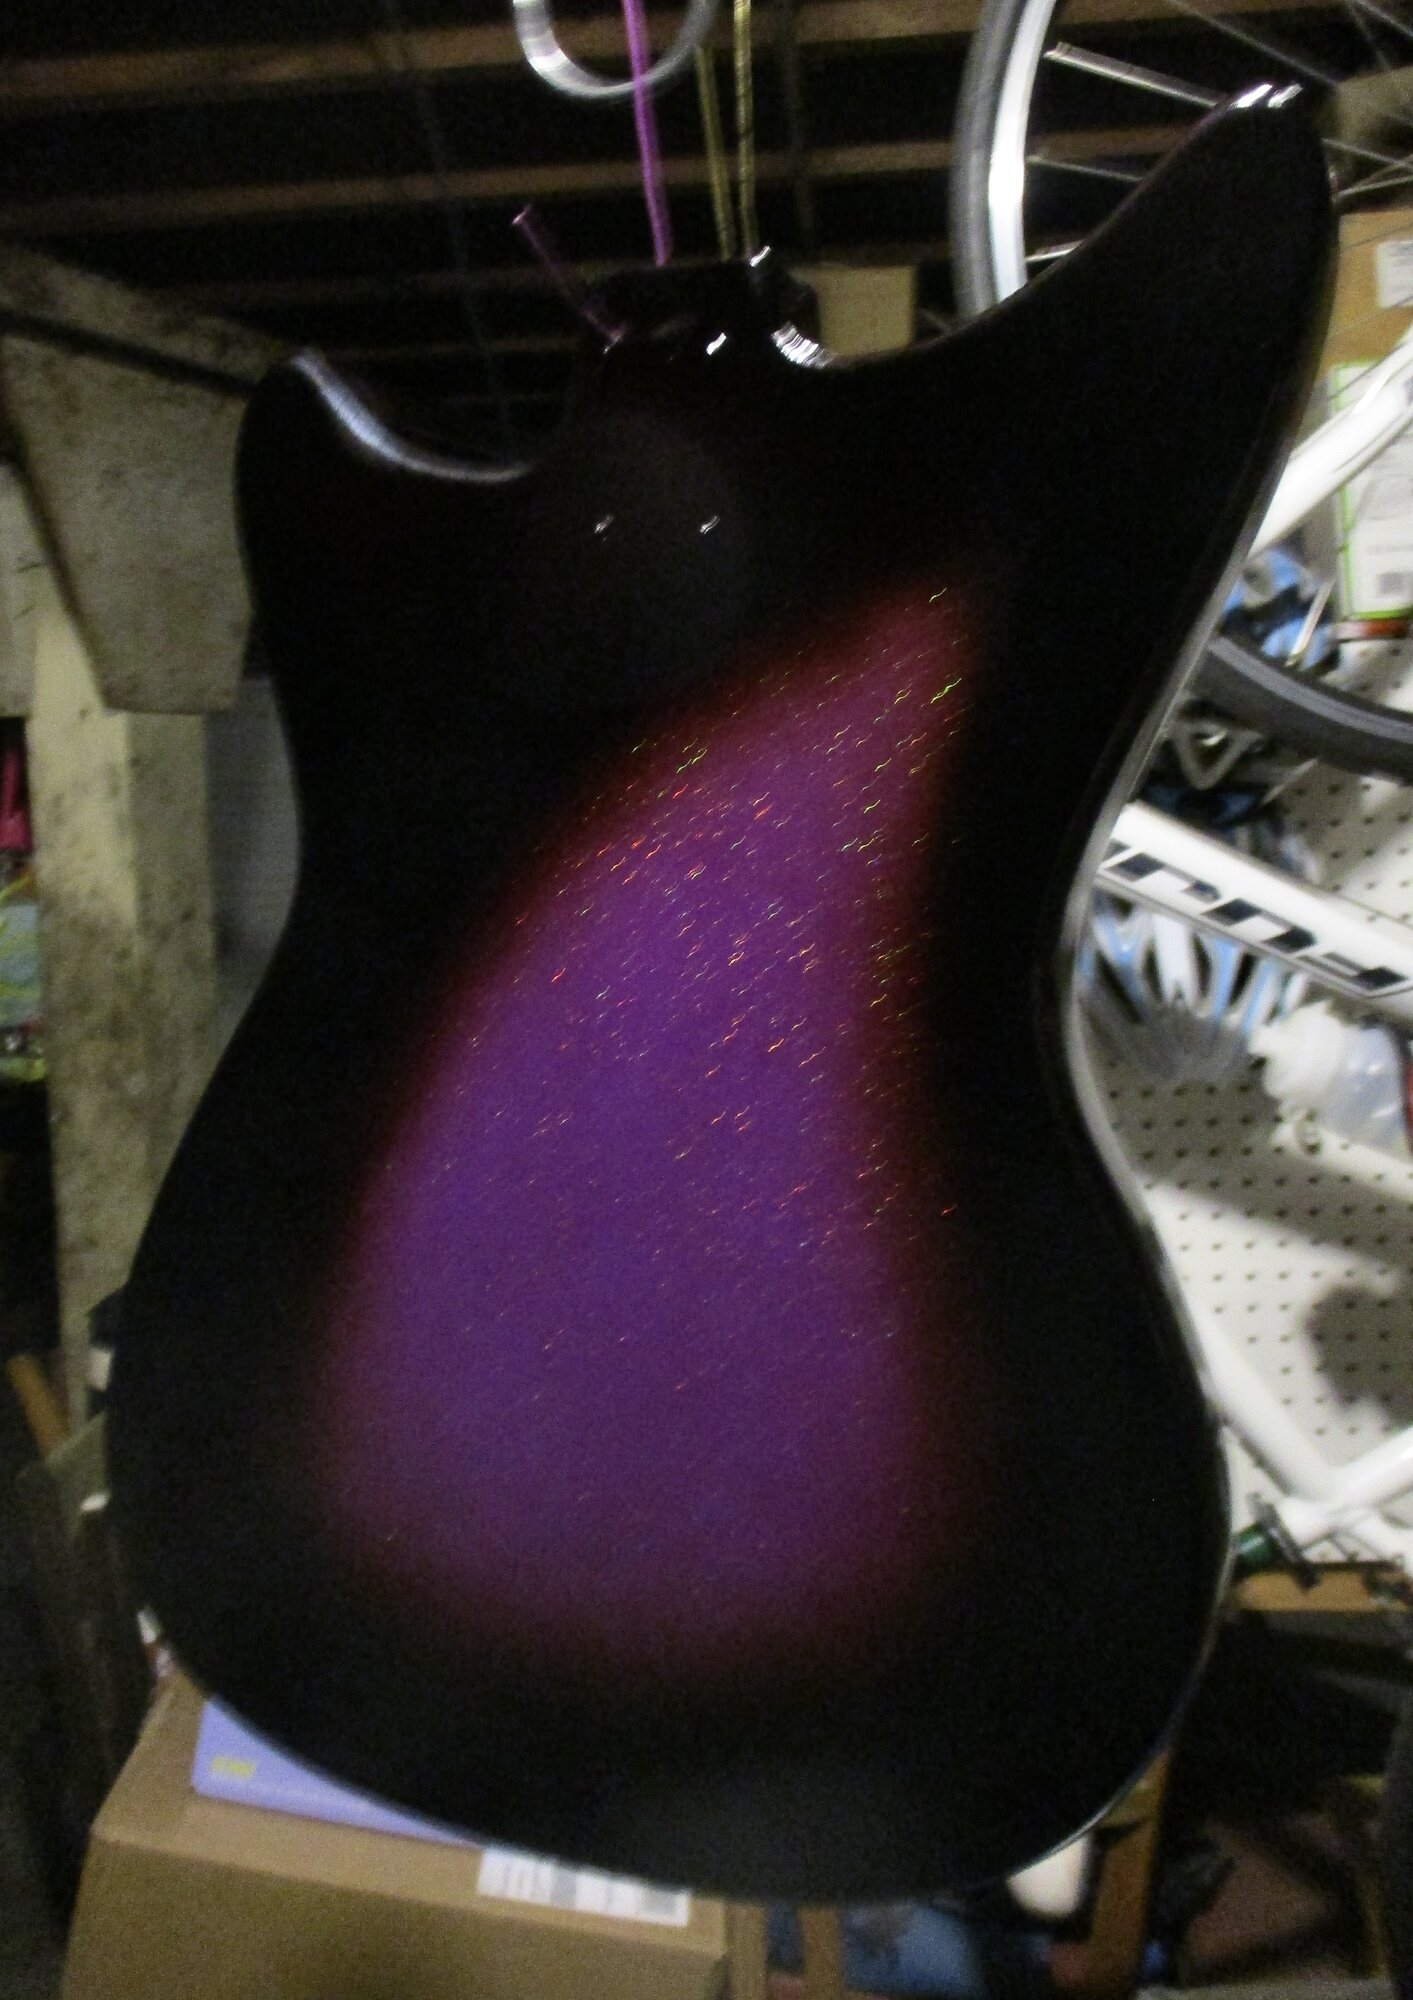
GEO's 1st bass restoration
I had never done anything like this... and it was fun as hell! Looks much shimmering in person than in photos, I'm actually very happy with the way it looks.
Attachments


- Jun 30, 2010
- 49,612
- 222,129
- Disclosures
- musician/artist/owner - Gildaxe
The first step taken in doing something for the first time is always the most daunting - but once that happens it only gets better as you learn from your mistakes. As much as I follow all the tips (warming the can, cleaning the nozzle) for using rattle-cans, 'spurting' is nearly unavoidable. I saw a good solution tutorial on YouTube for when that happens. I can't find it now, but basically you apply a thin layer of spackling compound over the 'spurt' area, let it dry, and sand (using a sanding block) until the 'spurt' is leveled (to the finish) - then using a wet sponge wipe off the spackling. It levels the raised 'spurt' in the colour or clear-coat so you can continue spraying or buff-out/polish. Of course, using a pro-spray gun etc will give you ultimate control but it's remarkable what one can pull off with a rattle can finish. FTR, a matte/satin finish is best for doing a successful finish out of the gate.I had never done anything like this... and it was fun as hell! Looks much shimmering in person than in photos, I'm actually very happy with the way it looks.



- Apr 18, 2008
- 16,016
- 1
- 31,730
- Disclosures
- I'm highly opinionated and extremely self-assured
Thanks, the day was 10th of July. 60 is closer than 50 now on.Happy Birthday @MPU !!

- Jun 30, 2010
- 49,612
- 222,129
- Disclosures
- musician/artist/owner - Gildaxe
Happy belated B-day! Looks better black - did it require a neck/hs repair?Here’s my birthday gift for myself. An -83 Aria Pro 2 SB-R60. Refinished with Spraymax paints.

- Jun 30, 2010
- 49,612
- 222,129
- Disclosures
- musician/artist/owner - Gildaxe
Headstock repair. I didn’t trust the previous ”repair” with white electric tape.

Nothing else than tape was used. On the plus side it was easy to take apart!


