
Enjoy the benefits of a premium membership!
Upgrade Account
-
TalkBass has been independent since 1998. Add your voice.
Create a free account to reply to discussions, view embedded media, and browse with fewer display ads.
Join free Log in
Want zero display ads or expanded classifieds tools? Compare plans.
You are using an out of date browser. It may not display this or other websites correctly.
You should upgrade or use an alternative browser.
You should upgrade or use an alternative browser.
singlecut chambered.
- Thread starter jordan_frerichs
- Start date
More options
Who Replied?Are you still planning on doing that "sideways router" thing?
If so, please don't.
You seem like a cool guy and I don't want to read anything in the news about you except "Master luthier strikes again!"
Don't die please.
lol. no i will just fix the blank on a drill and shape it that way, finishing it off by hand

dblbass
Commercial User
- Mar 24, 2007
- 368
- 74
- Disclosures
- Owner of MBJ guitars, Maker of fine sawdust for Carl Thompson Guitars
quick thought on the wood knobs.
What do you guys think would look best for a 3 knob set:
A) figured qs cherry knobs (these will probably be the easiest to shape, and since i have not shaped a knob before that is a plus)
B) a 3 lam stack of 1/4" bloodwood, 1/4" flamed maple, 1/4" bloodwood
c) 1/2" walnut capped with 1/4" bloodwood
I think the walnut/bloodwood would look the best. In order to make it a little easier you might wanna use a thinner peice of bloodwood. You could use ppks method on a solid walnut peice and then cap it off with a 1/16" peice of bloodwood.
I think the walnut/bloodwood would look the best. In order to make it a little easier you might wanna use a thinner peice of bloodwood. You could use ppks method on a solid walnut peice and then cap it off with a 1/16" peice of bloodwood.
The walnut/bloodwood is pre glued. The walnut is much lighter than what is already being used in this project. I think i will do cherry/bloodwood knobs. Either way, I can always make another set and swap them out, so it is not very important to have a final idea on them. wooden pickup covers are what i am thinking over, and possibly a wooden string holder (although it might look out of place feeding into a metal schaller bridge. i am still thinking of what i could do with the extra space behind the bridge. anyone know how i could set up a removeable home made tremolo system )
i guess i am overdue on updates for my 2 build threads. i finally got some work done again on this one. nothing to big, just error correction. i set up some rails and routed the back of the neck flush. before, it had an uneven surface. the neck is about 1" thick now, and it is now ready for a back piece for the body section (i think i will make the back block wenge).
other than that, i routed the top of the necks body section, so i could put on the cherry top, and lower the area for the bridge to sit at a proper height. UNFORTUNATELY, the bit dropped while i was routing, so there is a channel along the center, that is about 3/8" deeper than i want. usually i am close to happy when i make mistakes, because it is an oppertunity to be creative. on this , i am a bit dissapointed. not to hard of a fix though. all i need to do is router the f-up so that its sides are straight, glue in some scraps i have saved, and fill the rest with a wood dust/epoxy mix. i am worried that it won't structuraly be as good, and i hope it looks decent when you look at the end of the bass.
(yes more reading) i have been testing out possible finishes. i found a finish that looks good, and works with the black engravings i will do.
will upload the pics after i get some munchies/dinner
other than that, i routed the top of the necks body section, so i could put on the cherry top, and lower the area for the bridge to sit at a proper height. UNFORTUNATELY, the bit dropped while i was routing, so there is a channel along the center, that is about 3/8" deeper than i want. usually i am close to happy when i make mistakes, because it is an oppertunity to be creative. on this , i am a bit dissapointed. not to hard of a fix though. all i need to do is router the f-up so that its sides are straight, glue in some scraps i have saved, and fill the rest with a wood dust/epoxy mix. i am worried that it won't structuraly be as good, and i hope it looks decent when you look at the end of the bass.
(yes more reading) i have been testing out possible finishes. i found a finish that looks good, and works with the black engravings i will do.
will upload the pics after i get some munchies/dinner
sorry about pics not being up yet. i took them with a new camera that my computer refuses to recognise. will just retake and upload sometime tomarrow.
Can't find my working camera. Will put up images as soon as i am able. Glued the fretboard on yesturday. The top for the middle of the body is also glued on. Also, I made an access for the truss rod. I JUST glued up the 3 piece neck transition (the 3 pieces together, not them to the neck). I decided that i would go with (starting from the neck to the back of the bass) 1/16" walnut, 1/4" bloodwood, and then 5/8" of cherry. Hopefully I will get that glued to the neck this weekend, then I can finally get ready to glue the body wings on. The peices are finally coming together, and I hope to get it finished up by new year or earlier.
the back of the neck was not a level surface. fixed it.

on the top of the neck's body section, i lowered it.
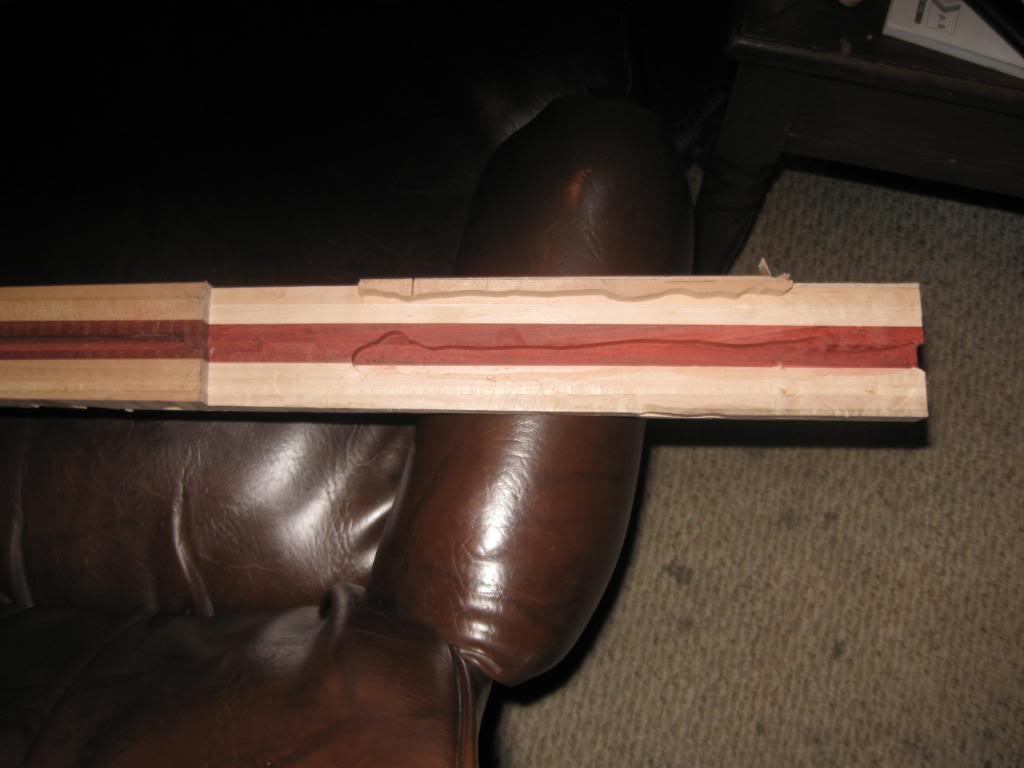
unfortunately, the router bit dropped whill i was doing it, and left me a nice half inch deep channel
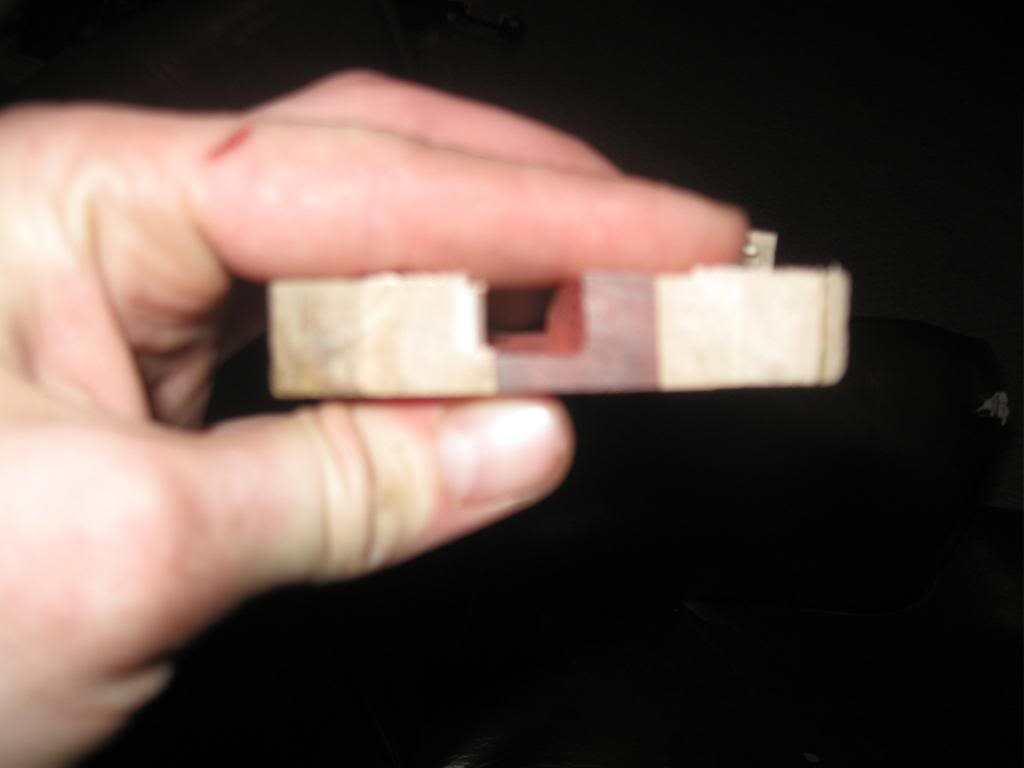
What i don't have images of, is the piece of aspen i glued under where the bridge will, so the scew has something to go into. Also don't have pics of gluing the center top piece, or fingerboard on.
on the top of the neck's body section, i lowered it.
unfortunately, the router bit dropped whill i was doing it, and left me a nice half inch deep channel
What i don't have images of, is the piece of aspen i glued under where the bridge will, so the scew has something to go into. Also don't have pics of gluing the center top piece, or fingerboard on.
pushing the pieces together. i'm happy with it so far. Can't weait till its playable

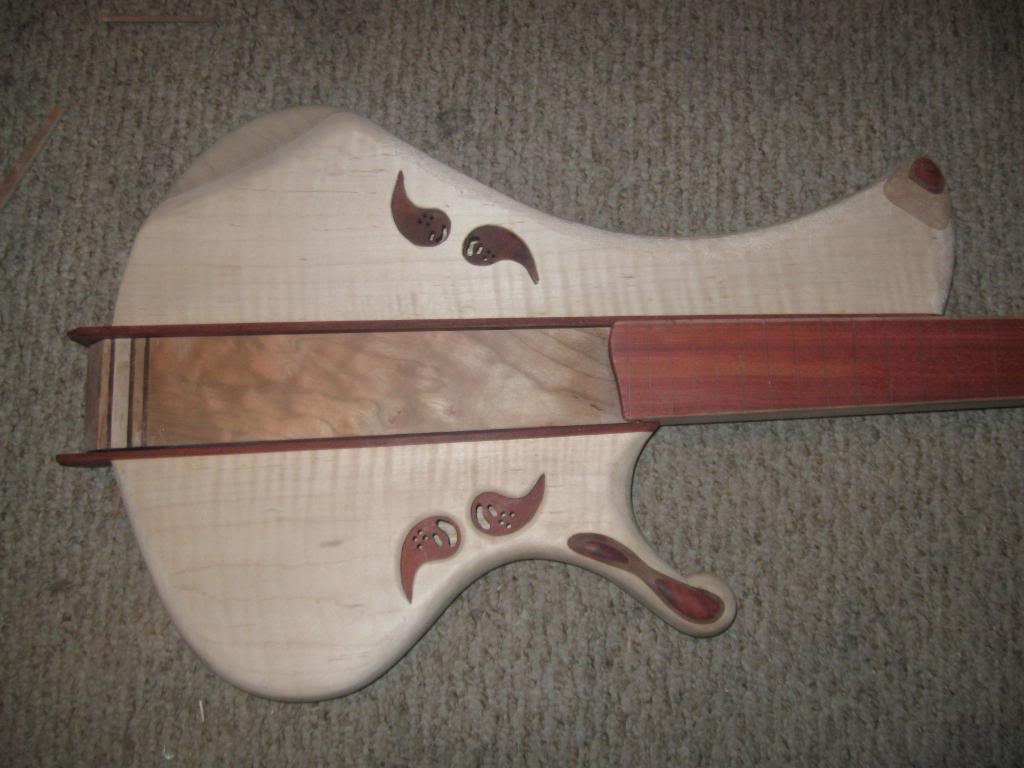
Here are a few of the patch i made, to cover up the screw up. This was a real pain in the ass. i couldn't clamp it, so i put wood glue on the perimeter, and super glue at the center, and used my arms as a human clamp, putting all the pressure i could for 45 minutes. this thing better play good .
.
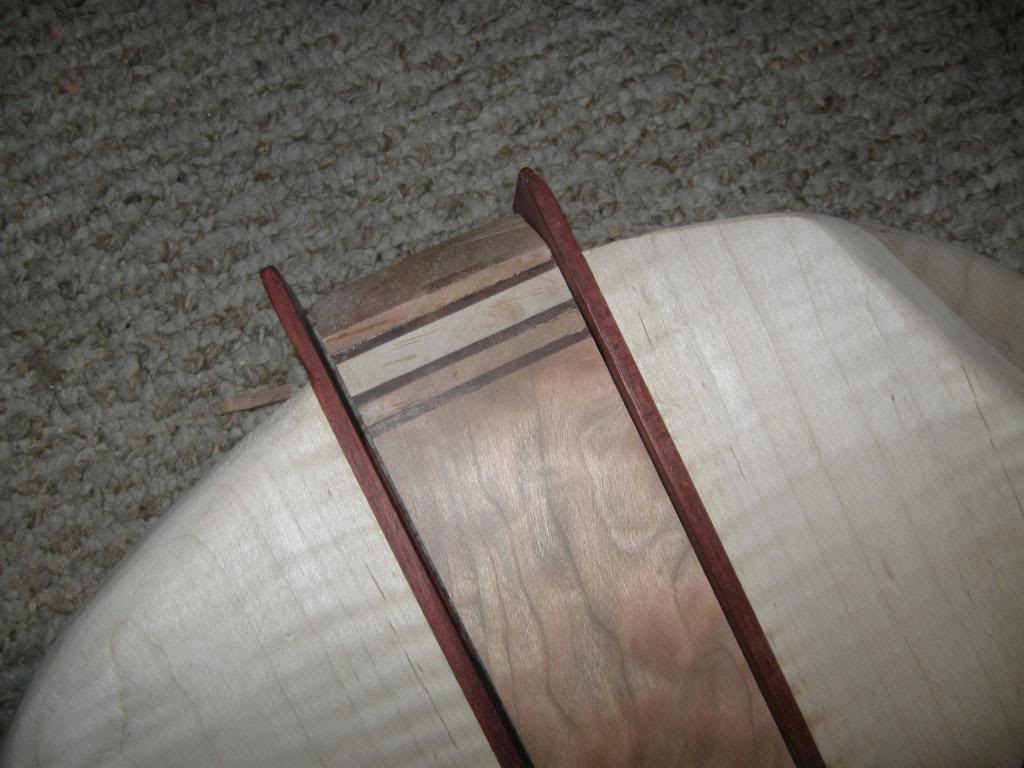
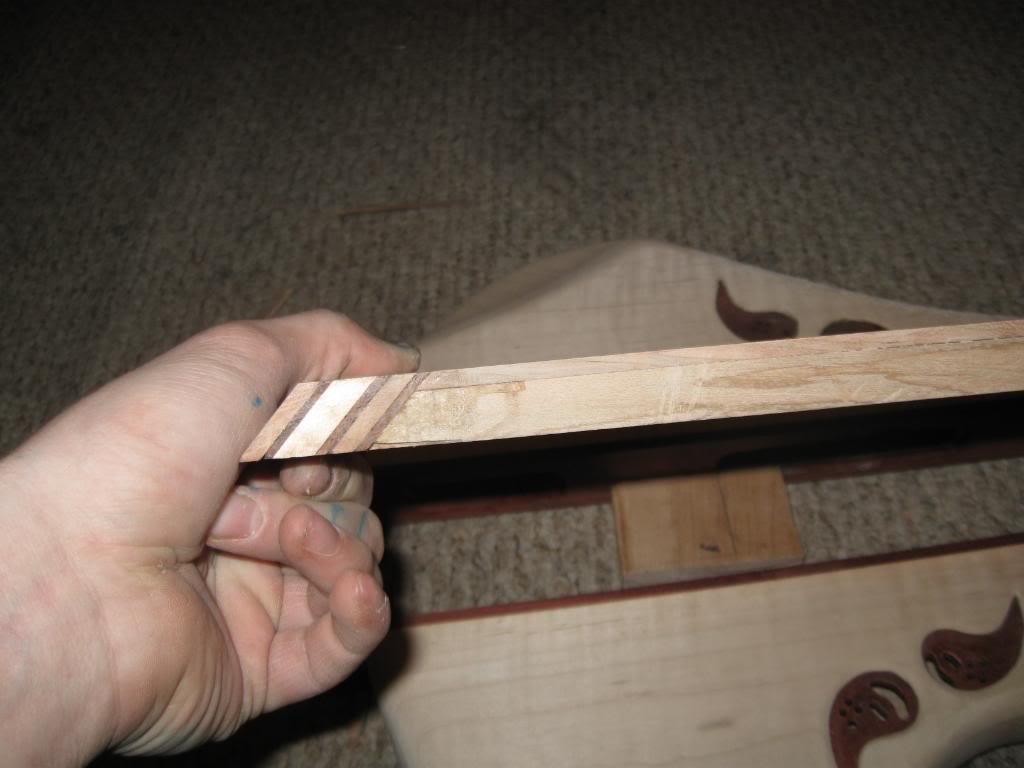
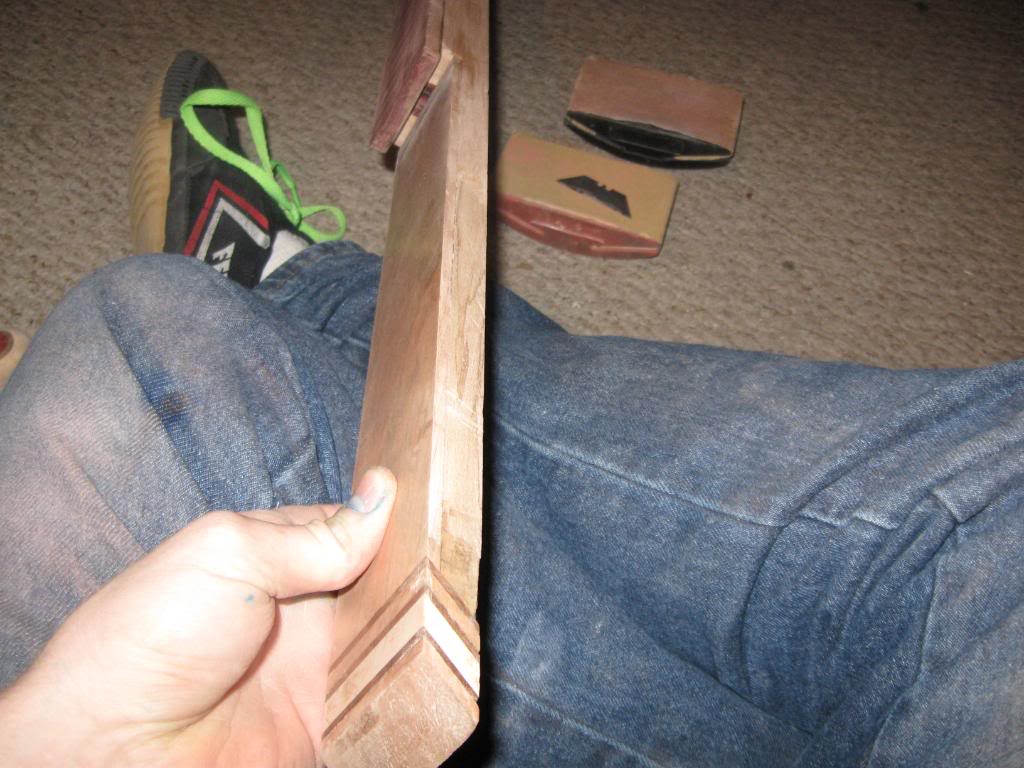
Here are a few of the patch i made, to cover up the screw up. This was a real pain in the ass. i couldn't clamp it, so i put wood glue on the perimeter, and super glue at the center, and used my arms as a human clamp, putting all the pressure i could for 45 minutes. this thing better play good
.a few more pics
Cherry is awesome. i just coated it in crazy glue to bring out the figure, also sanded graphite dust (pretty much just scribbled all over it with a pencil, and sanded it) into it, to bring out the color and figure.
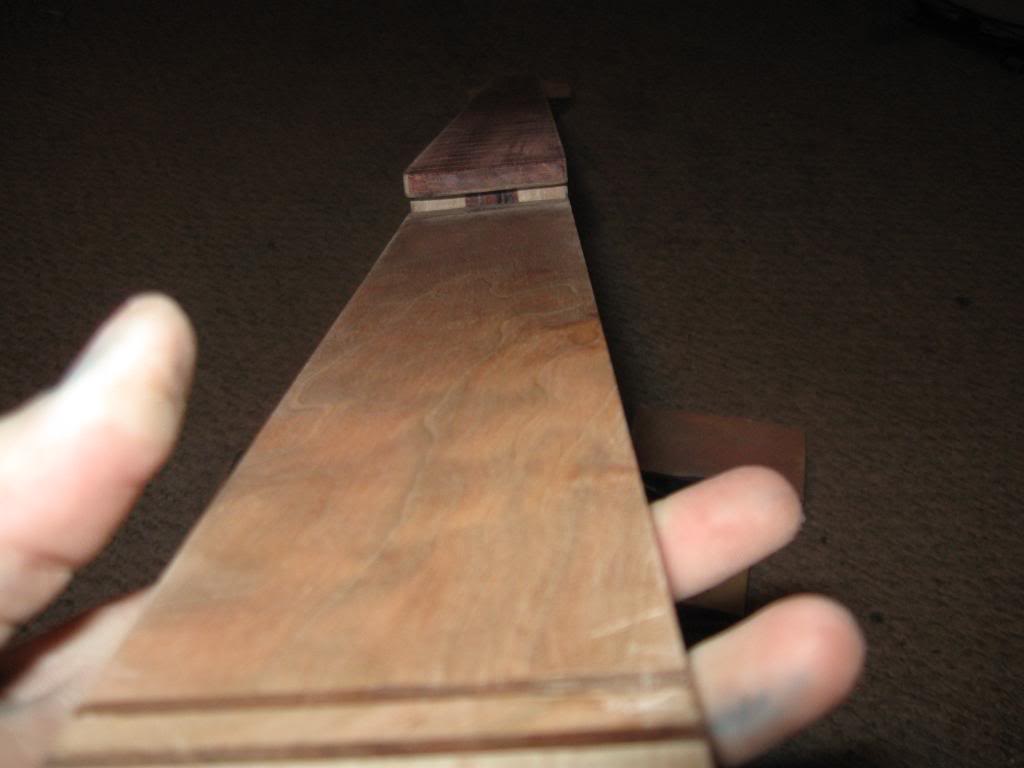
Dremeled in the truss access.
Did a little carving
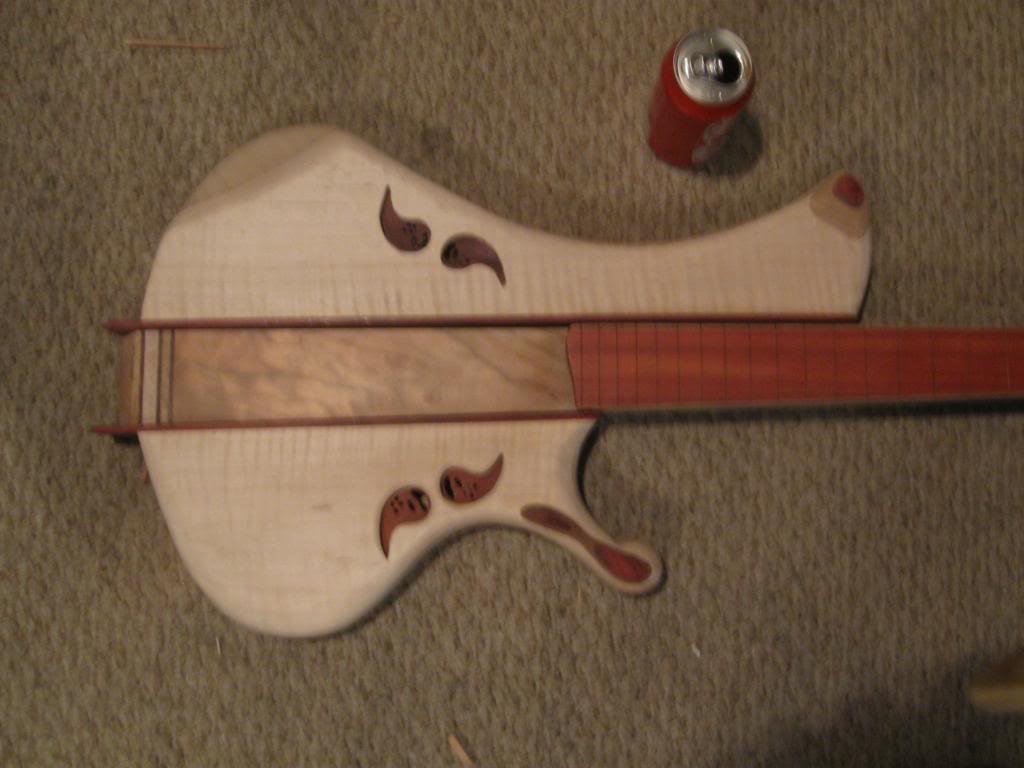
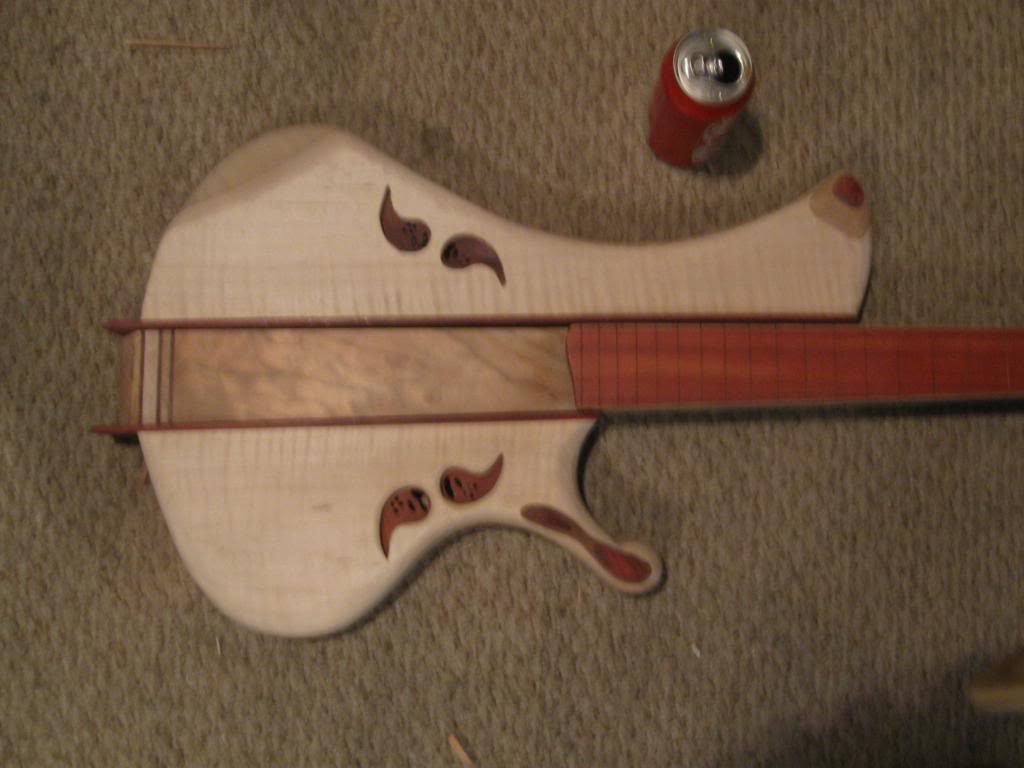
Cherry is awesome. i just coated it in crazy glue to bring out the figure, also sanded graphite dust (pretty much just scribbled all over it with a pencil, and sanded it) into it, to bring out the color and figure.
Dremeled in the truss access.
Did a little carving
Thanx. Hopefully it will not be as subtle when i finish it, but not too overwhelming. I have glued on the transition piece. Currently in the process of making it flush. Turns out that without the layer of walnut i was going to put in it, it was the exact thickness of the body, so i left out that layer. Less work for me.
I am probabily going to have change what I was planing to use for the finish, and seal almost the whole thing in Krazy Glue, and satin poly the whole thing. I am trying to figure out wheter i should fret the neck before i glue it to the body, or the opposite. Which would be easier?
I am probabily going to have change what I was planing to use for the finish, and seal almost the whole thing in Krazy Glue, and satin poly the whole thing. I am trying to figure out wheter i should fret the neck before i glue it to the body, or the opposite. Which would be easier?

Thanx. Hopefully it will not be as subtle when i finish it, but not too overwhelming. I have glued on the transition piece. Currently in the process of making it flush. Turns out that without the layer of walnut i was going to put in it, it was the exact thickness of the body, so i left out that layer. Less work for me.
I am probabily going to have change what I was planing to use for the finish, and seal almost the whole thing in Krazy Glue, and satin poly the whole thing. I am trying to figure out wheter i should fret the neck before i glue it to the body, or the opposite. Which would be easier?
it would be a lot easier to do it before gleuing it to the body, because otherwise, you have to be really careful not to damage your body when hammering the frets in.. but even more important: you have to cut and trim the fretwire after you've put 'm in.. and that's a very difficult job that close to the body, so you'd better have it fretted before you assemble it to the body.
Good luck!

jworrellbass
Commercial User
- May 17, 2009
- 1,271
- 11
- 62
- Disclosures
- Owner, builder: jworrellbass
I will fret before hand then. thanx. What all do i need to do to the frets? All i know to do, is bevel the frets so the sides are not uncomfortable.
I don't really do the fret slotting or fretting, I go to a freind. He does the bulk of it, and i watch, learn, and assist. his fretting way does not really involve much hammering at all. He uses gorilla glue, and clamps a long flat board to it until it dries.
I don't really do the fret slotting or fretting, I go to a freind. He does the bulk of it, and i watch, learn, and assist. his fretting way does not really involve much hammering at all. He uses gorilla glue, and clamps a long flat board to it until it dries.
quick question. I am marking out the location of the jazz pickups. I am trying to choose the location of the bridge pickup, vintage(closer to the bridge), or modern. This being an octive bass, which would sound better.
jworrellbass
Commercial User
- May 17, 2009
- 1,271
- 11
- 62
- Disclosures
- Owner, builder: jworrellbass
I will fret before hand then. thanx. What all do i need to do to the frets? All i know to do, is bevel the frets so the sides are not uncomfortable.
I don't really do the fret slotting or fretting, I go to a freind. He does the bulk of it, and i watch, learn, and assist. his fretting way does not really involve much hammering at all. He uses gorilla glue, and clamps a long flat board to it until it dries.
Gorilla glue? I'd be careful with that on my fb, it really expands and gets messy. I use brush on super glue, even with that it's easy to leave a few glue spots if your not careful. But if it's something your friend does on a regular basis, so be it.
meh, gorrila glue...no rikey
As far as fretting...i use a fret press. and do it after shapping the neck and what not. I use a wooden caul under the neck to support it while pressing in frets.
As far as fretting...i use a fret press. and do it after shapping the neck and what not. I use a wooden caul under the neck to support it while pressing in frets.

i dig that very subtle flame.
I was thinking the SAME thing. I bet it will look even better ones its finished.


