• TalkBass has been independent since 1998. Add your voice.
    Create a free account to reply to discussions, view embedded media, and browse with fewer display ads.
    Join freeLog in
    Want zero display ads or expanded classifieds tools? Compare plans.

Special Edition Build Off - Tinozza style

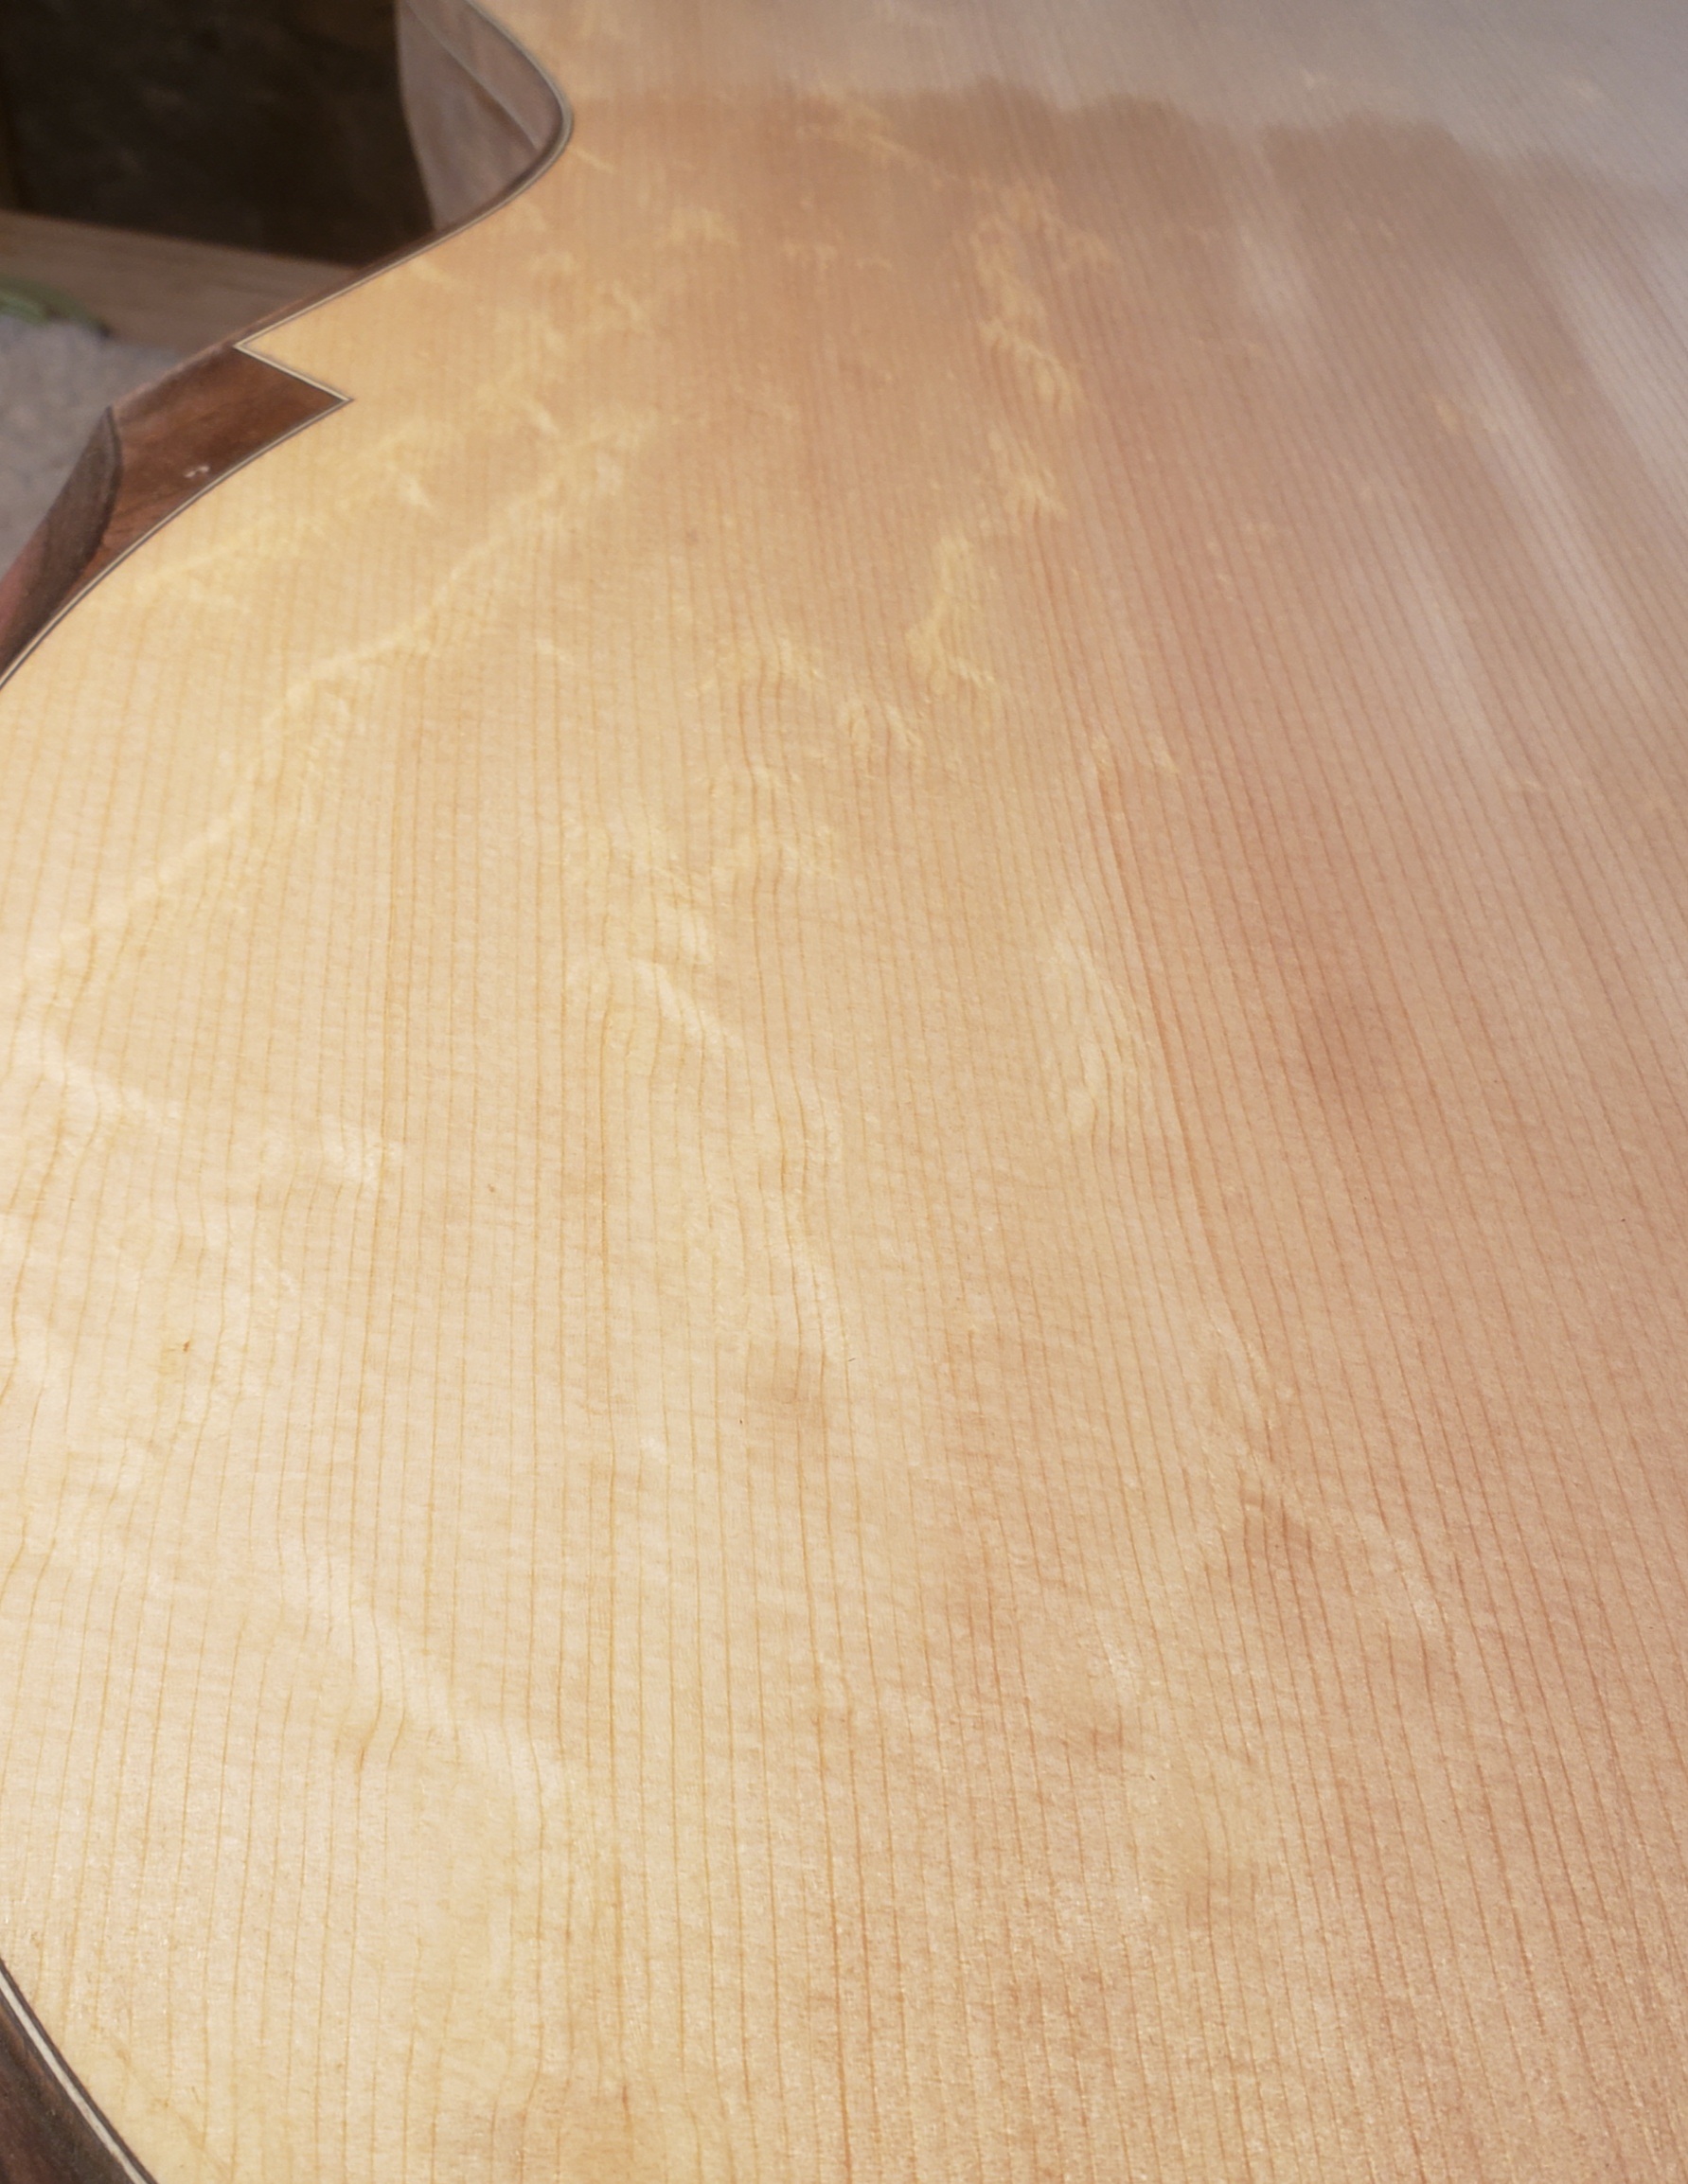
Was cleaning up the top with some naptha, the bearclaw in this spruce is gonna be nuts under finish!
20200423_121832.jpg
 
Got the end graft done.
Super high tech setup here:
20200423_132120.jpg

Yep, sitting in a drawer with a shower mat protecting the bottom and face. Took a lot of tape to get the template I made from swimming around!

Routed and then chiseled square:
20200423_140009.jpg


Then the fun part, getting the purfling fitting and sanding the end piece til it all fit. I tapped it all in with a fret hammer and then wicked in ca glue.
20200423_160435.jpg


Then scraped and sanded flush
20200423_171033.jpg

20200423_174527.jpg
 
This thing is gonna need a neck! Had to make a new thing to hold this guy as it's too big for the one I use for acoustic geetars. In retrospect, if I had made this yesterday I could have used it for the end wedge.
This is gonna have a mortise and tenon bolt on neck, with a fretboard extension too.
Here's the neck getting the tenon
20200424_161857.jpg


And here's the body. About to get the mortise. Friggin hate this part!

20200424_200536.jpg


A u-shaped structure:
20200424_202523.jpg


Initial fit, action is a wee-bit high
20200424_203608.jpg
 
Last edited:
I've got a carbon fiber rod question for y'all, having only done them once before and I don't remember what I did....
I've got channels routed for them on either side of the truss rod, do you guys epoxy them in? I was thinking I would epoxy them in, and then try to wedge a piece of wood in the slot on top of them so I have wood to glue the fretboard to.
What do you folks do?
 
I epoxy them in and flush mount them, then just glue the fingerboard right over top of that. I've not thought about it before, but now I'm suddenly looking at a couple of guitars with mild paranoia, haha. :nailbiting: I typically use wood glue to attach them in case they need removal in the future, but I have epoxied a few on, with the understanding that I'll be planing that thing off if it needs to come off. :smug:
 
  • Like
Reactions: Nagromicon
Today's installment is titled, "I wish I had a real drill press". Follow along, friends, I'm sure many of you will get a good laugh out of this setup!
I'm doing a bolt on neck here, with a fretboard extension, and need the holes for the threaded inserts in the tenon to be super clean and perpendicular.
But I only have a crappy tabletop porter and cable (laughter ensues).
So, here's what I do - i have it on a little stand at the end of a bench, with the base and table turned away (the table doesn't seem to rotate, if it did that would help a lot), and there's a big hole in the end of the bench under the bit.
I don't remember what this jig is really for, but it will work for this:
20200426_102901.jpg


Next I clamp the neck to it, and there is a 1.5 or so degree wedge under it too to bring the tenon up to 90 degrees (the neck has already been fitted to the body, so the tenon is no longer perpendicular to the top of the neck)
20200426_105329.jpg


Then i drop the neck in the hole in the table, line up the bit, and apply more clamps
20200426_111550.jpg

Clamps holding the jig to the top, more to the neck, basically lots of clamps. Are we having fun yet?

I make sure its all 90 degrees or pretty darn close, and drill the first hole
20200426_110437.jpg


Ooo la la, thats a nice hole!
Here's both holes, with the inserts installed
20200426_120701.jpg

Now for the holes in the body, luckily these can be a little oversized and don't need to be precisely square
20200426_120707.jpg


Then I attached the neck. I've gotta say the side sound port makes this a lot easier than a regular old hole in the top! I countersunk the body holes a bit, there are spring washers in there
20200426_121111.jpg


Lookin good!
20200426_182058.jpg

20200426_182106.jpg


Fretboard extension next up!
 

Attachments

  • 20200426_182106.jpg
    20200426_182106.jpg
    263.7 KB · Views: 27
Routed for the fretboard extension - a major brown pants operation!
Got the extension fitted really tight:
20200427_133750.jpg


Glued to the neck, added inserts and stuff.
20200427_210808.jpg
20200427_165034.jpg

All bolted up
20200427_201711.jpg


Only bummer is, I dont have a drill bit long enough to do the hole for the truss rod (access will be from inside the body). So, can't attach the fretboard and carve the neck til one arrives.
 
Sanding the arm bevel this week I found the veneer was too thin in some parts
20200430_110656.jpg

Well, that's kind of a big part.... there was also more of the walnut showing between the purfling and ebony than I wanted.

So, I sanded it off, and then refined the bevel to go right up to the purfling. Made a new veneer and attached it
20200503_135311.jpg

20200503_135324.jpg

Much cleaner now, and the ebony goes right up to the purfling everywhere.

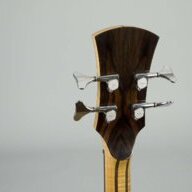
Worked on the headstock too - I was trying to save the rest of the macassar for another fretboard, but since I had to take another veneer off for the arm bevel I decided to bookmatch some for a headstock back strap too
20200502_135255.jpg

That should look really good once it's shaped.
Worked on the front too, got it to final shape, added a white and a black veneer to the back and mounted it
20200503_150157.jpg

Ignore the toothpick locater pins, they will get drilled out soon. Fretboard isn't attached, just here to show how the transition will look. I'm planning on a black tusq nut and bridge. Will shape the headstock tomorrow once the epoxy cures all the way.
It's getting there! Might actually make the deadline!





