• TalkBass has been independent since 1998. Add your voice.
    Create a free account to reply to discussions, view embedded media, and browse with fewer display ads.
    Join freeLog in
    Want zero display ads or expanded classifieds tools? Compare plans.

Winter Build Off 2020 - Malefactor 5

That's a good idea making a third oval for the bridge block!

Crisp, clean lovely work, per usual Sir Beej.
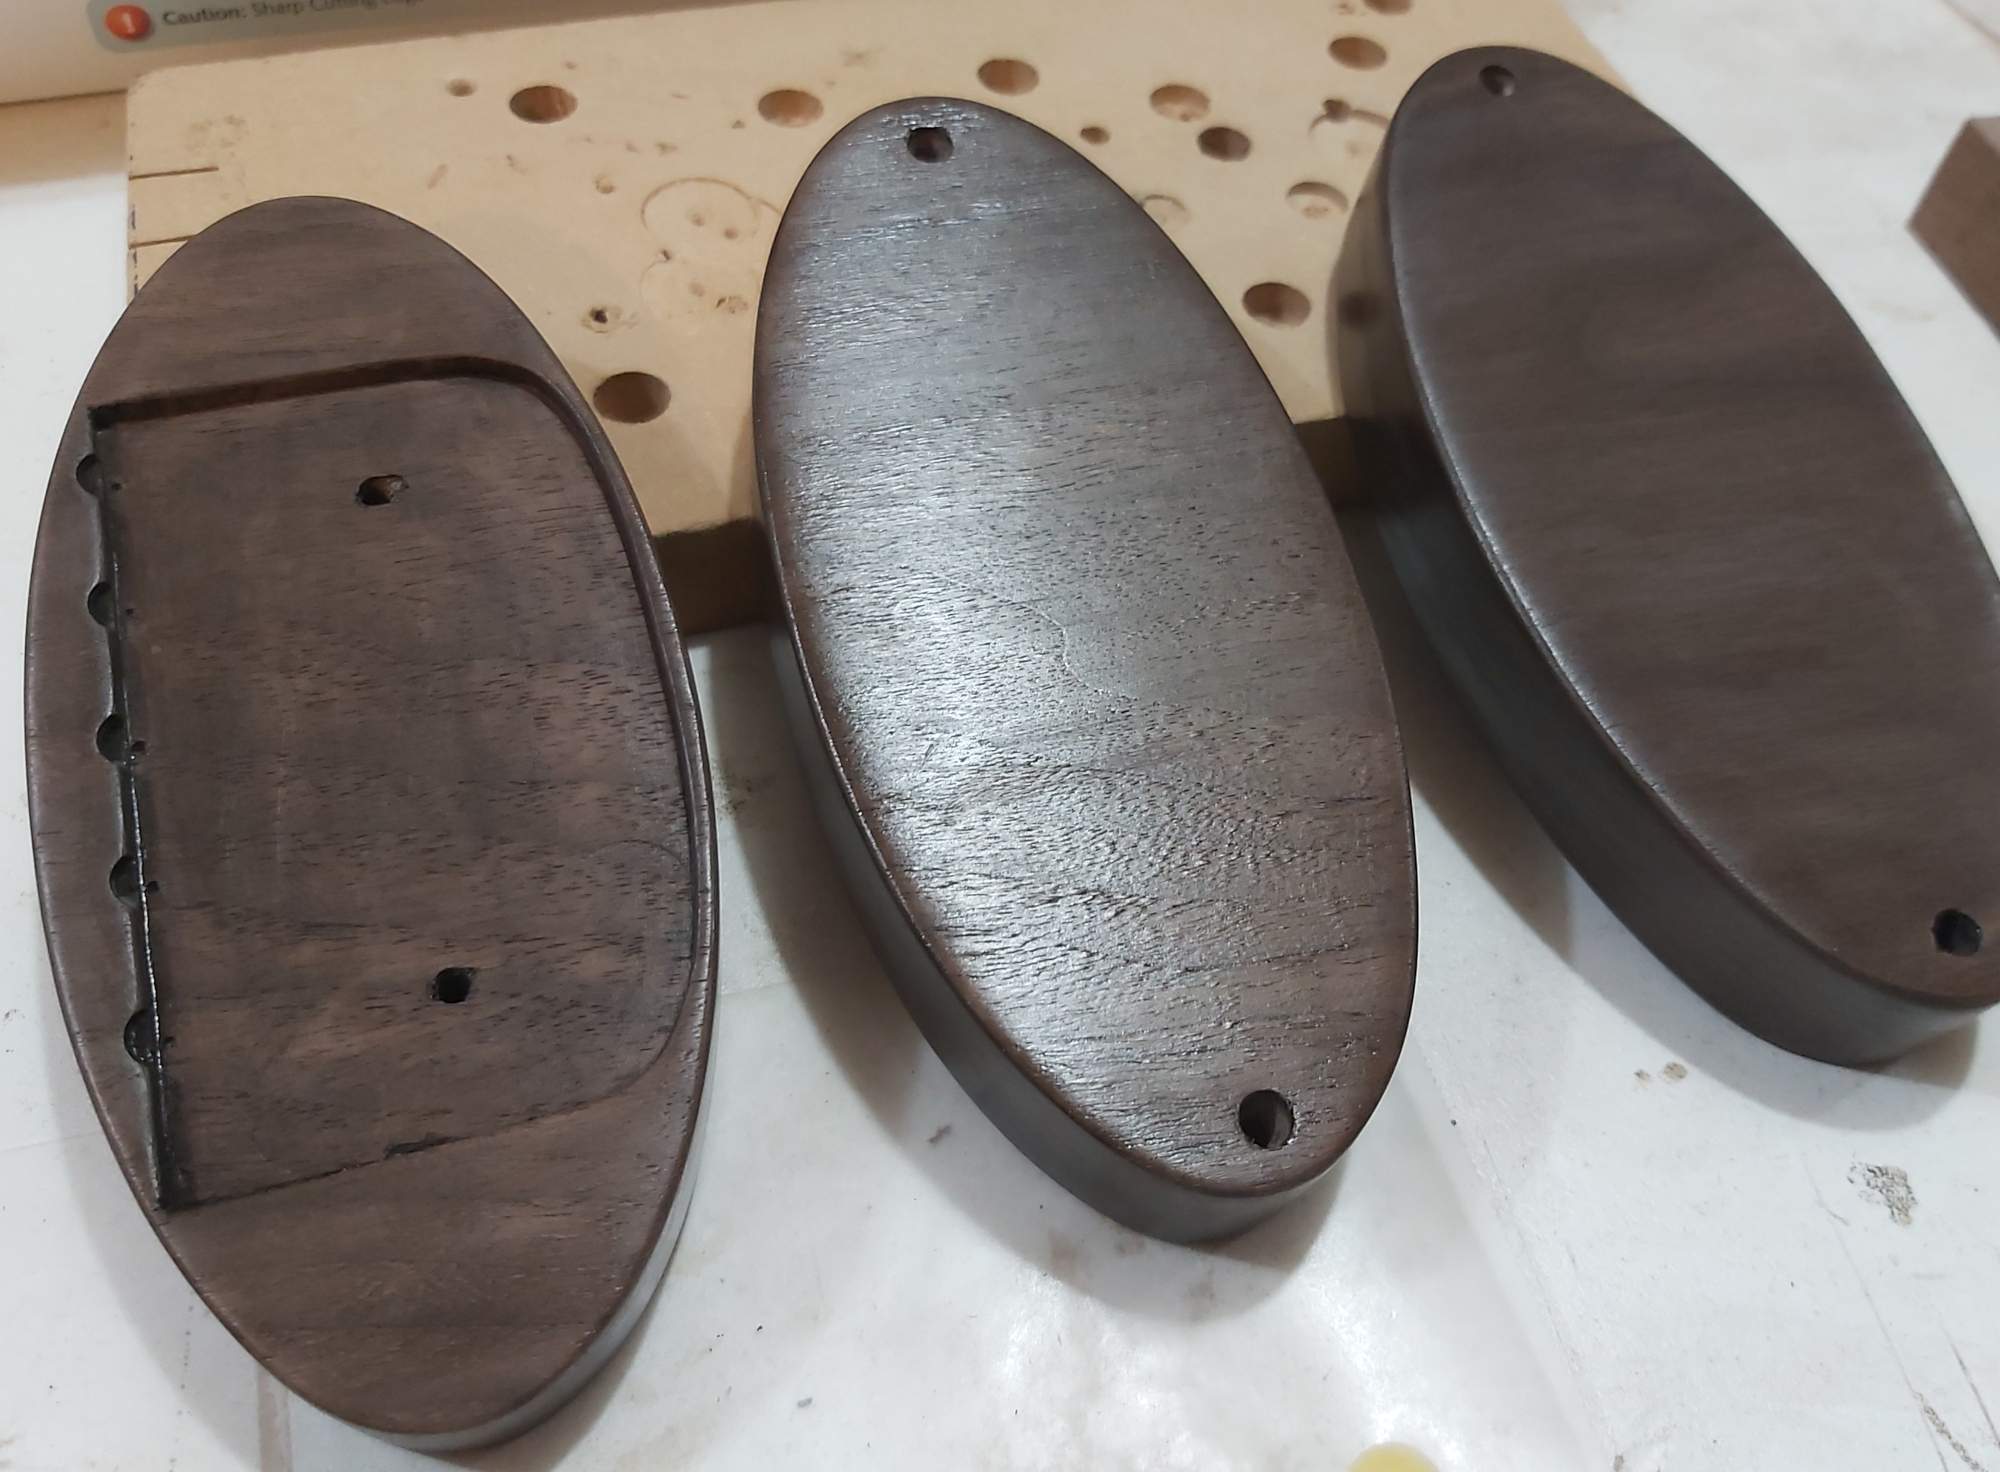
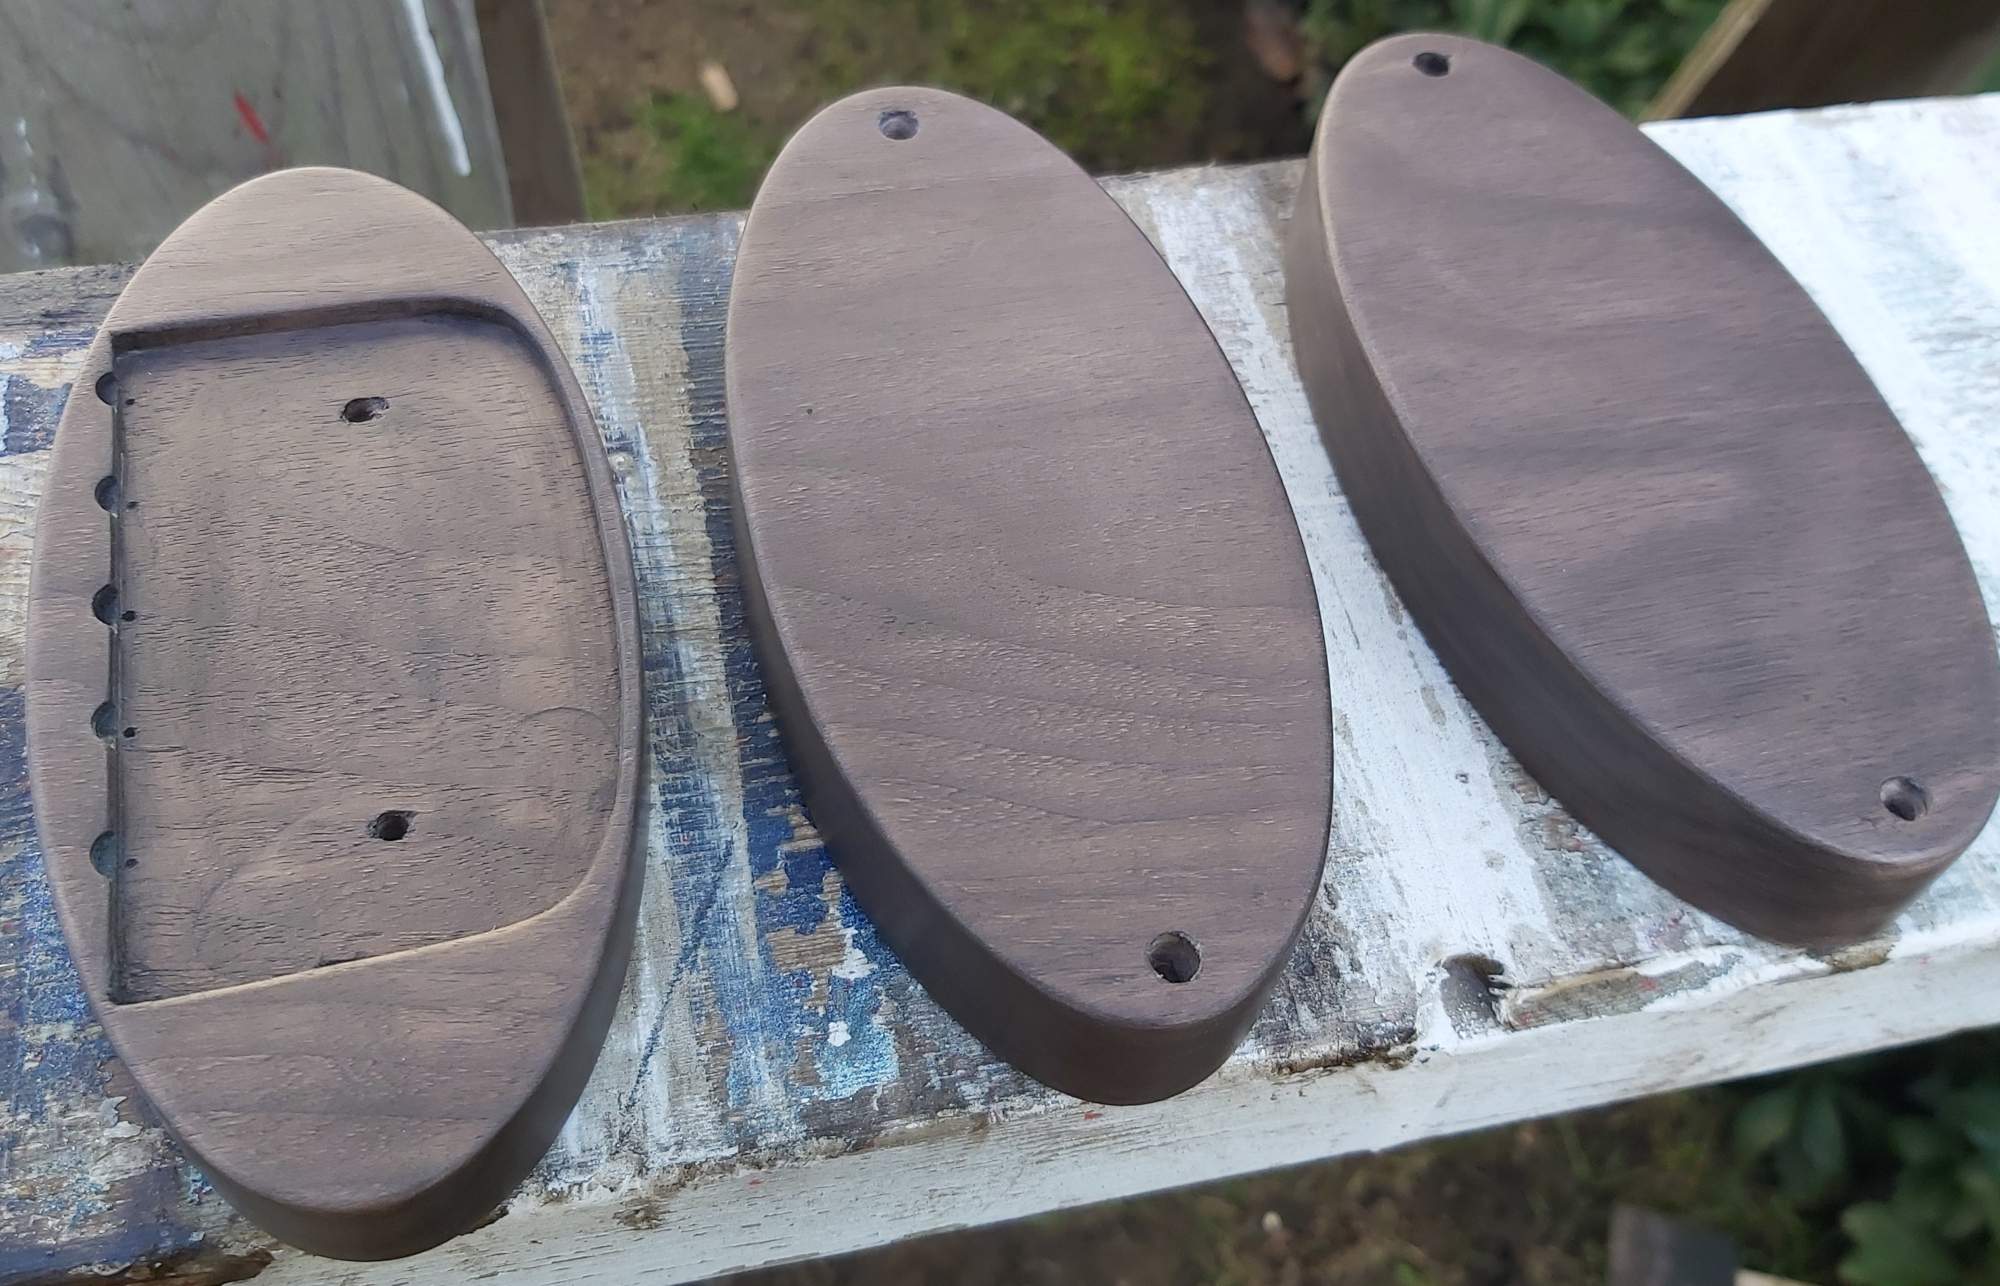
Thanks gentlemen :) I'm not sure where I got the idea about the bridge being the same as the pickups, but I doubt I came up with it. :D I finished sanding and pore filling it this morning, and I like how even though it's only 15mm thick compared to the 22mm of the pickup covers, its heavier in the hand, due to not being hollowed out (funny, that :D). I was hoping it would be...erm...blocky...so that it makes for a firm base for the bridge.
 
Ok, so I used the Saman stain and oil modified combo that I had used in my tests, and overall, I was not happy. I think the first time I applied the stain, I had not mixed or shaken the bottle, and so the color I got was transparent and thin. Coupled with the ambering in the oil modified finish, I was pleased. This time, I followed the directions and thoroughly mixed it, and it came out much more opaque. Like what you'd use to stain your fence. No thanks. I I had to sand it back to get the grain to show through, and then I applied the finish. It raised the grain a lot. And this is on wood that I'd already raised the grain and sanded back twice with 220. The colour and finish combo appeared plasticky.
It also looked plasticky outside.
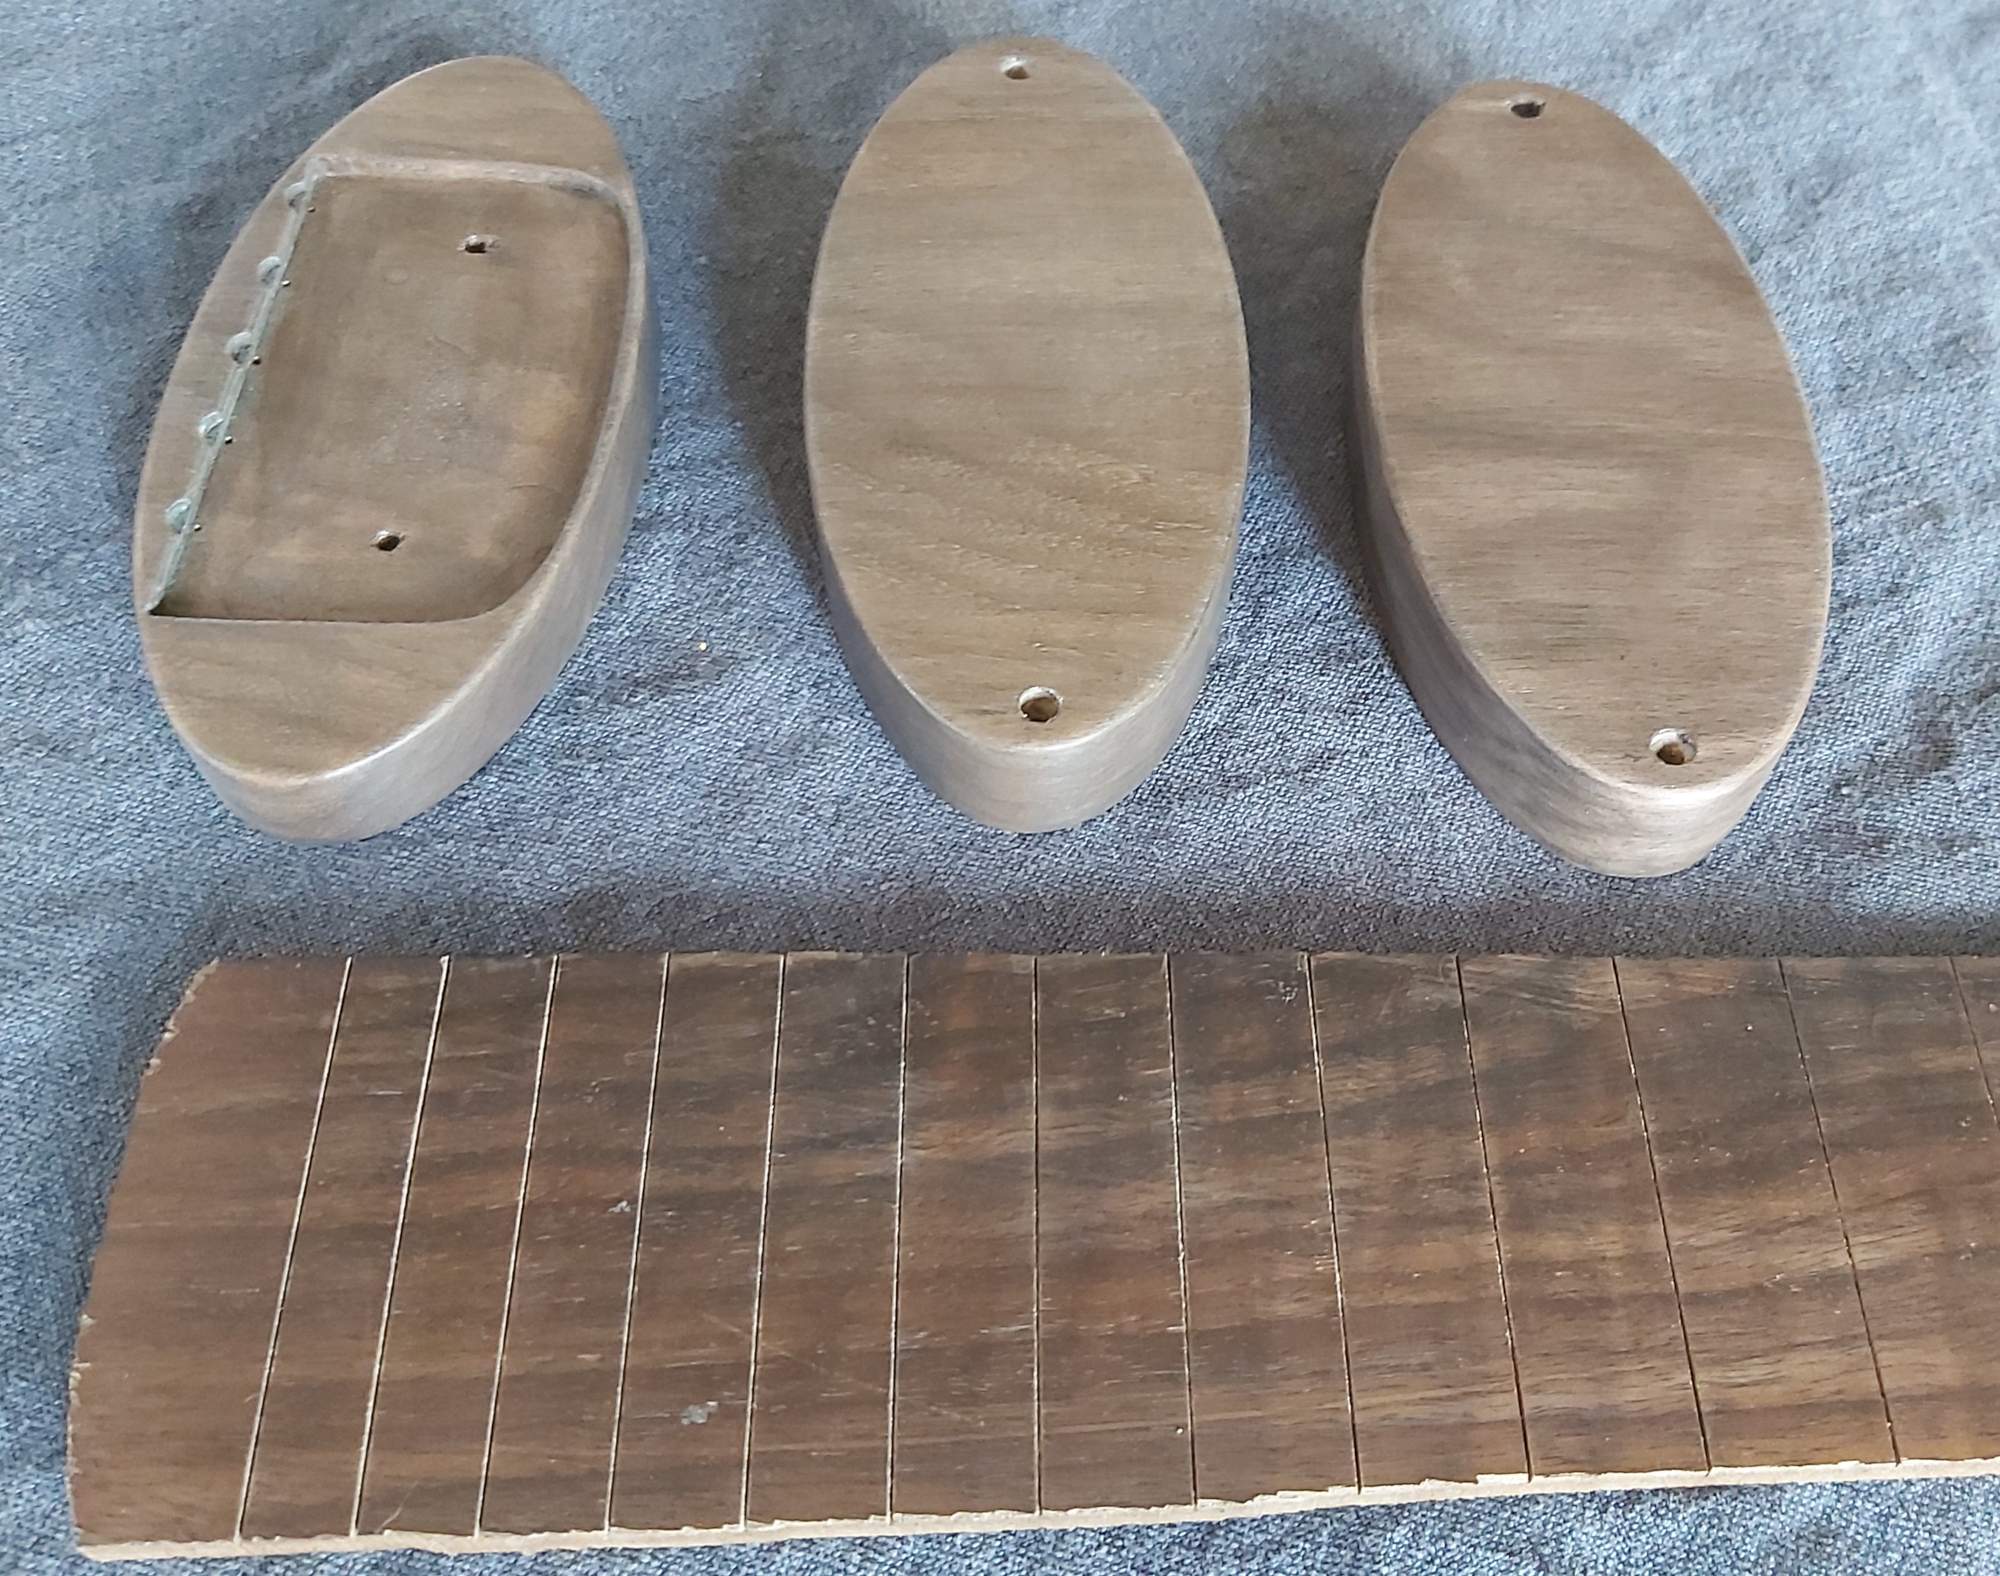
I sanded it back with a green 3M pad and colour-compared it to the recently-scraped-back fretboard.
Pardon my french, but forget that.
I sanded them right back and hit them with minwax jacobean stain and wipe on satin poly. :D

I also sanded and burnished the fretboard. I can't believe this is $1.50 worth of walnut. :D

Then I scrubbed and cleaned all of the hardware in preparation for paint.

And did a little mockup to take measurements for drilling.

And a bunch of other fiddly work of which I didn't keep track. :)
 
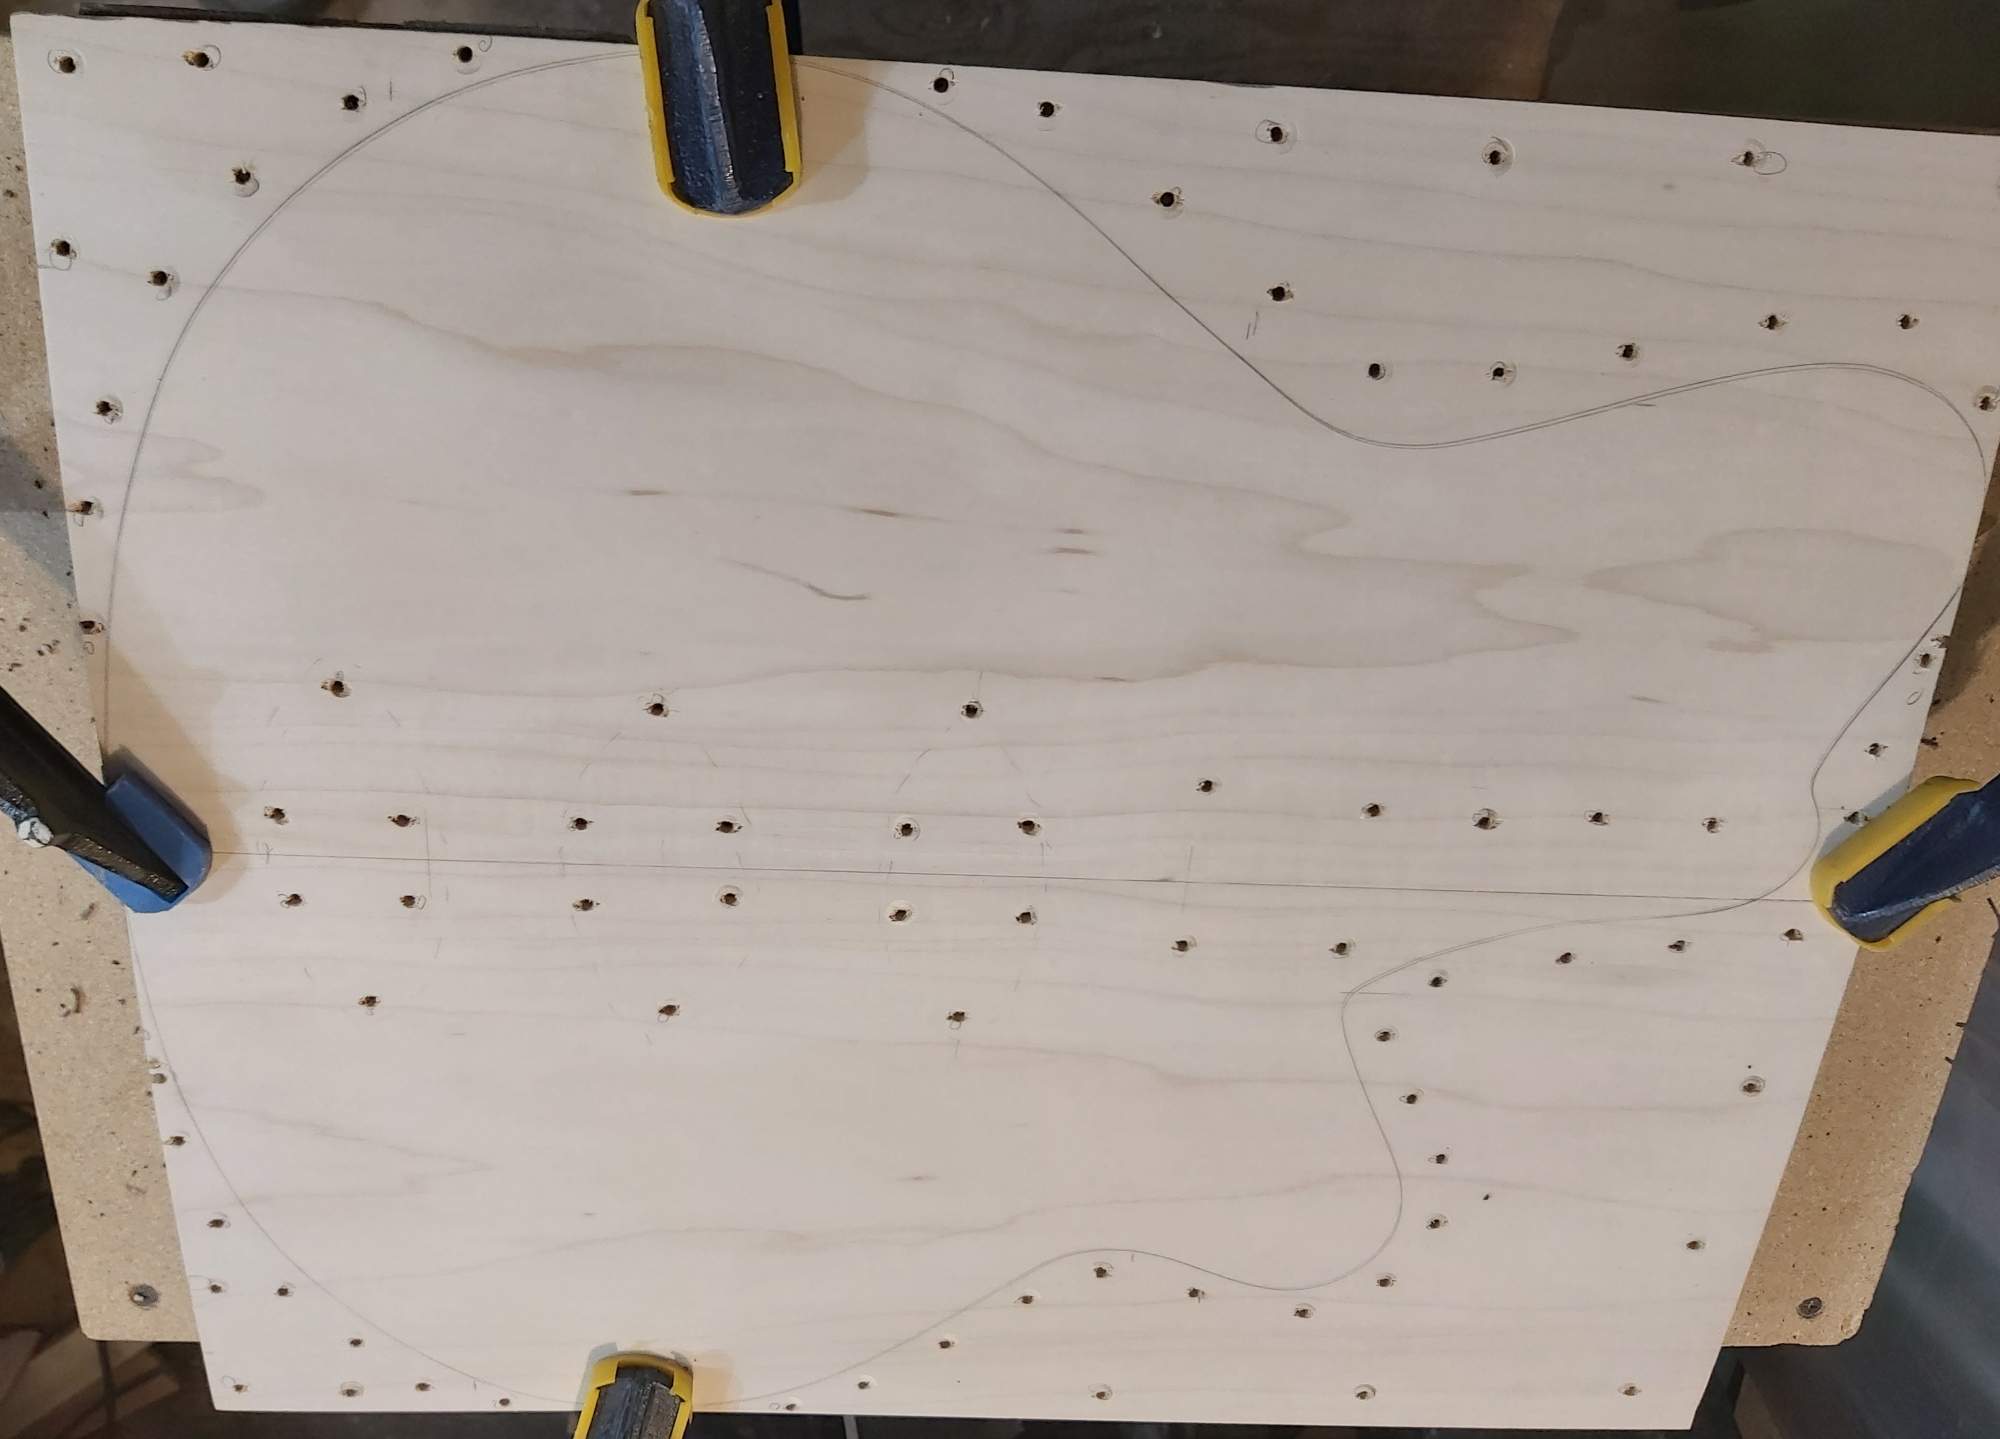
Okay, so remember the radius gluing caul I made to glue the top down? I glued down the top on my proof-of-concept, and it failed. When I clamped it, for some reason it did not clamp firmly and evenly across the top and I didn't notice when setting it up. When I took it out, it was wavy in some spots and had not clamped hard on the edges. I'm thinking this was due to the radius matching, and there not being enough give in the wood, and so spaces were permitted and it prevented a solid join. I ended up planing it off in my radius sled, which did work. :) I had to come up with something different, and it worked well enough to use on the actual build-off bass. :D

Prepped and ready for clamping (but no epoxy glue applied yet).

Then the "clamps" were applied. All 900 of them. :D Each one had wax hand applied to the screw as well. (In the prototype, many screws broke off around the edges due to being epoxied in place, duh.)

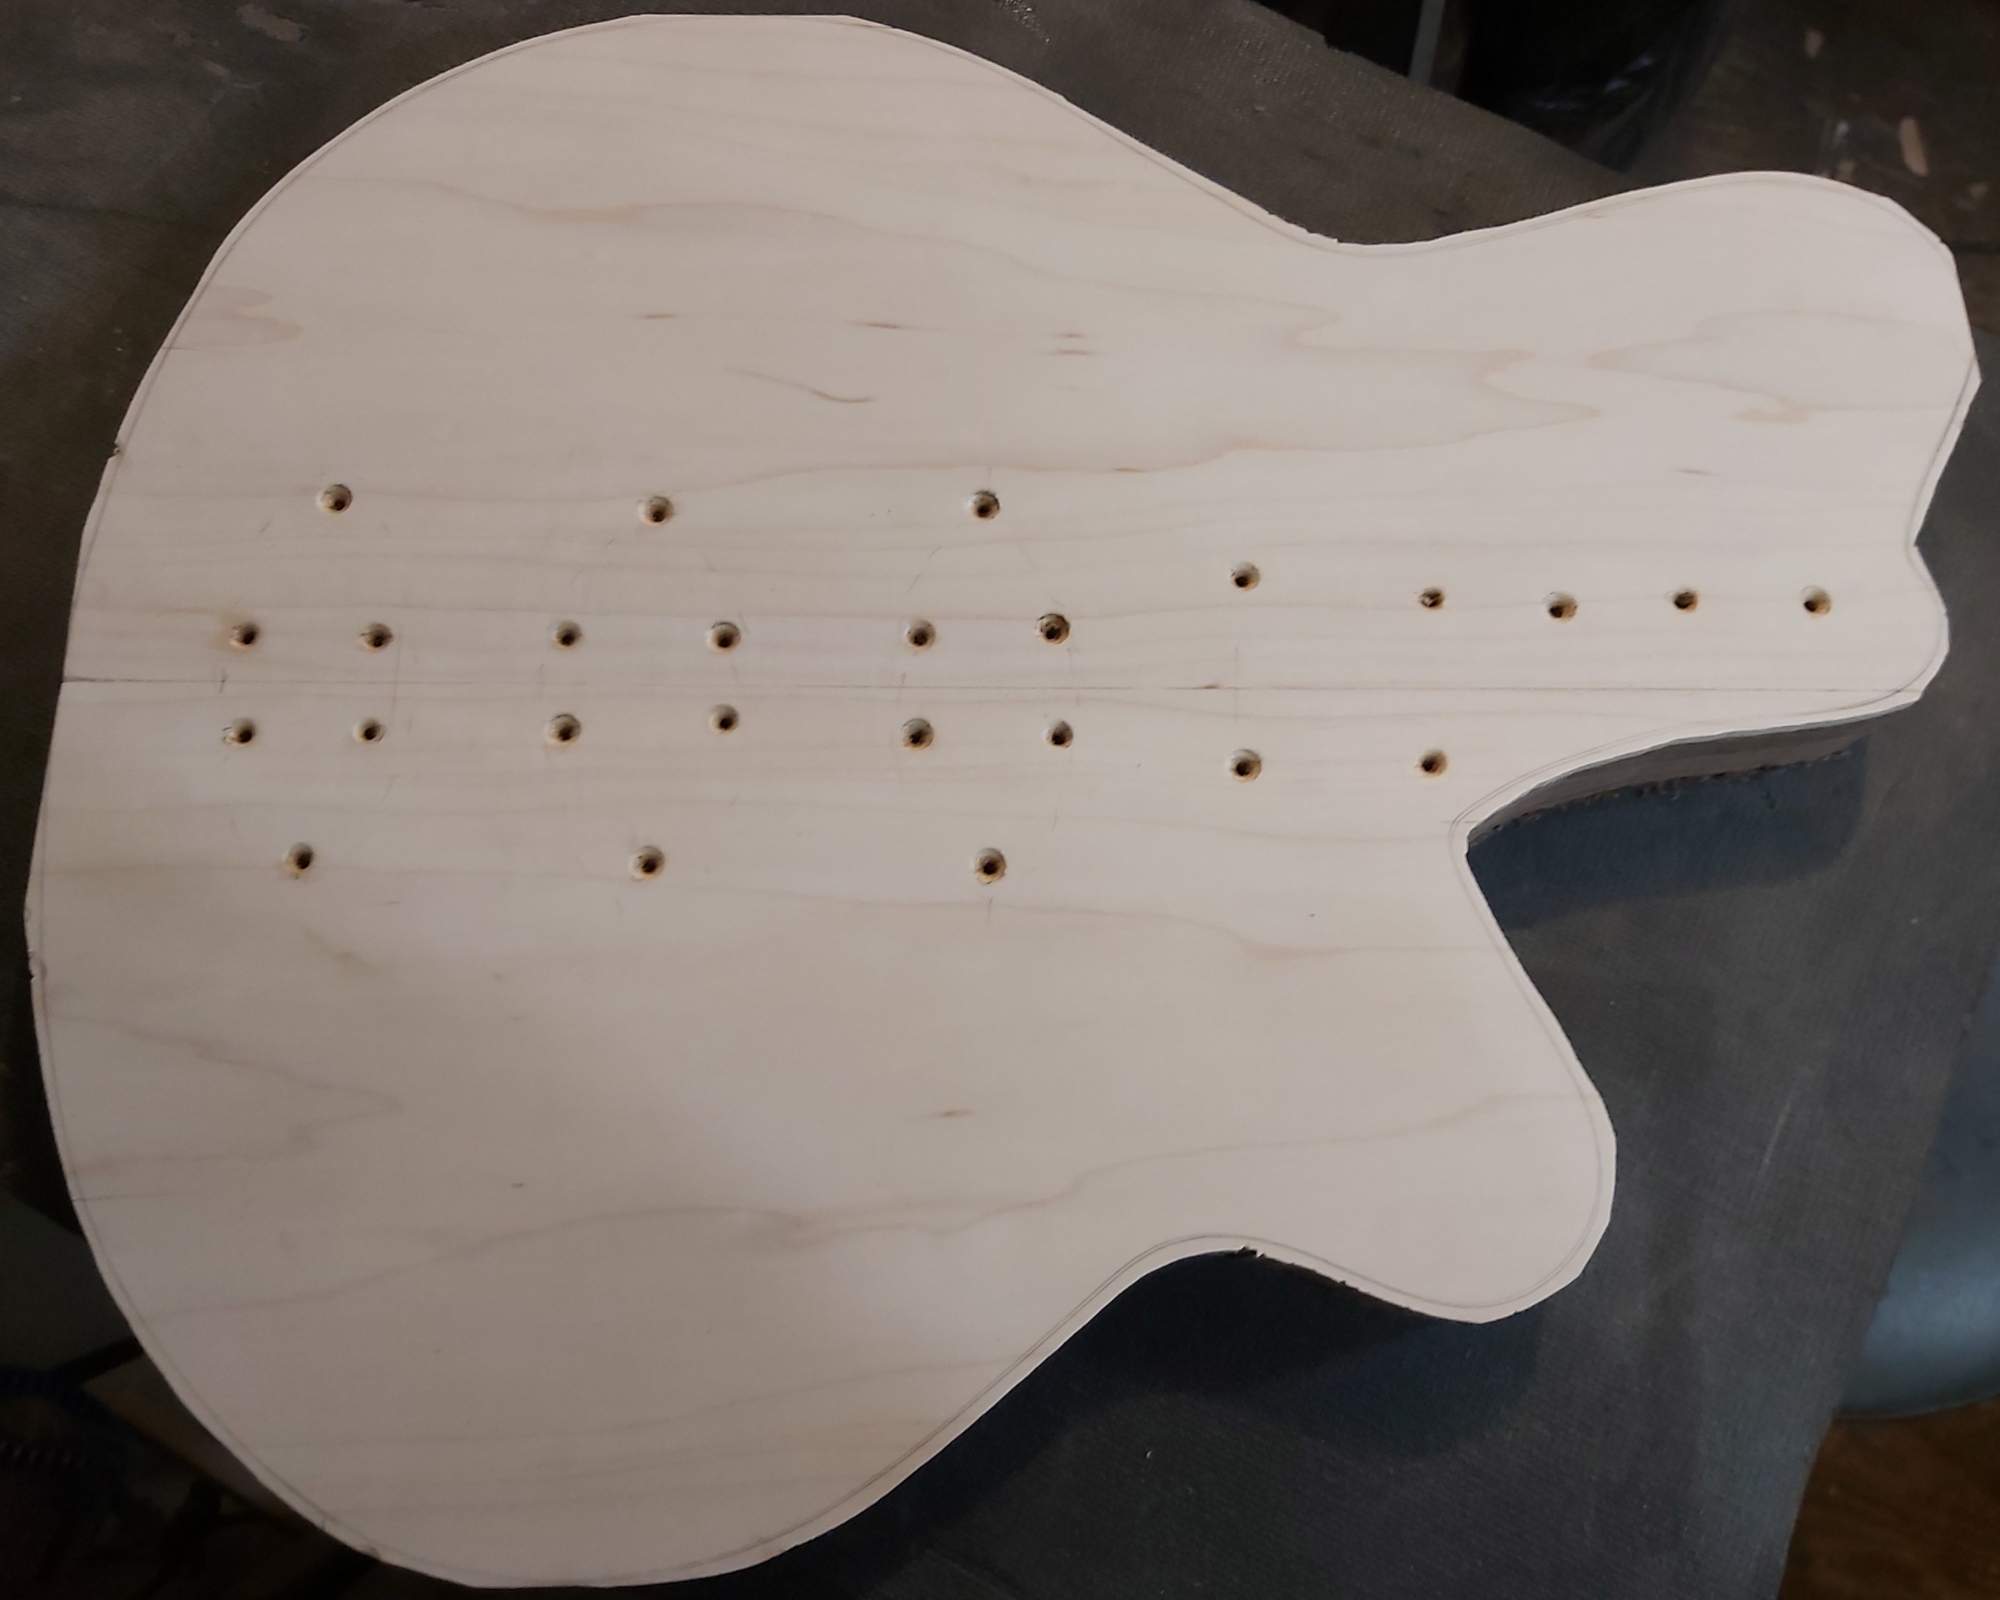
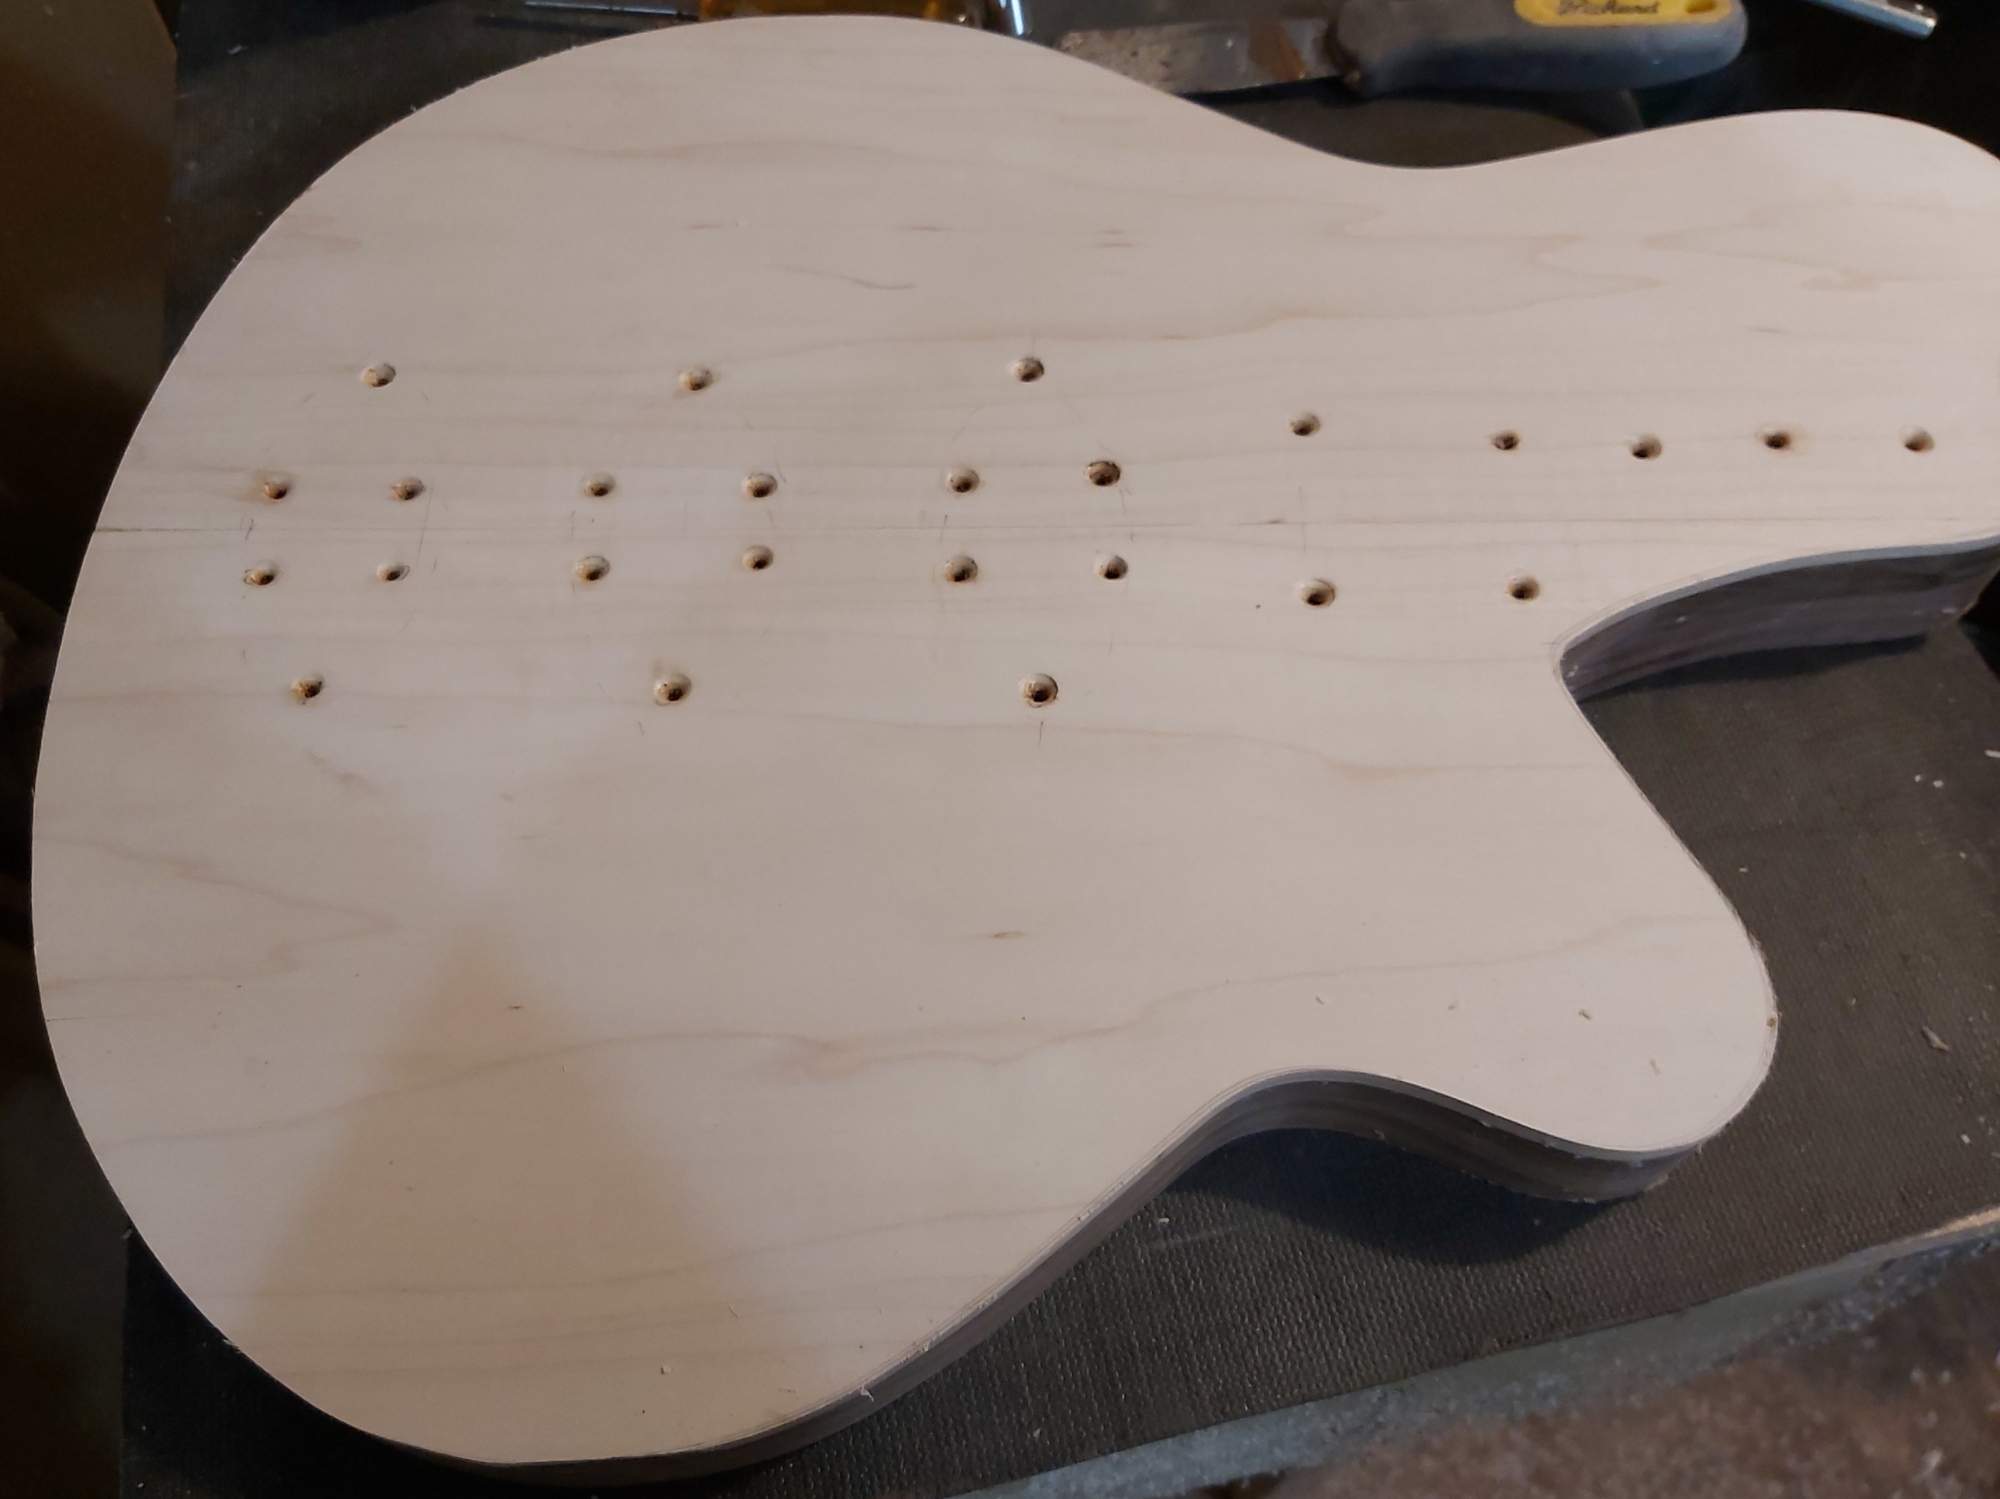
And all the screws were removed, the wax carefully wiped up, and then trimmed out on the bandsaw in preparation for lots of routing.

I'm really liking how light the maple became. :)
 
A "go-bar" deck would probably accomplish that as well and you would also be setup for building acoustics.
True. I have a jerry-rigged go-bar setup I built a few years back with a bunch of thin strips of spruce, but my space is so tight right now. I like the cauls, because I can put something in the clamps, and then park it on a shelf under the workbench to dry while I work on other things. :)

In this case, because the wood has been well-prepared prior to glue up and can't be fully sanded back, I would be a little concerned over the bars (or even feet) marring the top. The solution to my gluing caul I think, will be lining the caul with 1/16" thick cork. I'll test it out this weekend and see. The cork should theoretically let me get it tighter and will compress the sections that didn't have contact. I was also thinking of making another radius caul that is a slightly tighter radius than the body. That way the curvature might hug it more tightly and I'd get a better join around the edges?

Dang problem-solving... :D
 
Last edited:
  • Like
Reactions: Fat Freddy
True. I have a jerry-rigged go-bar setup I built a few years back with a bunch of thin strips of spruce, but my space is so tight right now. I like the cauls, because I can put something in the clamps, and then park it on a shelf under the workbench to dry while I work on other things. :)

In this case, because the wood has been well-prepared prior to glue up and can't be fully sanded back, I would be a little concerned over the bars (or even feet) marring the top. The solution to my gluing caul I think, will be lining the caul with 1/16" thick cork. I'll test it out this weekend and see. The cork should theoretically let me get it tighter and will compress the sections that didn't have contact. I was also thinking of making another radius caul that is a slightly tighter radius than the body. That way the curvature might hug it more tightly and I'd get a better join around the edges?

Dang problem-solving... :D
Pah!.....That one was easy......:rolleyes::whistle:
 
  • Like
Reactions: Beej
I got the edge routing done, now there are just some sanding tweaks left, and about a million other details. :D

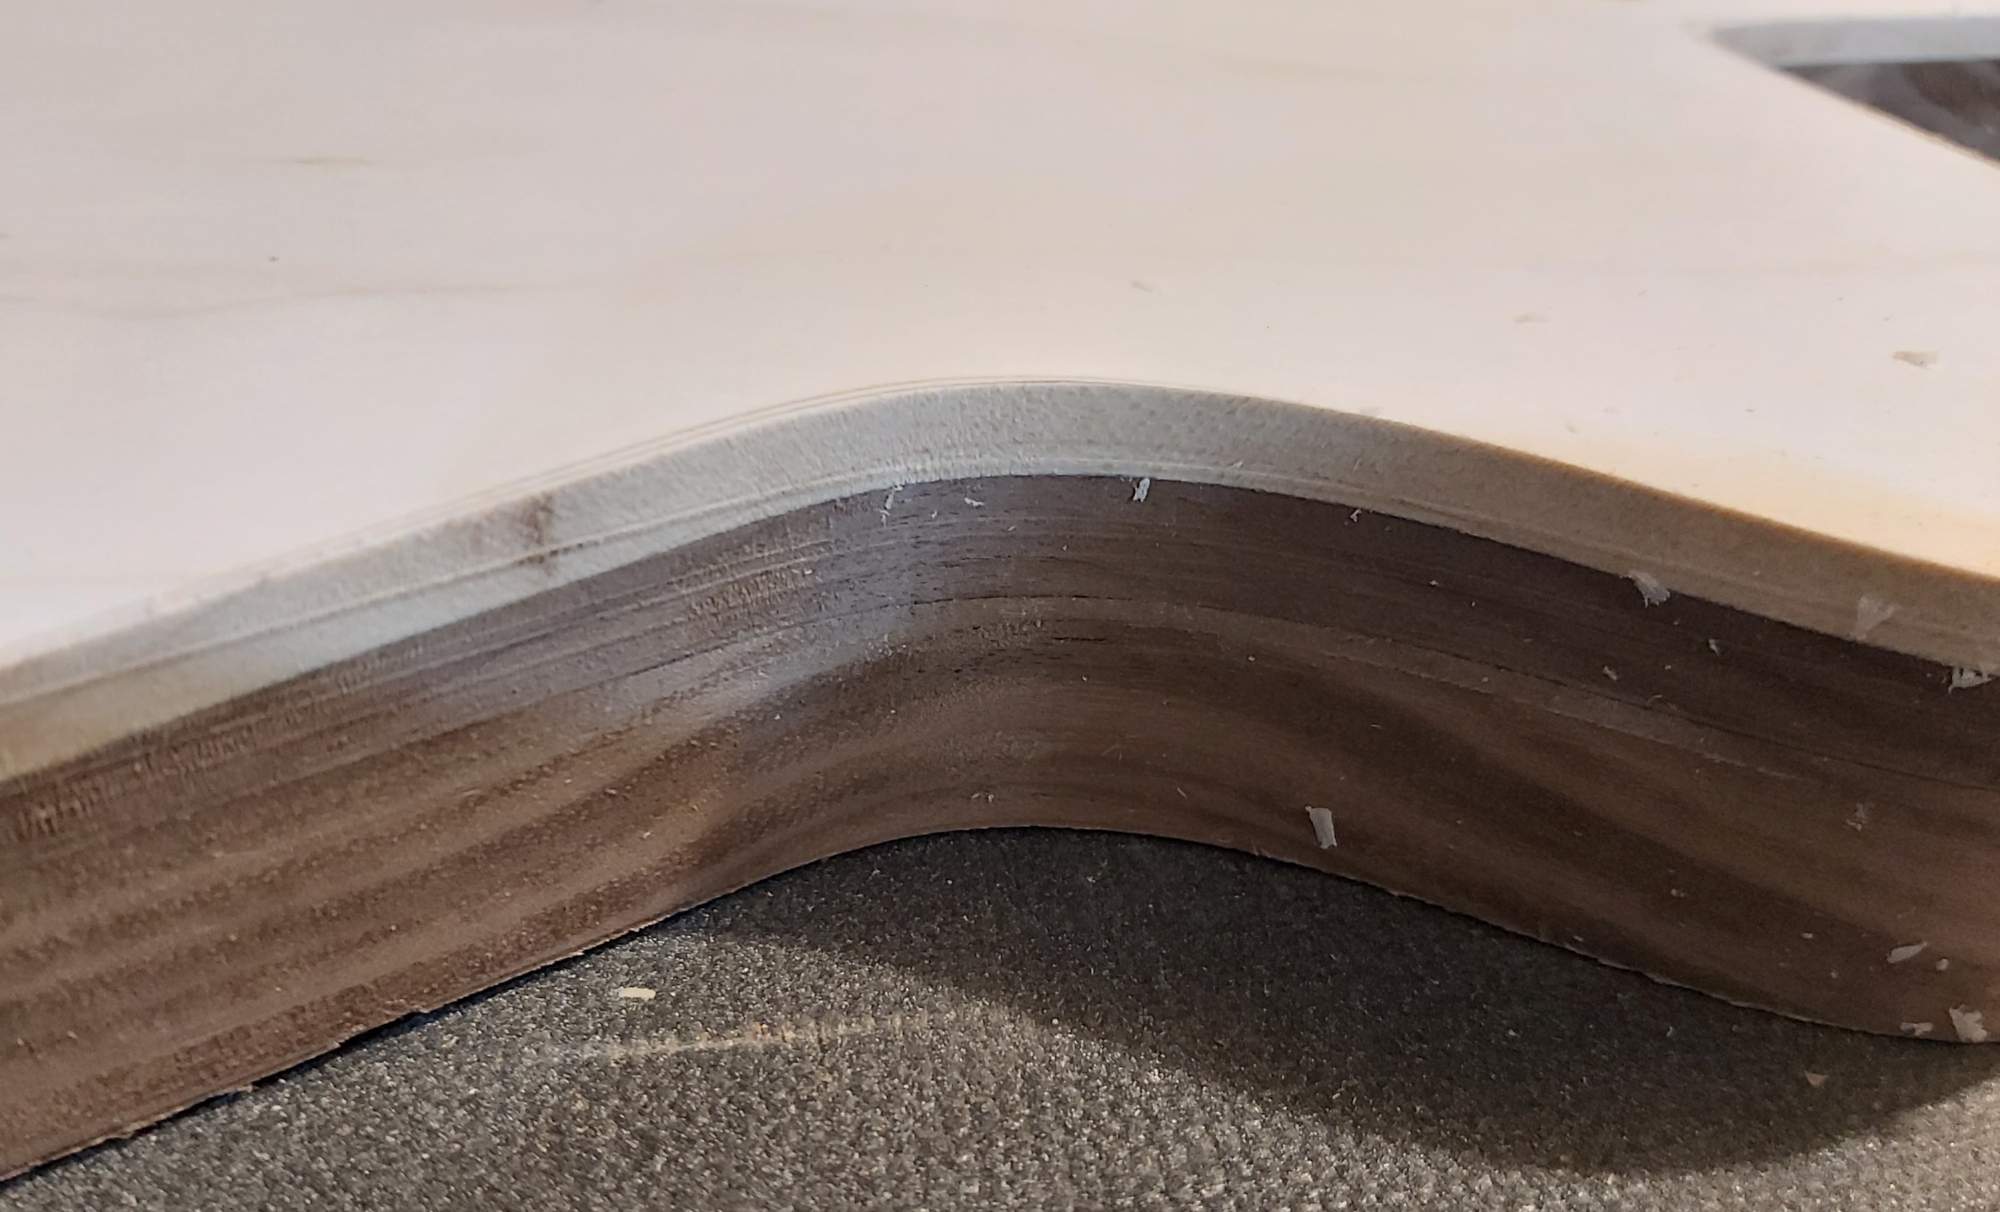
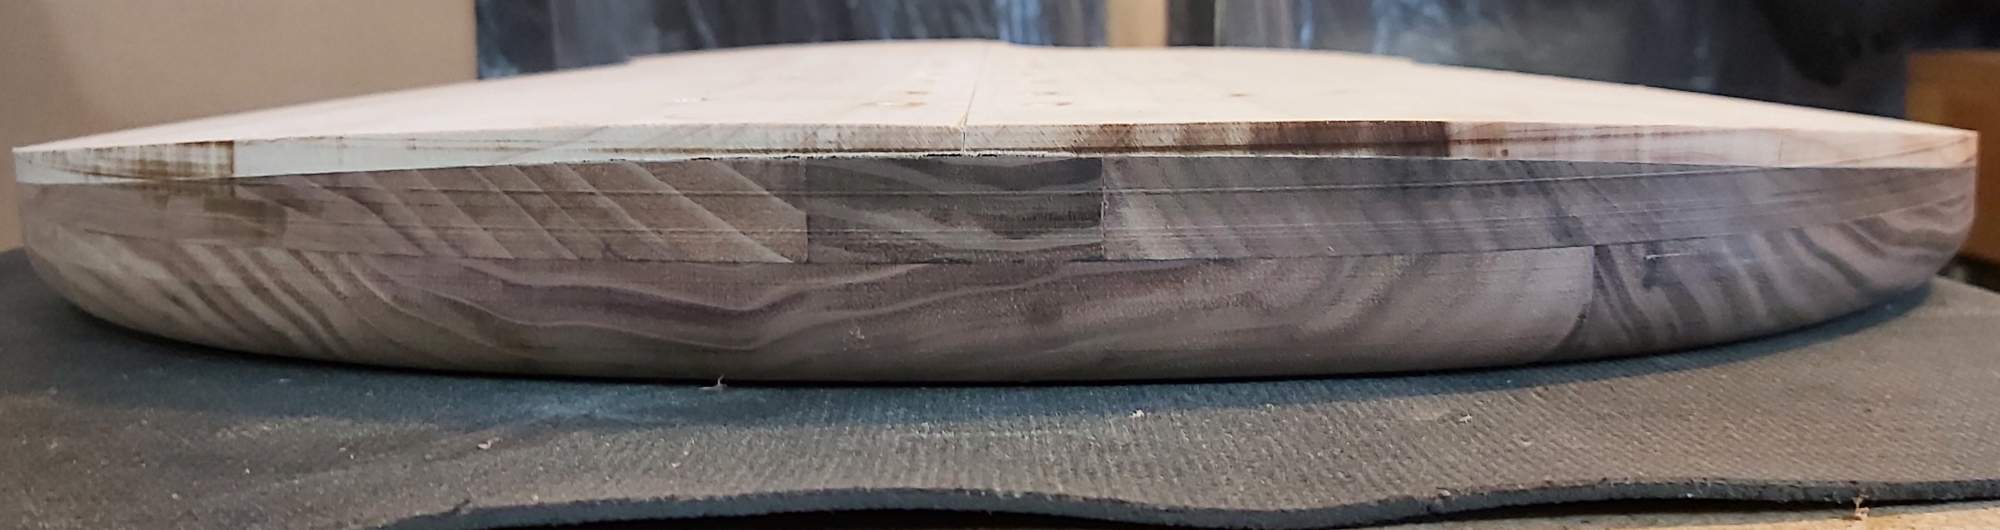
Might not be able to see this, but about 3/8" down from the top seam is the seam between the layers of walnut. In this area of the bass, the undulations of the grain line up. I always think that looks neat when it happens. :)

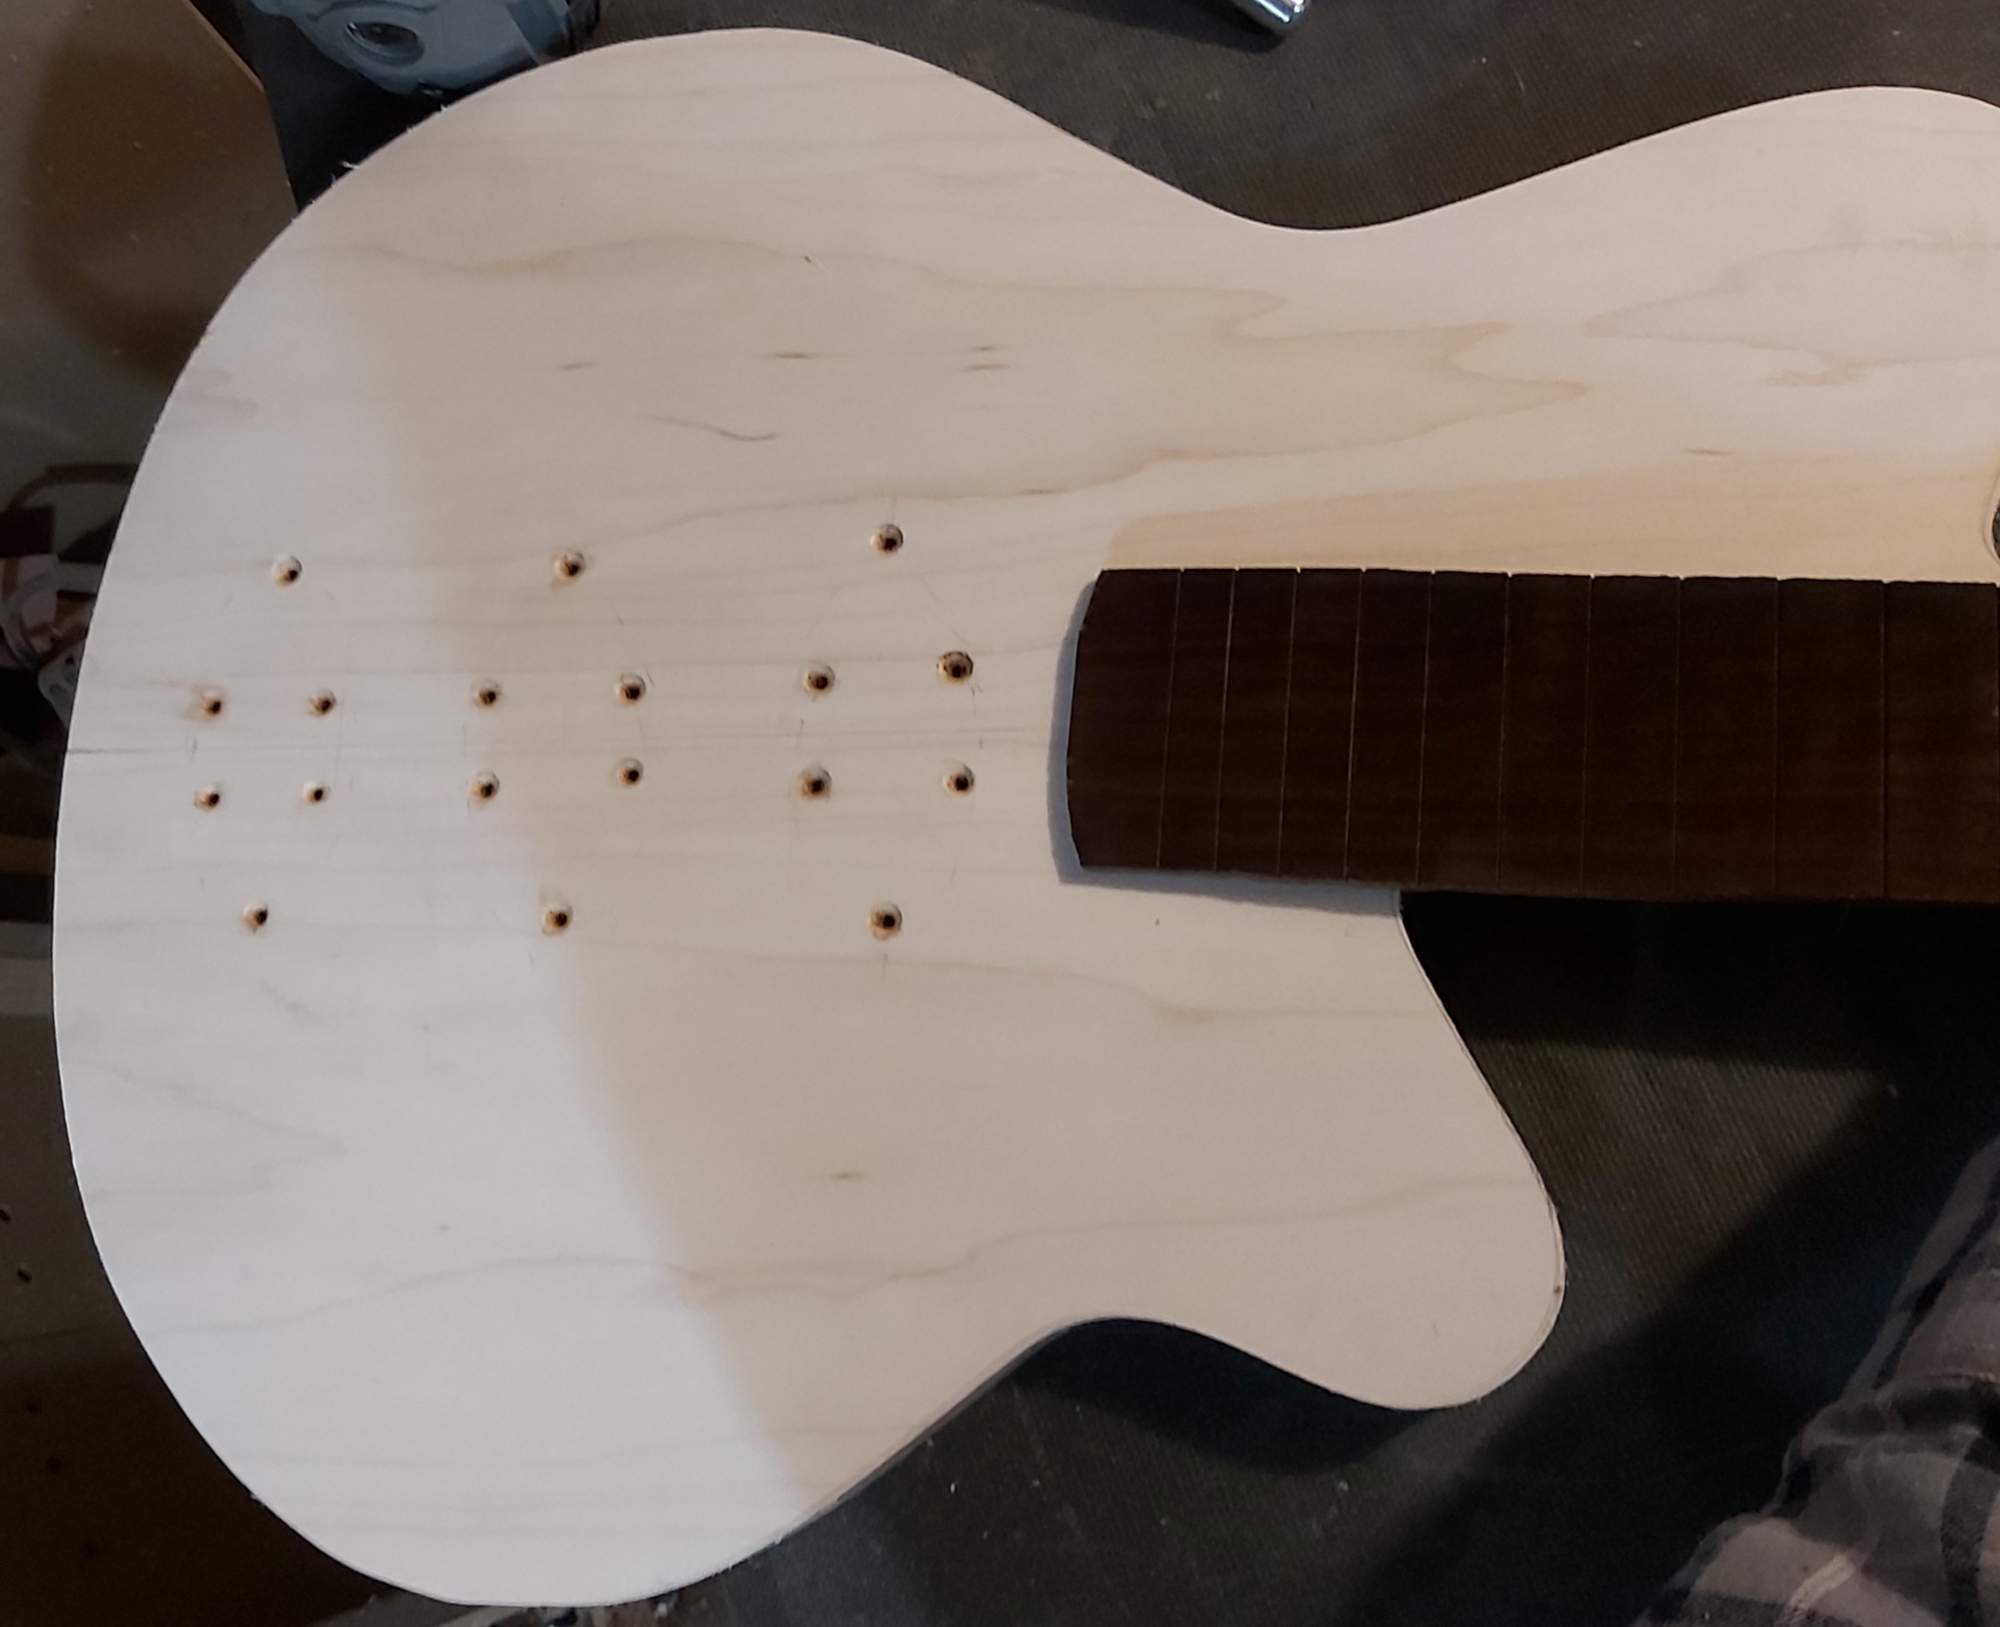
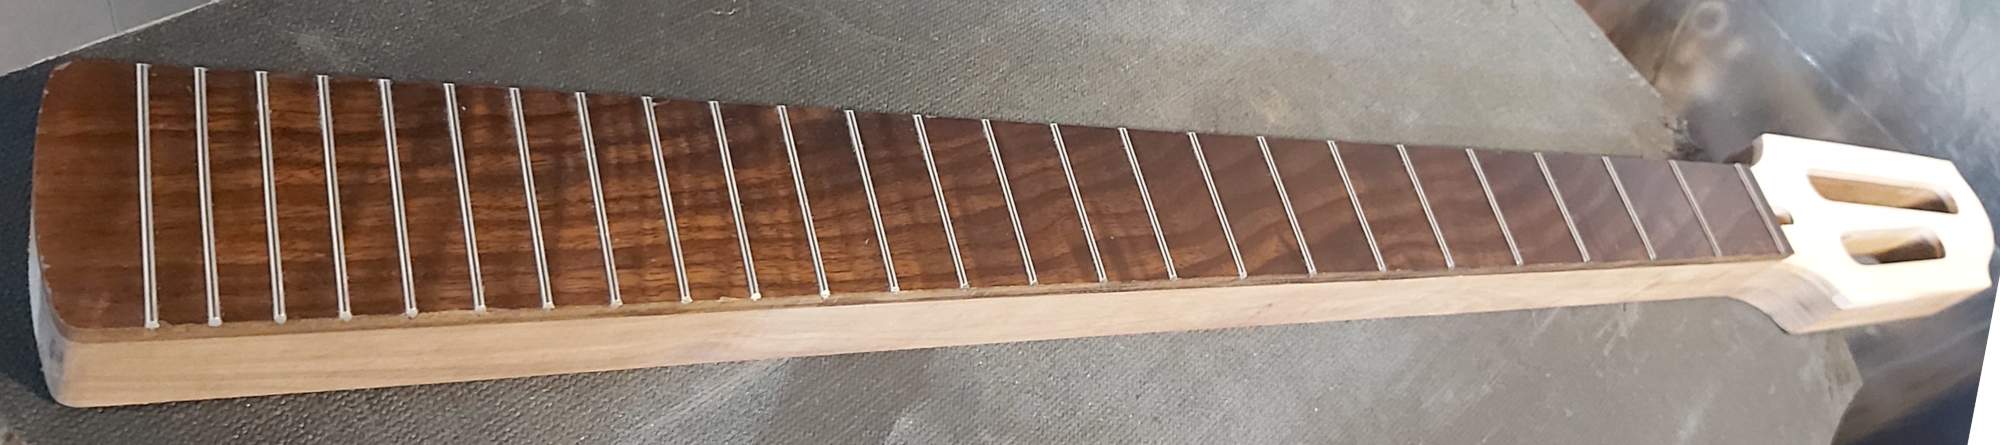
Gratuitous pose of the burnt walnut fretboard against the bleached maple.
 
I mostly worked on the neck today, but took pictures of body. :D I worked on it too, but did a smaller number of things. I rounded over the back to 5/8" and used the RO sander on the back to get the router marks out before I block sand. The strong contrast between the top and the walnut is making me rethink binding. :cautious: I'm going to sand things back and think on this.

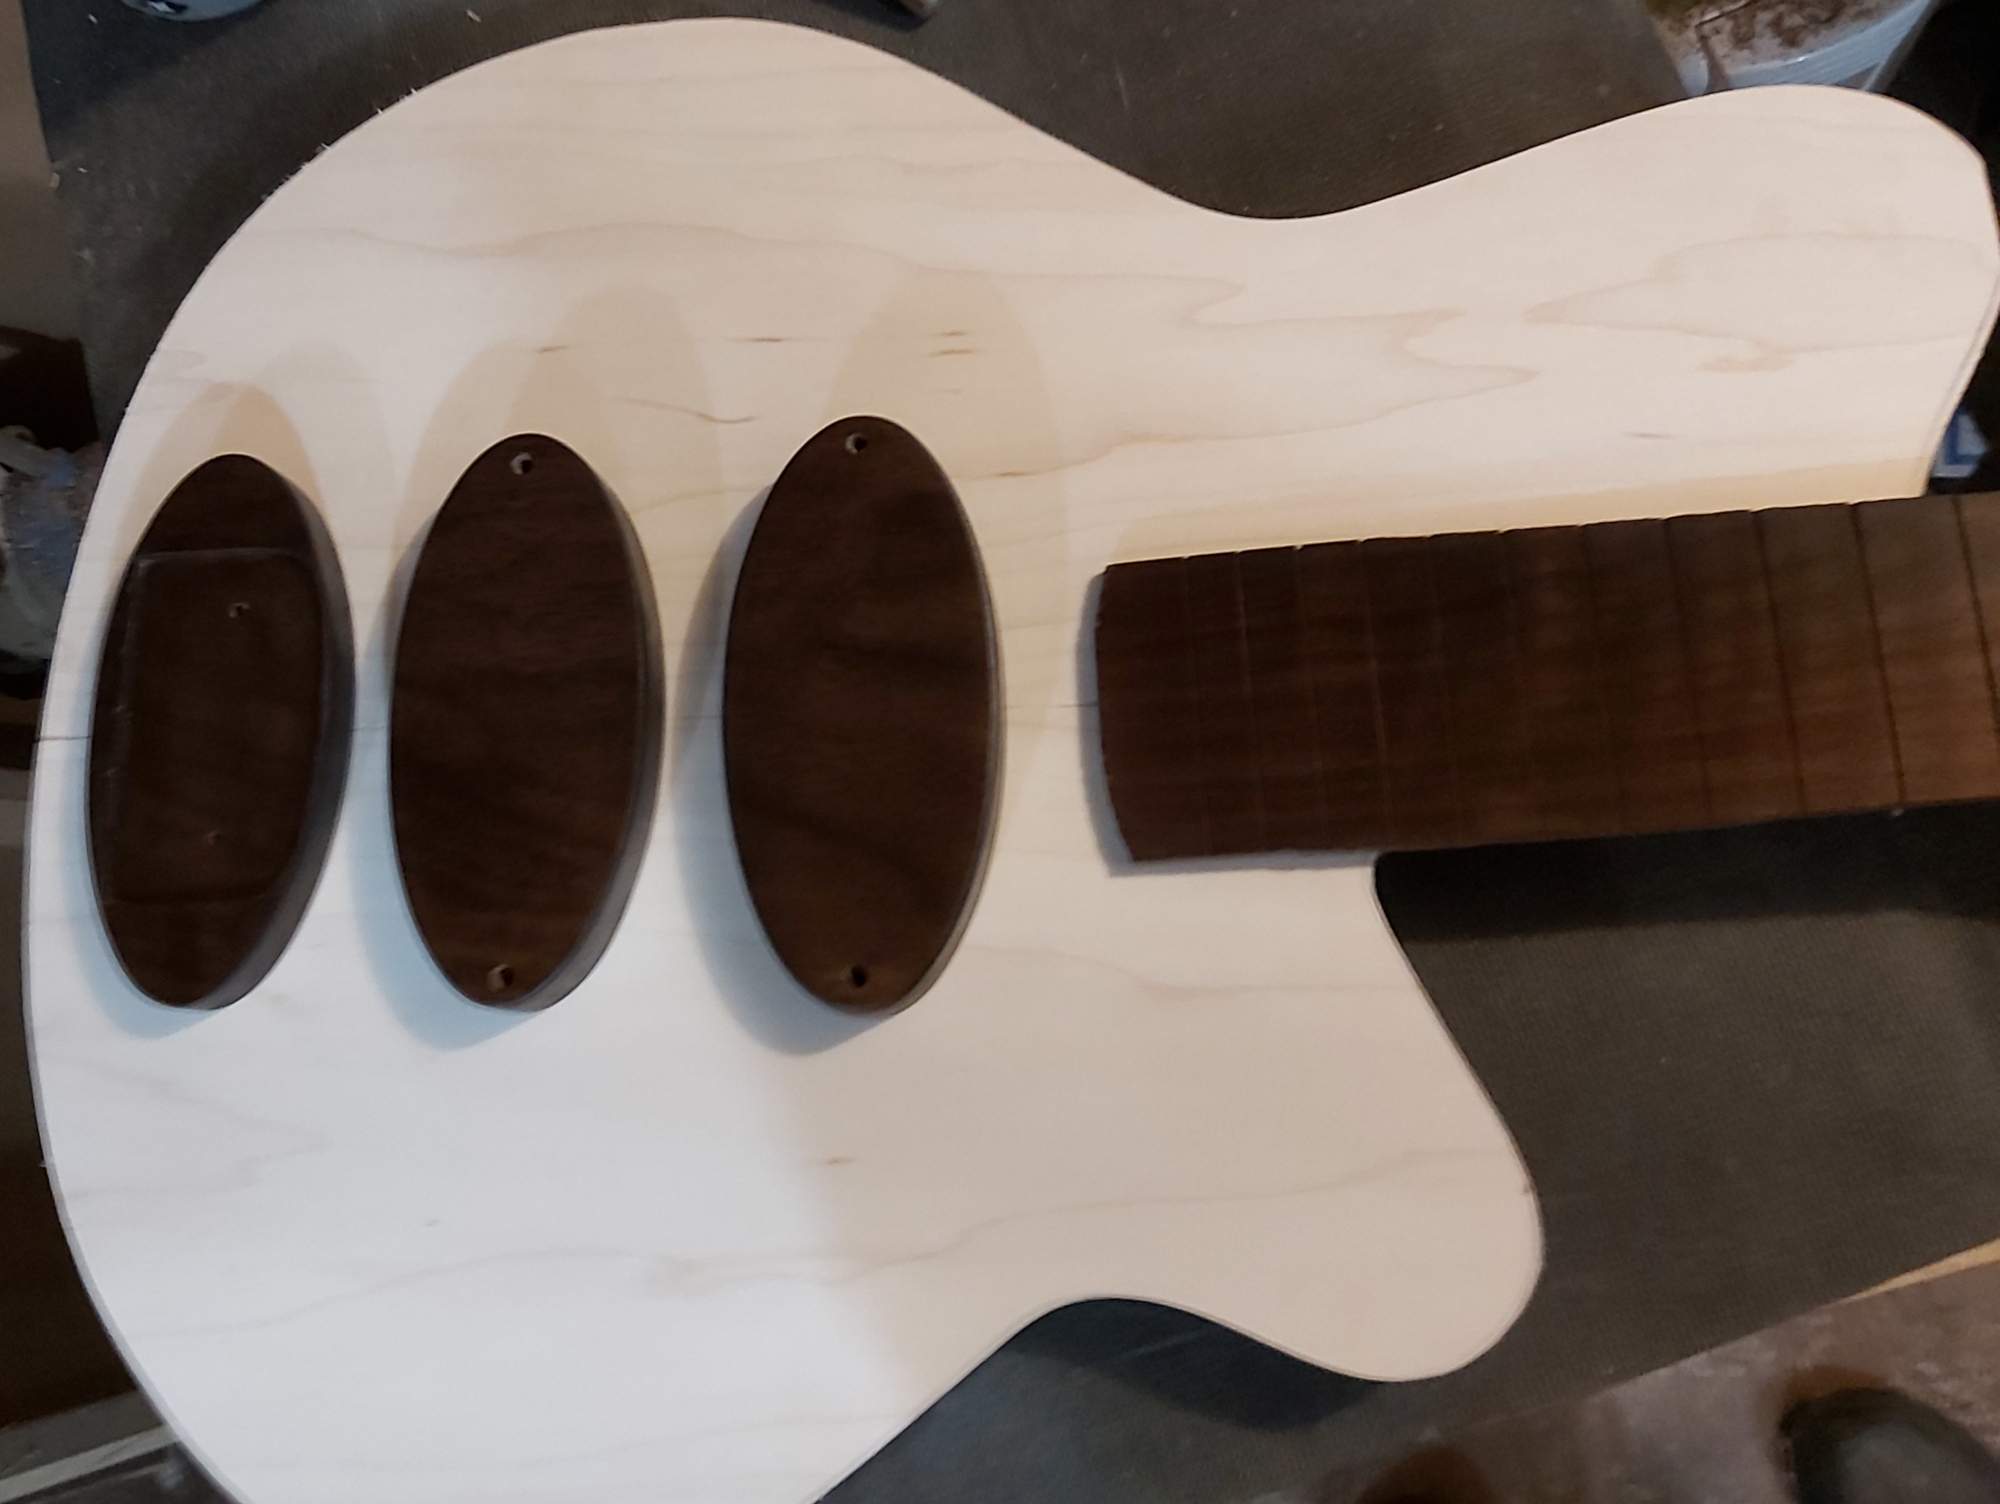
And here's a proper gratuitous mockup. I think I got the pickup covers and bridge block pretty close to the same colour as the fretboard. Up close though, there's a richness to the fretboard that really makes it look like a jewel. I'm totally going to roast more walnut in my oven. :D
 
Yesterday, I glued on the fretboard, but seem not to have taken a clamp pic. Today I hand-filed the fretboard flush with the sides of the neck and heel.

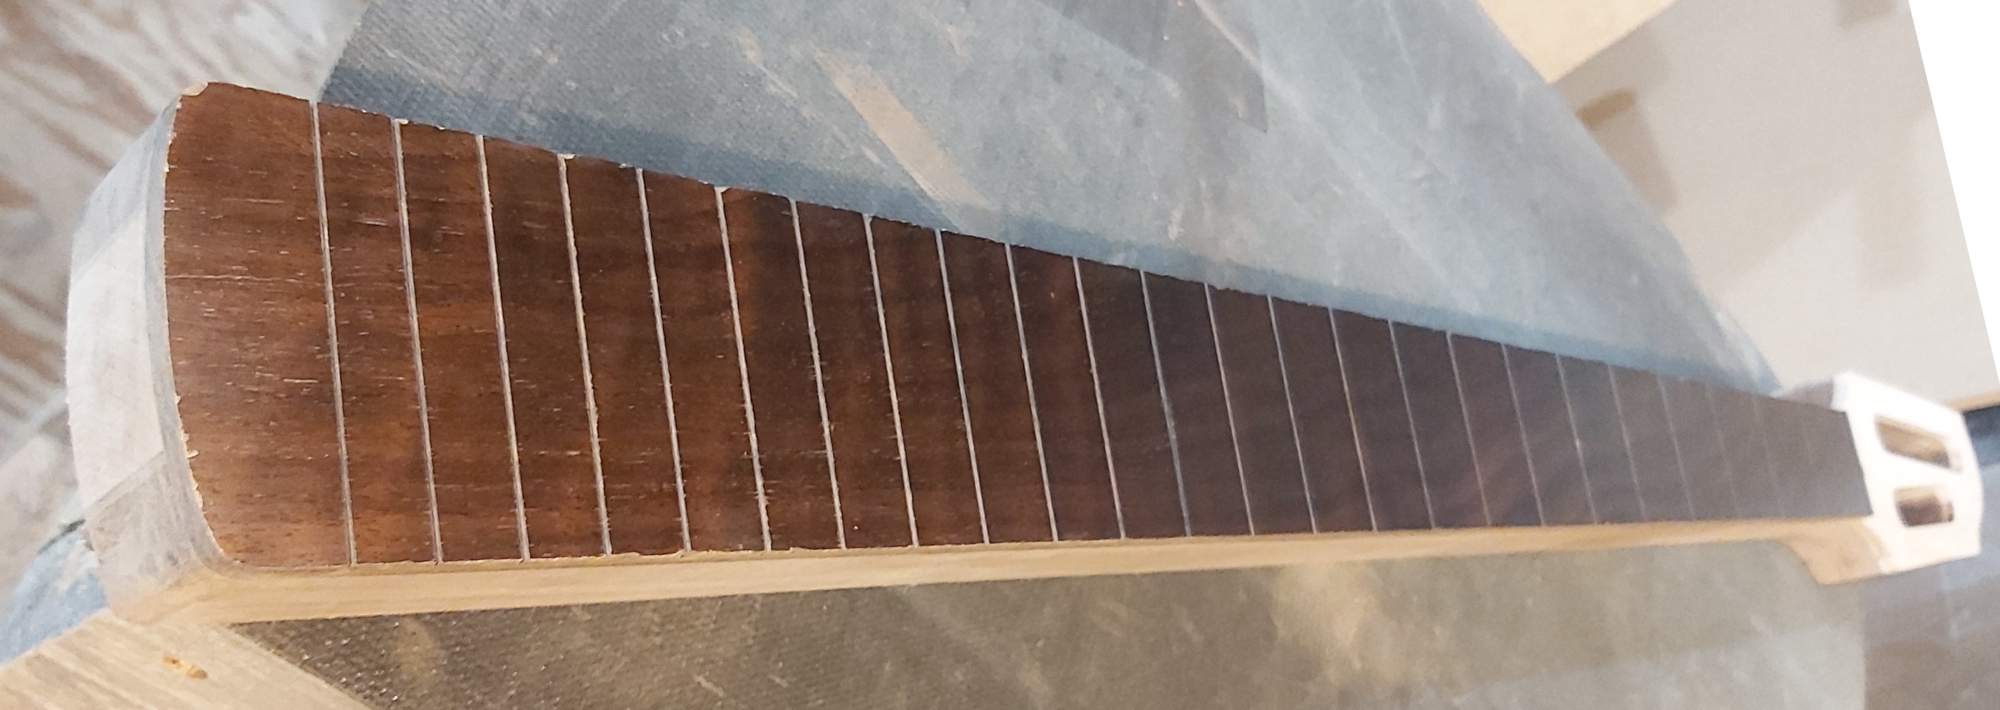
And then I fretted it, flush filed the frets to the sides of the neck, and then rough-beveled the fret edges. Ready for shaping.
 
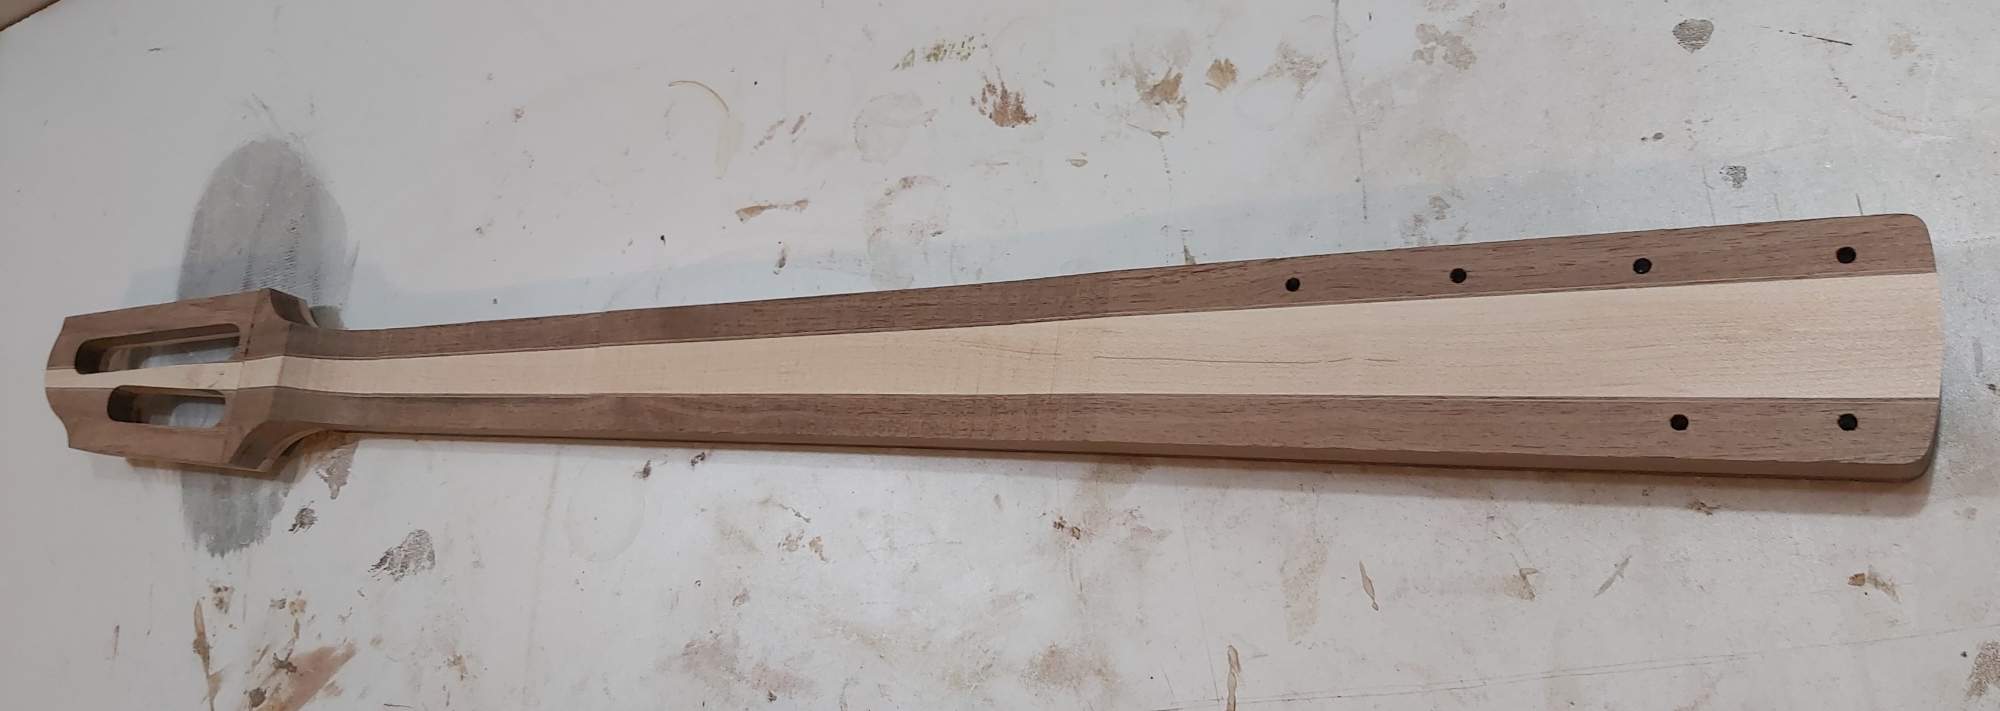
I got in a little work this morning. I bandsawed the back of the neck down close to thickness, and rough cut the volute. I then planed the heel portion flat in a router sled.

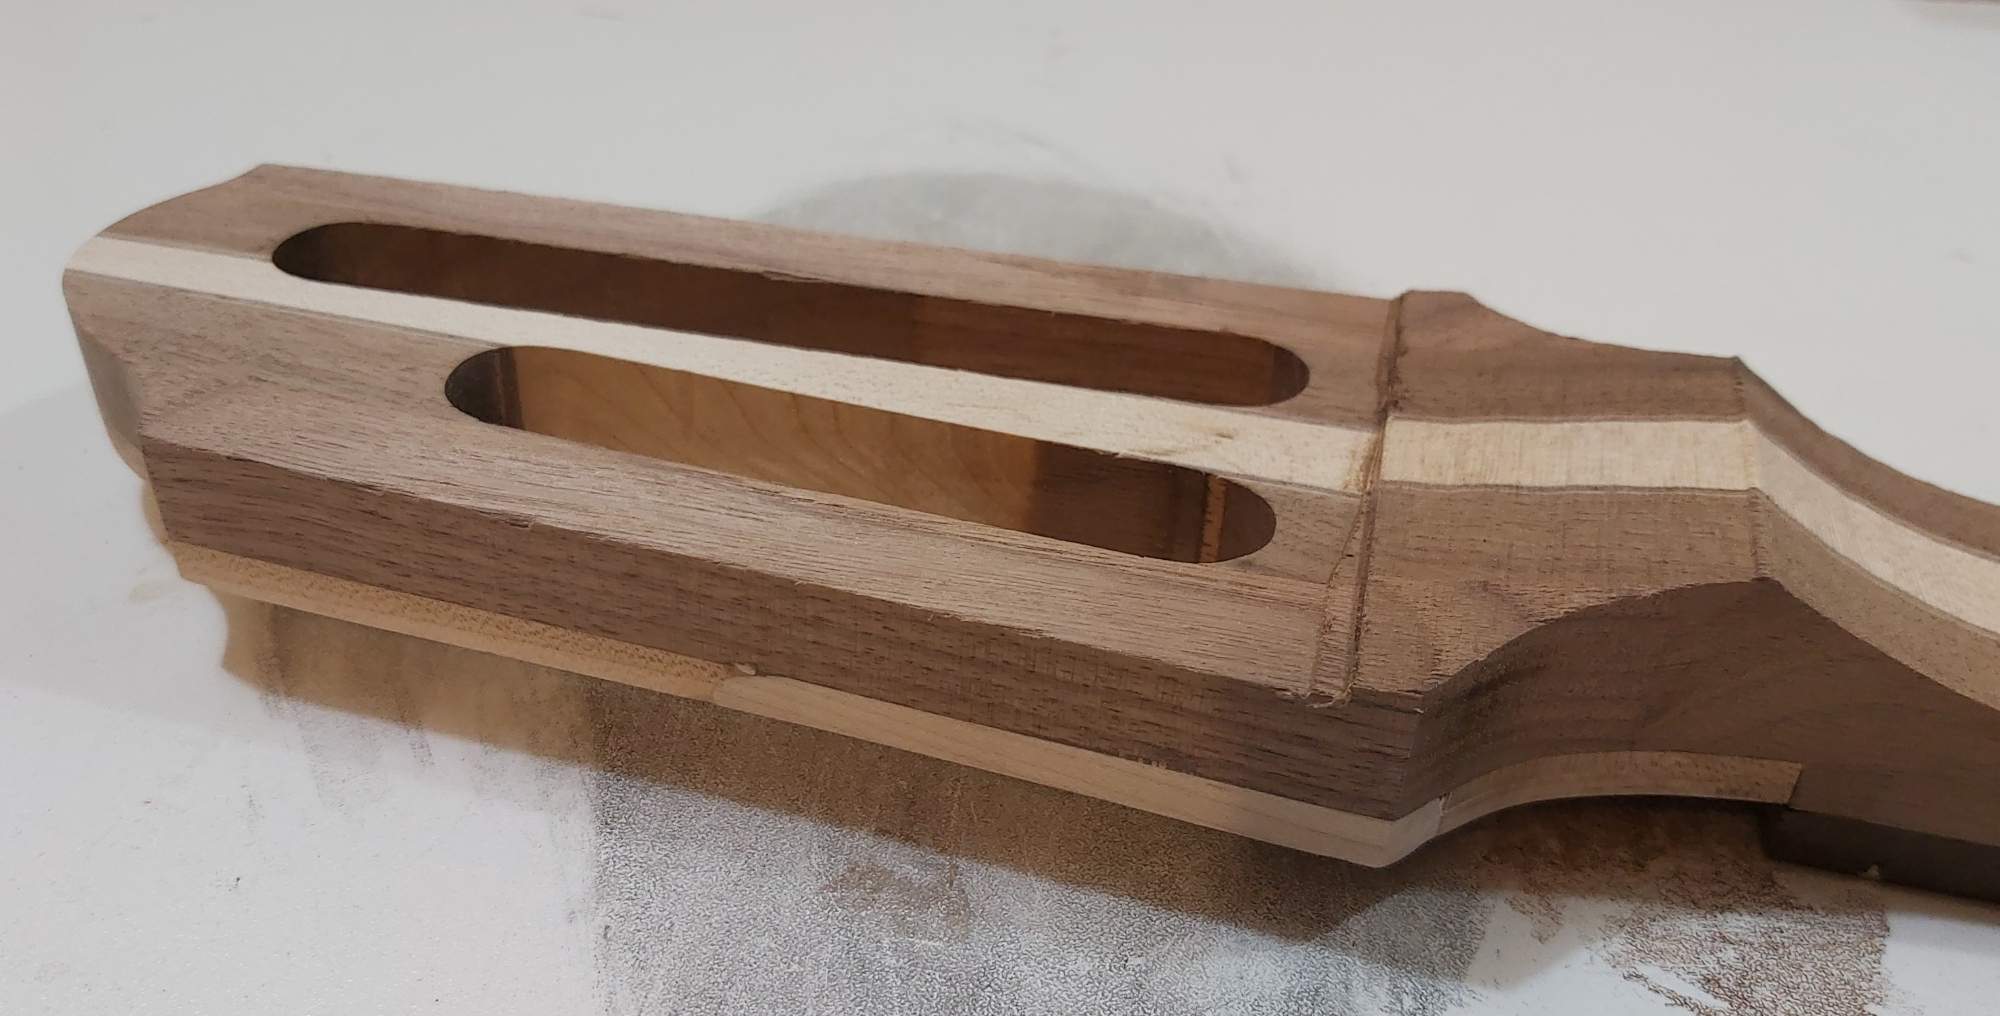
And the back of the headstock:

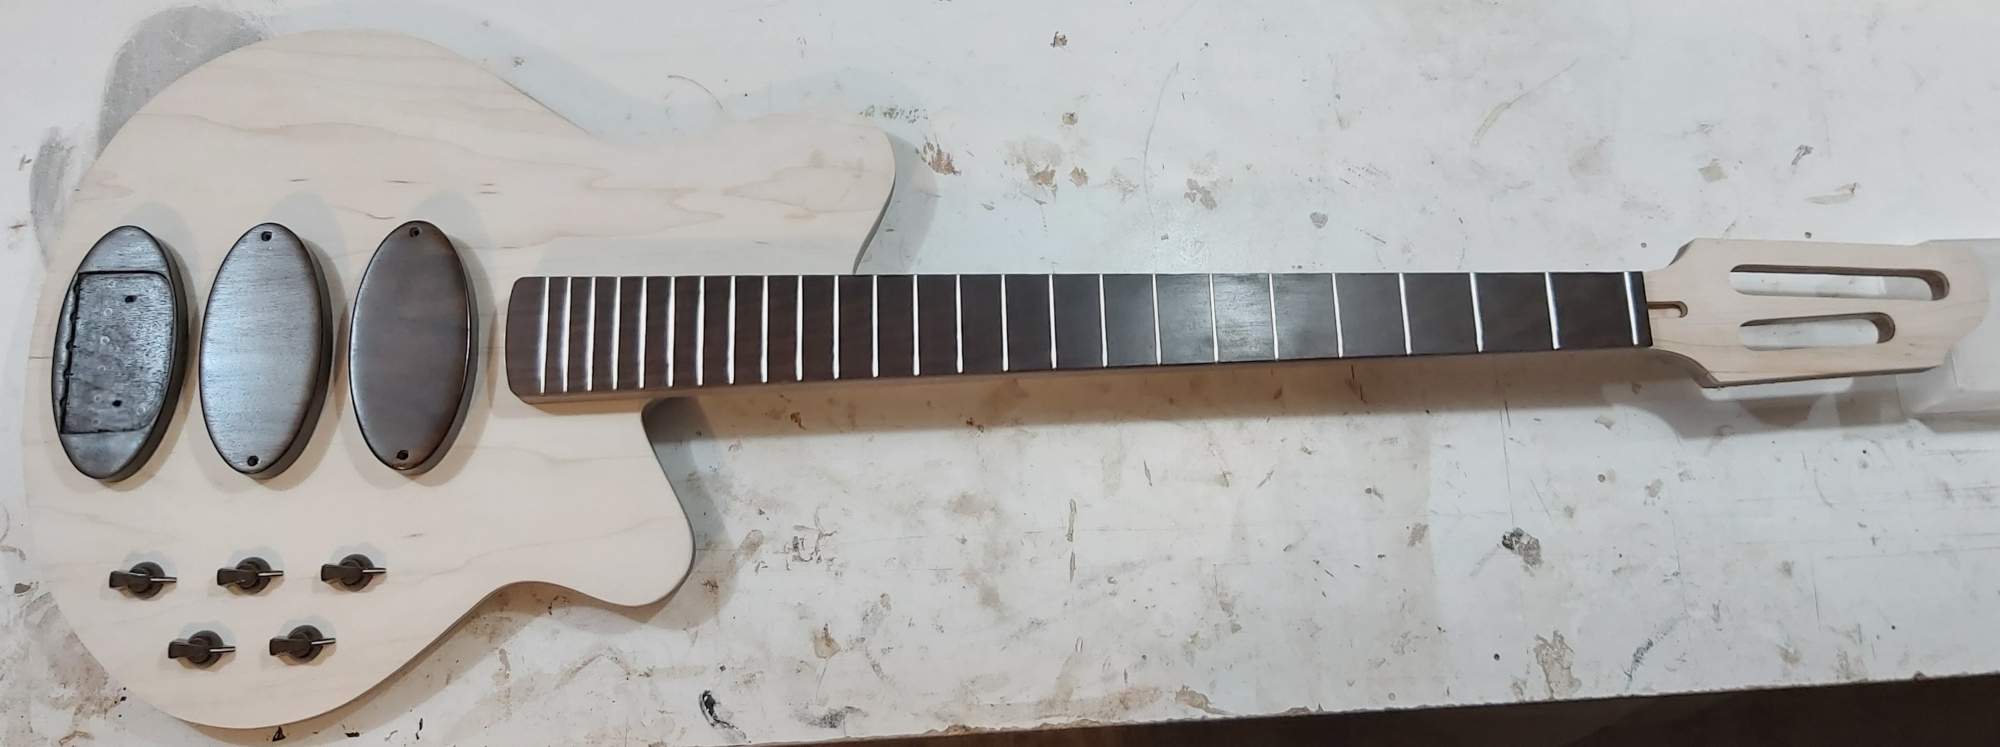
Next I'm going to rout for the bridge block and then the neck, so I have to do a lot of carefuly measuring, marking and locating to get this right. I don't have the ability to relocate the bridge and hide the holes like I've successfully done on a couple of other builds. :D

I had to do several mockups to ensure things are where they should be. I've also been carefully thinking about my f-hole. ( :D ) Mostly in regards to where to put it. Here's a mockup with knobs.

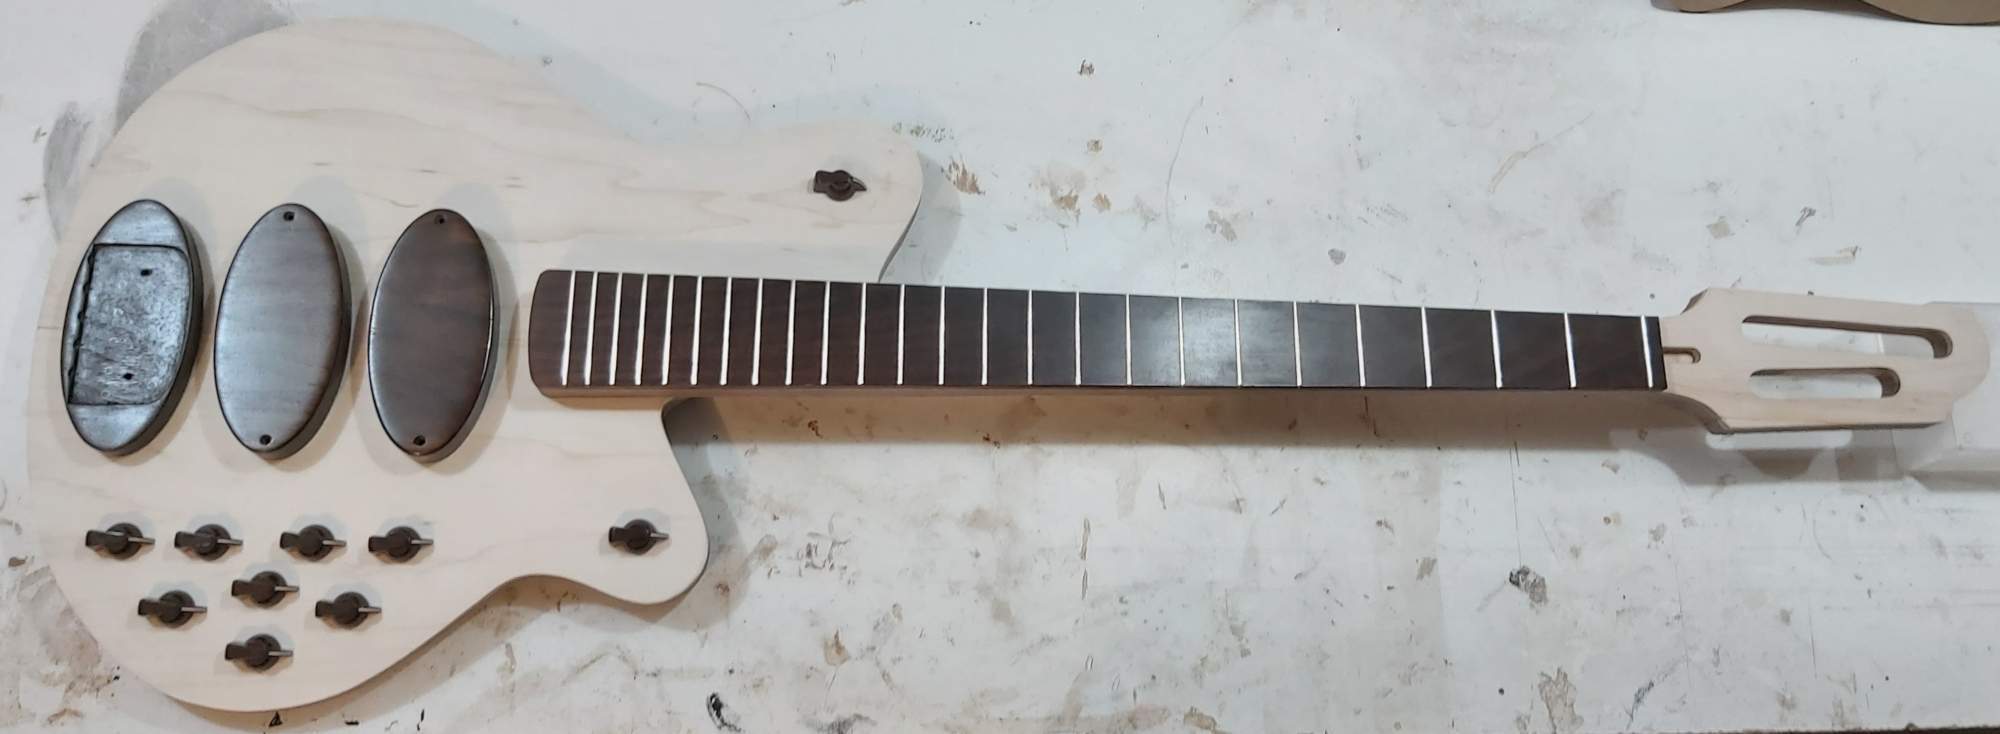
And if I use all of the expansion components with my preamp, it might look something like this:
 
I got in a little work this morning. I bandsawed the back of the neck down close to thickness, and rough cut the volute. I then planed the heel portion flat in a router sled.

And the back of the headstock:

Next I'm going to rout for the bridge block and then the neck, so I have to do a lot of carefuly measuring, marking and locating to get this right. I don't have the ability to relocate the bridge and hide the holes like I've successfully done on a couple of other builds. :D

I had to do several mockups to ensure things are where they should be. I've also been carefully thinking about my f-hole. ( :D ) Mostly in regards to where to put it. Here's a mockup with knobs.

And if I use all of the expansion components with my preamp, it might look something like this:

So, you've cornered the chicken head market then?....:laugh::jawdrop:.....

Love it!...:thumbsup::hyper:
 
  • Like
Reactions: Beej
I got in a little work this morning. I bandsawed the back of the neck down close to thickness, and rough cut the volute. I then planed the heel portion flat in a router sled.

And the back of the headstock:

Next I'm going to rout for the bridge block and then the neck, so I have to do a lot of carefuly measuring, marking and locating to get this right. I don't have the ability to relocate the bridge and hide the holes like I've successfully done on a couple of other builds. :D

I had to do several mockups to ensure things are where they should be. I've also been carefully thinking about my f-hole. ( :D ) Mostly in regards to where to put it. Here's a mockup with knobs.

And if I use all of the expansion components with my preamp, it might look something like this:
Couple things:
  1. It clearly needs about a dozen switches also. :roflmao:
  2. I was gonna say that your F hole really wants to be in that upper horn area.......but then you went and added a knob there.
 
  • Like
Reactions: Fat Freddy and Beej
So, being a minimalist, I think you need to add more knobs. :woot:

Also,

Somewhat jealous that you have a slotted headstock. My build would have been well suited to a slotted HS.
I got lazy and didn't feel like figuring out the details
I've wanted to do a slotted headstock for a while. I just did one for a guitar recently and it was enough experience to push me over the edge for this build. That and "air space"? I just had to do it. :D
 
I got in a little work this morning. I bandsawed the back of the neck down close to thickness, and rough cut the volute. I then planed the heel portion flat in a router sled.

And the back of the headstock:

Next I'm going to rout for the bridge block and then the neck, so I have to do a lot of carefuly measuring, marking and locating to get this right. I don't have the ability to relocate the bridge and hide the holes like I've successfully done on a couple of other builds. :D

I had to do several mockups to ensure things are where they should be. I've also been carefully thinking about my f-hole. ( :D ) Mostly in regards to where to put it. Here's a mockup with knobs.

And if I use all of the expansion components with my preamp, it might look something like this:

I am really enjoying this design. Can't wait to see this one finished!
 
  • Like
Reactions: Fat Freddy and Beej